I had this great idea to make stamps using Smoothfoam so that I could do sidewalk stamping with my
Grandsons. After one messy (but fun) try, I decided it really wasn’t going to work the way I wanted.
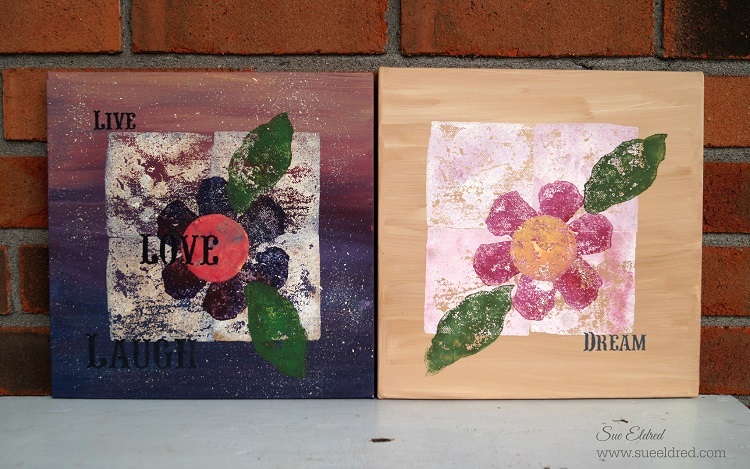
So… I decided to use the stamps on a canvas instead.
(See Wednesday’s post: The Good, the Bad and the Messy)
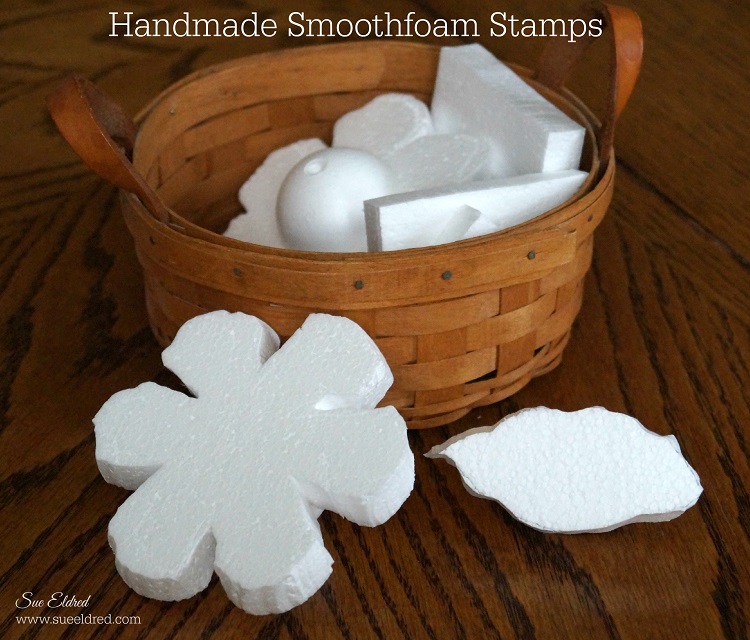
I created the stamps using a Hotwire Foam Cutter. You could also use a craft knife.
Because the original plan was to use them with the kids, I glued handles on the back.
I made flower shapes, leaves, squares and triangles.

Supplies Used:
- 12″ x 12″ Smoothfoam Sheet
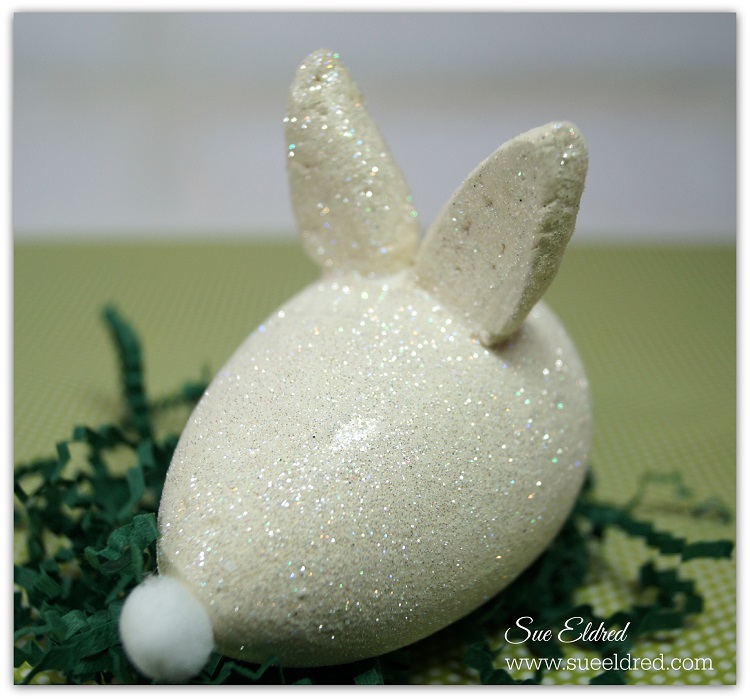
- 2″ Smoothfoam Ball
- 10″ x 10″ Canvas
- Acrylic Paint
- Sponge
- Uchida of America Foam Cutter, Plug In or a craft knife.
- Folk Art 30465 Peel and Stick Painting Stencil, Happy Words
- Prime canvas with acrylic paint.
- Sponge acrylic paint on the back of the Smoothfoam pre-cut square, stamp onto the canvas. You may need to press the back of the canvas with your remaining hand to get crisper image. Repeat three more times to create square background.
- Stamp flower and leaves. Using a small Smoothfoam ball cut in half, stamp center of flower.
- Stencil words on Canvas.

Disclaimer: This project was created for and sponsored by Smoothfoam.