Every one in my family thinks of me when they see Red Toile dishes.
It’s my thing. (one can never have too many right?)
So… when my daughter saw a set of Red Toile dishes on clearance for $25 at her local thrift store
she immediately called me to see if I wanted them. (um, yes!)
While packing the car for their visit home, my son in law picked up the box to rearrange the car
and the bottom fell out. Most of the dishes survived. Five of the large plates did not.
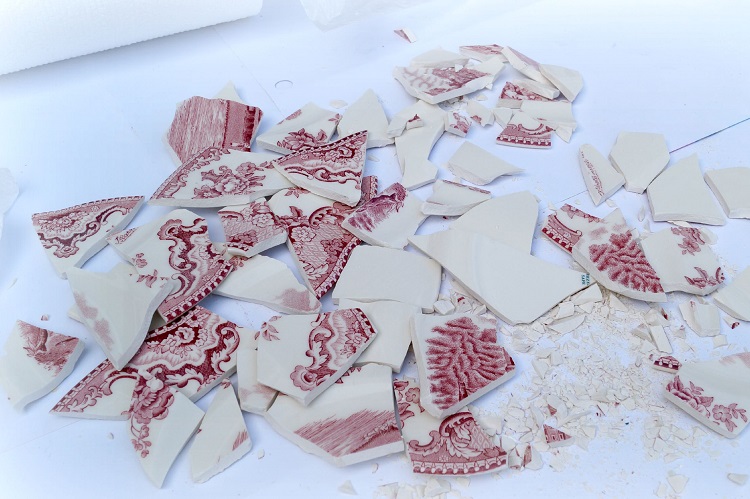
Deciding to turn lemons into Lemonade…
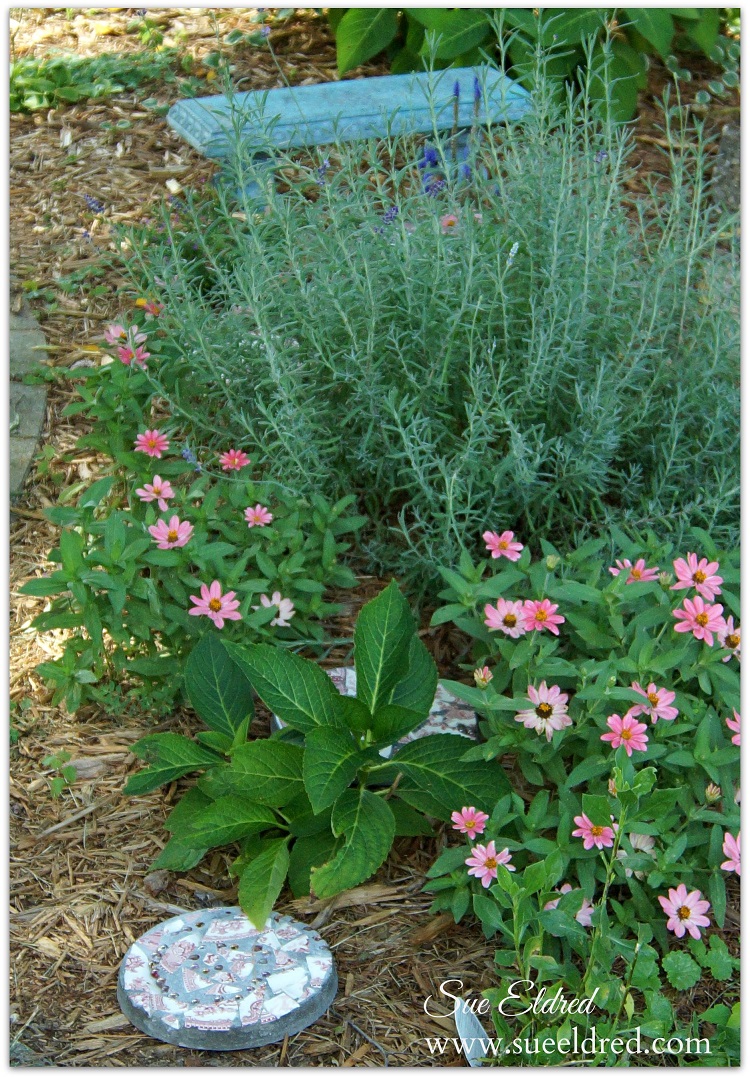
I kept the broken plates to make a few garden stones.
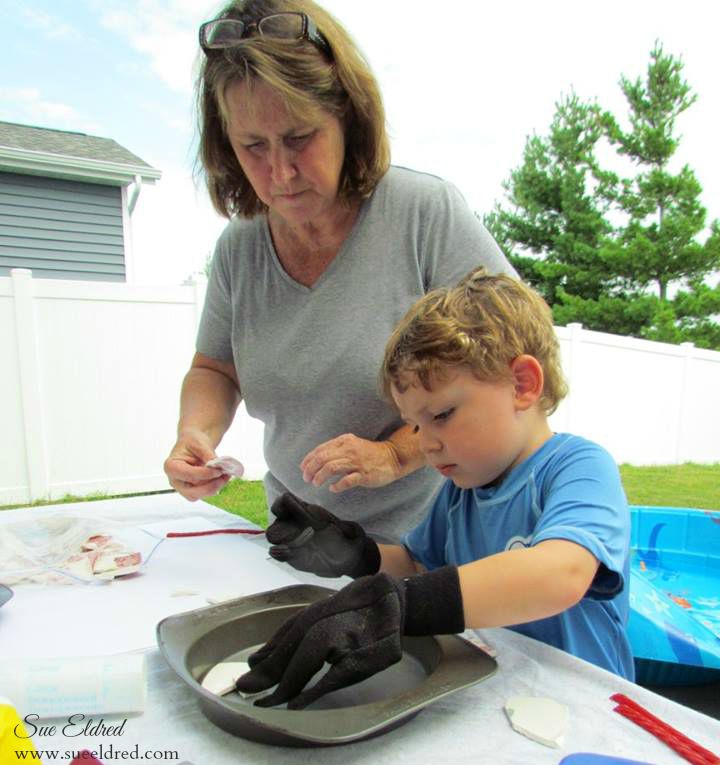
I enlisted the help of my little buddy. He was eager to lend a hand. (with gloves of course)

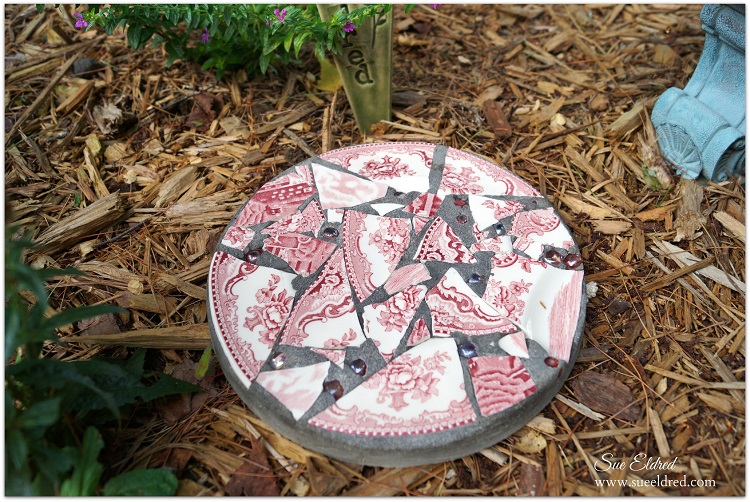
Creating a Garden Stepping Stone:
- Cover the sides and bottom of an old cake pan with Petroleum Jelly for easy removal.
- Arrange the pieces of the broke china pattern side down in the bottom of the pan. Make sure to use the flattest pieces.
- Add glass stones in between the pieces for added color and interest.

- Mix a quick setting cement according to the directions on the package.
- Fill pan with cement approx. an 1″ thick.
- Shake pan a little to fill in the gaps and smooth.
- Allow a couple hours for the stones to set.
- Remove stepping stones from the pans and clean excess cement from the top of the stones with a stiff wire brush and water.
- Allow a few days for the cement to cure before sitting outside in your garden.

*Disclaimer: This blog uses ads and affiliate links. If you choose to make a purchase using one of the links, I receive a small commission (at no additional cost to you) that helps offset the costs of maintaining this blog. Thanks for your support.
Any content on this website is created for inspiration purposed only. Creating with my suggested methods, products used, and tools is under your own risk.