How to Make a DIY Memo Pad Holder…
I’m a list maker.
I make lists for things to do, groceries to buy, photos to edit, ideas, gardening…
I’m actually using the “Choose Joy” Memo Pad Holder as I sit and write this post.
The Choose Joy Memo Pad Holder with its sweet florals reminds me of everything summer.
And speaking of summer…it’s going to be a busy one. (which means more lists)

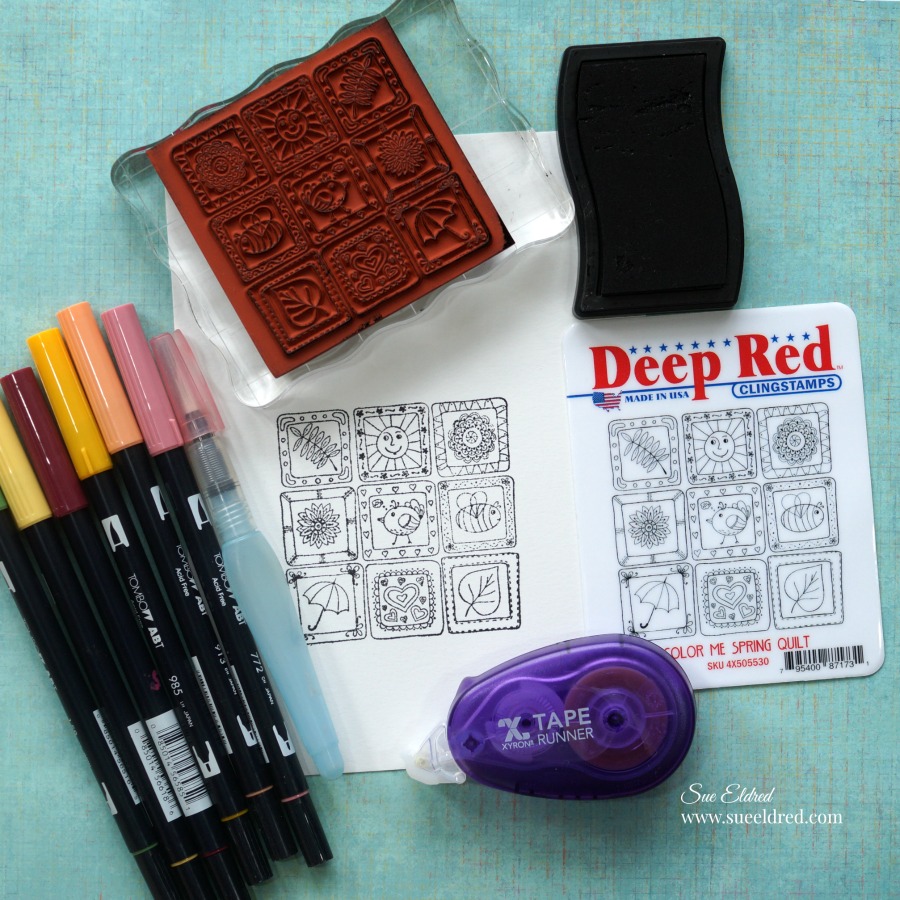
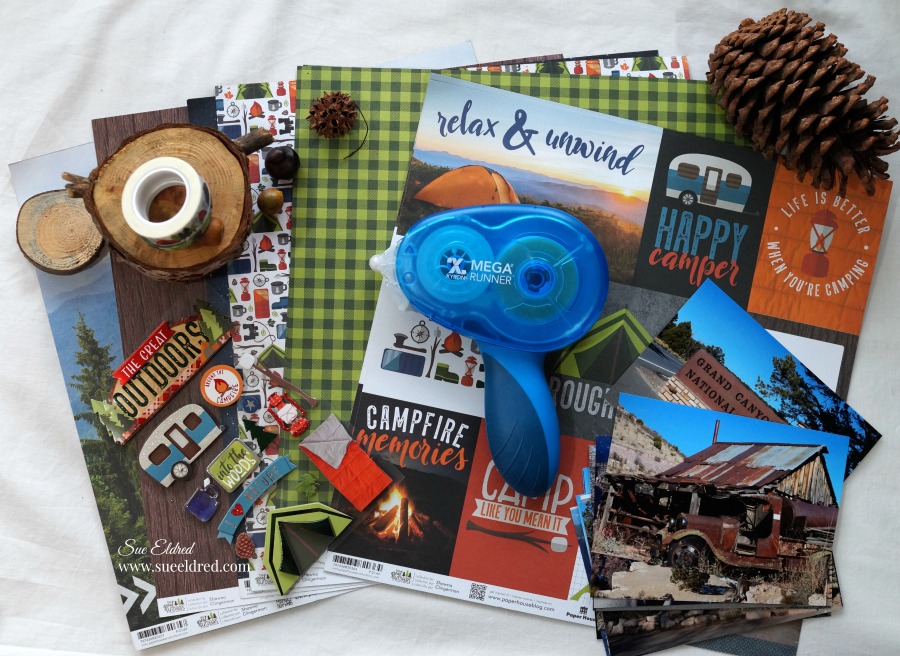
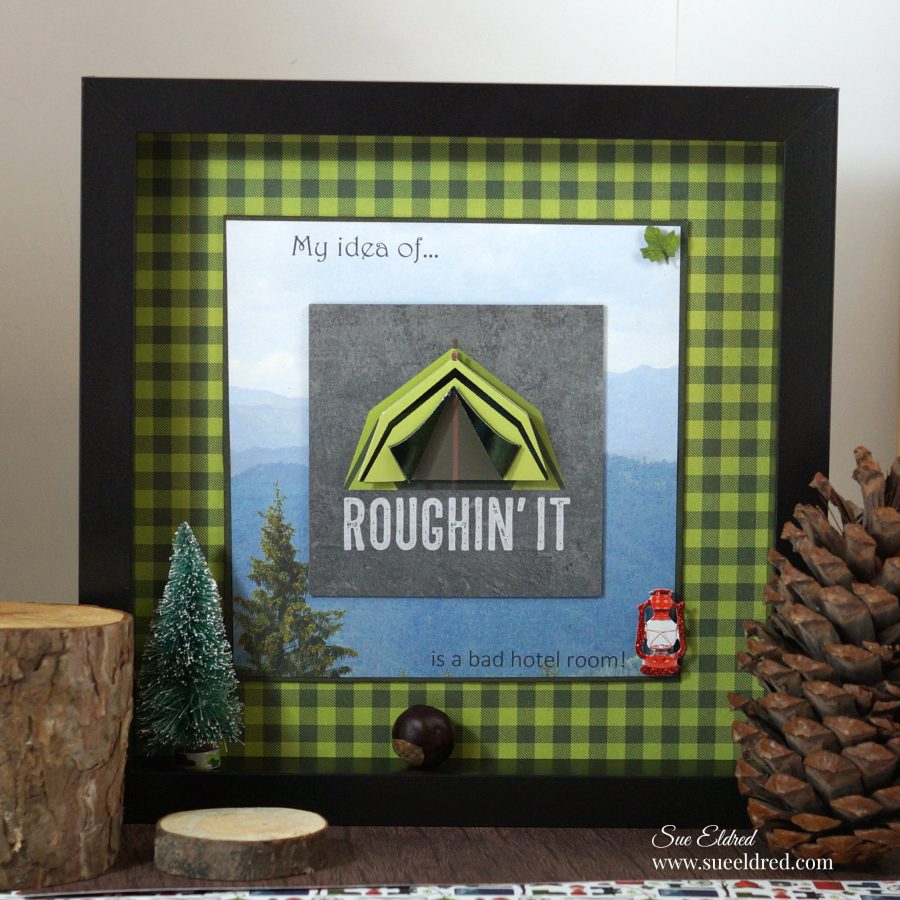
DIY Memo Pad Holder Supplies Used: (*affiliate link)
-
- Xyron Mega Runner*
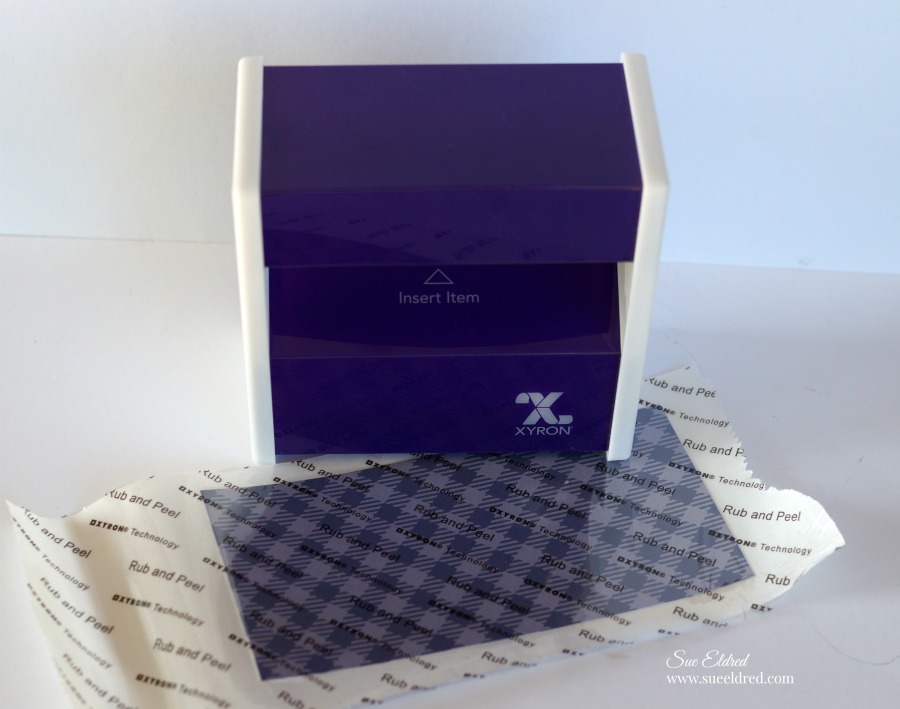
- Xyron 1.5 inch Sticker Maker*
- Xyron 3″ Sticker Maker*
- XYRON Adhesive Eraser*
- Scrapbook Paper from Jen Hadfield Simple Life Collection*
- Pink Dots Scrapbook Paper from Adornit*
- Shimelle 346611 Thickers Stickers, Navy*
- Black Iris Cardstock
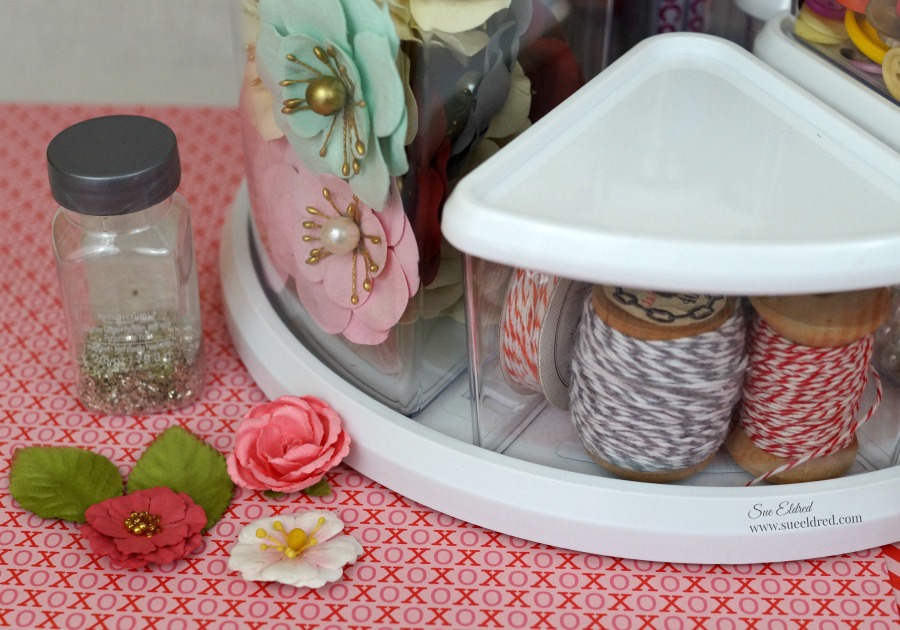
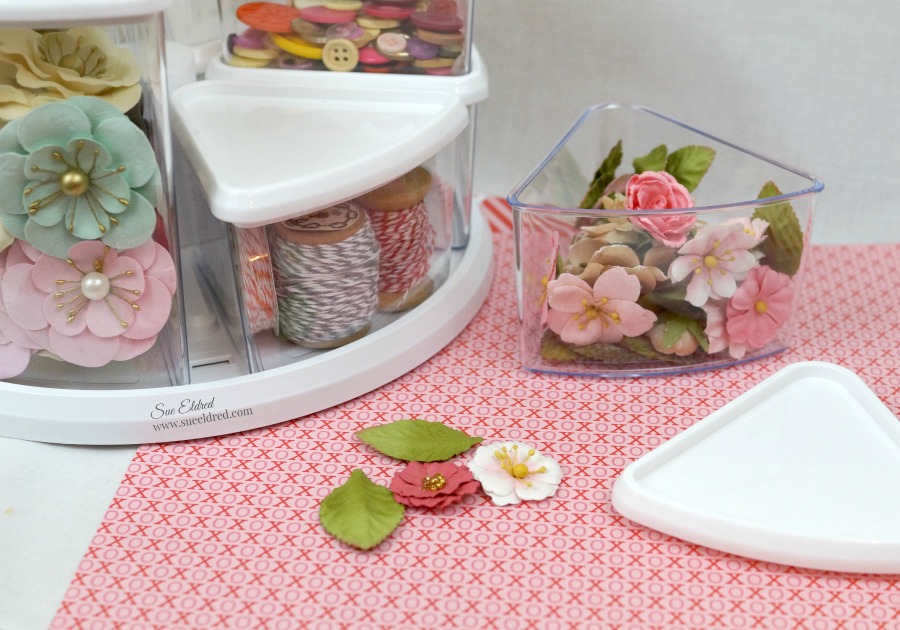
- Prima Marketing Rose Quartz Flowers*
- 18″ Ivory Dot Ribbon
- Scoring Board 12×12*
- Xyron Mega Runner*
How to make a DIY Memo Pad Holder…

- Cut cardstock to measure 8 ¼” x 10 ½”.
- Score the cardstock at 5 1/8″ and 5 3/8″
- Cut a 5″ x 2 ½” piece of decorative scrapbook paper to go around the top of the memo pad.
- Place the paper, design side up, into the end of the Xyron 3″ Sticker Maker*
and pull the paper through. Rub the protective covering and peel back to expose sticker.
- I use the XYRON Adhesive Eraser*
to remove any extra adhesive from the edges.
- Align paper on the top of the memo pad band and wrap around to the back of the pad.
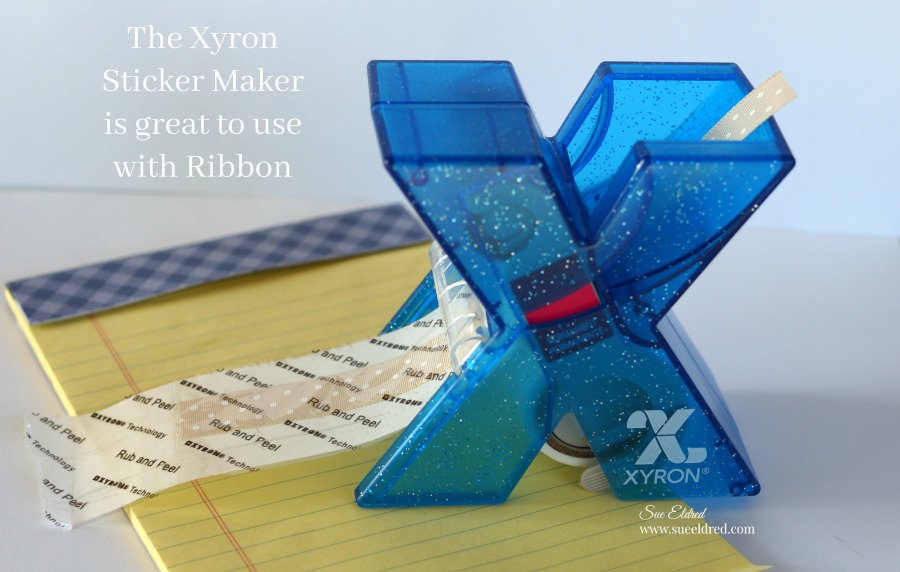
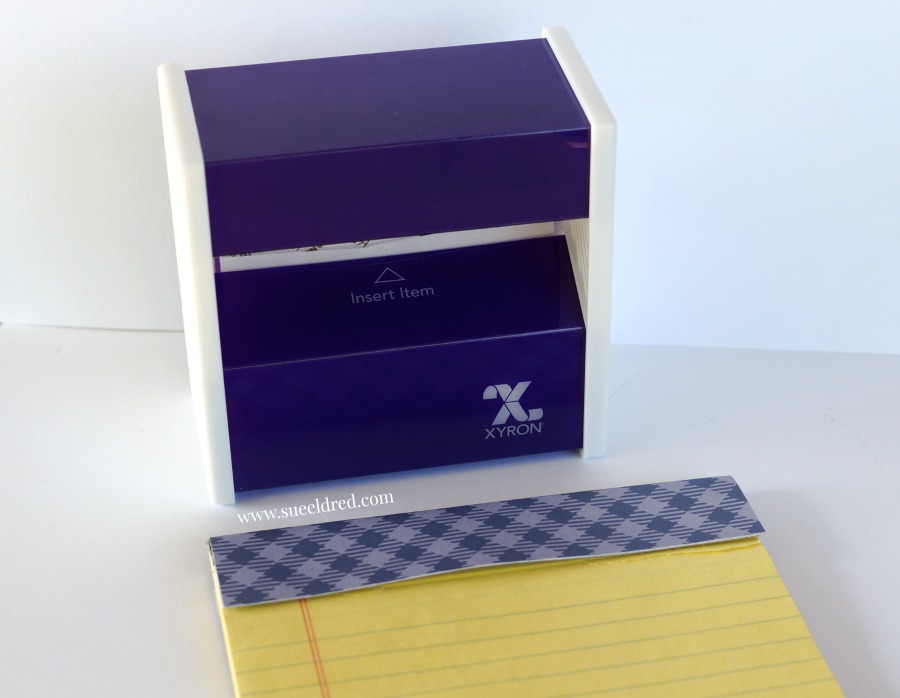
Did you know that you can use the Xyron Sticker Maker with ribbon?
- Run ribbon though the Xyron 1.5-inch Sticker Maker*
.
- Center and adhere onto the middle of the scrapbook paper border. Wrap extra ribbon around back of the memo pad.

- Use the Xyron Mega Runner*
to adhere the notepad onto the inside cover.
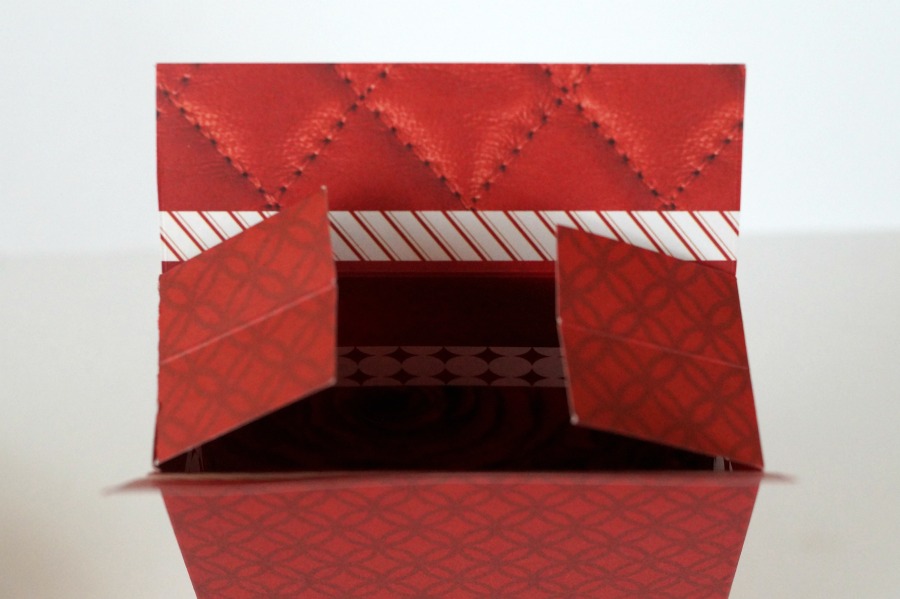
- On the other side of the inside cover, create a pocket using coordinating paper and embellishments.
- Add adhesive to three sides of the pocket and adhere inside cover. Perfect place for receipts and additional lists.
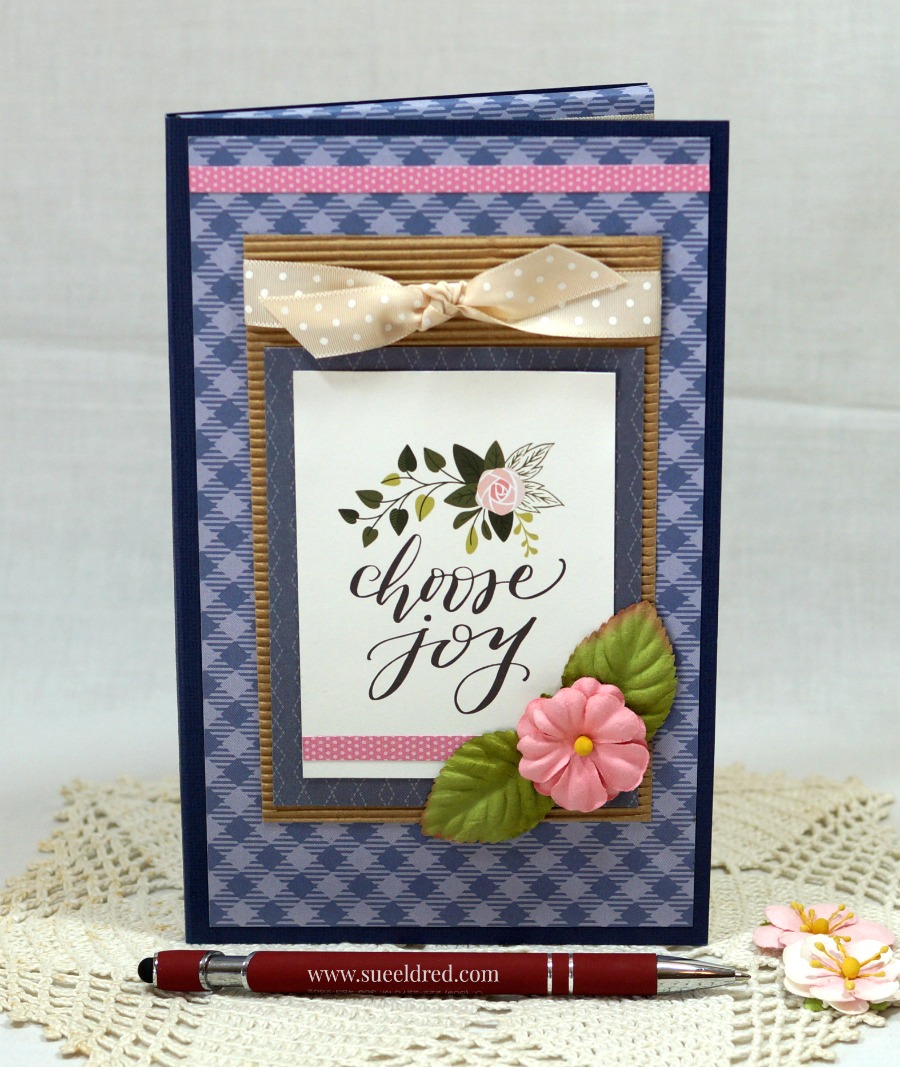
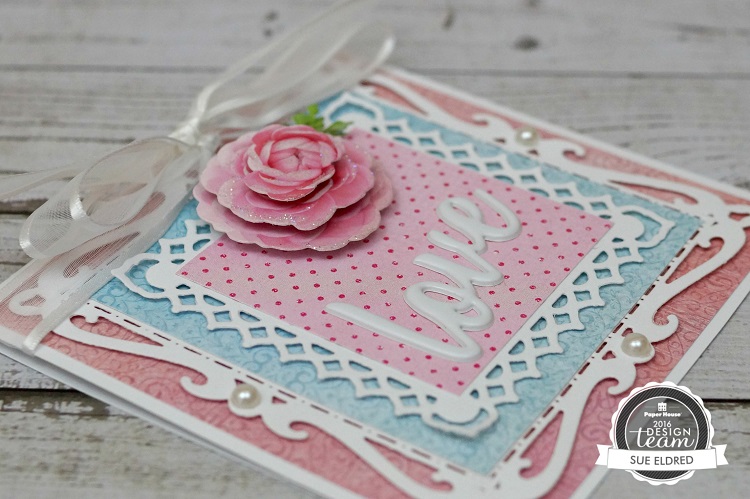
Embellish front cover with an inspirational quote, ribbon and flowers.
(a cute picture of the kids would be nice too)
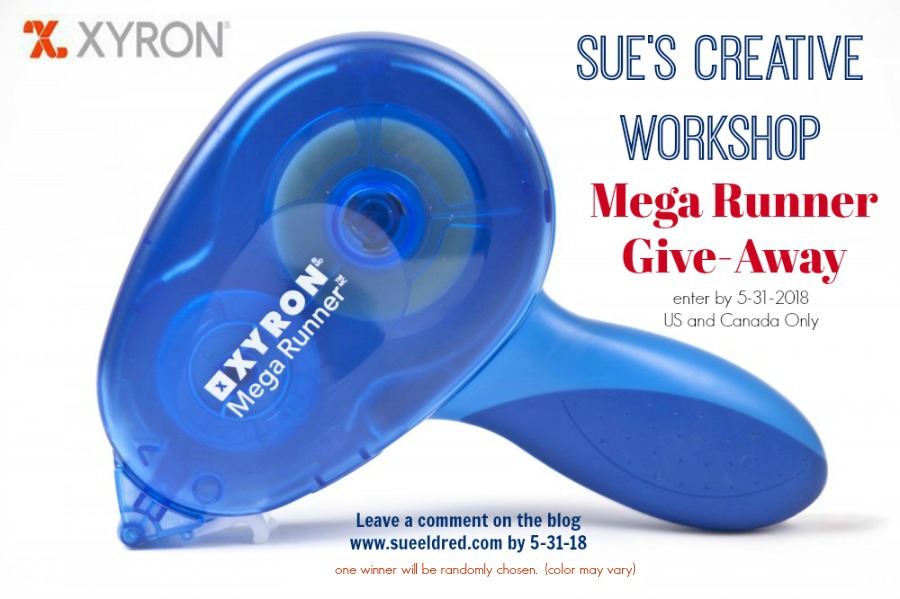
XYRON MEGA RUNNER GIVEAWAY…
Xyron is giving me a Xyron Mega Runner to give away to one lucky blog reader.
It’s super simple to enter.
Leave a comment on my blog mentioning the Xyron Mega Runner by 5-31-18 to be eligible.
One entry per day. US and Canada Only (color may vary)

“This is a sponsored post. As a member of the Xyron Design Team I have been provided product and compensation in exchange for my creative ideas. The views and opinions are my own.”
*Disclosure: This blog uses affiliate links. If you choose to make a purchase using one of the links, I receive a small commission (at no additional cost to you) that helps offset the costs of maintaining this blog. Thanks for your support!