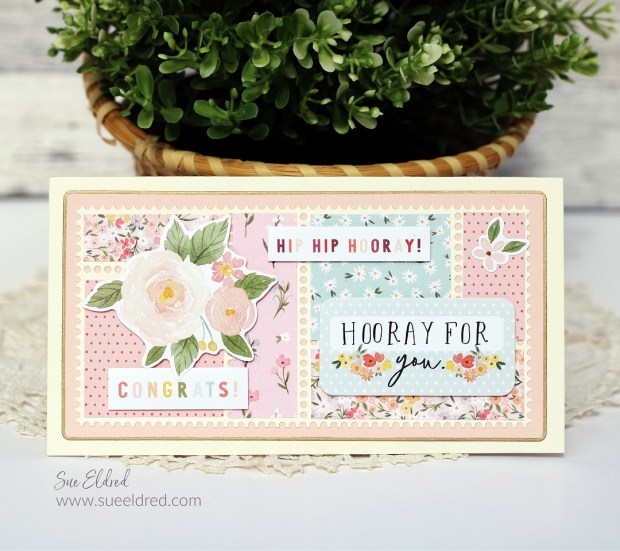
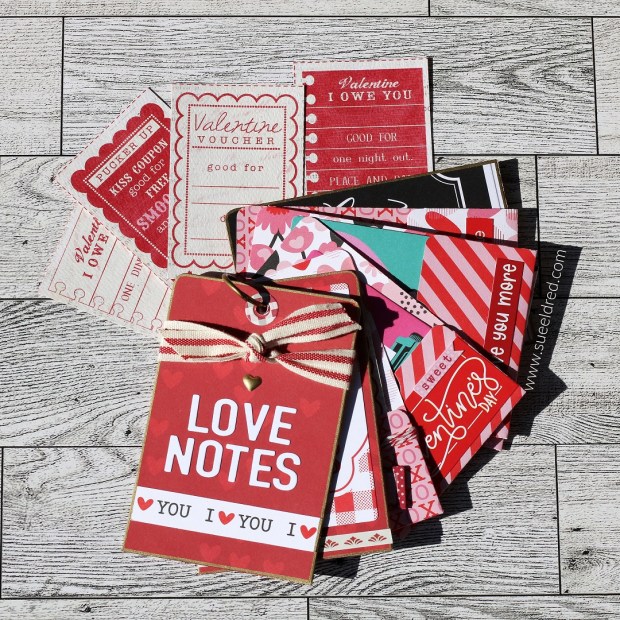
How to make a Pocket Full of Holiday Cheer Christmas Ornament.
I’m Enveloping the Christmas in July Holiday Season with a Pocket Full of Holiday Cheer.

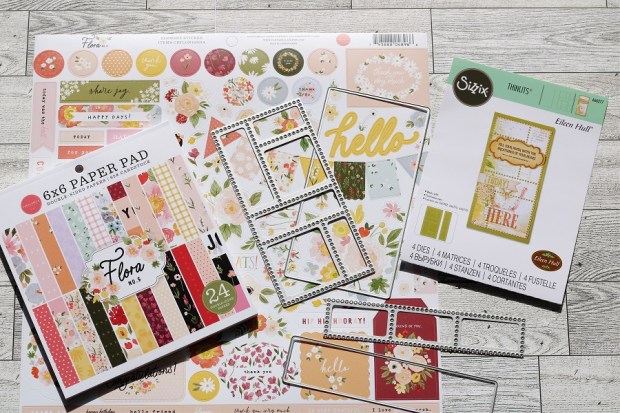
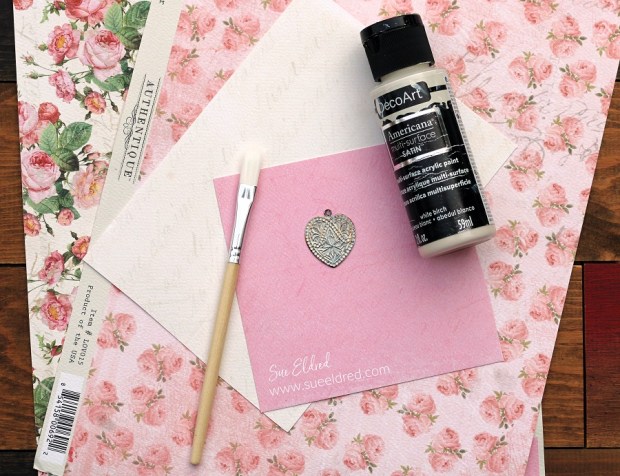
Materials Used: (*affiliate links)
- 666474 Sizzix Envelope, Folder & Flowers Thinlet Die Set*
- Big Shot Die-Cutting Machine*
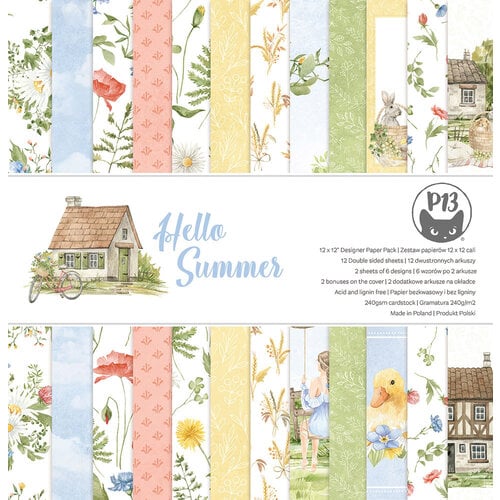
- Faux Leather Paper (or scrapbook paper)
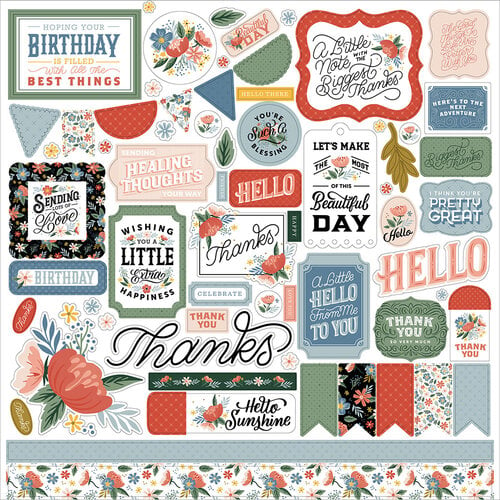
- Happy Christmas Sticker Book from Carta Bella*
- Glue Gun*
- 1/16 Hole Punch*
- Sage Green Jute Twine*
- Faux Berries & Greenery

*Disclosure: This blog uses ads and affiliate links. If you choose to make a purchase using one of the links, I receive a small commission (at no additional cost to you) that helps offset the costs of maintaining this blog. Thanks for your support!

To make the Ornament:
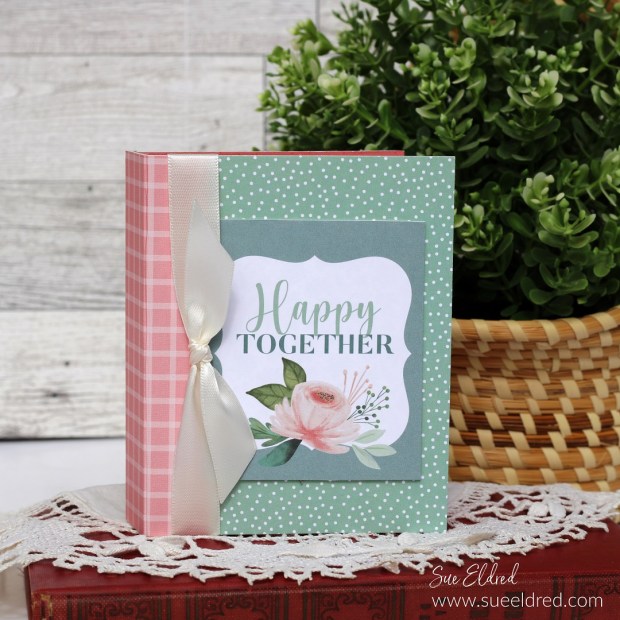
- Die cut two small envelopes using the Eileen Hull Envelope, Folder & Flowers Die Set* from Sizzix using red and green faux leather paper. (you could also use scrapbook paper)
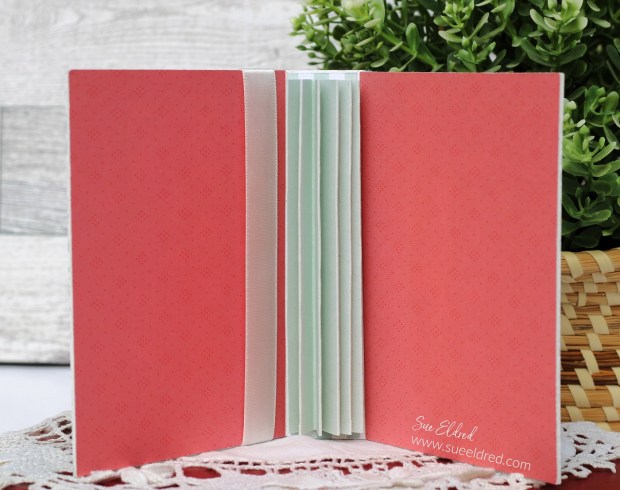
- Cut the sides off the green envelope and glue it to the inside of the red envelope.
- Fold the envelope on the score lines and glue the bottom sides together.
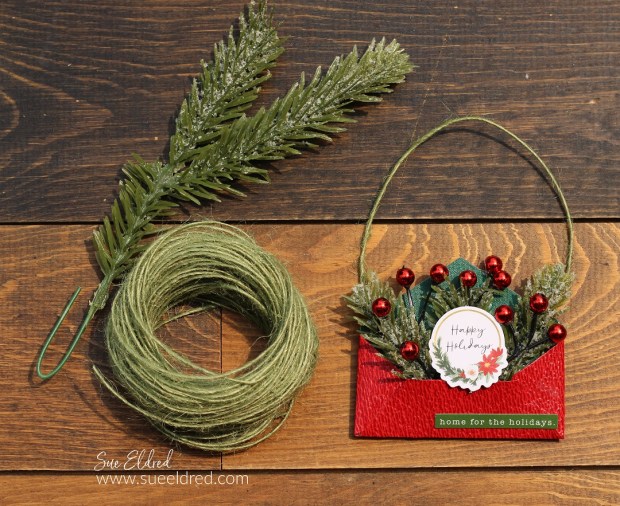
- Punch two small holes on each side of the envelope flap. Add a small piece of twine for hanging.
- Hot glue small pieces of faux greenery and berries to the inside of the envelope.
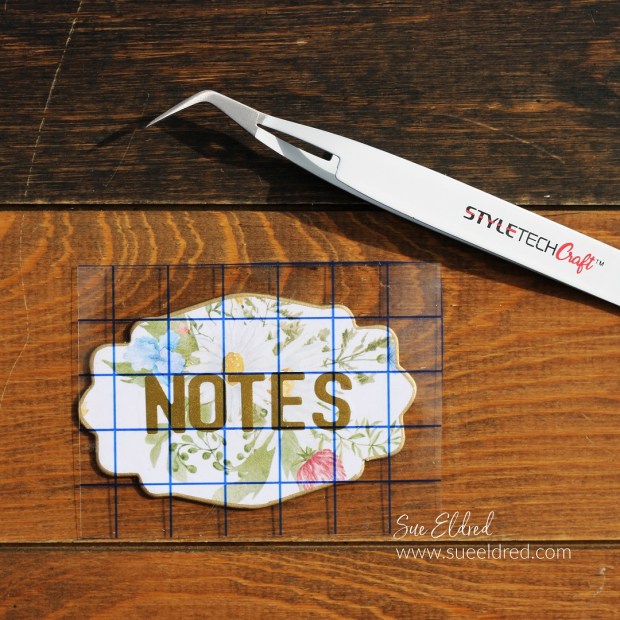
- Place a small holiday greeting on the bottom of the envelope.
- Adhere a small holiday sticker to the greenery.

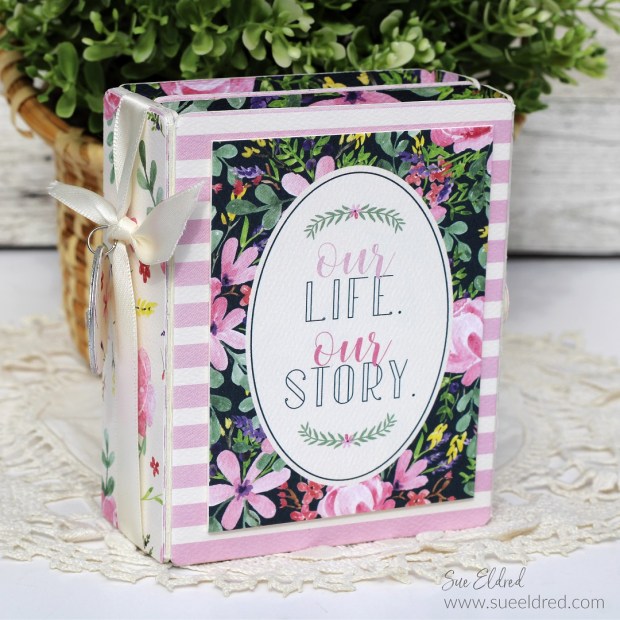
- Add another Holiday Greeting Sticker to the back of the envelope. I added 3D foam squares to the back of the sticker for added dimension.

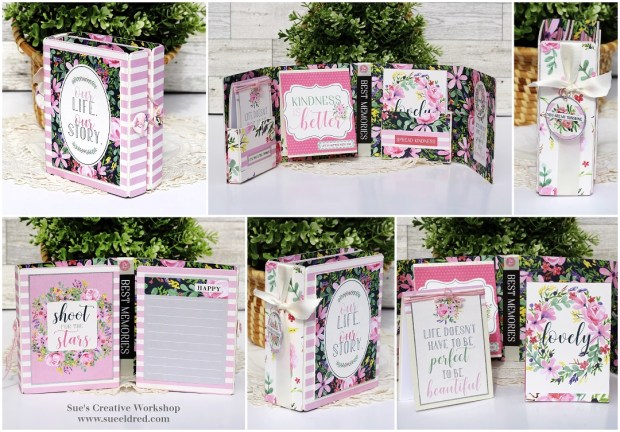
It is a quick and easy Holiday Ornament to add to the front of a package.
Or you could make several to hang on your Christmas Tree. (you’ve got time)
![]()
Disclosure: This is a sponsored post. As a member of the Eileen Hull Educator Team, I have been provided product in exchange for my creative ideas. The view and opinions are my own.