
Simple but Extraordinary Embossed Greeting Cards.
If you haven’t noticed, I love making cards.
Even though I’m mainly a “Clean and Simple” cardmaker,
I do enjoy adding a little texture from time to time.
Texture adds dimension.
And there’s no better way to add texture than to use an Sizzix Embossing Folder by Eileen Hull.

Embossed Birthday Card
Eileen’s New 3D Tablecloth Embossing Folder* creates an elegant textured background
for this Simple Birthday Card. The words “Happy Birthday were die-cut using
Eileen’s New Alphanumeric Die* and Ultra Metallic Gold Adhesive Craft Vinyl*
from StyleTechCraft.

Materials Used: (*affiliate links)
- NEW Sizzix 3D Tablecloth Embossing Folder by Eileen Hull*
- Sizzix Thinlets Tile Alphanumeric Die by Eileen Hull*
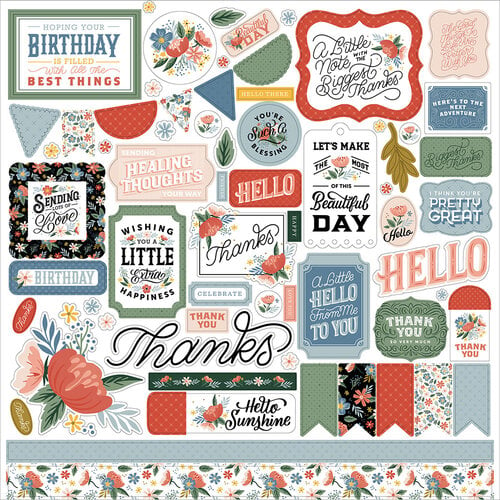
- Echo Park – Salutations No. 2 Collection – 12 x 12 Cardstock Stickers*
- Sizzix Big Shot Die Cutting Machine*
- Thin 3D Foam Squares*
- Ultra Metallic Gold Adhesive Craft Vinyl*

*Disclosure: This blog uses ads and affiliate links. If you choose to make a purchase using one of the links, I receive a small commission (at no additional cost to you) that helps offset the costs of maintaining this blog. Thanks for your support!

For this simple Birthday Card, I used the Woven Leather Embossing Folder*.
- To use an embossing folder, place a piece of paper inside the folder.
- Place the embossing folder into the Sizzix Big Shot Die Cutting Machine*. You’ll need to adjust the layers on the plate for the thickness of the folder. Crank the handle to run the embossing folder through the machine.
- Open the folder for a beautifully embossed piece of paper.
Materials Used: (*affiliate links)
- #665916 Sizzix Woven Leather Embossing Folder by Eileen Hull*
- Echo Park – Salutations No. 2 Collection – 12 x 12 Cardstock Stickers*
- Sizzix Big Shot Die Cutting Machine*
- Thin 3D Foam Squares*
- Cardstock: Blues and Mint
- Sizzix Big Shot Plus Die-Cutting Machine*
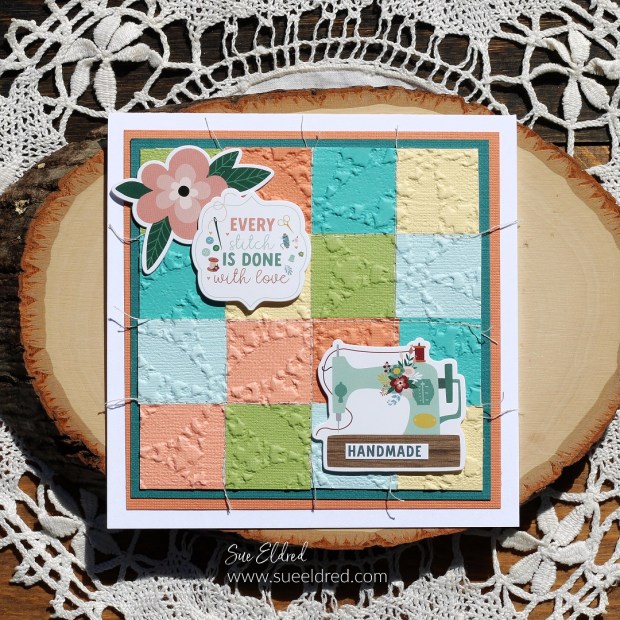
I got my Sewing Machine* out for the next two cards.
I’ve wanted to make a quilt card for a while.
A quilt card is a great way to use up small scraps of paper.
Materials Used on the Quilt Cards: (*affiliate links)
- NEW Sizzix 3D Tablecloth Embossing Folder by Eileen Hull*
- Echo Park – Salutations No. 2 Collection – 12 x 12 Cardstock Stickers*
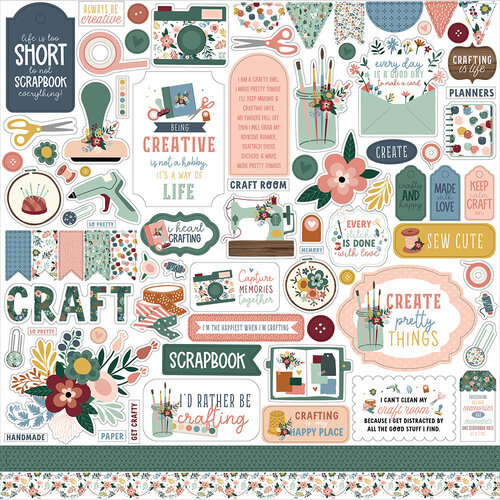
- Echo Park – Let’s Create Collection – 12 x 12 Cardstock Stickers*
- Flora No. 5 Paper Pad*
- Sizzix Big Shot Die Cutting Machine*
- Xyron 3″ Disposable Sticker Maker*
- Thin 3D Foam Squares*
- Sewing Machine*

Quilt Card Directions:
- I put my paper through a Xyron 3″ Disposable Sticker Maker* to make the paper into sticker paper.
- Cut them into 1″ squares. I laid the squares out first to play with the quilt pattern.
- To make a 4″ square quilt, cut a 4″ base to lay the squares on.
- Stick the squares onto the base and trim if necessary to even up the edges.
- Sew in between the squares using a sewing machine.
- Adhere the quilt onto paper layers and a 5″ x 5″ card.

This pink quilt card is one of my new favorites.
It reminds me of an old quilt I used to have on my bed.
It’s soft, sweet, and feminine.
It makes me want to curl up with a good book on a lazy day.
![]()
Disclosure: This is a sponsored post. As a member of the Eileen Hull Educator Team, I have been provided product in exchange for my creative ideas. The view and opinions are my own.


Cards are very pretty:)
Sue, these are simply stunning! I love the quilt card idea and it truly does look like one- love these ❤ You have given me so many card ideas!