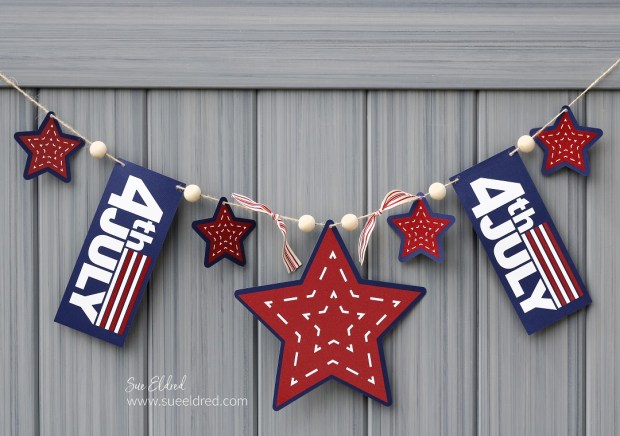
A Patriotic Red White and Blue Banner for your next 4th of July Get Together.
Is the Family getting together for the 4th?
Get the party started with a simple 4th of July Banner using StyleTechCraft Red and White
Glitter Vinyl, Navy Cardstock, and a Silhouette Cameo Electronic Die Cutting Machine*.
![]()
“This is a sponsored post. As a member of the StyleTechCraft Design Team I have been provided product and compensation in exchange for my creative ideas. The views and opinions are my own.
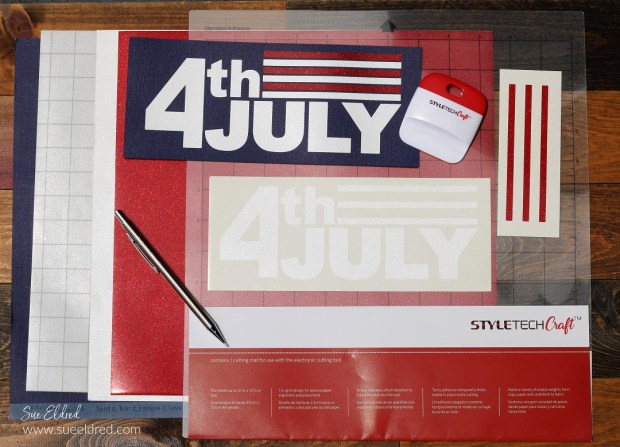
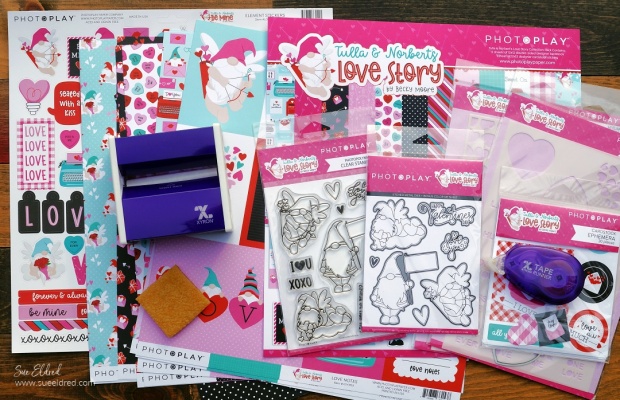
Materials Used:
- StyleTechCraft Red Ultra Metallic Adhesive Vinyl*
- StyleTechCraft White Ultra Metallic Adhesive Vinyl*
- StyleTechCraft Vinyl Transfer Tape*
- StyleTechCraft Vinyl Tool Kit*
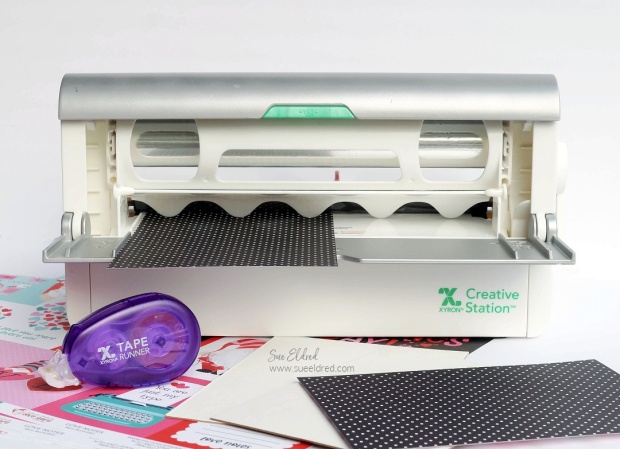
- Silhouette Cameo Electronic Die Cutting Machine*
- 4th of July SVG files from The Silhouette Store
- Navy Heavyweight Cardstock*
- Twine*
- Wood Beads*
- Red and White Striped Ribbon*

StyletechCraft products brought to you by ATSM Craft*
*Disclosure: This blog uses ads and affiliate links. If you choose to make a purchase using one of the links, I receive a small commission (at no additional cost to you) that helps offset the costs of maintaining this blog. Thanks for your support!
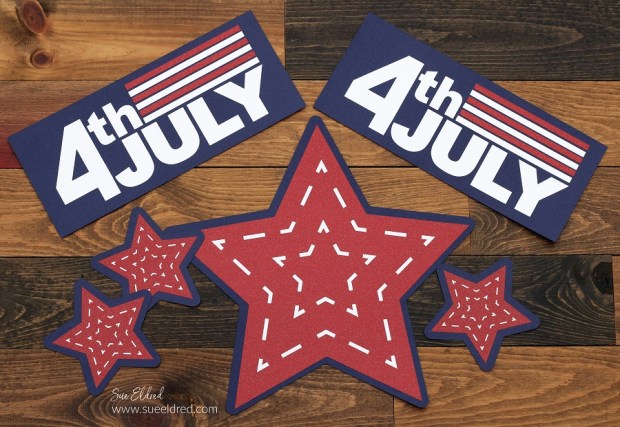
- To make the banner pieces, I used 4th of July SVG files (from the Silhouette Store) and a Silhouette Cameo Electronic Die Cutting Machine*.
- Cut the base of your banner pieces using Navy Cardstock.
- For extra Sparkle and Shine, cut the inside banner layers using Red and White Ultra Metallic Adhesive Vinyl* from StyleTechCraft.
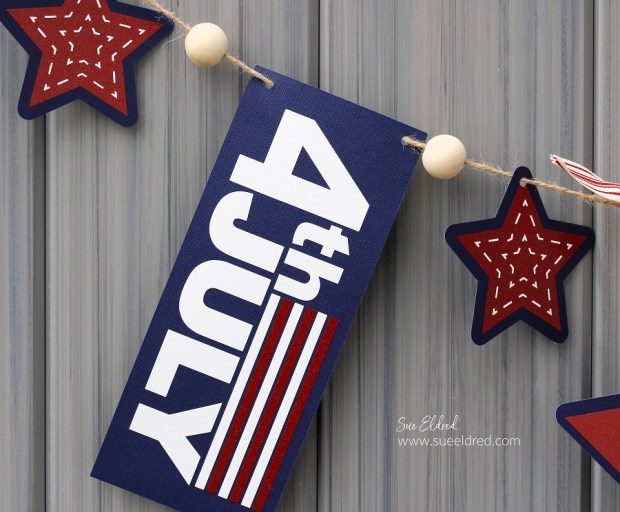
- Use a hole punch to add holes in the top of the banner pieces.
- Thread the banner pieces and plain wood beads* onto a piece of twine.

- Space out the banner pieces and add Red and White Striped Ribbon*.

Set out the chairs and fire up the grill, and you’re on your way to a great 4th of July Celebration.