It’s all about Stitching with Classic Dies from Sizzix* and Eileen Hull.
I’ve had the pleasure to work with Eileen’s Dies for the last few years,
and while these Classic Dies may be old, they’re new to me. (and maybe you)
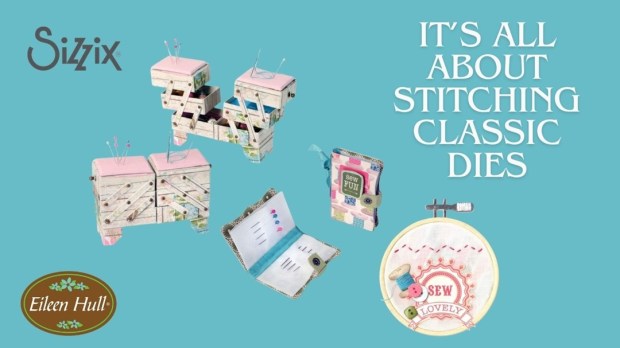
The Classic Cantilever Sewing Box, Embroidery Hoop* and Needle Book dies have been re-released because Sizzix Customers asked.
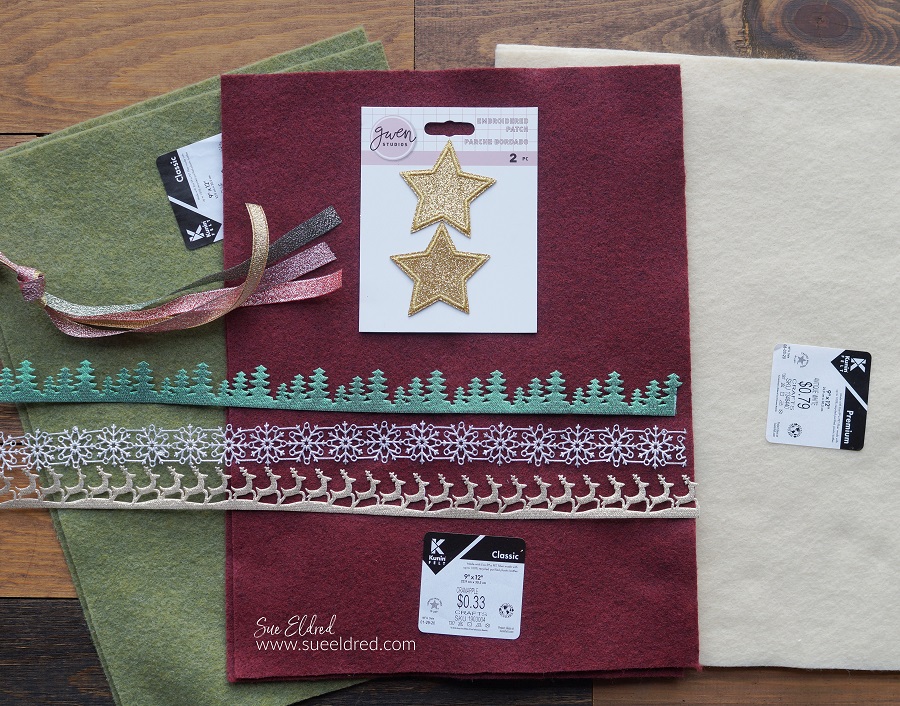
These classic dies all relate to stitching. But there are so many other ways to use them. They are all Bigz dies, which are versatile because of the number of materials they can cut through.

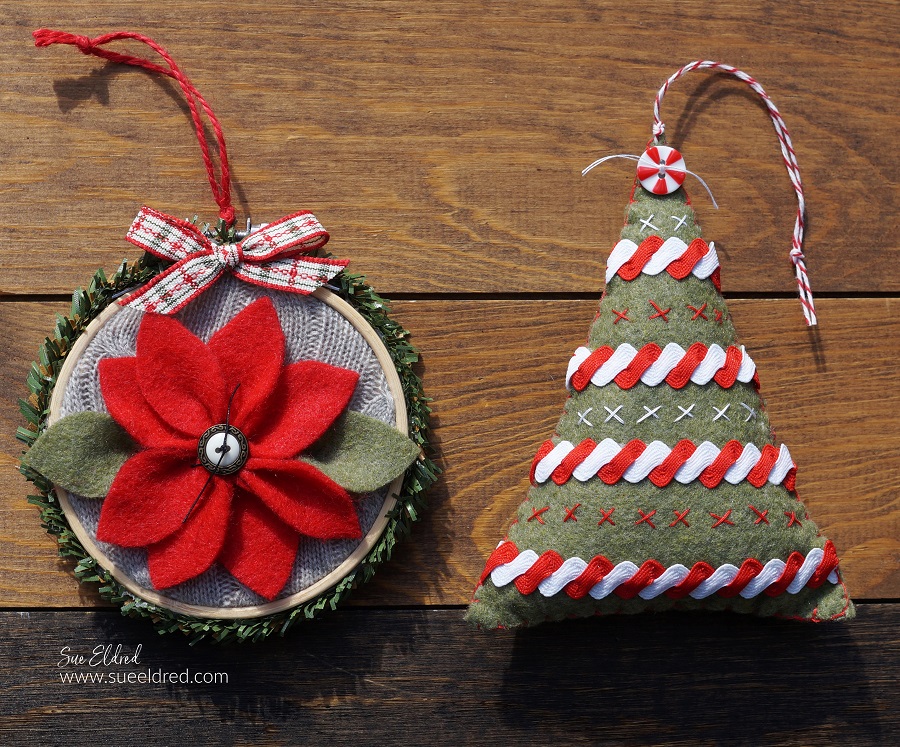
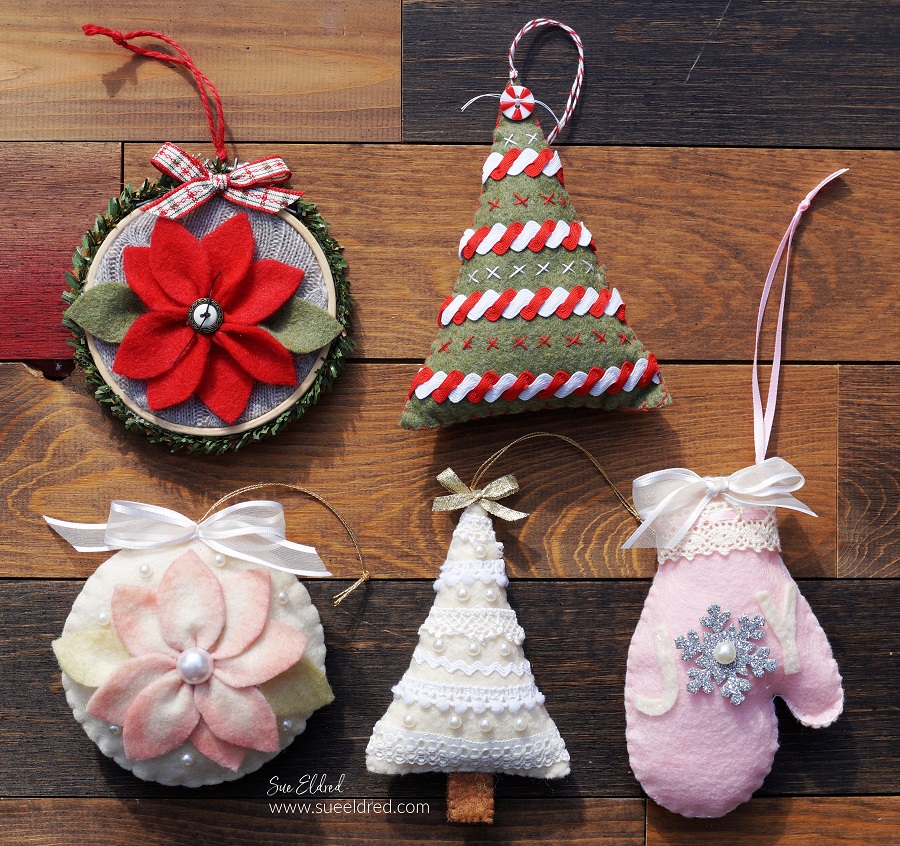
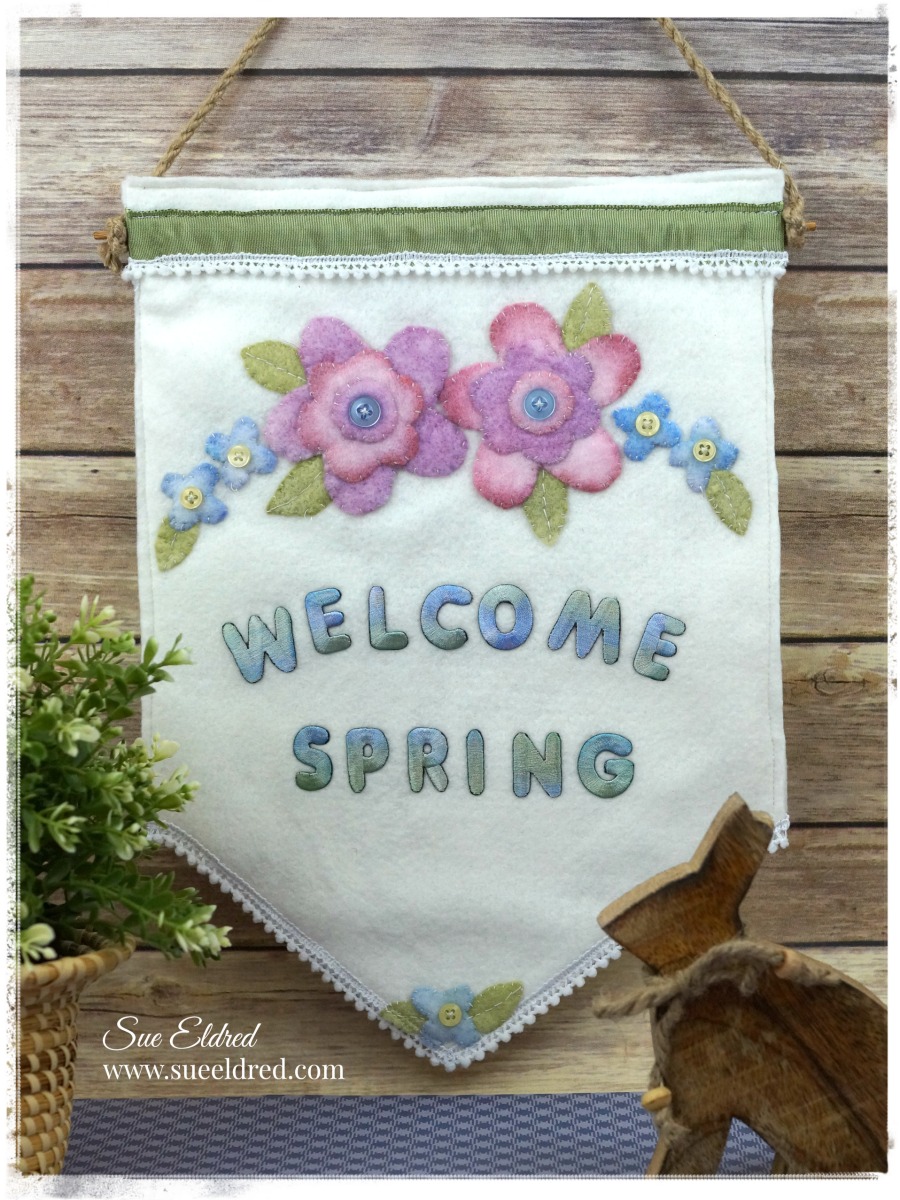
“Stitched with Love” Embroidery Hoop*
- I wanted my project to have all the dimension of an actual embroidery hoop. So, I covered a thick adhesive foam craft sheet with woodgrain scrapbook paper. I die-cut it with a Big Shot Die-Cutting Machine*.
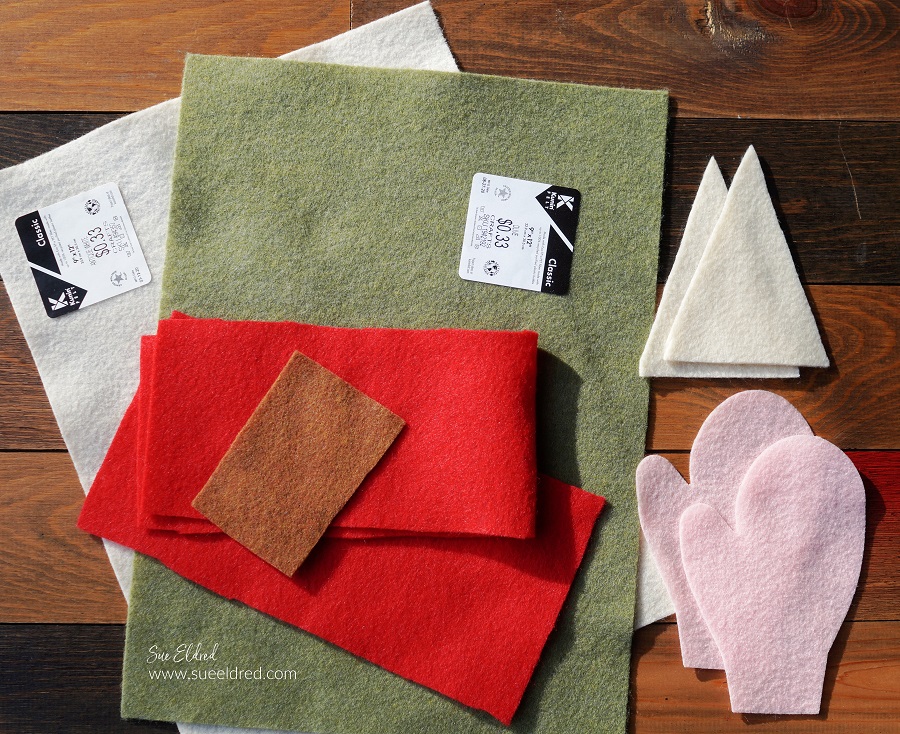
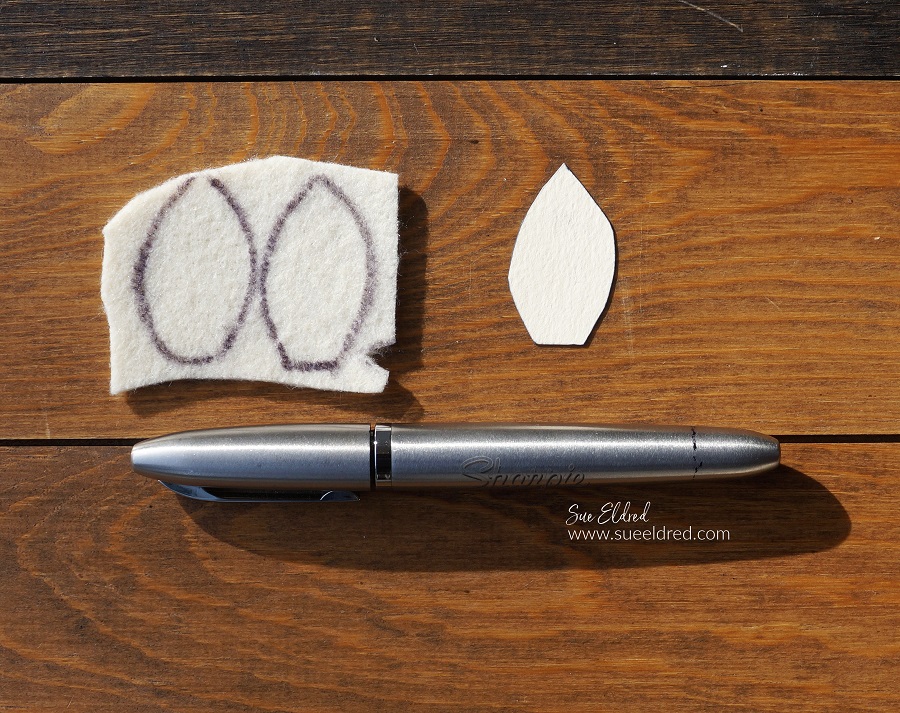
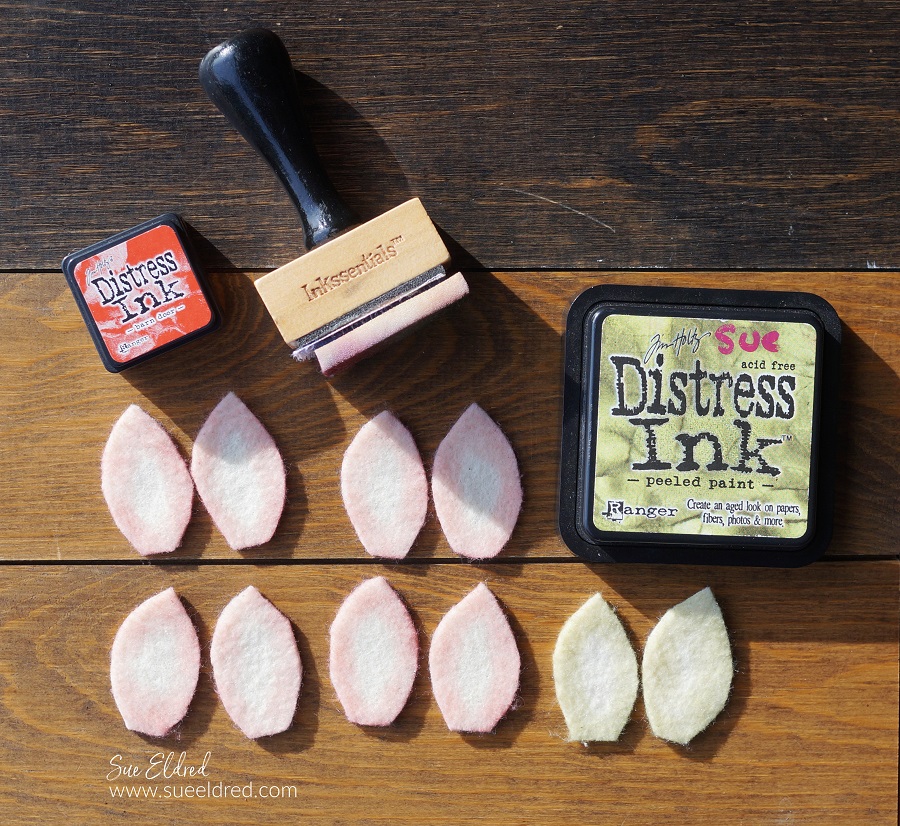
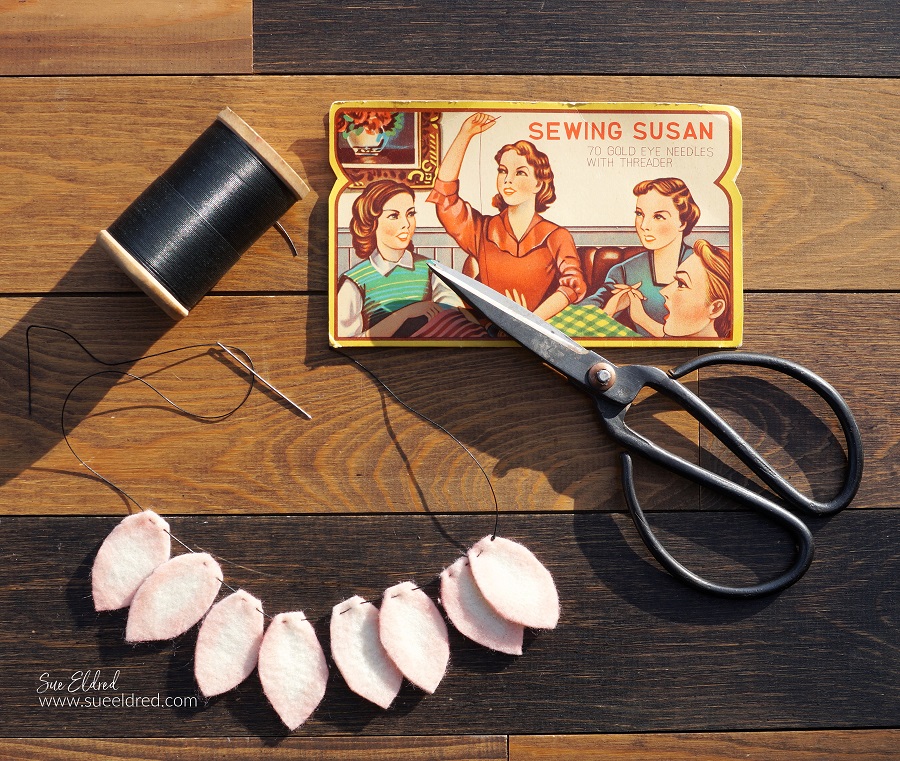
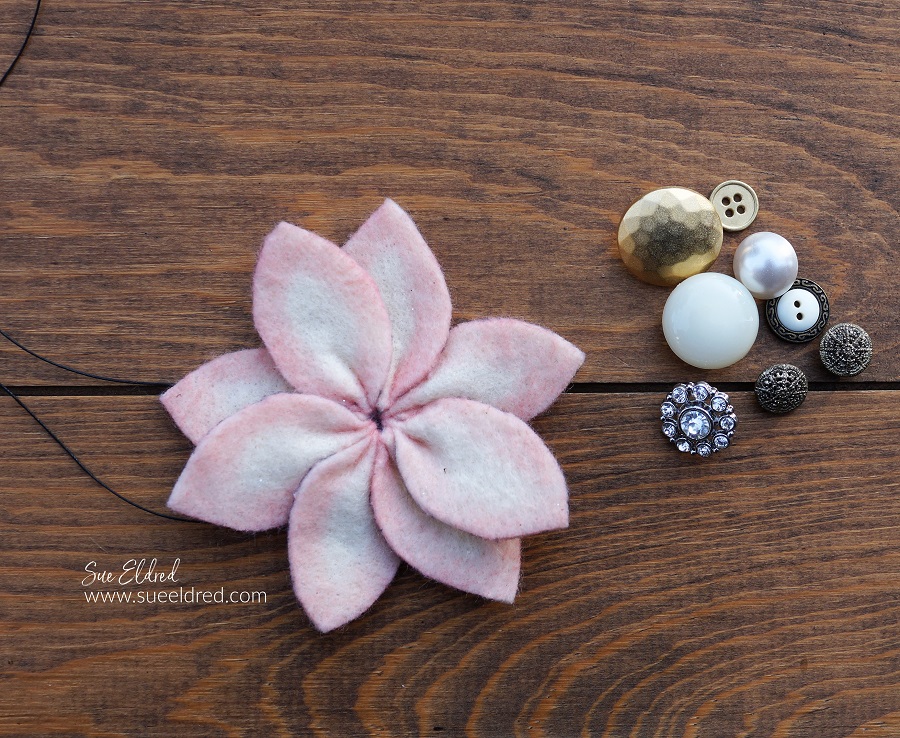
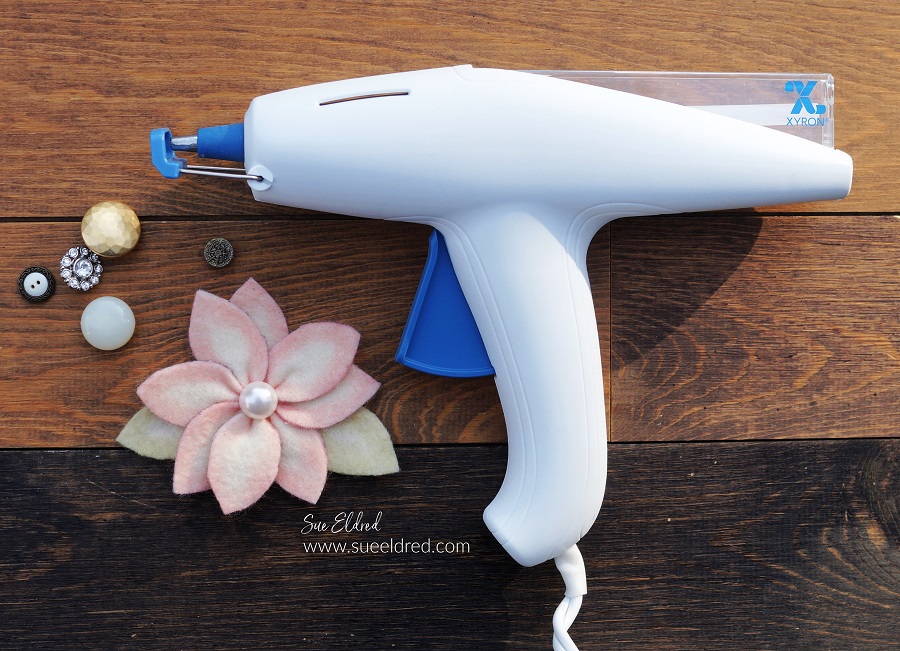
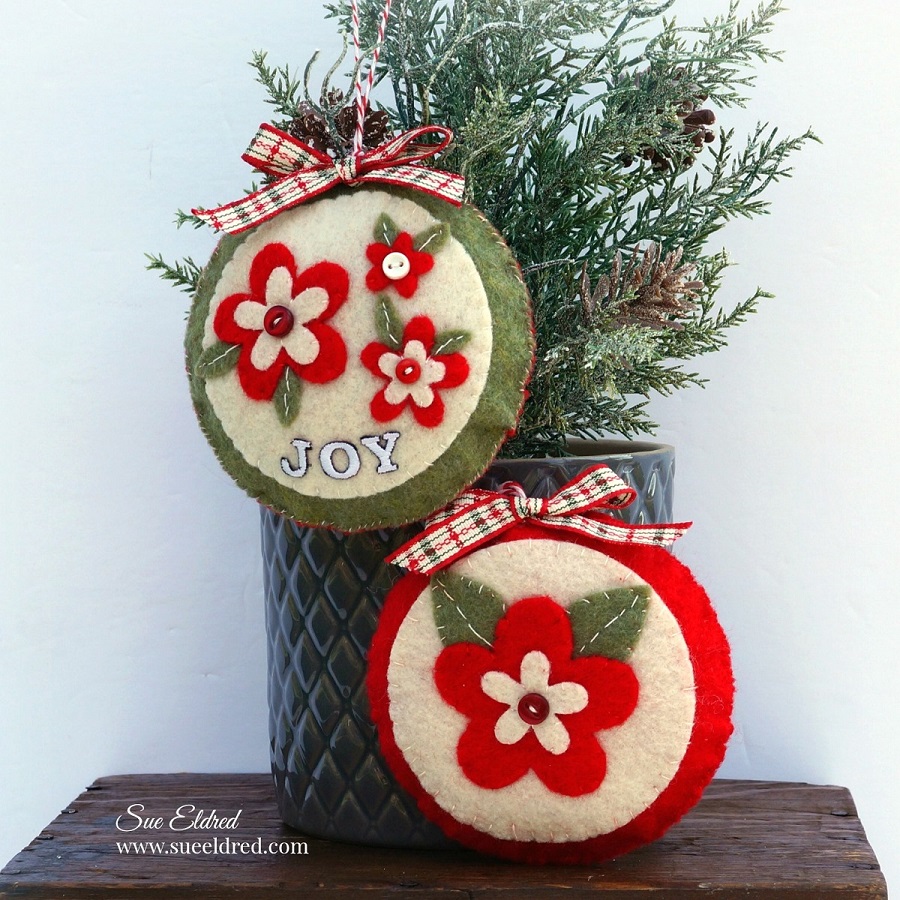
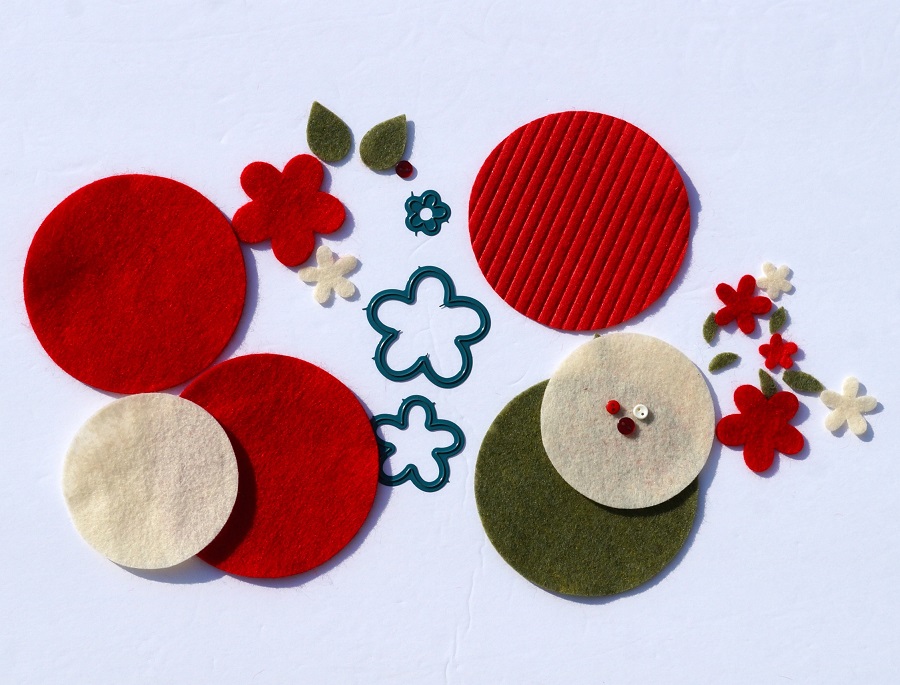
- I did a little hand stitching using felt on red and cream ticking fabric. I used the Flower Dies from the Thinlits Die Set 11PK – Envelope, Folder & Flowers by Eileen Hull*.
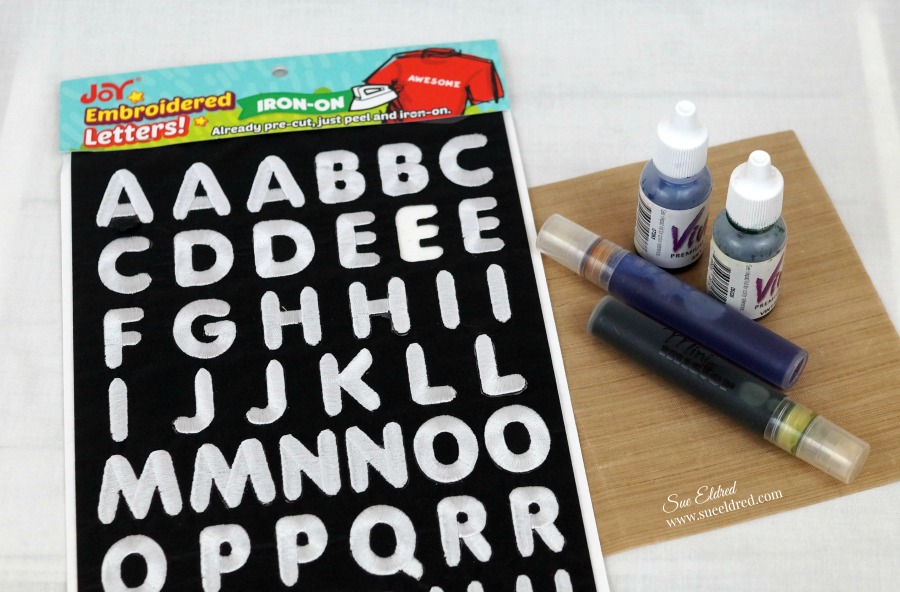
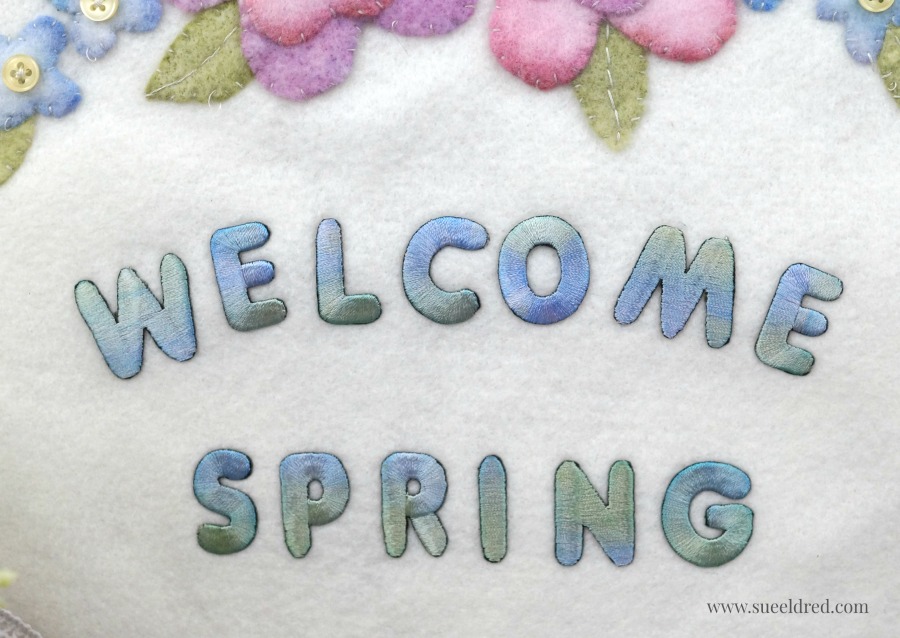
- The letters were die-cut using the Alphanumeric Thinlets Die by Eileen Hull*.
- I cut a large circle out of cardstock to put on the back of the embroidery hoop to keep all the layers together.

The Embroidery Hoop* measures 4” and is designed to be cut from thick material such as matboard or chipboard. You can actually tuck thin fabrics in the hoop and stitch on them. Or you can die cut from paper and use the hoop on card fronts. Use the pieces separately or all together.

The Needle Book
The Needle Book is also a ScoreBoard die and features a pretty scalloped edge to the book. It measures 3 1/2” x 2 1/4″ x 1/2″ and is perfect for storing your stitching needles and pins- works great when made from felt! But it can also be made from matboard, chipboard, leather or fabric- one of the benefits of the Bigz dies.
- To create my needle book, I die-cut two layers.
- The top layer is a cotton print, and the inside layer is thick grey felt.
- The strap has two layers: a grey plaid flannel and grey felt. I hand-stitched the strap layers together and added a black snap closure.

For the inside of the needle book, I cut a small piece of canvas to fit inside.
I sewed it and a small strip of flannel to the center of the gray felt.
I hand stitched all the layers of the needle book together using a simple blanket stitch.

Cantilever Sewing Box
With all the Holiday Hoopla, I didn’t get a chance to make a sample for the Cantilever Sewing Box.
I promise I will get to it soon and share it later this month.

Please join us for the It’s All about Stitching Release Party that will be held on Tuesday, January 2nd at noon Eastern time on Eileen Hull’s YouTube, Facebook and Instagram pages. The team will be sharing creative ways to use these dies- we can’t wait to share them with you! There will be giveaways so make sure to tune in and see how to enter to win!”
For more inspiration using Eileen’s Stitching Dies:
Eileen Hull Designs
Pam Bray
Sarah Lizzie
Lisa Hoel
Jenny Marples
Maggi Harding
Susie Bentz
Tonya Trantham
Sue Eldred (you are here)
Sharon Curtis
Jennie Atkinson
Teresita Arvelo
![]()
Disclosure: This is a sponsored post. As a member of the Eileen Hull Educator Team, I have been provided product in exchange for my creative ideas. The view and opinions are my own.