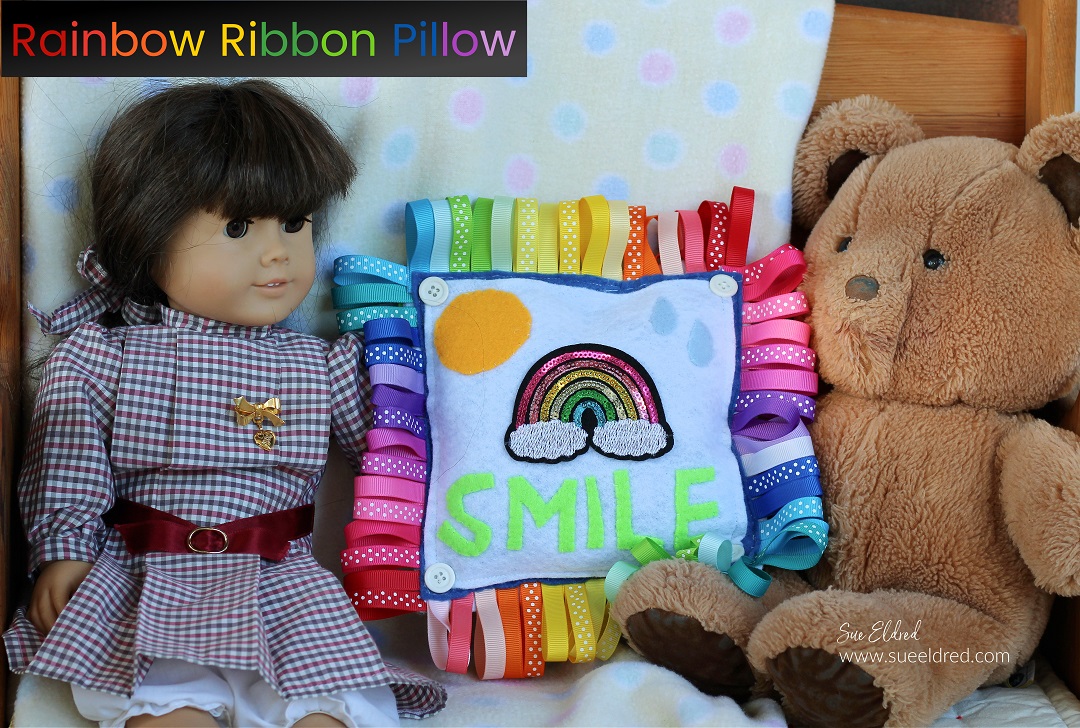
How to make a Rainbow Ribbon Pillow.
If you have a little girl in your life,
this bright and colorful Rainbow Ribbon Pillow is sure to make her smile.

Materials Used: (*affiliate link)
- Gwen Studios 24 pack Solid and Polka Dot 3/8″ Grosgrain Ribbon*
- Gwen Studios 12 pack Pastel 3/8″ Grosgrain Ribbon*
- Gwen Studios Sequin Rainbow Embroidered Iron-On Patch Applique*
- Kunin Felt: White*, Royal Blue* and Neon Green*
- Xyron® Multi Stick Glue Gun*
- Sewing Machine*
- White Buttons*
- Fairfield Fiber Poly-fil*
*Disclosure: This blog uses ads and affiliate links. If you choose to make a purchase using one of the links, I receive a small commission (at no additional cost to you) that helps offset the costs of maintaining this blog. Thanks for your support!
Directions:
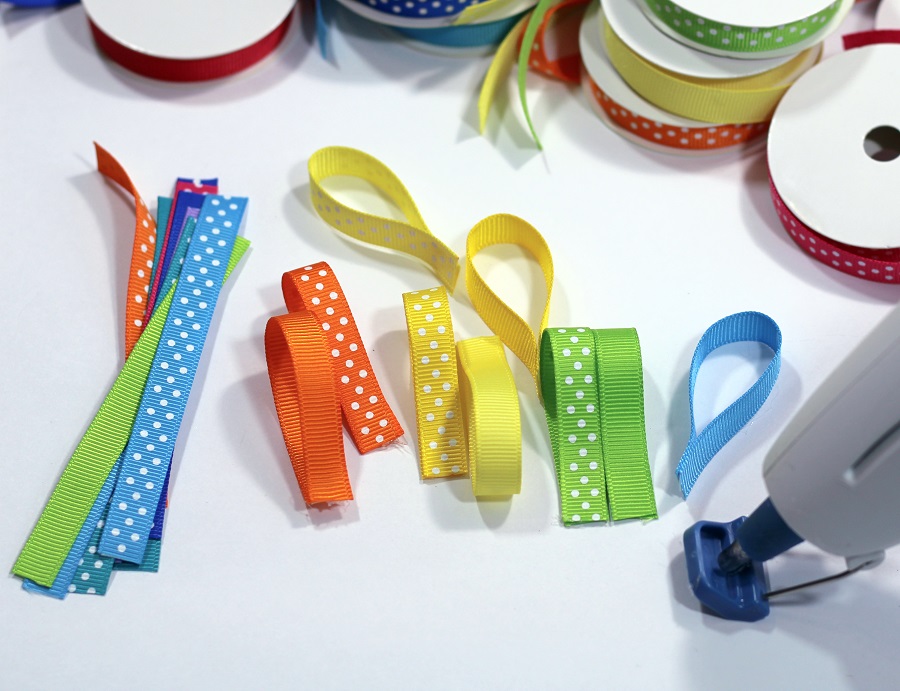
- Cut several 4″ strips of ribbon in a variety of rainbow colors.
- Lightly glue the ends of the ribbon together to form a loop.

- Cut a 7″ x 7″ piece of white felt. Glue the ribbon loops around the four edges of the felt.

- Hand cut a sun, raindrops, and the word “SMILE” out of Kunin Classic Felt.
- Cut another piece of white felt 6 1/2″ x 6 1/2″. Stitch the felt cut-outs onto the white felt square.
- Iron on the Rainbow Applique onto the middle of the felt square.
- Cut a 7″ x 7″ piece of blue felt. Center the decorated white square onto the blue felt and pin it into place. Sew around the white felt using a sewing machine. (This is the pillow front.)
- Lay the “pillow front” onto the white felt square with ribbon loops. Sew around the edge of the felt. Leave a small gap for adding poly-fil*. After stuffing, finish sewing the edge of the pillow to close.
![]()
Disclosure: This is a sponsored post for Gwen Studios. I have been provided product in exchange for my creative ideas. The views and opinions are my own.

Oh my gosh, I love the edging on that pillow
Awww… Thank You so much.
Love this especially the fringe.
Thank You Terry.