![]()
Easy DIY Photo Transfer project using Mod Podge Photo Transfer Medium…
I’ve used Mod Podge® several times over the years, but had never tried
Mod Podge Photo Transfer Medium*. (*affiliate link)
I was surprised at how easy the process was and how well the project turned out.
![]()
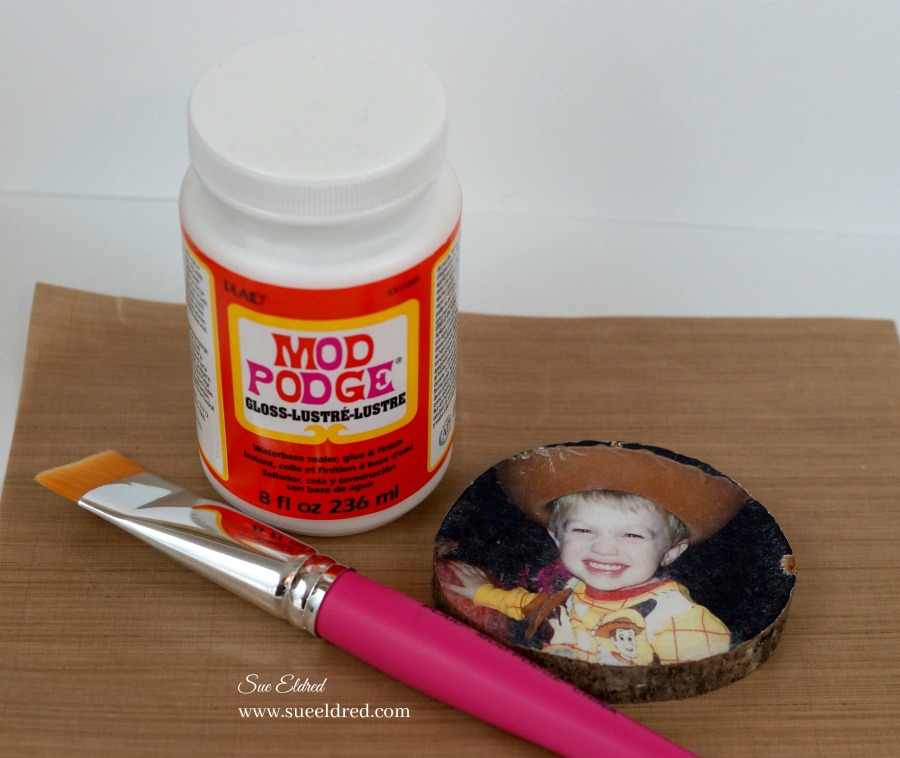
For my project…
I used a color copy of my son in his favorite Woody pajamas and favorite Woody toy.
It’s hard to believe that this sweet faced boy is now graduating from High School.
I also used a wood slice from Walnut Hollow* for my project.
The wood slice had been previously kiln dried, sanded and was ready to use.
![]()
Directions:
- Do not use actual photographs, you must use photo copies made from a dry toner type copier.
- Lay wood slice over picture and trace around wood slice. Cut around traced lines.
- Using a 1″ Foam Brush*
, brush over image with a medium application of Mod Podge Photo Transfer Medium*
. The medium will be opaque.
- Carefully lift image off, making contact only slightly with the image edge. Flip the coated image over and position over the wood slice. Lightly press from the center out to release any air bubbles. Wipe away any excess medium that may have been squeezed out from the image. Allow to dry overnight.
- Wet a sponge with water, squeeze excess water from sponge then dampen the exposed backside of the image transfer. Immediately as the paper is wet, an image will appear. Allow the wet image to rest a couple moments to soften the paper.

![]()
5. Using your damp sponge or a fingertip, begin to lightly rub over the damp paper to peel away layers. Be careful not to be rough with the wet paper as it may be fragile. After removing several layers of paper, stop and allow transferred image to dry. Once dry, white areas will appear where paper remains. Repeat steps to moisten and lightly rub the surface to remove the remaining paper layers. Allow to dry.
6. If desired, brush a coat of Mod Podge Matte Finish* or Mod Podge Gloss Finish*
over the project surface to seal and protect.
Basic Directions from plaidonline.com

Did you Know…
In 1967, Jan Wetstone created Mod Podge in her garage as an easy-to-use decoupage solution for crafting enthusiasts. Since then, the brand has gone beyond just decoupage with 17 different formulas that include Matte, Gloss, Dishwasher safe, and Sparkle as well as top coats for Brushstrokes and Chalkboard. The introduction of the Mod Melter made embellishing your craft projects a breeze, along with the endless creative options found in Dimensional Magic, Photo Transfer Medium, and Collage Clay.
*Disclosure: This blog uses ads and affiliate links. If you choose to make a purchase using one of the links, I receive a small commission (at no additional cost to you) that helps offset the costs of maintaining this blog. Thanks for your support!

I’ve never tried the Photo Transfer Medium, loved your project! Congratulations to your graduate!
Thank You. Super Simple Project.
Sometimes I wish I could go back to those simpler times, but, them I’d have to go through teens years again. :0
What a cutie! That is an awesome way to capture some wonderful memories. Reminds me of my own son (big like yours now) with his Buzz Lightyear!
very cool, such a great idea!!
lovely project
That is a great project! I have tried several phot transfer mediums, but I think Mod Podge is the best of them.
Thank You. I miss those Toy Story years. (and the million times I had to sit through the movie)
Great project! Love your photography too!
Wonderful project.
What a adorable project, thanks for sharing!
OMG! I love Woody and this is such a cute project! Inspiring! Would make awesome rustic Christmas ornaments!
They’d also be cute at a bridal shower with the bride and grooms pictures.
I tried this with no success, what type of printer needs to be used?
You need a dry toner type copier, like the ones they use at Office Max.
I hope this helps.
Where can I find that photo paper how can I get it copied I don’t have a good printer
I go to a printer and have them make my copies. Example…Office Max
Hi! I’ve done this photo transfer twice and both times my wood slice cracked. Just wondering if you know a solution. I can’t find anywhere mentioning it? Thanks
Leah
I think the trick is to purchase the kiln dried wood slices instead of using fresh wood slices.