I was searching online for Mini Greenhouses when I came across an image of a container
for starting seeds that reminded me of the containers found in the
Deflecto Stackable Caddy Organizer*.
That image sparked an idea for creating a moveable mini greenhouse.
![]()
“This is a sponsored post. As a member of the StyleTechCraft Design Team I have been provided product and compensation in exchange for my creative ideas. The views and opinions are my own.
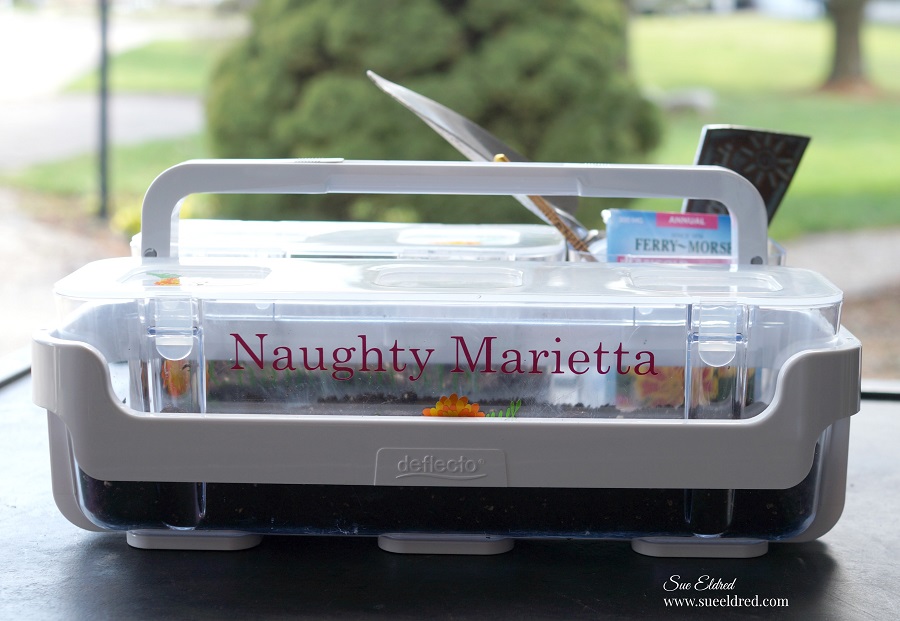
Because everything’s a little better when you add vinyl…
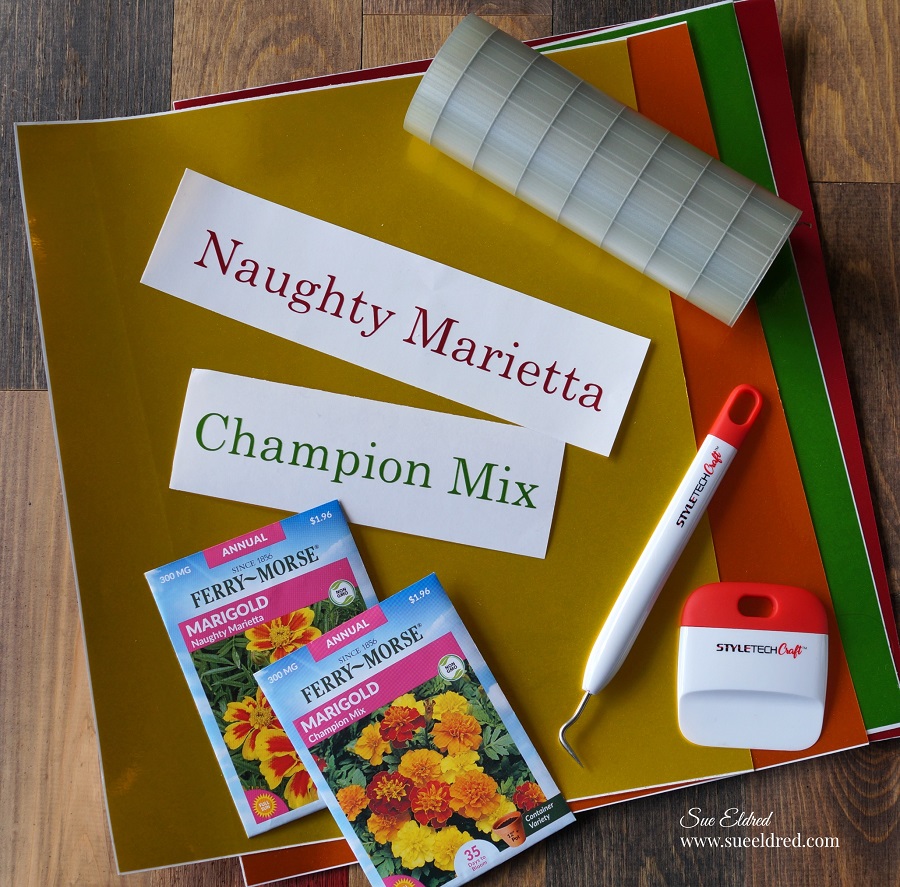
I decided to personalize the containers.
I used a Silhouette Cameo Electronic Die Cutting Machine* to create and cut the flower
names out of Ruby and Apple Green Polished Metal adhesive vinyl from StyleTechCraft.
Using the weeding tool, carefully remove the negative spaces in and around the letters.
This blog uses affiliate links. If you choose to make a purchase using one of the links, I receive a small commission (at no additional cost to you) that helps offset the costs of maintaining this blog. Thanks for your support!
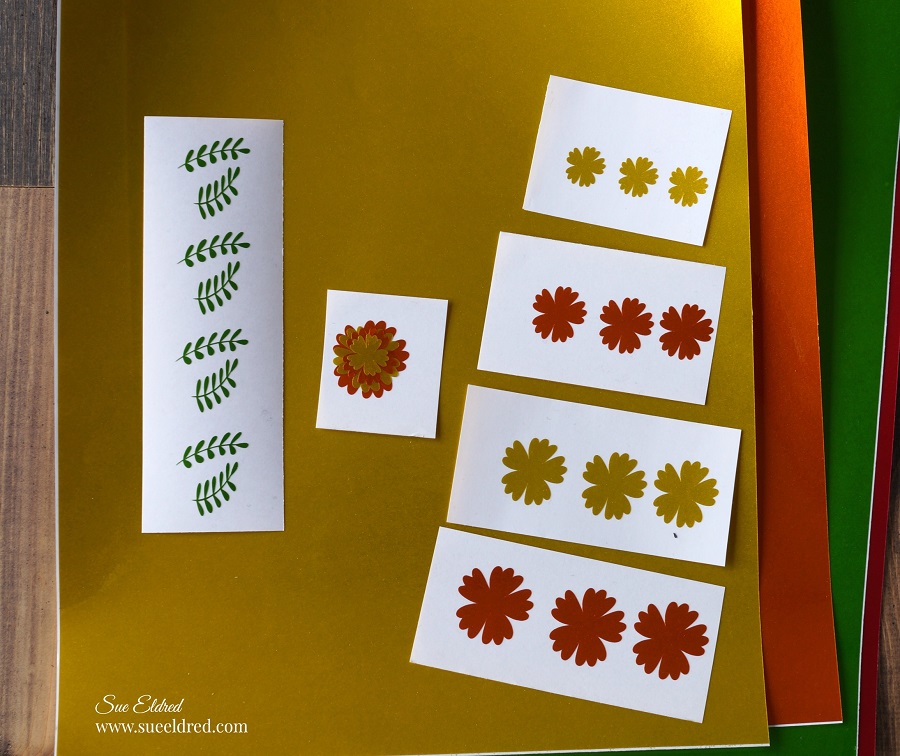
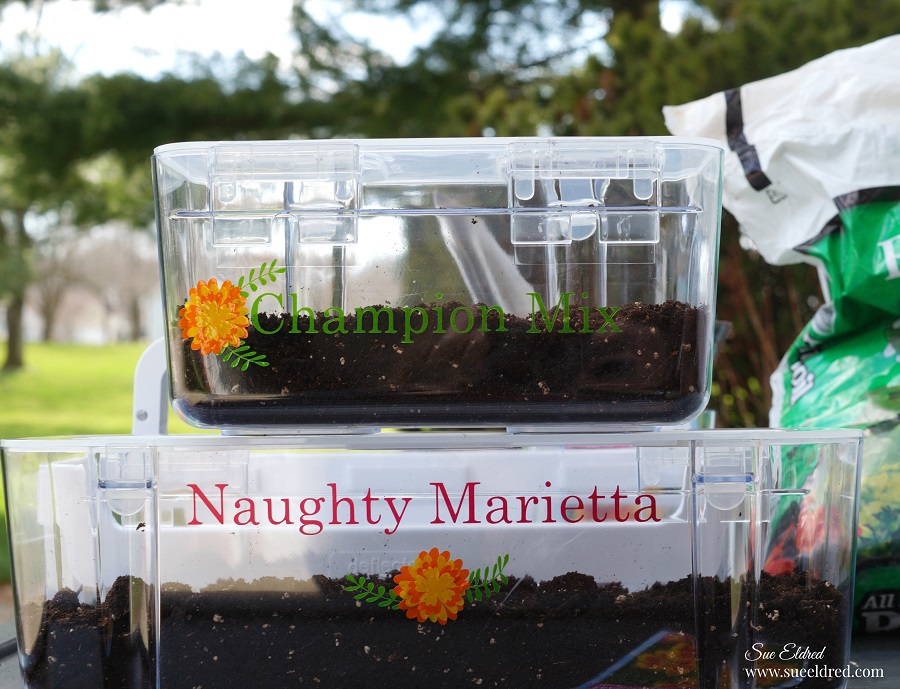
I also cut and weeded 4 graduating sizes of ruffled flowers using Yellow and Orange Polished
Metal Adhesive Vinyl and leaves made from Apple Green Polished Metal Vinyl.
Stager and layer the vinyl flowers to create a marigold-looking flower.
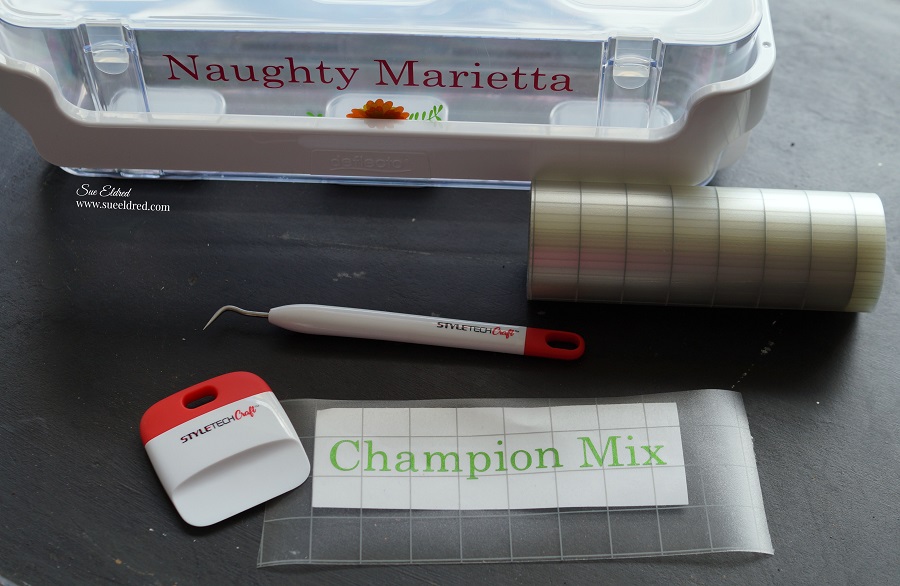
To apply the vinyl:
- Cut a piece of transfer tape a little larger than the words.
- Lay transfer tape over the words and give a gentle rub using a scraper tool.
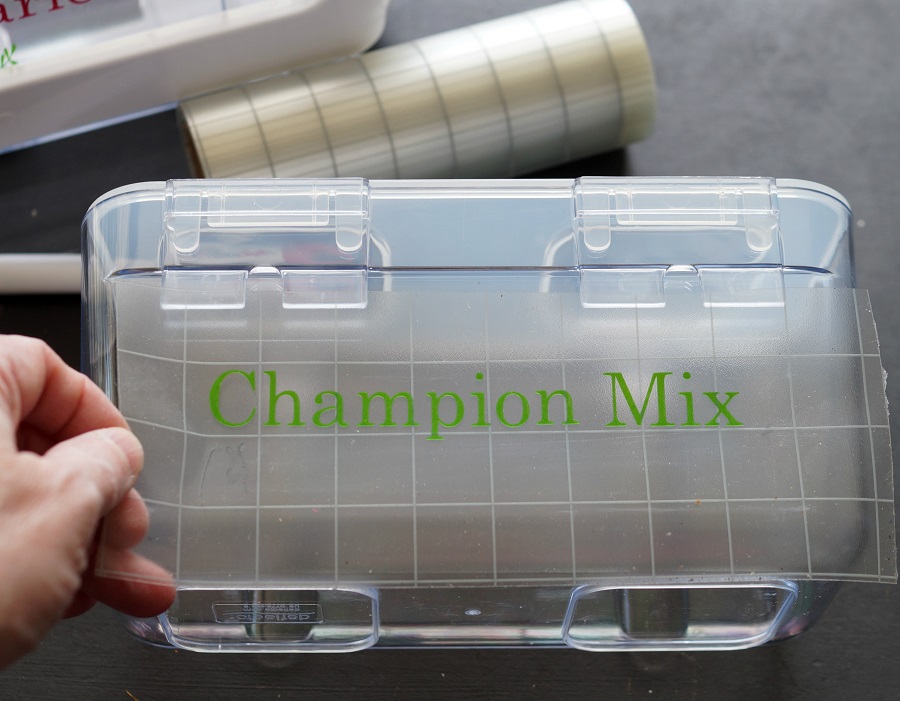
- Use the transfer tape* to apply the words onto the container.
- Rub over the transfer tape with the scraper tool to help the letters stick.
- Remove the transfer tape*.
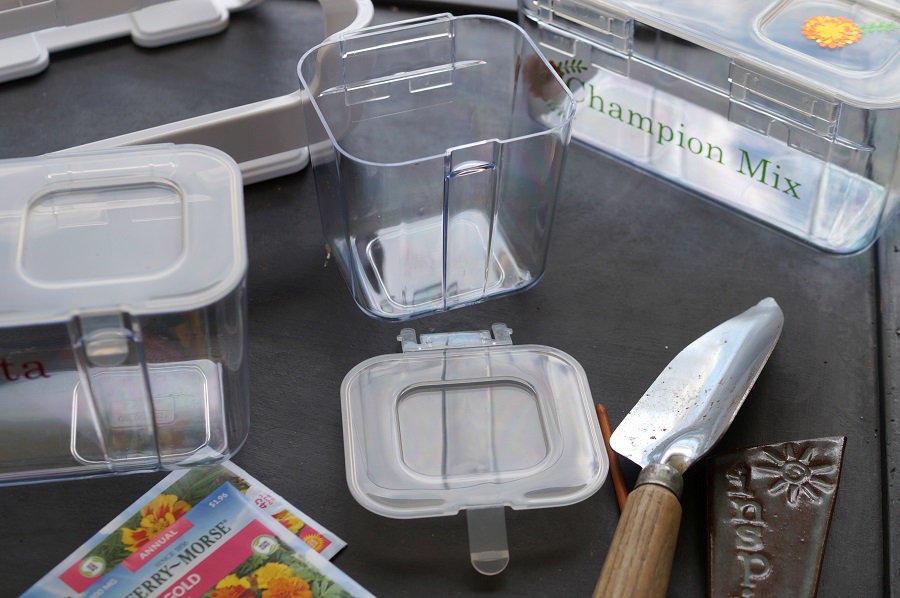
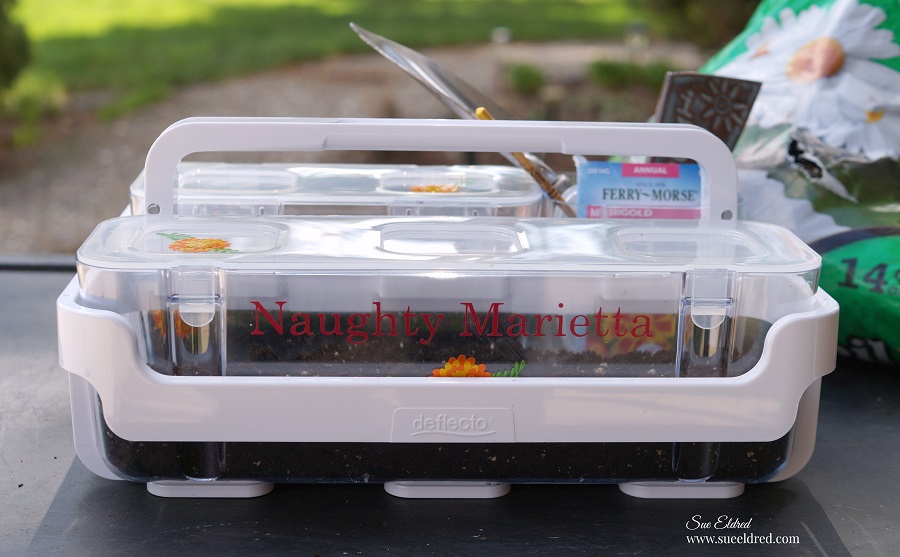
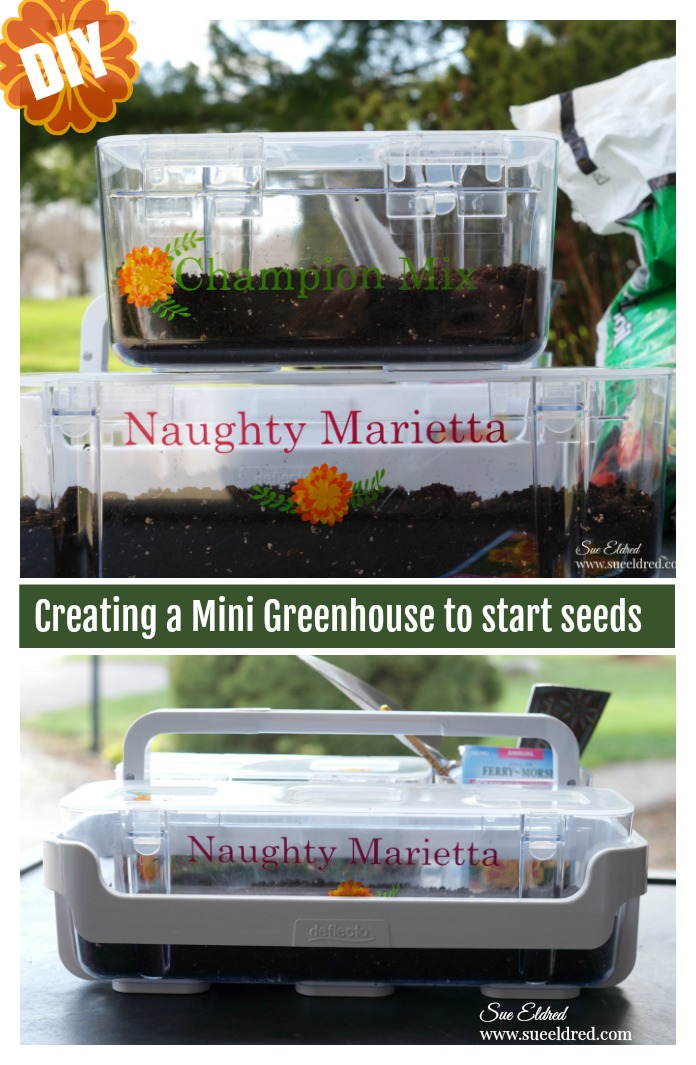
The Deflecto Stackable Caddy Organizer* comes with three clear containers; small, medium,
and large. I used the two larger containers to plant my seeds.
I took the lid off the smallest container and used it to hold my garden tools and seed packets.
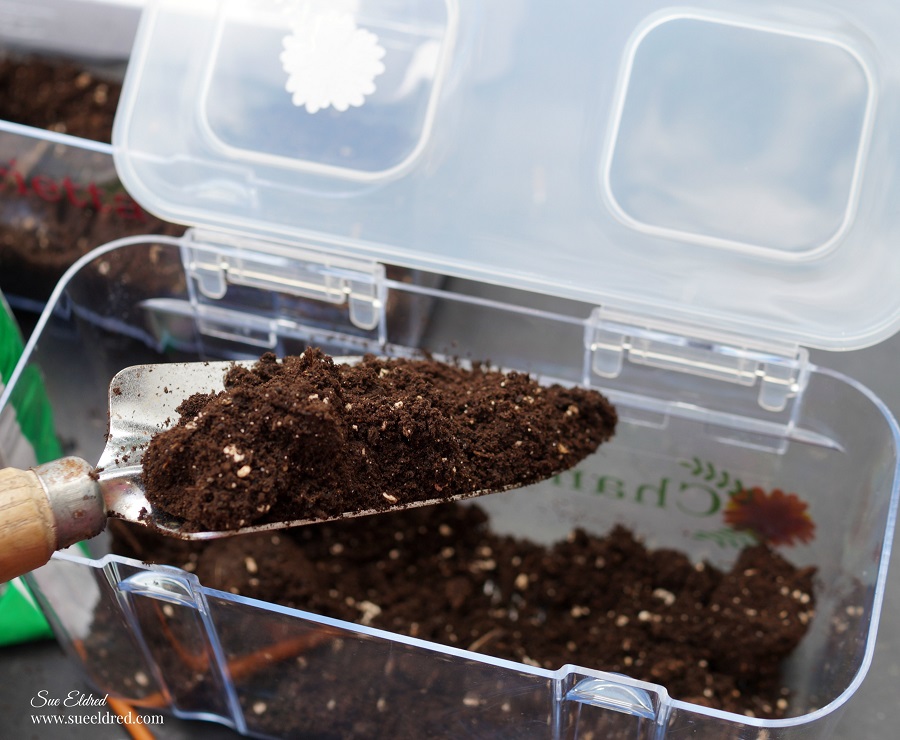
- Add a layer of potting soil to the bottom of the clear containers and sprinkle the top with seeds.
- Add a thin layer of soil on top of the seeds and water.
The containers create a humidity dome which is great for keeping seeds moist and protected.
The seeds will start to sprout in a 5-10 days.
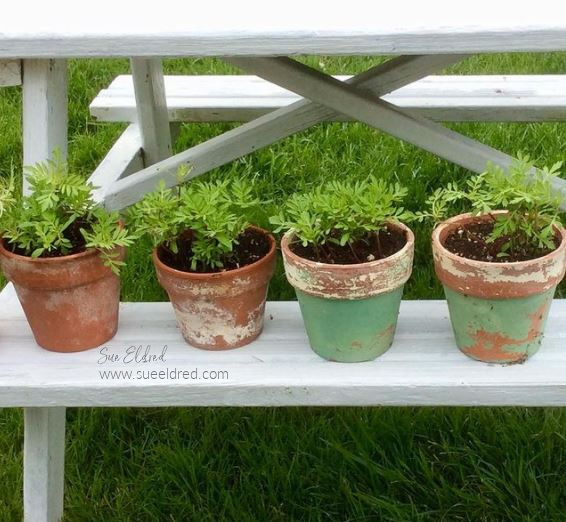
When the seedlings mature, I will transfer them into pots and then into the ground.
My Mini Greenhouse Seed Starter is easy to move around so I can take advantage of the best
sunshine. A great project to do as a family.
(Watch the video for more information on the Deflecto Stackable Caddy Organizer*.)
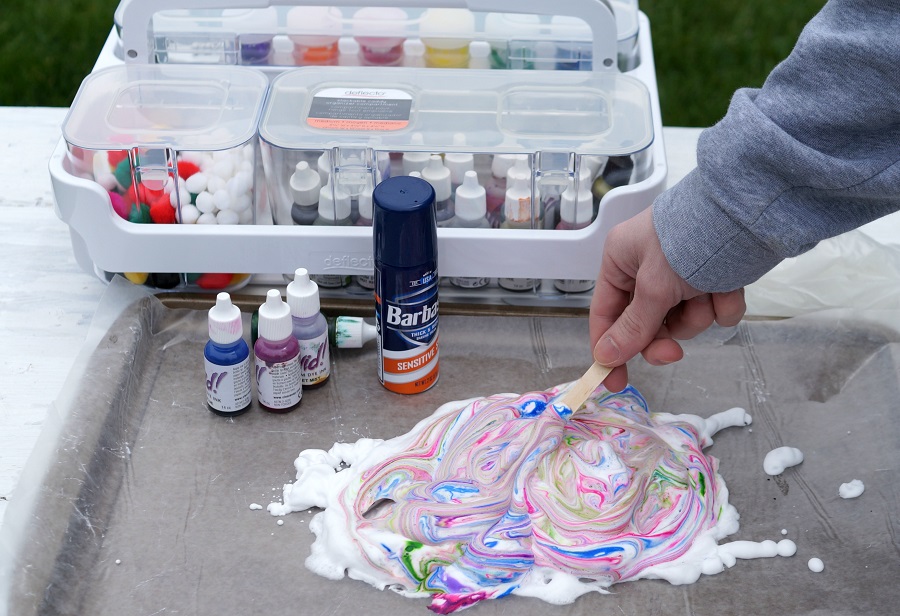
For more Family Fun you might also like…
How to Make Shaving Cream Art.
PIN ME↓

Cool idea. Hope you are staying safe.😊
We are doing great. Safe, Happy and Healthy. Thanks for asking. Stay safe yourself, my friend.
Creative, useful AND beautiful!
Thank You. Hopefully, I’ll have Marigolds soon. 🙂
Is there drainage ?? I would think it would be a moldy mess…..
Actually, no holes for drainage. It works kind of like a terrarium. I only watered the seeds the one time in the beginning. The sunshine builds condensation in the container and that waters the seeds. No moldy mess.
Thanks for asking. Sue