
I love a good upcycled, recycled project.
Creating a useful item from something that would be thrown away or put in the recycling bin.

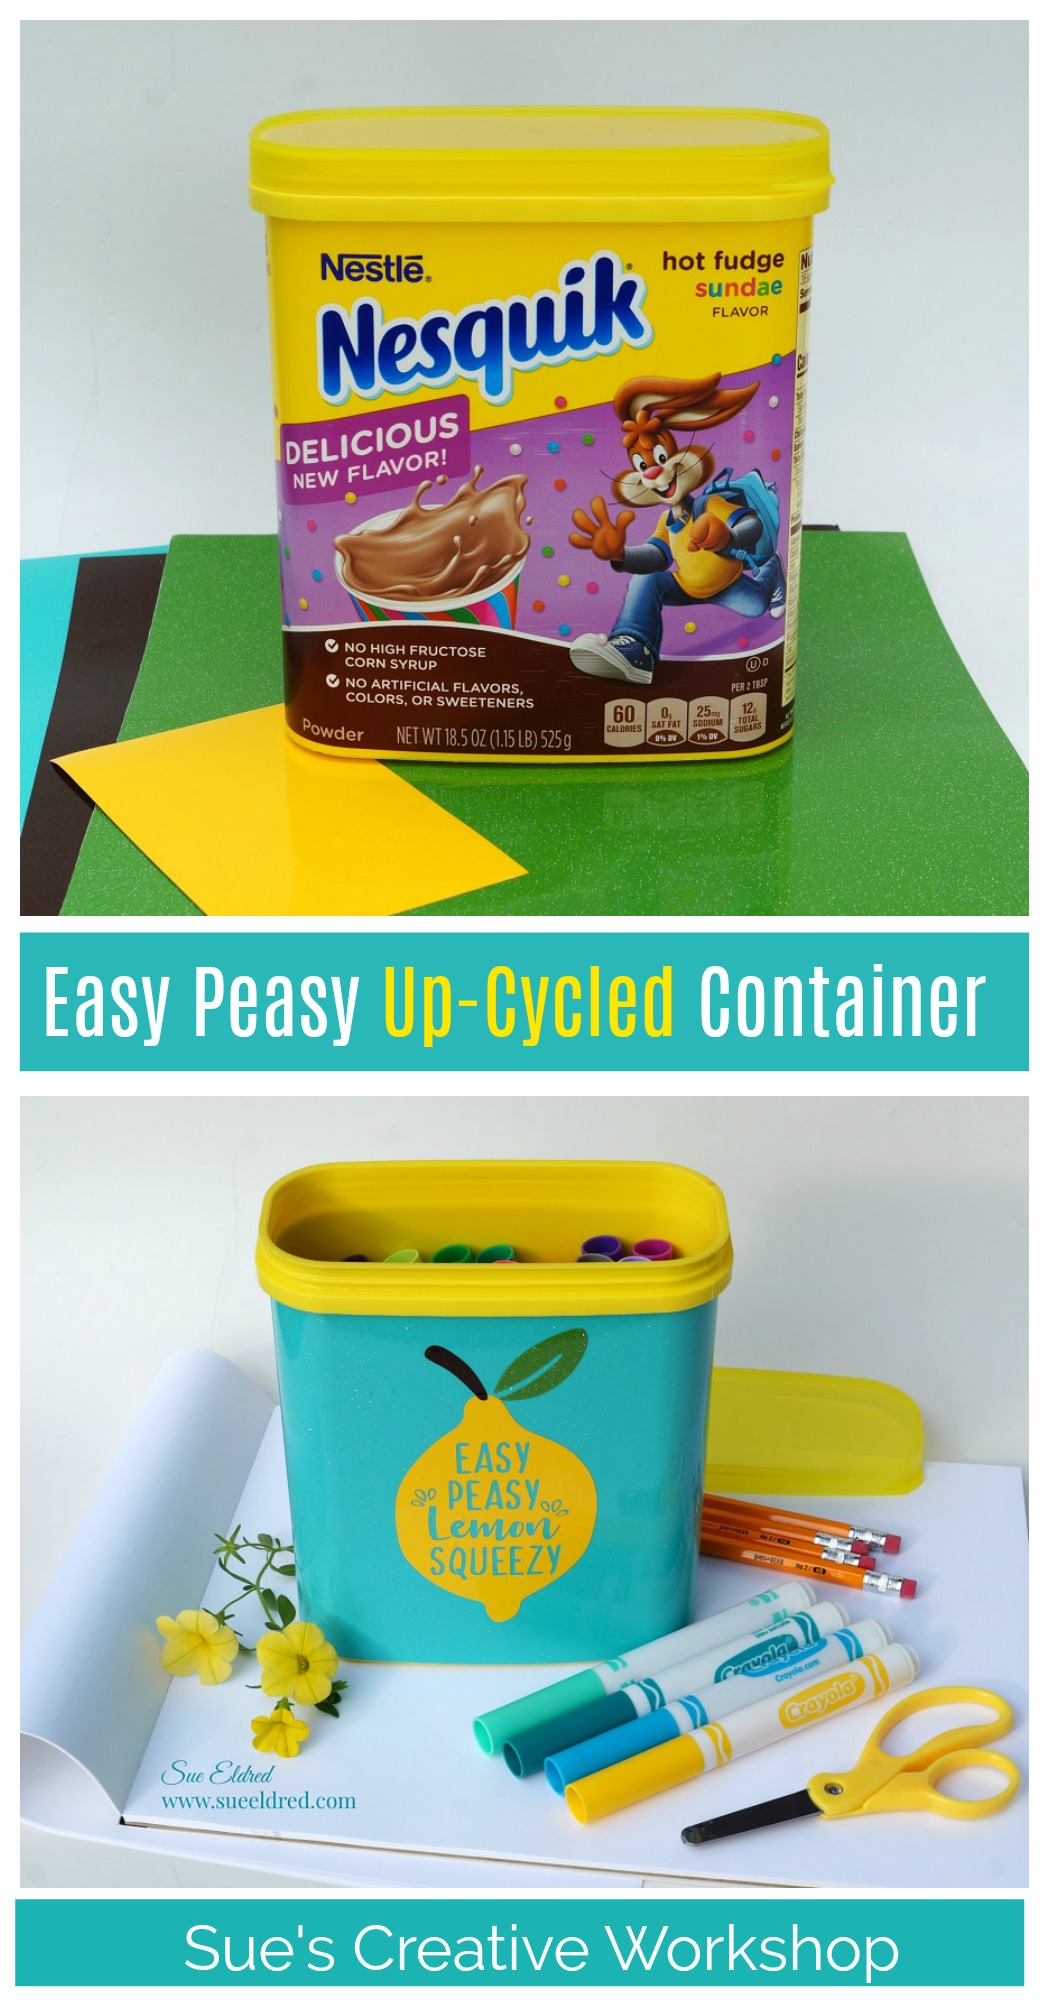
This project was made using an empty Nesquik container.
I have been drinking chocolate milk for as long as I can remember. My dad used to use the Nesquik containers in his garage to store nuts and bolts and lots of other small items. We found several vintage cans out in his garage when we were going through it.

I LOVE making things using craft vinyl and my Silhouette Cameo Electronic Die Cutting Machine* There are so many things you can make and decorate.
Tip: If you don’t have access to these products, you can still UPCYCLE/RECYCLE a container like the Nesquik Can using decorative paper, contact paper or stickers to personalize and embellish. (Below are the directions and materials on how I upcycled my container.)
For my Easy Peasy Lemon Squeezy Up-cycled Container I used:
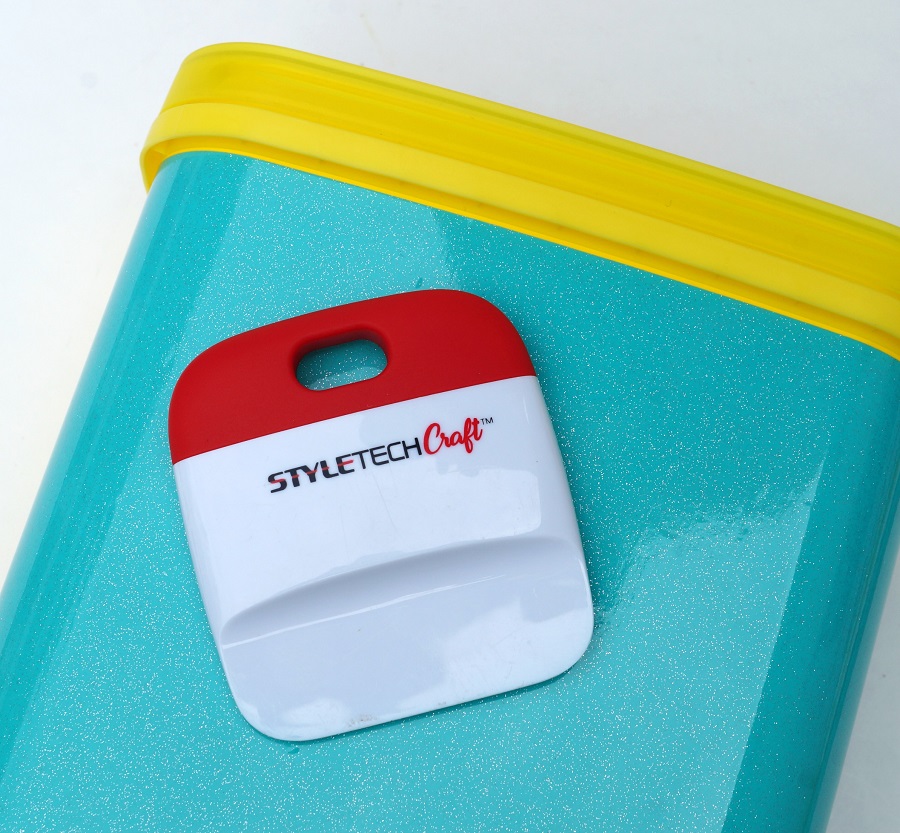
- StyleTechCraft Ultra Metallic Glitter Vinyl*: Tiff Blue*, Lime Tree* and Cinnamon*
- StyleTechCraft Yellow Glossy Craft Vinyl*
- Vinyl Transfer Tape*
- StyleTechCraft Vinyl Tool Kit*
- Empty Nesquick Container
- Silhouette Cameo Electronic Die Cutting Machine*
- Easy Peasy Lemon Squeezy SVG Cut File

StyletechCraft products brought to you by ATSM Craft
*Disclosure: This blog uses affiliate links. If you choose to make a purchase using one of the links, I receive a small commission (at no additional cost to you) that helps offset the costs of maintaining this blog. Thanks for your support!

Directions:
- Measures and cut two pieces of vinyl to wrap around the container. (I used one long piece and one shorter piece.)
- Use the printed graphics on the side of the container to line up your edge. Slowly wrap the vinyl around the container smoothing as you go to reduce the air bubbles.
- Use the squeegee tool to smooth the vinyl. If you can’t get rid of the air bubble with the squeegee tool you can use a small pin to poke a hole in the vinyl to release the air.

- Use the SVG cut file and the Silhouette Cameo Electronic Die Cutting Machine*
to cut the pieces out of vinyl.
You can find the Easy Peasy Lemon Squeezy SVG file at the Silhouette Design Store.
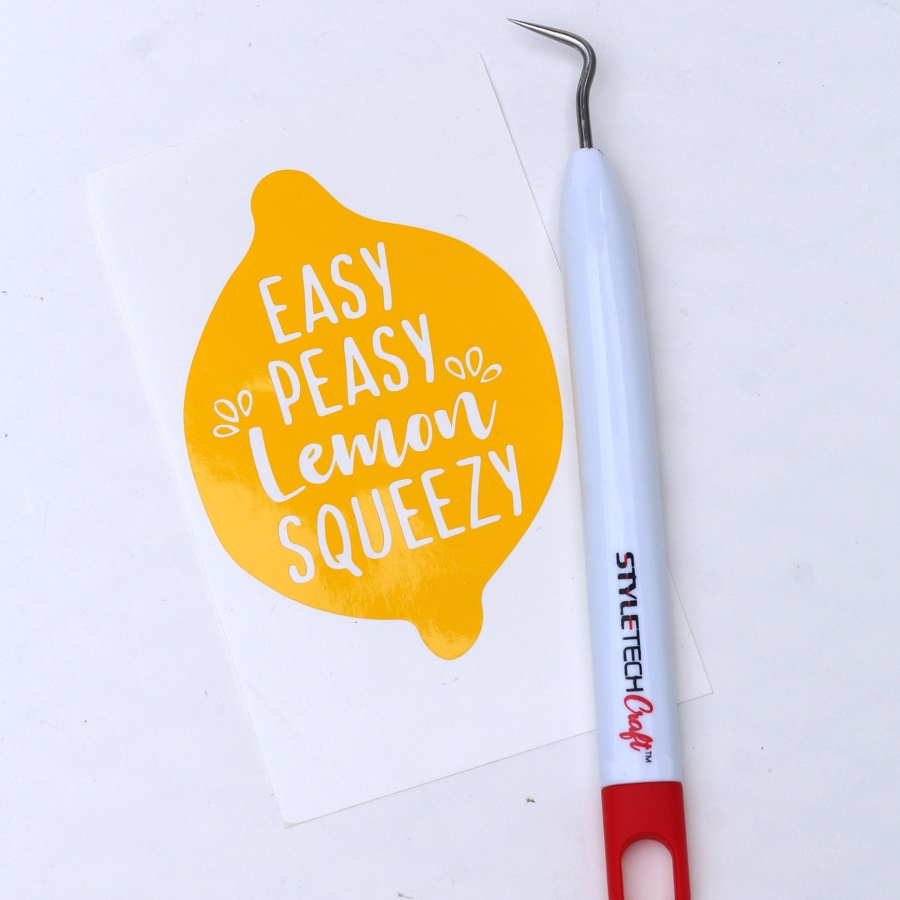
- Use the vinyl pick to remove the letters from the vinyl lemon, leave the inside pieces of the letters.


- Cut a piece of Vinyl Transfer Tape* to fit over the vinyl image. Gently rub over the transfer paper using the squeegee tool.
- Remove the vinyl from the white liner, center the image on the front of the can.
- Gently rub over the Vinyl Transfer Tape* to make sure all the image has transferred. Remove the transfer tape.
- Repeat the process with the stem and leaf.

- I used the Silhouette Cameo Electronic Die Cutting Machine*
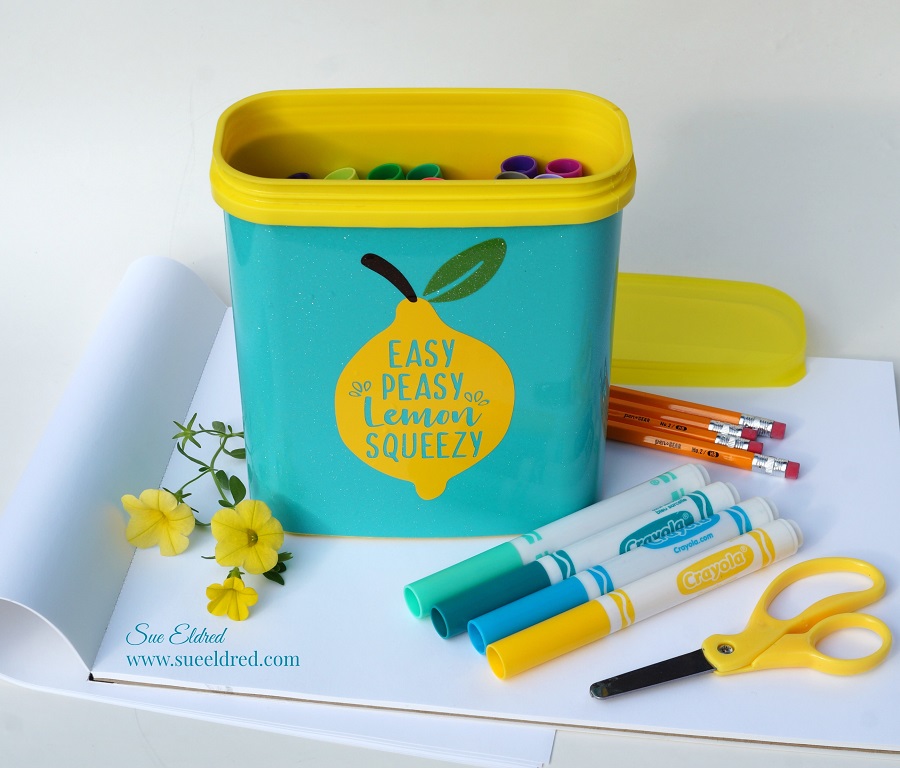
A fun little upcycled project, great for many different uses. (not just in the garage)
Place several cans side by side for a cute and creative way to store supplies.
![]()
“This is a sponsored post. As a member of the StyleTechCraft Design Team I have been provided product and compensation in exchange for my creative ideas. The views and opinions are my own.

If you liked this post you might also like Organizing the Kids Craft Cabinet.
Pin ME↓

Great upcycled project…cute and useful!
I love your project! I just covered a Cascade container that has a nice hinged lid. I left the lid green for now anyway. I used some leftover wallpaper that I had used for shelf liner. The body of the container is not square, so I had to trim the top edge until it fit neatly down to the bottom. I was afraid the paper would ruffle up with use, so my husband suggested gluing a cord around the inside of the bottom edge. That way it would rest on the cord instead of the paper edge. I use it on my sewing table for supplies. (and, guess what, I am a “Sue” too)
Yay! Thanks for sharing.