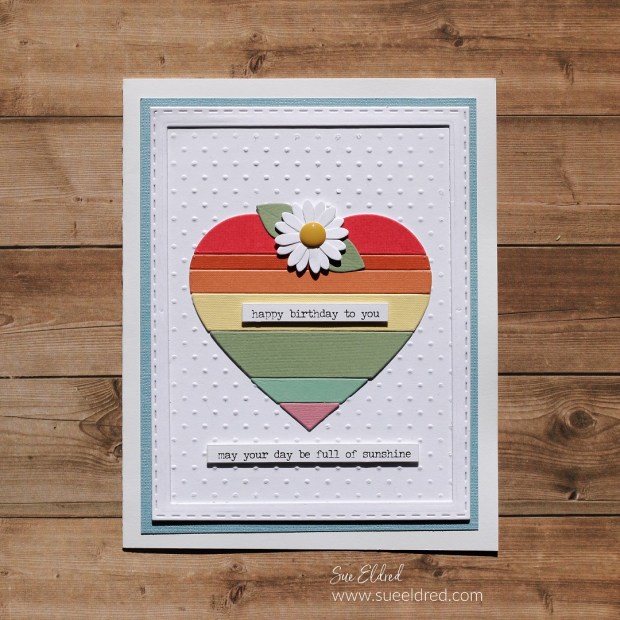
Cardmaking with Vinyl…
Did you know that the same vinyl you use to embellish everyday items
around your home can be used to create beautiful cards?
StyleTechCraft adhesive vinyl makes it easy to create cards with intricate and delicate designs.
Use it with your Cricut or Cameo electronic cutters and even with steel rule dies.
The possibilities are endless!
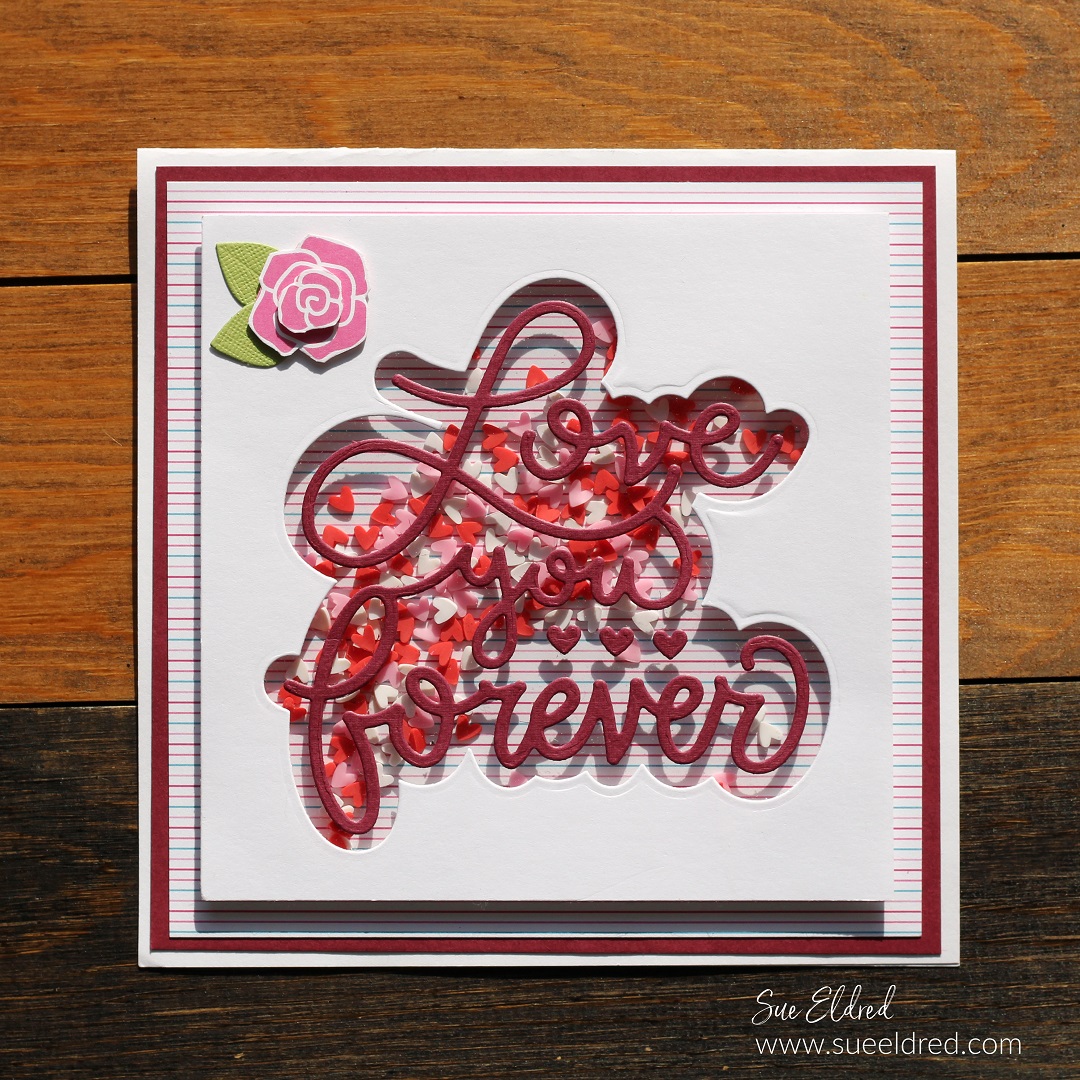
This month the StyleTechCraft Design Team was asked to use Polished Metal Vinyl
to create a project. In the past several years, I’ve added StyleTechCraft vinyl
to almost every imaginable surface around my house.
I have used it on plates, glasses, coffee cups, vases, metal, wood and more.
But I often forget to use it to create cards.

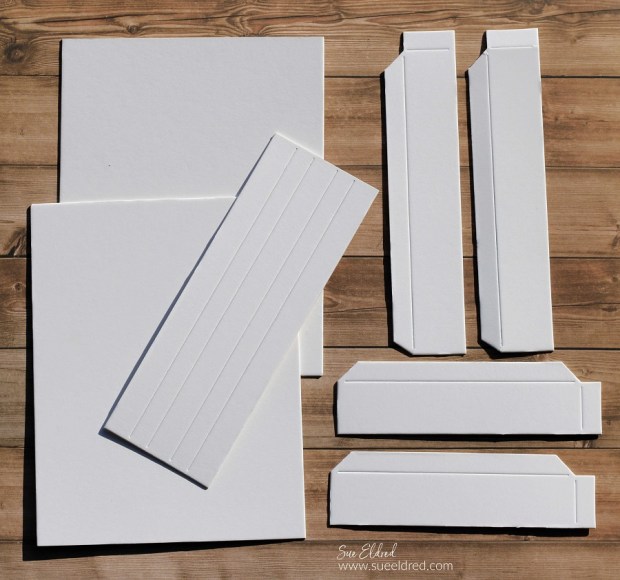
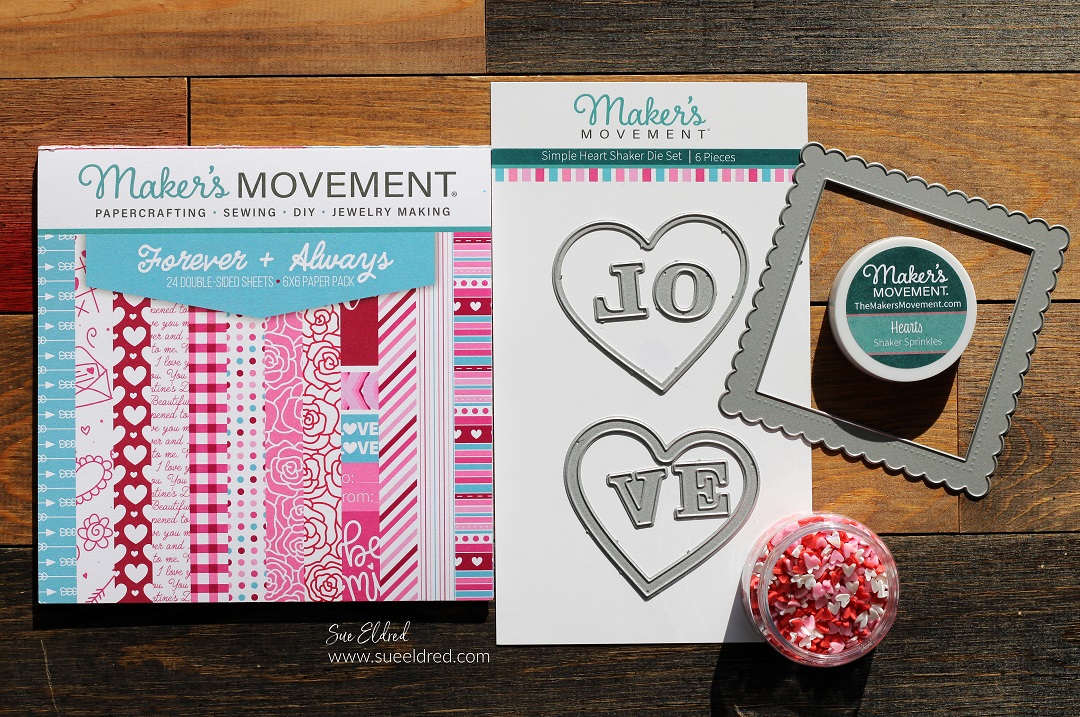
Materials Used:
- StyleTechCraft Silver Polished Metal Vinyl*
- StyleTechCraft Ruby Polished Metal Vinyl*
- StyleTechCraft Rosy Polished Metal Vinyl*
- StyleTechCraft Apple Green Polished Metal Vinyl*
- StyleTechCraft Yellow Polished Metal Vinyl*
- Silhouette Cameo Electronic Die Cutting Machine*
- Silhouette SVG files (The Silhouette Store)
- StyleTechCraft Vinyl Transfer Tape*
- StyleTechCraft Vinyl Tool Kit*
- White Cardstock

Styletech Craft products brought to you by ATSM Craft
*Disclosure: This blog uses ads and affiliate links. If you choose to make a purchase using one of the links, I receive a small commission (at no additional cost to you) that helps offset the costs of maintaining this blog. Thanks for your support!
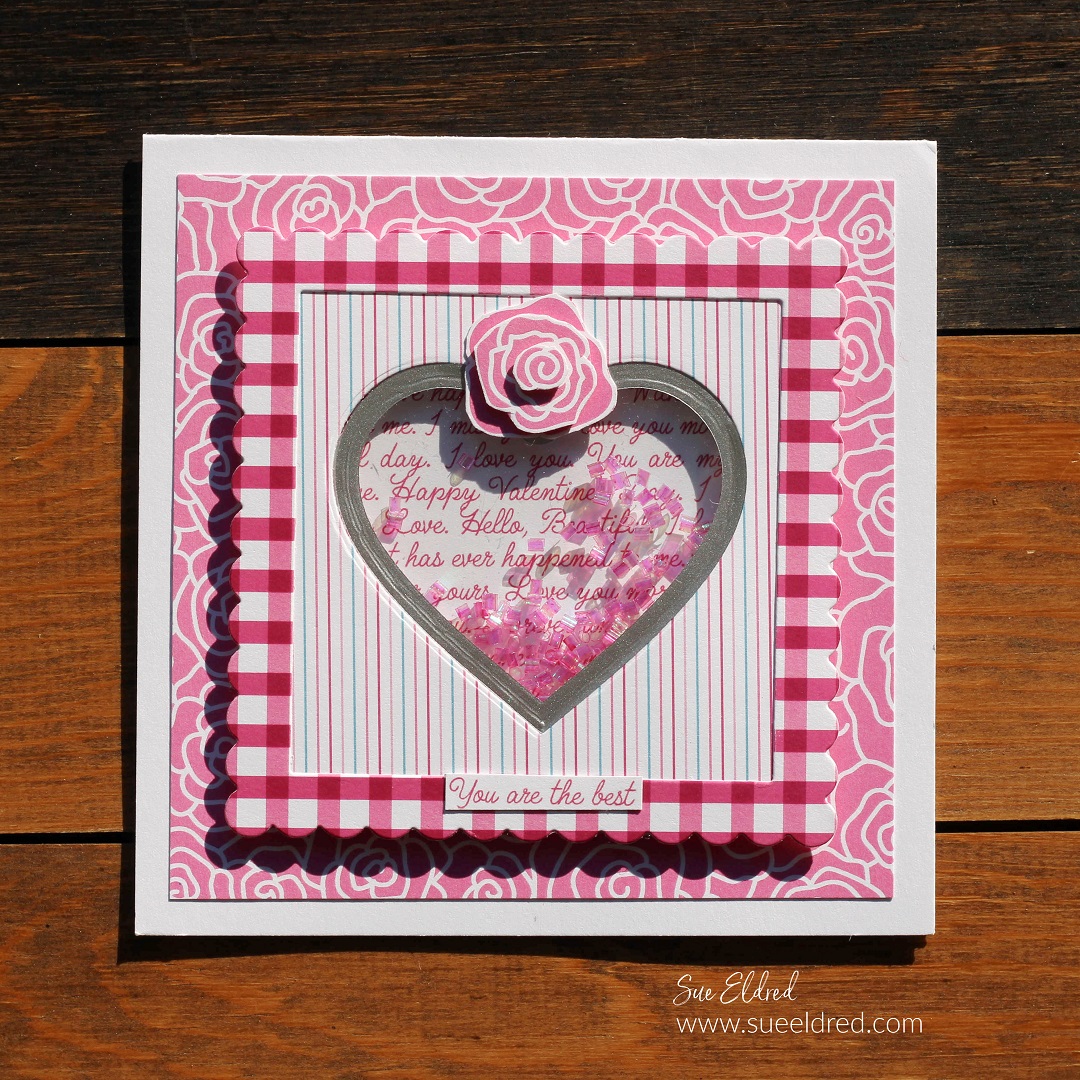
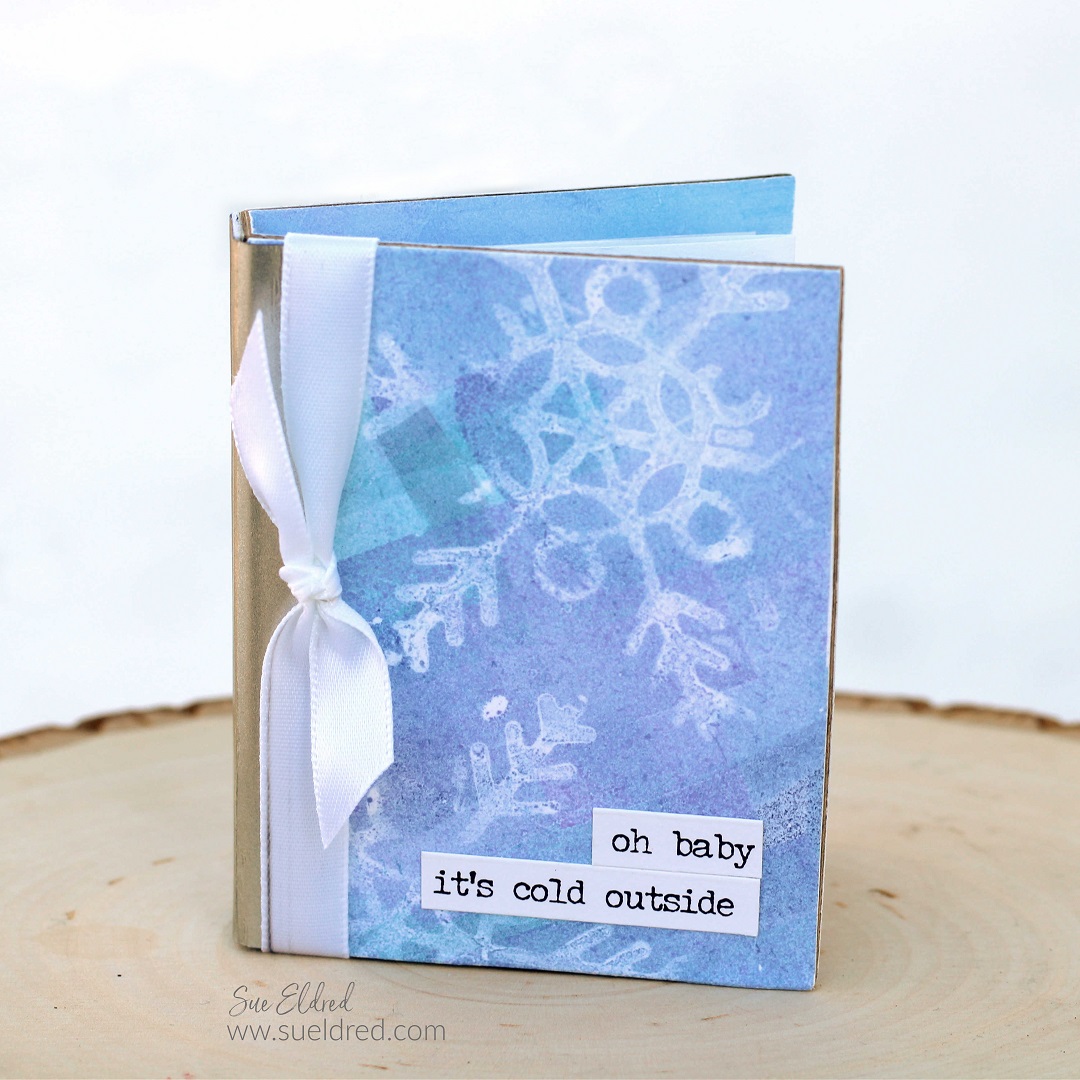
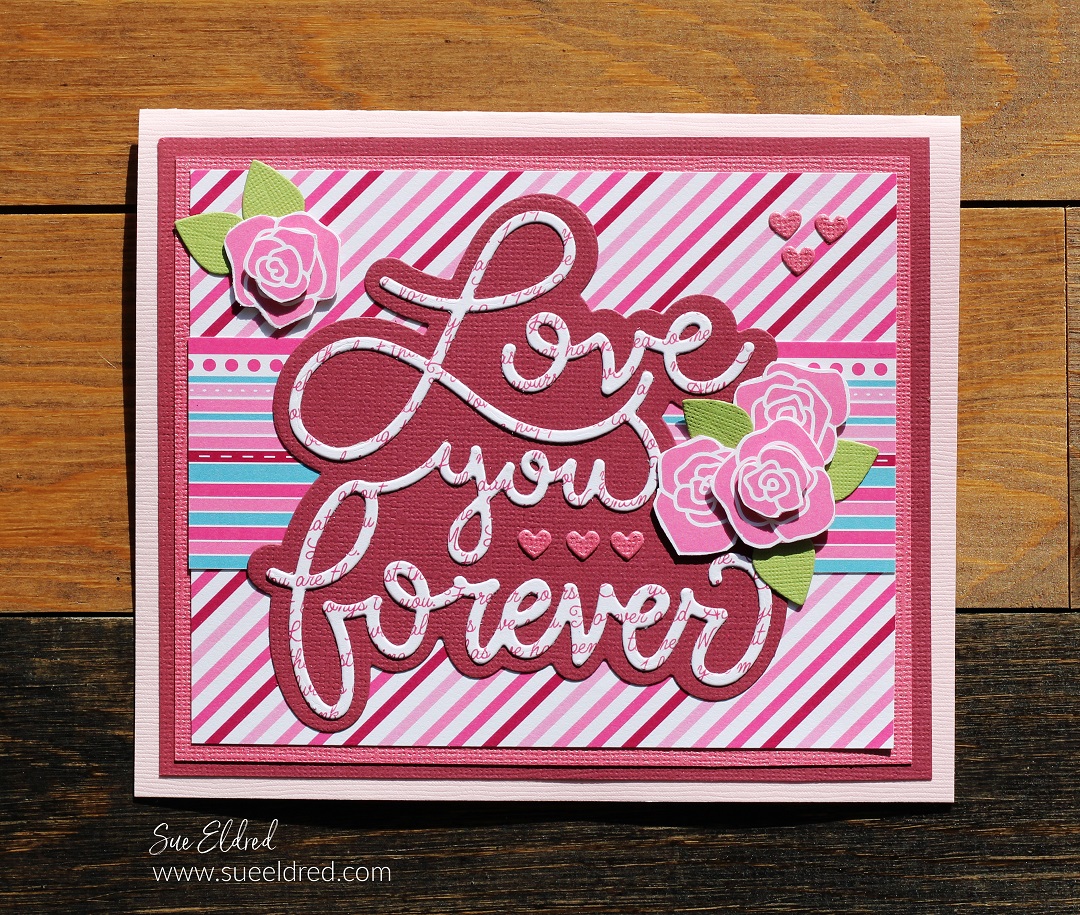
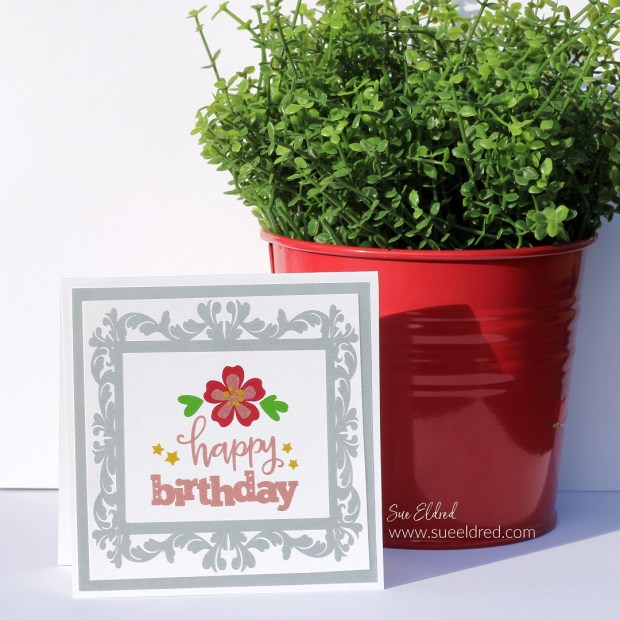
Card Details:
- I designed my card using a Silhouette Cameo Electronic Die Cutting Machine*.
- I sized the digital files before cutting.
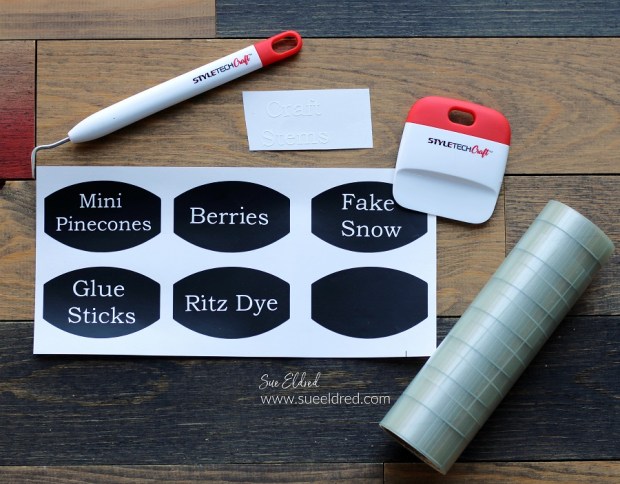
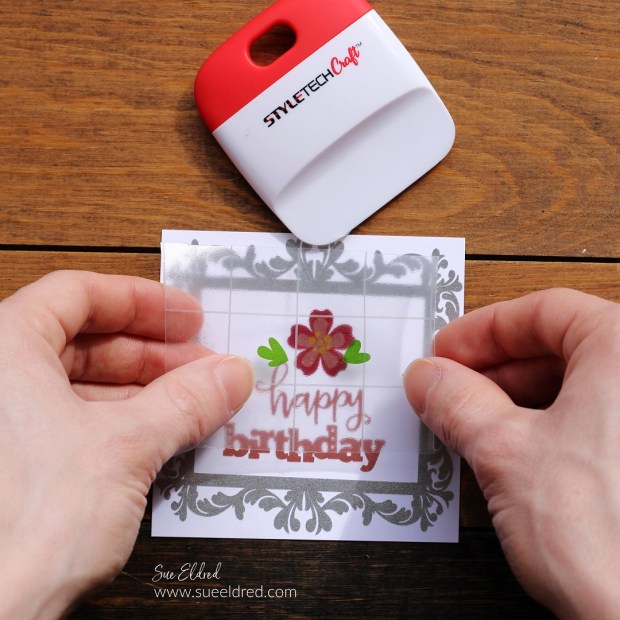
- I removed the excess vinyl around my images using a vinyl pick tool.
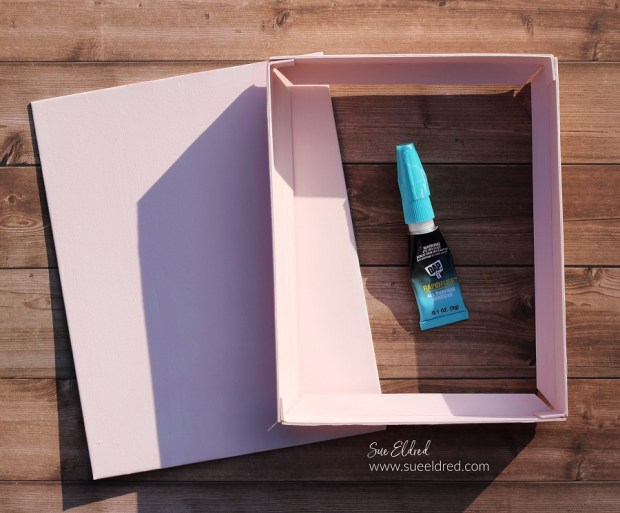
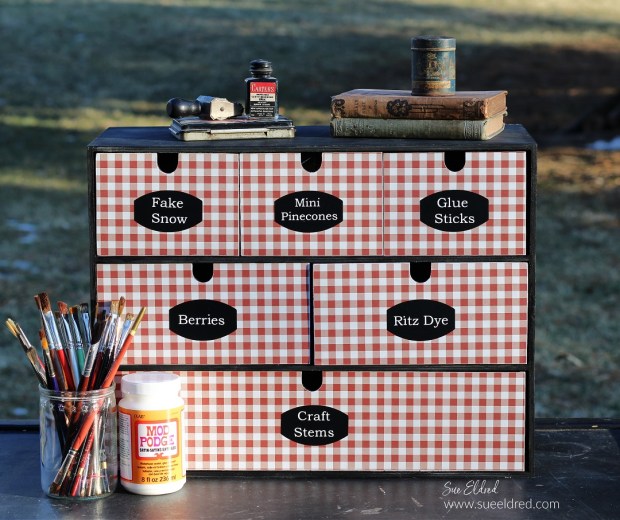
- Use StyleTechCraft Vinyl Transfer Tape* to adhere the vinyl onto the cardstock.
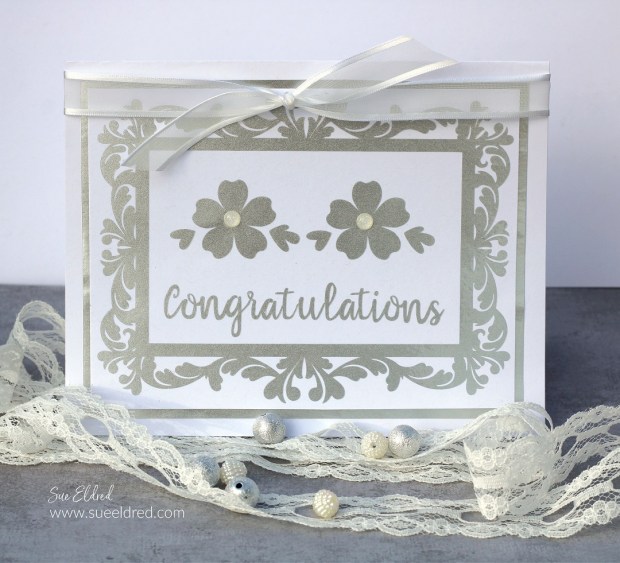
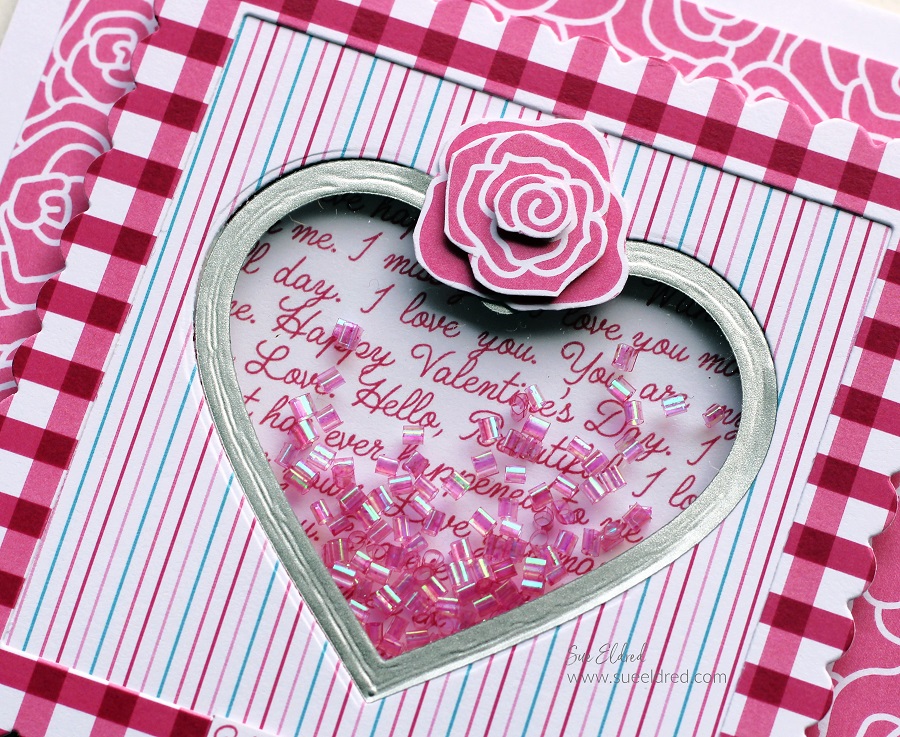
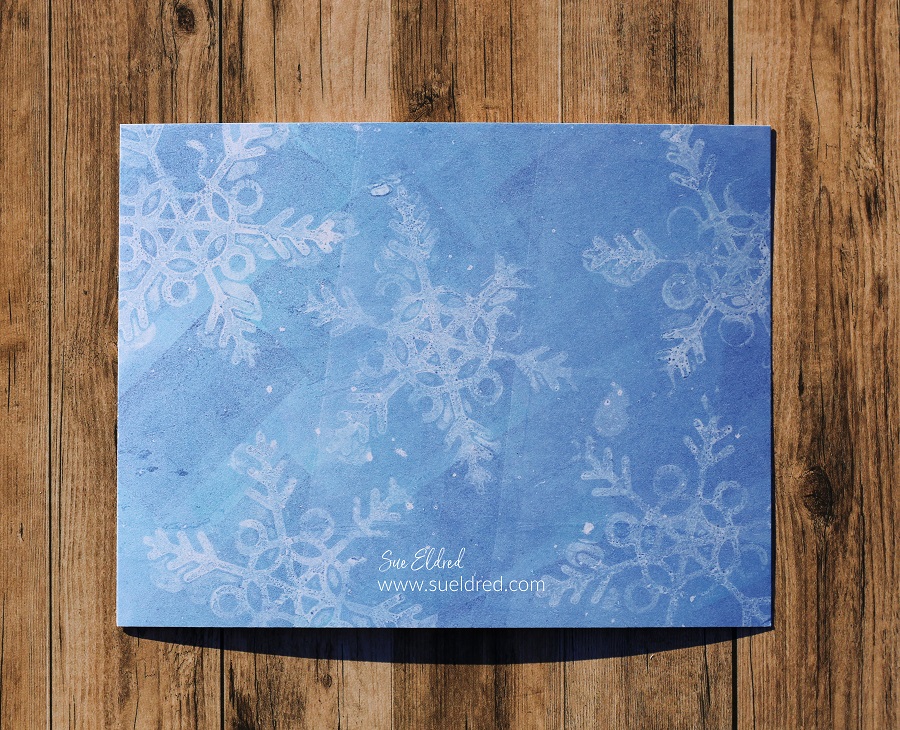
After making the birthday card, I thought the silver was so light and delicate that
it would make a perfect Congratulations card. Perfect for a wedding or anniversary.
![]()
“This is a sponsored post. As a member of the StyleTechCraft Design Team I have been provided product and compensation in exchange for my creative ideas. The views and opinions are my own.