StyleTechCraft is having a Design Team Call.
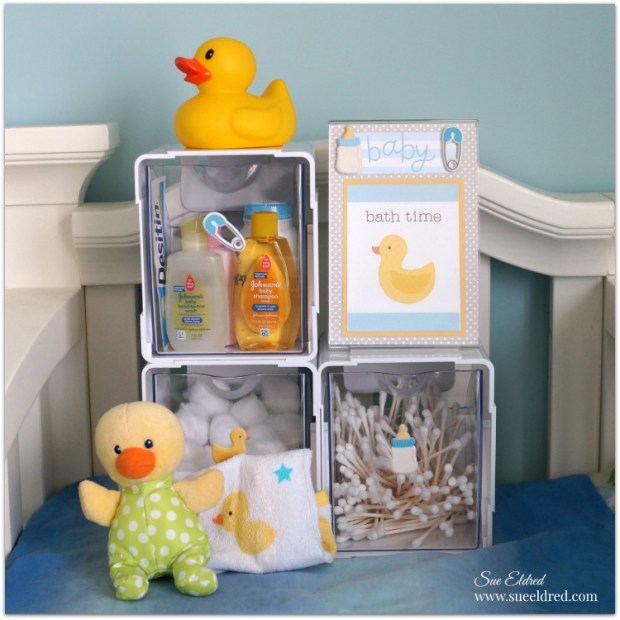
They are one of the great company I work with. (information below)
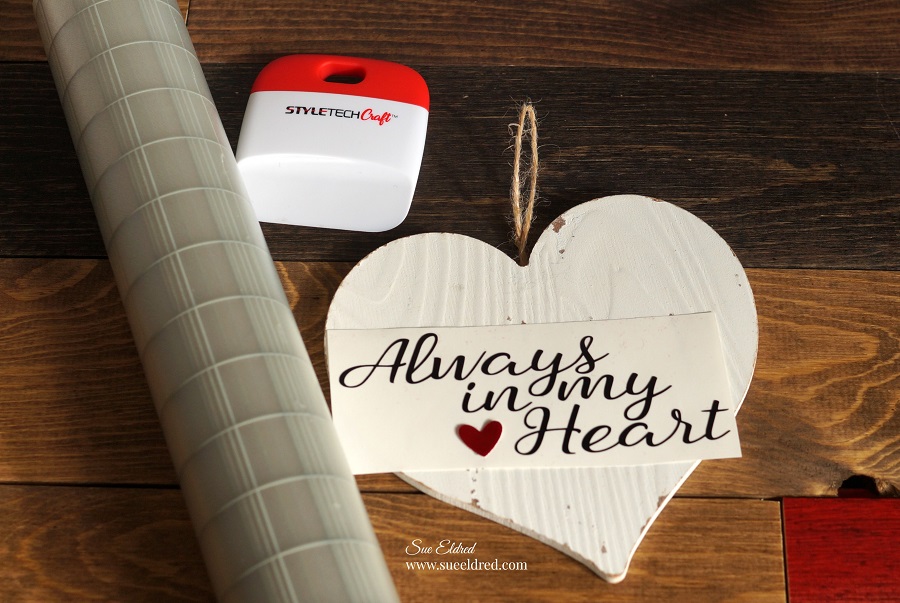
Do you love working with vinyl?
We are looking for Designers and Bloggers to work with our extensive line of adhesive vinyl.
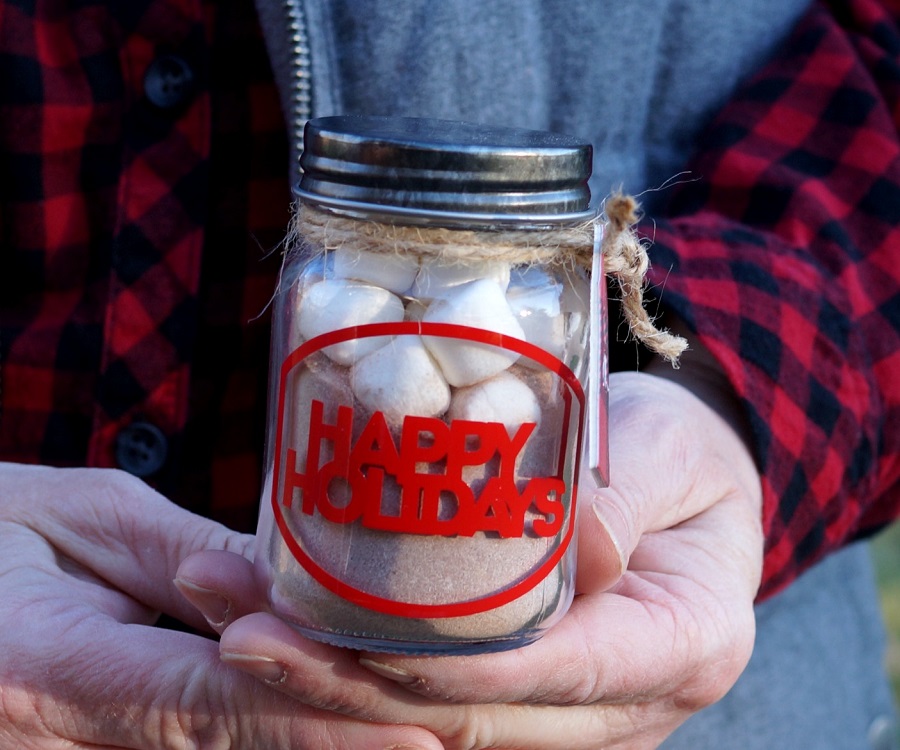
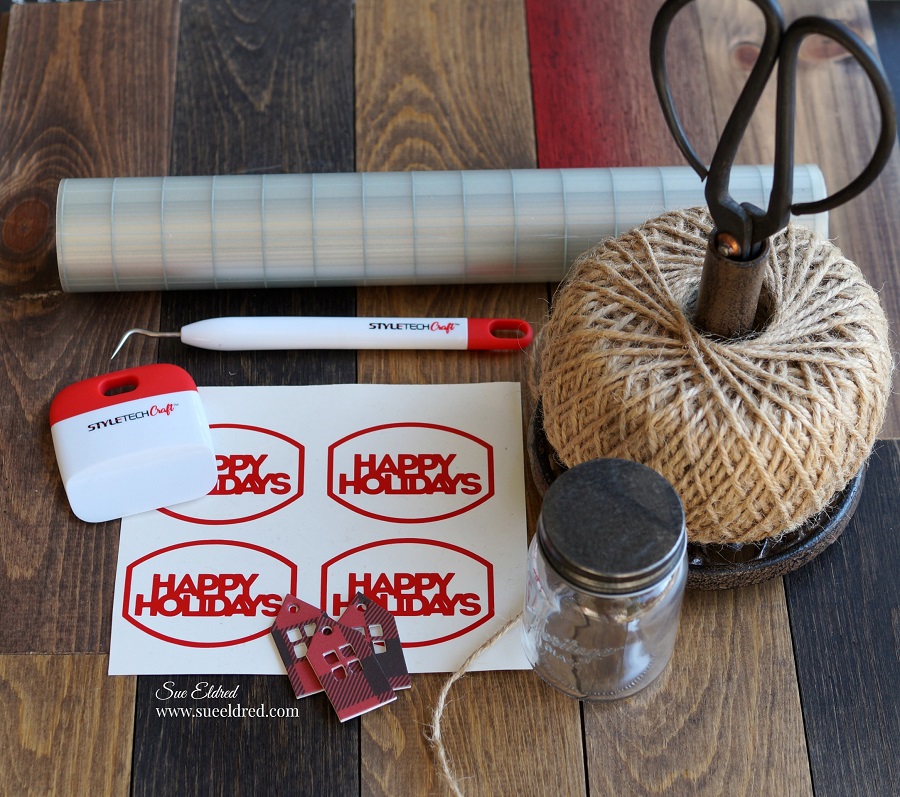
All our adhesive vinyl works well with all cutting machines and can be cut into just about any design you can imagine. Great for Home Décor, Seasonal Crafting, and Paper Crafting Projects.
We have all the popular colors; Ultra Metallic, Glitter, Chromes, Metalized, Etches and much more. We have more sparkle, bling and glitter vinyl than all our competitors.
Here’s what we’re looking for…
• Creative Designers who have a blog and are active on Social Media.
• Designers who can commit to a one-year term beginning March 1st.
• Designers will be expected to create one project each month including photos and basic instructions and post to your blog and social media by the 5th of each month.
• US Designers Only
Here’s what you’ll get…
You will be provided a generous welcome package of current products and will continue to receive new products during your term. You will receive monetary compensation for your projects each quarter and will be eligible for additional monthly endorsements.
To Apply…
Email Markhlee@mac.com with your Name, Address, Website, and any other pertinent crafty information about yourself along with 2 to 3 pictures or projects you’ve made using vinyl.
Deadline to Apply is January 31, 2020.

*Disclosure: This blog uses affiliate links. If you choose to make a purchase using one of the links, I receive a small commission (at no additional cost to you) that helps offset the costs of maintaining this blog. Thanks for your support!