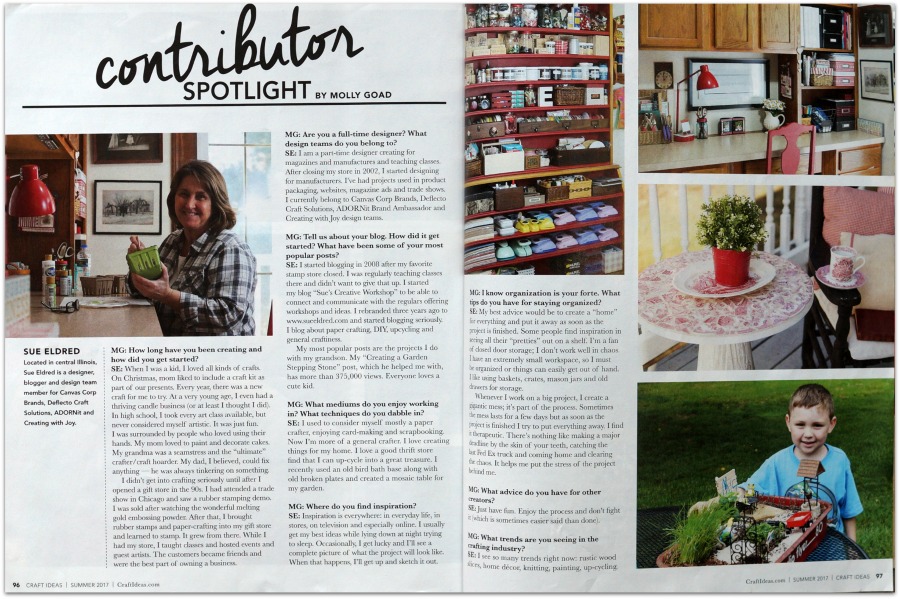
Last year, I was asked to do a Contributor Spotlight for Craft Ideas Summer Issue.
As intimidating as it felt, it was an honor to be asked for a featured interview.
Unfortunately, my interview was also the last interview.
The Summer Issue was later decided to be their last issue.
I’ve had several projects featured in Craft Ideas throughout the last several years.
I always enjoyed working with them and was sad to see it end.
I’ve never shared the interview on my blog after it was featured in the magazine…
I thought I might as well share it now for those of you who don’t know.
1. How long have you been creating and how did you get started?
When I was a kid, I loved doing all kinds of crafts. On Christmas, Mom liked to include a craft kit as part of our presents. Every year, there was a new craft for me to try. At a very young age, I even had a thriving candle business for a while (or at least I thought I did). In High School, I took every Art class available, but never considered myself artistic. It was just fun.
I was surrounded by people that loved using their hands. My Mom loved to paint and decorate cakes. My Grandma was a seamstress and the “ultimate crafter/craft hoarder”. My Dad, I believed, could fix anything. He was always tinkering on something, even the neighborhood kids would bring things for him to fix.
I didn’t get into crafting seriously until after I opened a gift store in the 90’s. I had attended a Gift Trade Show in Chicago and saw a rubber stamping demo. I was sold after watching the wonderful melting gold embossing powder. After that, I brought rubber stamps and paper-crafting into my gift store and learned to stamp. It grew from there (any boy did it). While I had my store, I taught classes, hosted events and guest artists. The customers became friends and were the best part of owning a business.
2. Are you a full-time designer? What design teams do you belong to?
I am a part time designer creating for magazines, manufactures and teaching classes. After closing my store in 2002, I started designing for manufacturers. I’ve had projects used in packaging, websites, magazine ads and trade shows. I currently belong to Xyron, Deflecto Craft Solutions, Tape Technologies and Creating with Joy Design Teams.
3. Tell us about your blog. How did it get started? What have been some of your most popular posts?
I started blogging sometime in 2008 after my favorite stamp store closed. I was regularly teaching classes there and really didn’t want to give that up. I started my blog
“Sue’s Creative Workshop” to be able to connect and communicate with the regulars offering workshops and ideas. I re-branded my blog 4 years ago to www.sueeldred.com and started blogging seriously. I blog about paper-crafting, DIY, up-cycling and general craftiness.
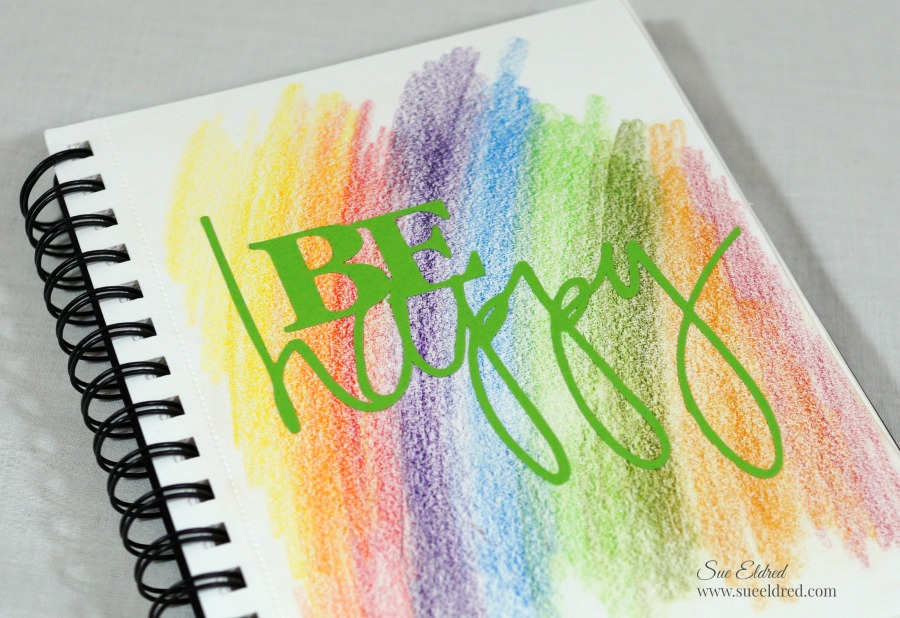
My most popular posts are the projects I do with my Grandson. My “Creating a Garden Stepping Stone” post, which he helped me with, has had over 450,000 views. Everyone loves a cute kid.

4. What mediums do you enjoy working in? What techniques do you dabble in?
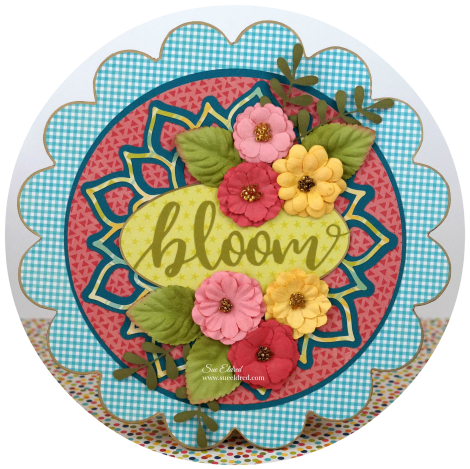
I used to consider myself mostly a paper-crafter, enjoying cardmaking and scrapbooking. Now I’m more of a general crafter. I love creating things for my home. I love a good thrift store find that I can up-cycle into a great treasure. I recently used an old bird bath base, saved for just the right project, along with old broken plates (left over from “Creating a Garden Stepping Stone”) and created a Mosaic Table for my garden.
See post here Trash to Treasure Love Story.

5. Where do you find inspiration?
Inspiration is everywhere: in everyday life, in stores, on television and especially online. I usually get my best ideas while lying down at night trying to sleep. Occasionally, I get lucky and I’ll see a complete picture of what the project will look like. When that happens, I’ll get up and sketch it out. (I love it when that happens.)
![]()
6. I know organization is your forte. What tips do you have for staying organized?
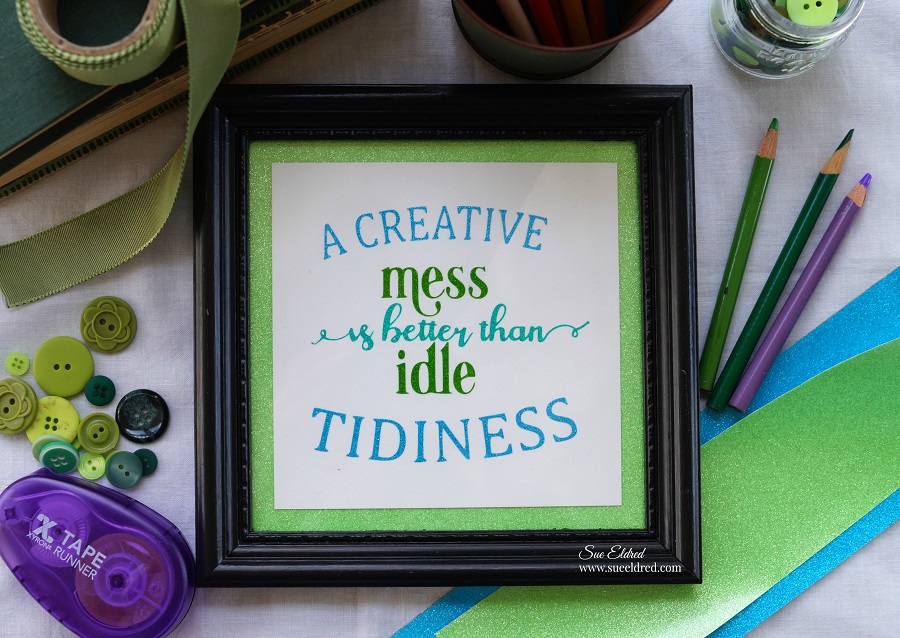
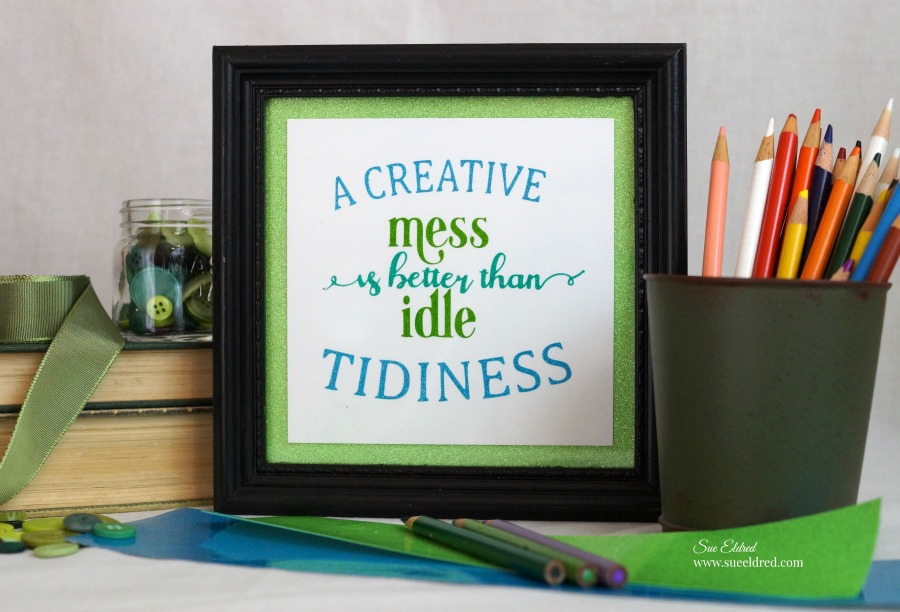
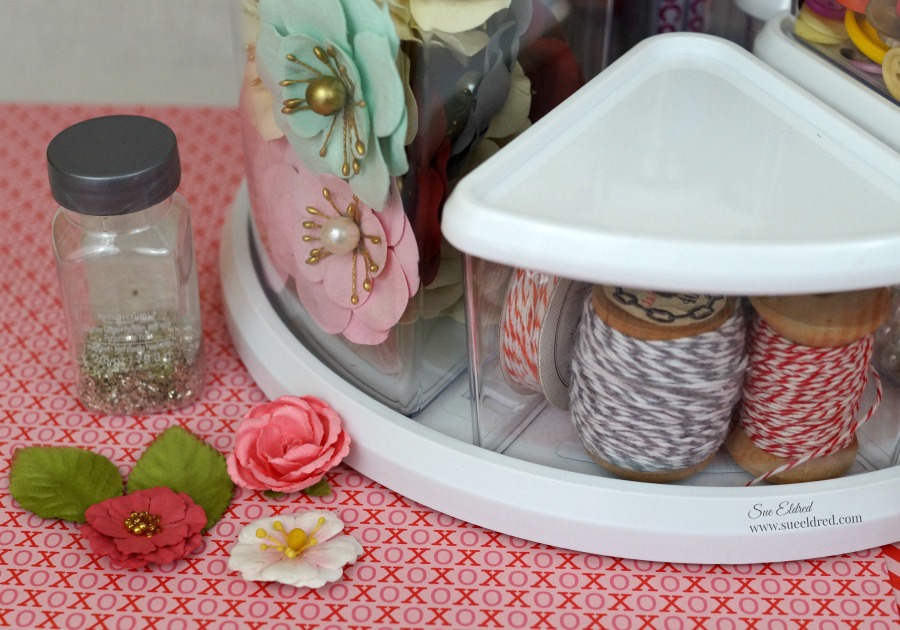
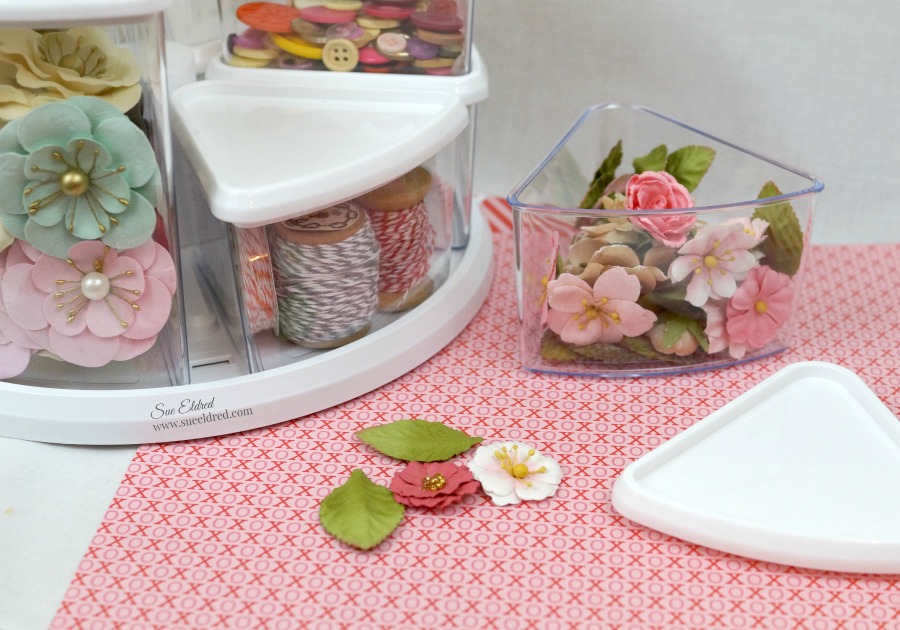
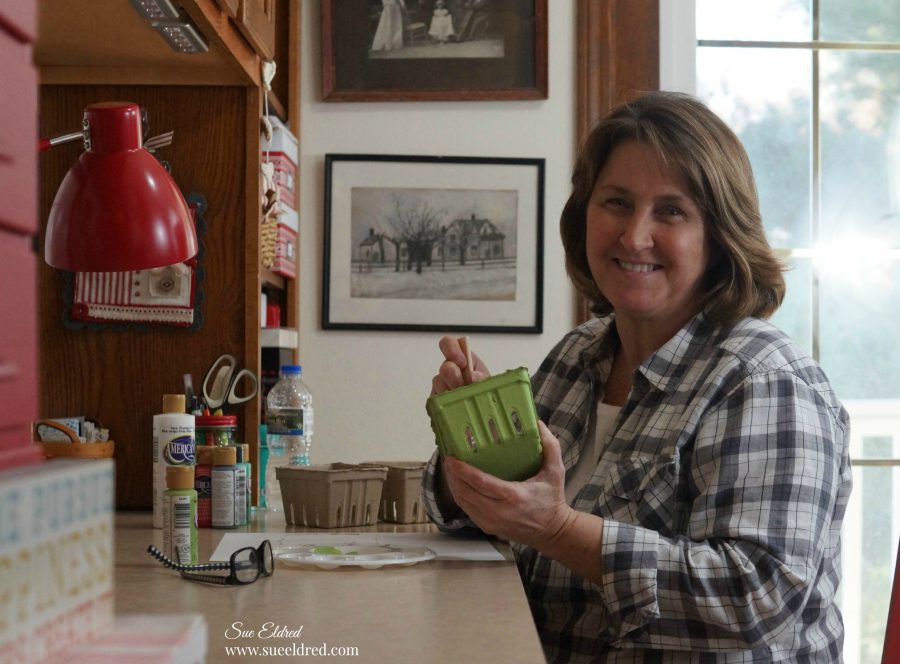
My best advice would be to create a “home” for everything and put it away as soon as the project is finished. Some people find inspiration in seeing all their “pretties” out on a shelf. I’m a fan of closed door storage; I don’t work well in chaos. I have an extremely small work space, so I must be organized or things can easily get out of hand. I like using baskets, crates, mason jars and old drawers for storage. Keeping it visually fun and appealing helps me want to keep it clean.
Whenever I work on a big project, I create a gigantic mess, it’s part of the process. Sometimes the mess lasts for a few days but as soon as the project is finished I try to put everything away. I find it therapeutic. There’s nothing like making a major deadline by the skin of your teeth, catching the last Fed Ex truck and coming home and clearing the chaos. It helps me put the stress of the project behind me. It clears my mind and puts an end to the deadline.

7. What advice do you have for other creators?
Just have fun. Enjoy the process and don’t fight it (which is sometimes easier said than done).
8. What trends are you seeing in the crafting industry?
I see so many trends right now: rustic wood slices, home décor, knitting, painting, up-cycling. I like how Social Media plays a big part in creating a community of sharing and inspiring. It excites me to see crafting growing in popularity again.
9. When you aren’t creating, what do you enjoy doing? (Hobbies, leisure activities, etc.)
I love taking pictures, treasure hunting at thrift stores and estate sales, reading, playing with my grandsons and just being with my family. In the summer, I love growing flowers, vacations and lazing by the pool. I’ve got a good life.
10. List some all-time favorites: book, TV show, movie, song, travel destination, etc.
I’m a hopeless romantic and love reading sweet love stories. (nothing trashy) I’m a big Debbie Macomber fan. My favorite movies are “You’ve got Mail” and “The Holiday”, I watch them every time I find it on television. (My husband always reminds me I own them on DVD.)
My favorite, can’t miss shows, now are “This is Us” and “Fixer Upper”. (And… I’m still bummed that they ended “Parenthood”.) My favorite song is “What a Wonderful World”, sung by Louie Armstrong.
One of my favorite things to do is to sit on the beach under a beach umbrella, listen to music and read a book.

11. Tell us about your family. Do they share your love of crafting?
All three of my kids are creative in completely different ways. My oldest son, is in web design. My daughter is involved in fashion and my youngest son loves music. My grandson and daughter-in-law are my partners in crime.
That concludes the interview…for those of you who didn’t know, now you do.

*Disclaimer: This post uses ads and affiliate links. If you choose to make a purchase using one of the links, I receive a small commission (at no additional cost to you) that helps offset the costs of maintaining this blog. Thanks for your support!