How to make a 4th of July Centerpiece with Fireworks, Flags, Banners and Pinwheels

What do you think about when you hear the words “4th of July”?

For me it’s… White picket fences, fireworks and the good old red white and blue. 

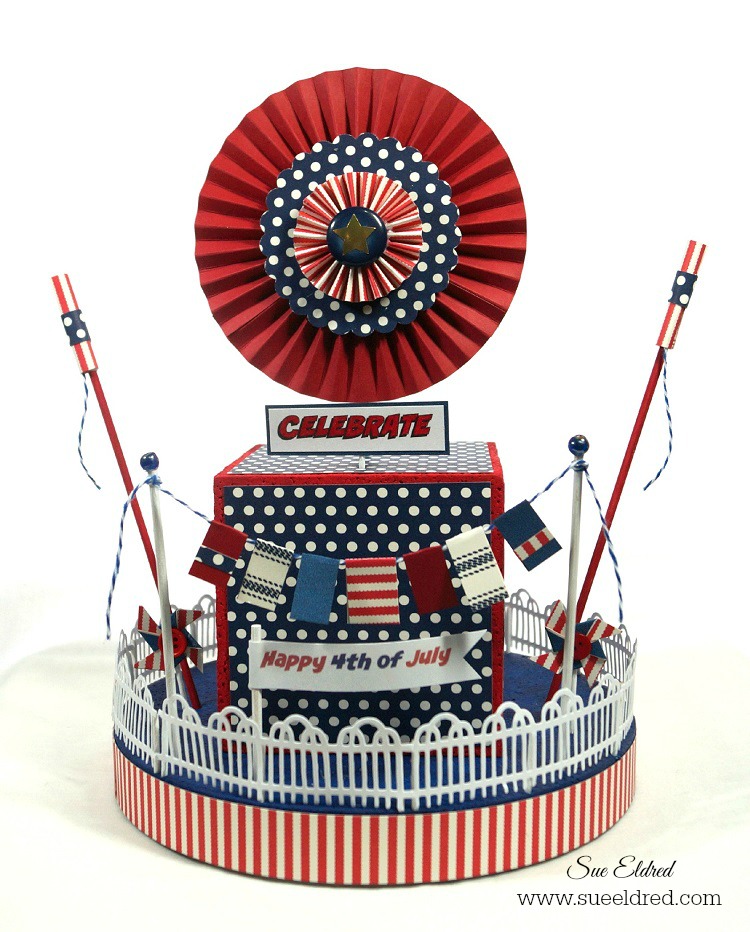
Or a 4th of July Celebration Centerpiece with Fireworks, Flags, Banners and Pinwheels all

rolled into one.   I created this 4th of July centerpiece a couple years ago, since it’s one

of my favorite projects, I thought I’d share it again.   Enjoy!

How to make a 4th of July Centerpiece…

Products Used:                 (*affiliate link)

Directions:

  1.  Paint the round disc with Navy Blue paint.

2.  Cut two 1” x 12” strips of the red striped paper and one 1” x 2” piece. Adhere to the side of the disc with double stick tape roller.

3.  Die-cut 7 fence sections.

4.  Paint 15 round toothpicks white. (set four aside to use later.)

5.  Cut 11 toothpicks in half. Glue one toothpick half on each end and middle of the fence with the pointed end facing down.

6.  Insert fence sections onto the top edge of the disc.

7.  Paint the 4” cube red.

8.  Cut five 3 ¾” x 3 ¾” pieces of Navy & Ivory dot paper. Adhere to the sides and top of the cube. Glue cube to center of the disc.

9. Paint two bamboo skewers white. Cut skewers to 5”.

10.  Glue small blue beads to top of each skewer.

11.  Create small ½” flags from scraps of paper and cardstock. Adhere onto a 12” piece of blue and white twine.  Tie ends of the twine to top of the skewers to make a flag banner. Insert into disc.

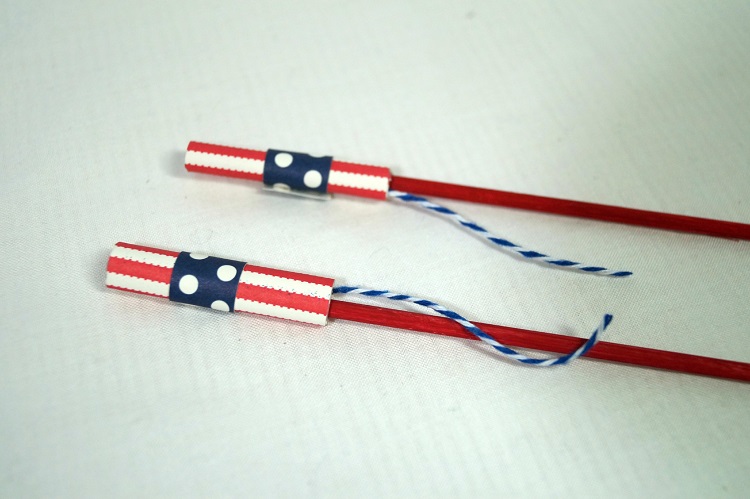
12.  To create Bottle Rockets:  Paint two bamboo skewers red.  Cut two pieces of red striped paper 1 3/4” x two. Wrap around pencil to curve paper. Remove pencil and roll tightly to form a small tube. Wrap a 1/2” strip of navy dot paper around tube.  Glue a small piece of twine inside of tube to create the bottle rocket wick. Glue tube onto red bamboo skewer and insert into disc. Create second bottle rocket for other side of the disc.
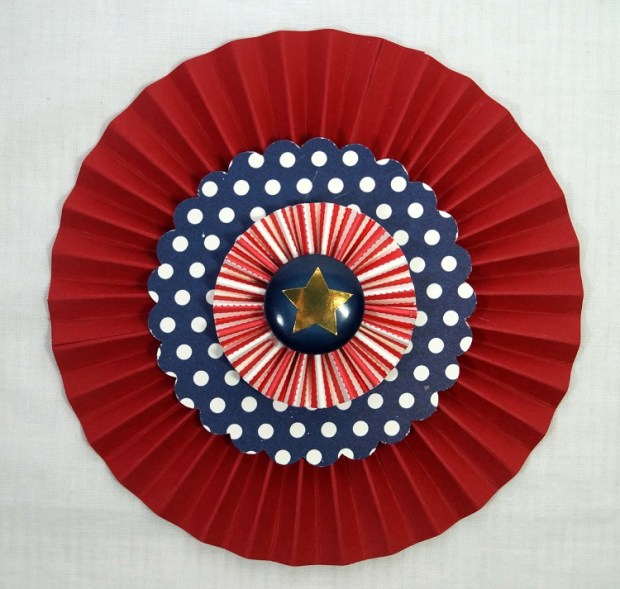
13.  Punch two 3” Navy and Ivory Dots scalloped circles.

14.  Cut two strips of red card-stock: 1 1/4”” x 12” and 2 1/4” x 6 1/2” . Adhere the two strips together to form one long 2 1/4” x 18” strip of red card-stock.

15.  Using scoring board and scoring tool. Score card-stock every 1/4” down the entire length. Fold strip accordion fold. Glue ends together with a strong adhesive to form a cylinder.

16.  On a flat surface, gather the bottom of the cylinder tight while spreading and pushing down on the top to create the Rosette.

17.  With a strong adhesive, attach one of the scalloped circles to the center of the Rosette. Hold into place until the adhesive starts to hold.

18.  Turn the Rosette over and attach the second scalloped circle onto the other side of the rosette.

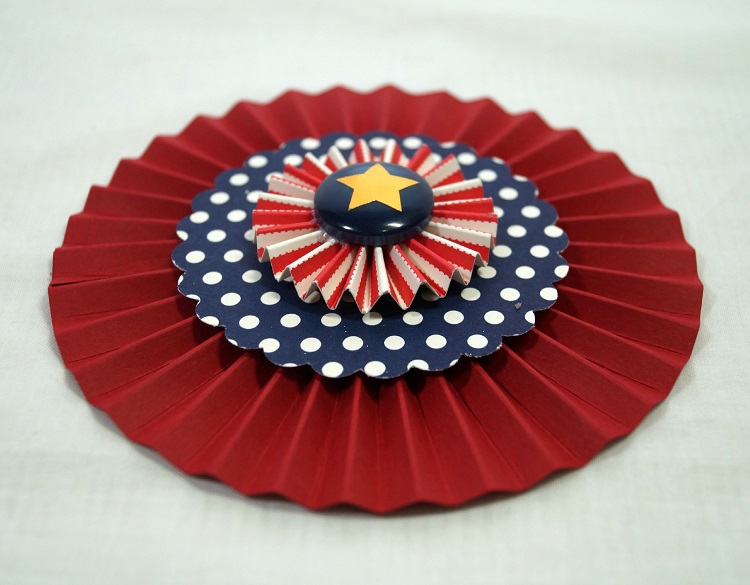
19.  Create a second smaller rosette using a 1” x 12” strip of red striped paper. Score strip every 1/4”.  (repeat steps 16 and 17)

20.  Glue blue button into center of the rosette to hold in place. Glue onto center of the scalloped circle. Add star sticker to center of button.

21.  Paint a bamboo skewer with Navy paint. Cut into a 5” piece. Insert into back of finished Rosette.

22.  Insert finished Rosette into top of the 4″ cube.
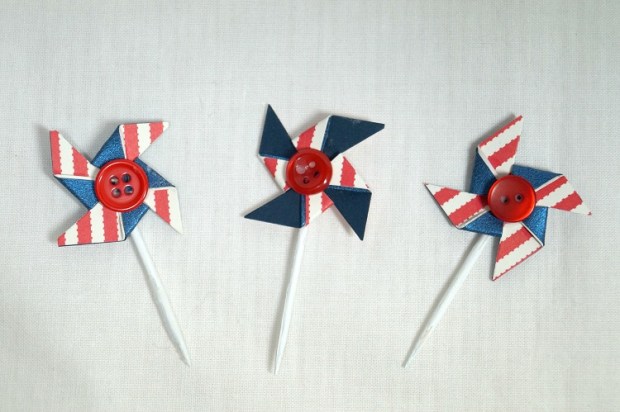
23.  Create small pinwheels by adhering two pieces of 1” x 1” paper together.  On each corner, cut diagonally two-thirds of way to square’s center, dividing each corner into two points. Bring every other point to center so that the points overlap. Glue into place.

24.  Glue small red button to center of each pinwheel.  Glue onto white painted toothpick and insert into base.

25.  Create and print computer generated “CELEBRATE” and “4th of July” onto white card-stock.  Cut and layer to size and adhere onto picks and skewers and insert onto centerpiece.

This project was created for and sponsored by Smoothfoam and Canvas Corp Brands.

For more summer fun…click on Slimer ad below

Slimer

Disclaimer:  This blog uses ads and affiliate links.  If you choose to make a purchase using one of the links, I receive a small commission (at no additional cost to you) that helps offset the costs of maintaining this blog.  Thanks for your support!

Join Amazon Kindle Unlimited 30-Day Free Trial
Almost Famous…

My grandson said to me the other day while he was sitting at my desk,

“Grandma you’re famous.”

“No, honey, I’m not”, I said.

“But… Grandma, you’ve been in a magazine”.

Well now dear Nicholas… so have you.

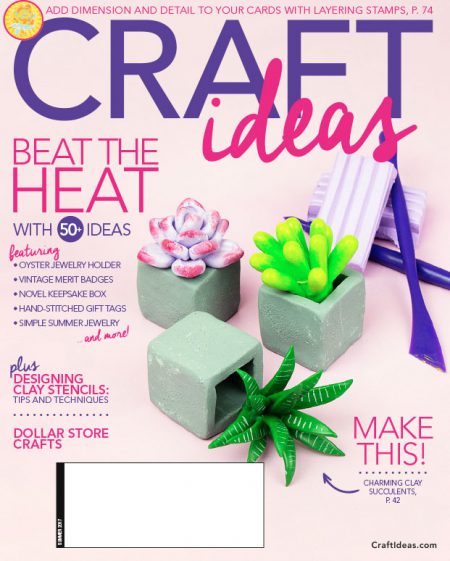
I received the very last issue of Craft Ideas magazine in the mail today.  (insert sad face)

Along with two projects, I also had the honor of being the Contributor Spotlight.

You can read my interview with Molly on page #96.

Now we’re both almost famous.

Disclaimer:  This blog uses ads and affiliate links.  If you choose to make a purchase using one of the links, I receive a small commission (at no additional cost to you) that helps offset the costs of maintaining this blog.  Thanks for your support!

Try Amazon Prime 30-Day Free Trial

Mini Gardening with the Boys

Several years back when Nicholas was a little bit older than Warren we started our annual

tradition of creating a mini garden.  Now that Warren is 3, I decided that this year,

he needed to make one of his own.  I found this cute Woodland Garden Kit* (affiliate link)

from LeisureArts.com.  It was a great start for Warren’s garden.

(LeisureArts.com was generous and sent me a Woodland Garden Kit to use in this post.)

The kit retails for $12.99 and comes with so many cute accessories to add to your mini garden.

A great value, cheaper than buying everything separately.

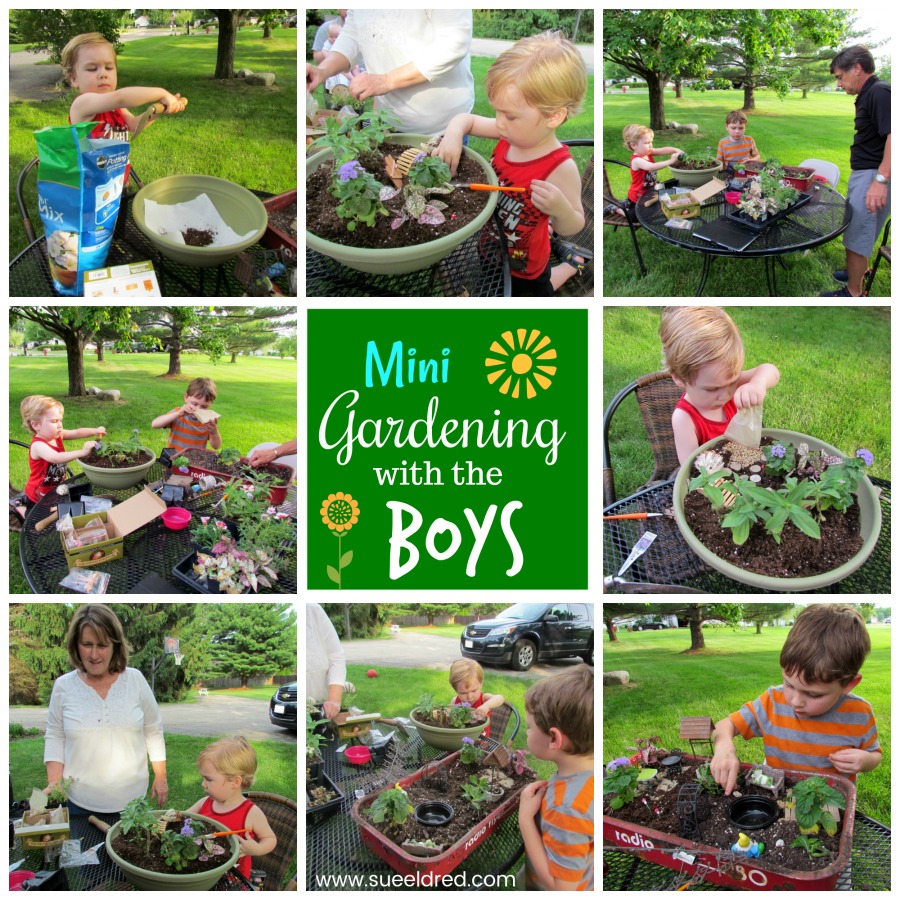
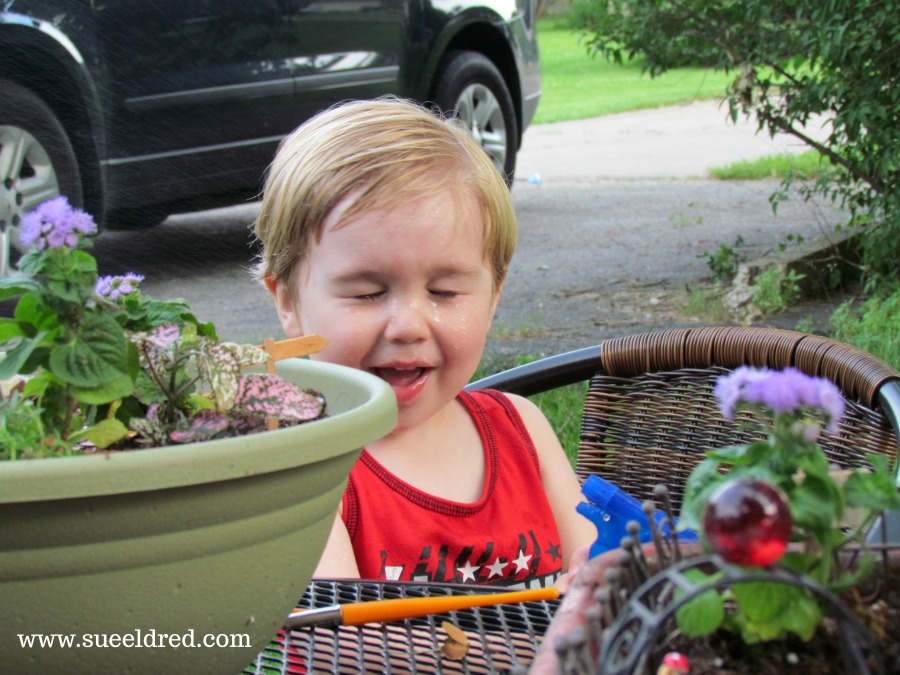
I had all the supplies and plants ready to go and the boys quickly got started on their gardens.

They loved digging in the dirt, putting in the flowers and decorating their gardens.

We added a hedgehog, garden gate, bridge, mushrooms, wood slices, rocks and cute little

garden signs.  (All included in the Woodland Garden kit.)

We were having so much fun, even Grandpa joined in on the fun.

Mini gardens make such a fun family project.

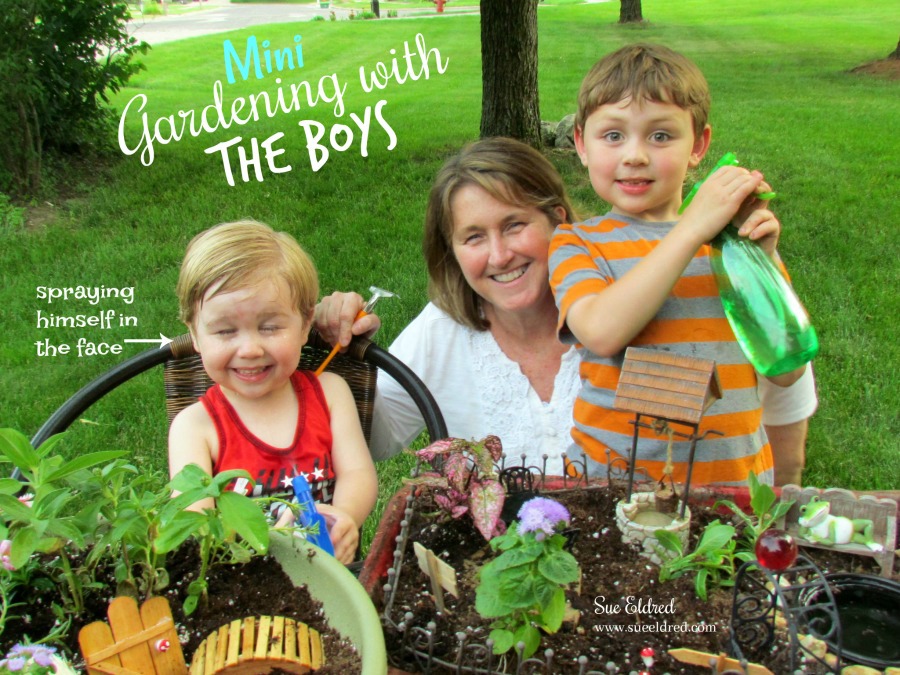
I do believe Warren’s favorite part was the water bottle. 

He loved spraying everything, including himself.

Nicholas was more serious about his mini garden.  (this is his 4th year making one)

You can read about and see Nick’s first garden here.

Warren and Nick’s Mini Gardens

I love doing special these projects with the boys.   After the mini gardens were finished, they

ran around the yard spraying each other (and occasionally me) with the water bottles.

They keep life fun!

FYI…  LeisureArts.com also has a Fairy Garden Kit in addition to the Woodland Garden Kit.

and for more Summer fun from Leisure Arts…  (click on picture below)

Friendship Bracelets

Disclaimer:  This blog uses ads and affiliate links.  If you choose to make a purchase using one of the links, I receive a small commission (at no additional cost to you) that helps offset the costs of maintaining this blog.  Thanks for your support!

Adult Coloring Book - BIG

Memorial Day Sale at Sizzix

I know how everyone loves a good sale.

So I thought I’d pass this one along just in case.

Disclaimer:  This blog uses ads and affiliate links.  If you choose to make a purchase using one of the links, I receive a small commission (at no additional cost to you) that helps offset the costs of maintaining this blog.  Thanks for your support!

DIY a Colorful Garden Chair for your Gnome

diy-a-colorful-garden-chair-for-your-gnome-2

A Colorful Chair for Colorful Little Gnome…

Every year around this time, my Grandson and I start making our mini gardens.

It’s our special annual tradition.

Last year, we added a Gnome named Mr. Elfsnail.

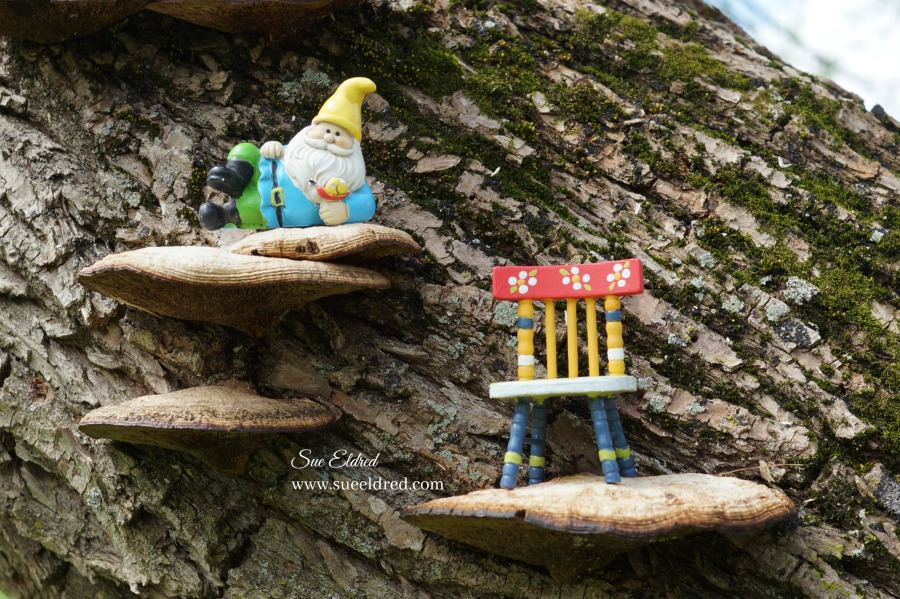
This year, I decided to create a chair for him to sit on while working in the garden.

We take our gardening seriously.   Read about Mr. Elfsnail’s garden.

For Mr. Elfsnails chair…

I found this cute little wooden chair in the toy area of Dollar Tree and knew it’d be a cute

mini garden chair for my gnome.

How to make a Colorful Gnome Chair

Supplies Used:
  • Miniature Wood Doll Chair
  • DecoArt Americana Paint:  Watermelon Slice, Marigold, Olive Green
  • DecoArt Multi-Surface Satin Acrylic Paint:  Night Sky, Cotton Ball
  • Paint Brush
  • Sand Paper
  1. Lightly sand any rough spots off the chair.
  2. Paint the chair in a variety of colors.
  3. Create small flowers on the top of the chair by dipping the end of the paintbrush in paint and adding small dots as the petals.

Chair measures 3″ tall.

I might have even left it here (glued to the tree) if I didn’t think it’d drive the boys crazy.

A little fun and whimsy. 

For a dollar and some paint, it might be fun to let the boys paint a chair of their own.

For more summer fun… click on ad below ↓

Slimer

Disclaimer:  This blog uses ads and affiliate links.  If you choose to make a purchase using one of the links, I receive a small commission (at no additional cost to you) that helps offset the costs of maintaining this blog.  Thanks for your support!

Join Amazon Kindle Unlimited 30-Day Free Trial
ADORNit: “Embrace Each Day” card

A bright and cheerful card for all you Moms out there.

It doesn’t matter if put your feet up, take a walk, plant those flowers or hug those little ones…

What ever you need to do to embrace the day.  (fyi…I plan on doing all the above)

Happy Mother’s Day.

Card Details…                                                                          (*affiliate link)

This card was sponsored by ADORNit as part of being an ADORNit “it girl” ambassador.

Disclaimer:  This blog uses ads and affiliate links.  If you choose to make a purchase using one of the links, I receive a small commission (at no additional cost to you) that helps offset the costs of maintaining this blog.  Thanks for your support!

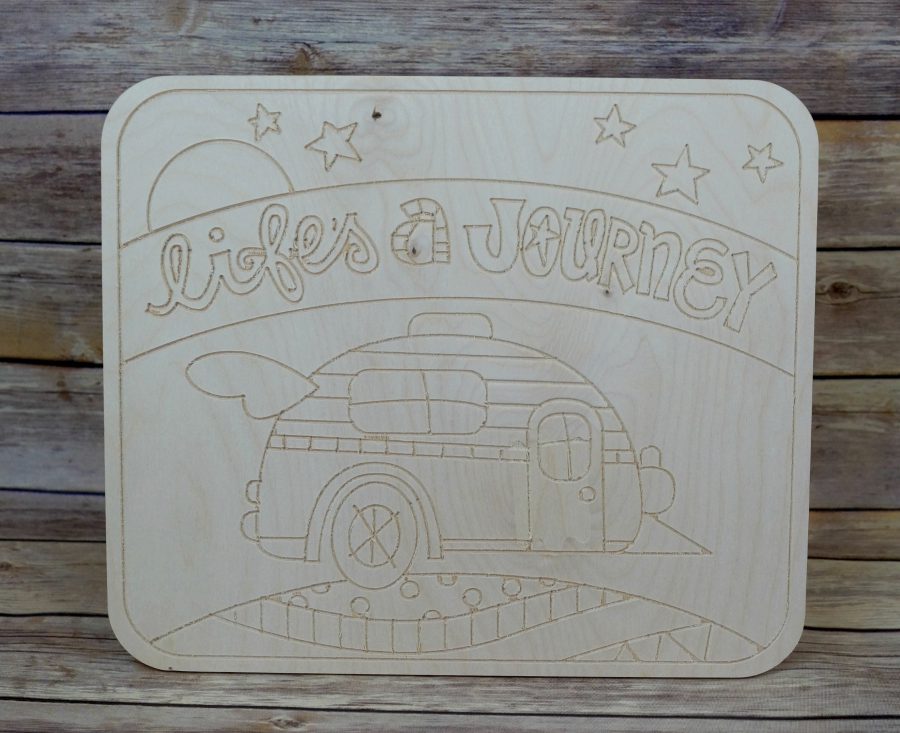
Life’s a Journey

Of all the goodies I received from ADORNit as part of being an “it girl”  this wood plaque

was the first project I wanted to tackle.

So…on a night when I had so many things I could/should have done,

I spent a relaxing evening just painting.

I haven’t done this in such a long time.  It was just what I needed.

I started with this plain life’s journey plaque from ADORNit.           (measures 11″ x 13″)

I used a small flexible nail file to run through the grooved channels to clean it up a bit.

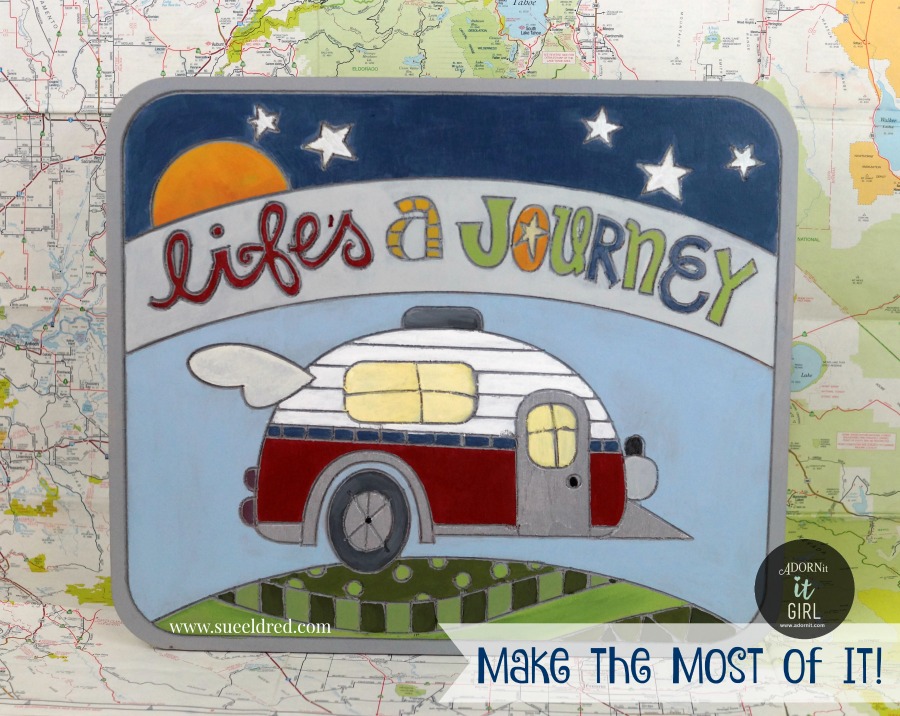
I base coated the entire plaque with gray acrylic paint.

Having the gray paint, deep in the grooves of the plaque, works as the outline between colors

to make the colors stand out.

For me, having grooved channels made it so easy to paint and stay in the lines.

FYI…You might want to seal coat your project once your finished.

I’ll be honest… I’ve never been camping in my life. 

I’m not sure what drew me to this plaque so much.

My idea of roughing it is a bad hotel room.

Hmmm…Maybe if I had a cute little camper like this, I might even try it.

Life’s a Journey, Make the Most of it!

Monograms, Emojis and a little baby tee

With babies,  sometimes you only get a small window for  the shot you want.

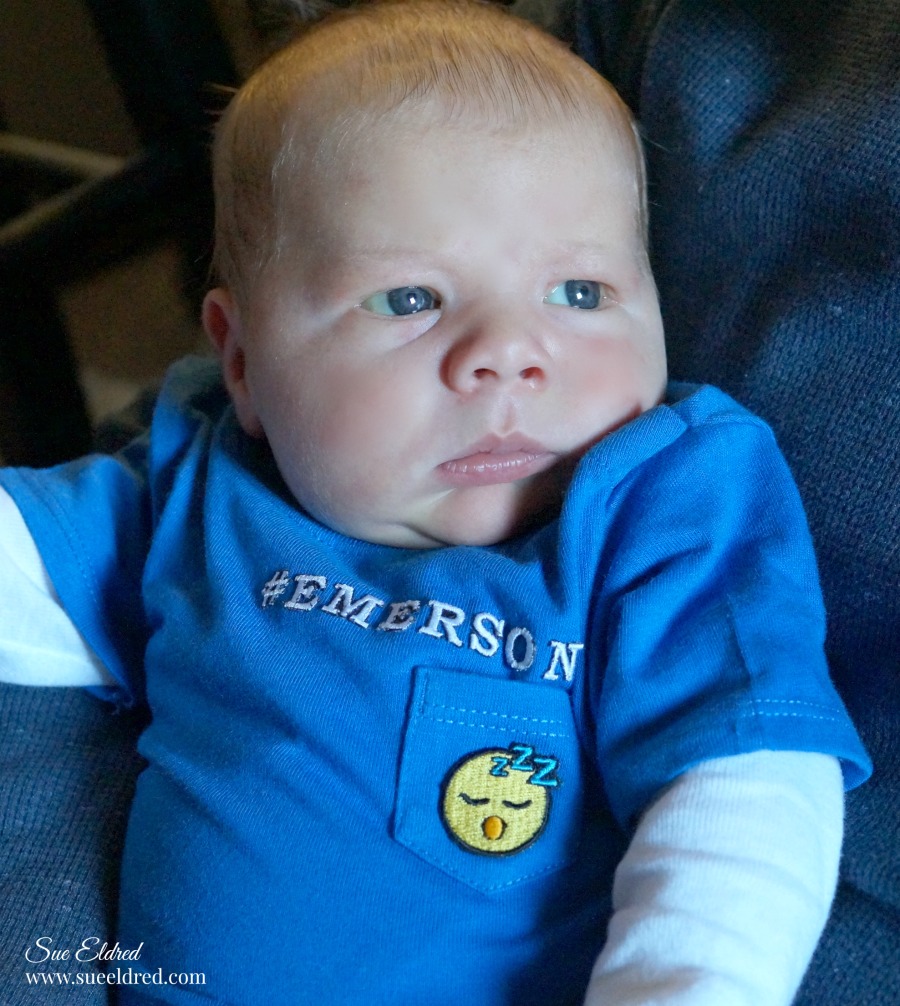
The plan was to take a picture of him sweetly sleeping while wearing the shirt  with

the sleeping  Emoji.  As soon as we put the shirt on him he was wide awake.

Once awake we got all kinds of scrunched up newborn faces.  (some kind of funny)

I finally got this sweet little picture comfortably on his daddy’s lap

I got a kick out of these new emoji patches (that fit perfectly on a itty bitty pocket tee).

So easy to use.  Just position in place, cover with a thin white cloth and iron.

#Emerson…his first personalized shirt.

*Disclaimer:  As a member of the Creating with Joy design team, this project was created for and sponsored by Joy SA.

Easy DIY Golf Themed Party Ideas

Easy DIY Golf Themed Party Ideas

How to Throw a Golf Themed Birthday Party…

We recently celebrated a milestone birthday for my husband,

who is quite the avid golfer.

He’s been playing golf since he was a kid and even caddied as a teen.

It only seemed fitting that we celebrate with a Golf Themed Birthday Party.

Easy DIY Golf Themed Party Ideas

The Centerpiece was quite easy…

I used a cylinder vase from Dollar Tree* along with decorative sand and

inexpensive plastic practice golf balls*.

I cut pennants from red cardstock and glued them onto Bamboo Skewers*,

then added White Chipboard Numbers Stickers*.

Disclosure:  This Blog uses ads and affiliate links.  If you choose to make a purchase using one of the links, I receive a small commission (at no additional cost to you) that helps offset the costs of maintaining this blog.  Thanks for your support!

Easy Golf Themed Party Ideas

I kept the menu simple with his favorite foods, fried chicken, pasta,

sandwiches, chips and salad.

For fun… I used golf lingo to create little signs to label some of the food.

I used a “free golf clipart” that I found online and customized each sign using

a photo editing site.

Easy Golf Themed Party Ideas

To clip the signs onto the serving dishes,

I used Wide Clip Sign Holders* and

Versa Grip Double-Clip Sign Holders* from Deflecto Craft Solutions.

Disclosure:  “This is a sponsored post. As a member of the Deflecto Design Team I have been provided product and compensation in exchange for my creative ideas, views and opinions.”

Easy Golf Themed Party Ideas

Of course… there was the Water Hole and an Arnold Palmer Station.

Easy Golf Themed Party Ideas

Create your own Arnold Palmer drink with lemonade and tea (or sweet tee).

Easy Golf Themed Party Ideas

To keep with the theme… I used a Grass Tablecover*on the serving table,

Golf Party Paper Plates & Napkins* and hung Inflatable Golf Balls* from the ceiling.

They also make large golf ball balloons.

I also purchased a large Golf Party Banner from Amazon* to hang on the wall.

Easy Golf Themed Party Ideas

The party wouldn’t be complete without a golf themed birthday cake.

Easy Golf Themed Party Ideas

I purchased the cute little Pull Back Golf Cart* from Amazon only to find out it was also

available as part of the themed cake from Walmart.  (oh well)

The golf cart was a huge hit with both the young and the old.

My husband said he’s keeping this one for himself.

I had to get these “Oh No The Big 60” Candles* for the cake.

Easy Golf Themed Party Ideas

The golf themed birthday party was shared with our large and wonderful

extended family on a beautiful, sunny (and cool) evening out in our garage/party

room.  I had so much fun planning this special “Par-Tee” for him.

It was easy thanks to a little help from Deflecto Craft Solutions

and purchases from Amazon, Dollar Tree*, Party City and Oriental Trading.

For another Fun Golf Themed Party Idea ↓

Just for Fun-DIY Golf Menu Board

Just for Fun…DIY Golf Menu Board  (Click here)

Shop Your Fav Brands at Scrapbook.com

How to make a Relaxing Guy Card

I’ve always found making cards for a guy  to be tricky. 

Making feminine cards come easy to me.

For the upcoming summer season, I decided to make a “guy” card

that would make a perfect birthday, Father’s Day and even  Retirement.

To make the Relaxing Guy Card…

TIP:  Before removing the back off the 3D foam mounting squares.  Brush baby powder to the back of the stickers to remove the tackiness.  The stickers become like die cuts and will only stick where you want them too.


Materials Used:                                                                   (*affiliate link)

 
Directions:
  1. Cut a 4″ x 6″ piece of green scrapbook (dock on the lake) layer.  Add border sticker strip onto the top and bottom of the layer leaving approx. 1/8″ border.
  2. Adhere the green layer onto a 4 1/4″ x 6 1/4″ piece of brown scrapbook paper (day at the lake) and then onto a 4 1/2″ x 6 1/2″ piece of red (lake time) scrapbook paper.
  3. Create a 5″ x 7″ side fold card from the kraft cardstock.
  4. Adhere scrapbook layers onto kraft card.

5.  Create dimensional stickers by adding and layers stickers with 3D foam mounting squares.  Add stickers to the front of the card.

6.  Wrap twine around the left side of the card and tie with a knot.

Mini Tape Runners

*Disclaimer:  This blog uses ads and affiliate links.  If you choose to make a purchase using one of the links, I receive a small commission (at no additional cost to you) that helps offset the costs of maintaining this blog.  Thanks for your support!