
How to Create a Pocket Notebook Album…
If you love yellow and black your going to love the bee inspired paper pack from DCWV.
Once I looked through the paper pack and saw the gold embossed patterned papers I knew
it needed to be made into a mini album.
I used the Eileen Hull Notebook die along with the 12″ x 12″ paper pad to create my album.
You can find the DCWV Honey Dear Premium Paper Stack exclusively at JoAnn Fabrics.

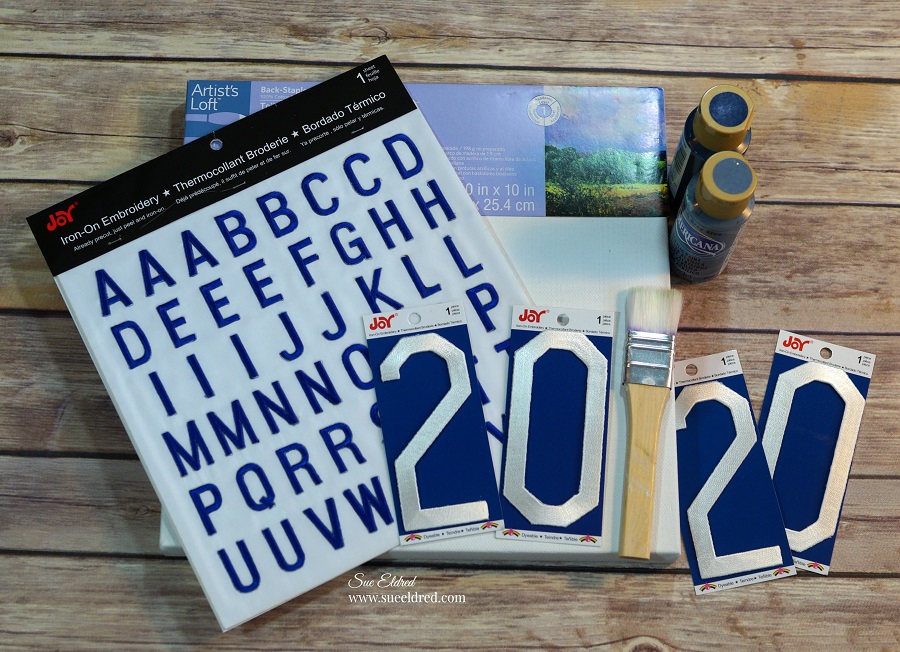
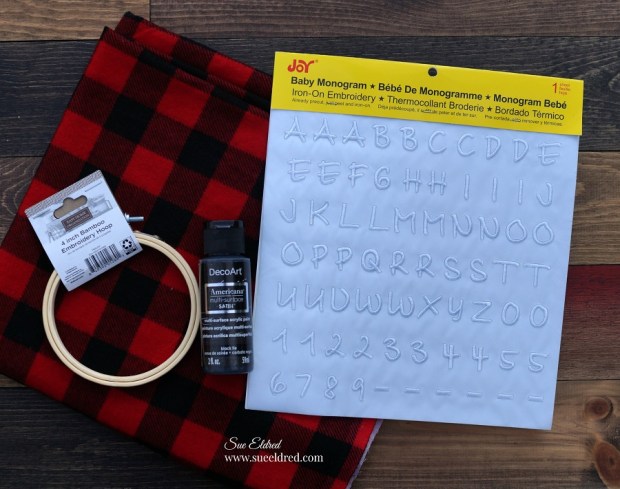
To Create the Sweet as Honey Pocket Notebook I Used: (*affiliate link)
- 354435 DCWV Premium Stack- Honey Dear (available at JoAnn Fabrics)
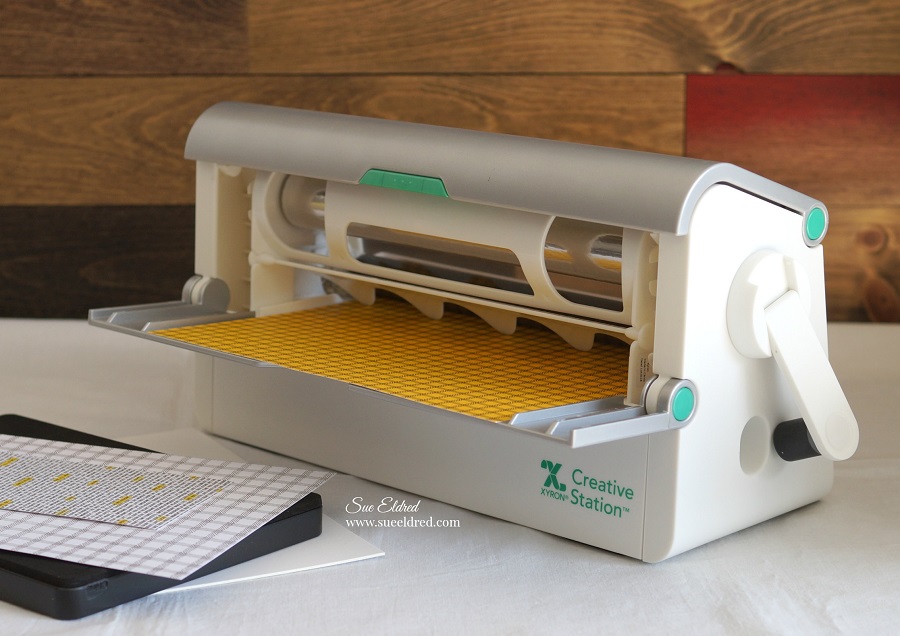
- Xyron Creative Station*
- Xyron Tape Runner*
- 663635 Sizzix, Notebook Die by Eileen Hull*
- 663637 Sizzix Gift Card Folder & Label 2 Die by Eileen Hull*
- 656492 Sizzix, White, Little Sizzles Mat Board*
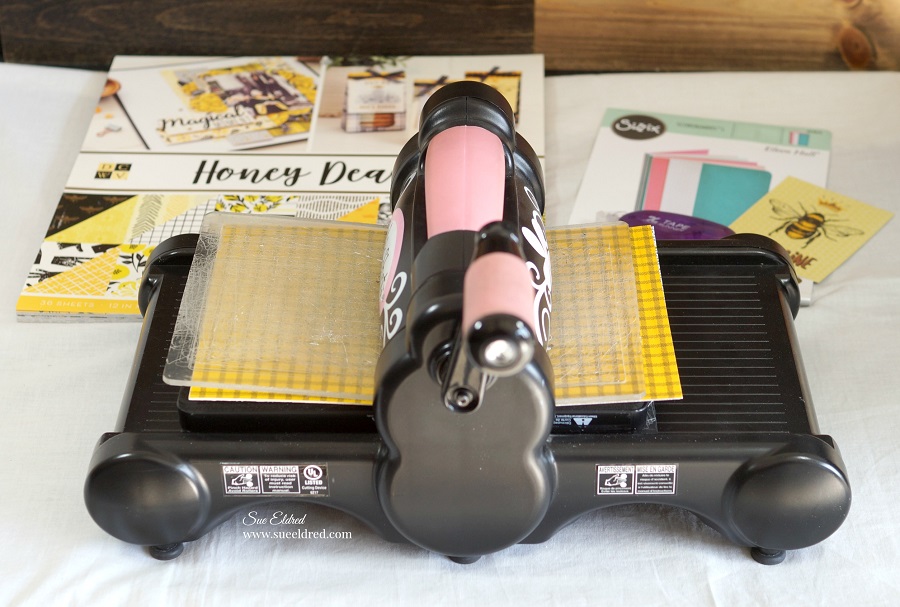
- Sizzix 660425 Big Shot Die Cutting Machine*
- Gold and White Twine*
*Disclosure: This blog uses affiliate links. If you choose to make a purchase using one of the links, I receive a small commission (at no additional cost to you) that helps offset the costs of maintaining this blog. Thanks for your support!
Directions:
- Cut two 6″ x 8-1/2″pieces of decorative scrapbook paper for the front and inside of the cover.
- Lay decorative scrapbook paper (design side up) on the Xyron Creative Station*
crank the handle to run the paper through the machine. As it moves through the Xyron Creative Station it adds adhesive to the back side of the paper.
- Easy to use and it doesn’t need any electricity.
- I like using the Xyron Creative Station* when making mini books because you get complete coverage, no wrinkling, no bubbles!
- Cut a piece of mat board 6″ x 8-1/2″.
- Adhere the decorative paper on each side of the mat board.
- Lay the covered mat board over the notebook die* sandwiched between two cutting plates.
- Crank the handle of the Sizzix Big Shot Die Cutting Machine*
and run the die through the machine. The Big Shot will cut and score the mat board.


- The notebook die creases the center of mat board as it goes through the Big Shot Die Cutting Machine*
making it easy to fold the cover for your mini album.

- Cut a 2 1/4″ x 5″ strip of decorative paper to use for the spine and run it through the Xyron Creative Station*
- Included in the Honey Dear Premium Stack is two pages with twelve 3″ x 4″ journaling cards. Choose one of the journaling cards from the page to embellish the front cover of the notebook.

- Choose 5 coordinating patterns from the Honey Dear Premium Paper Stack. Cut the pages using the notebook die.
- Crease on the center score lines.
- Using gold and white twine, wrap the twine around the inside creases and around the outside of the book cover to secure the pages.
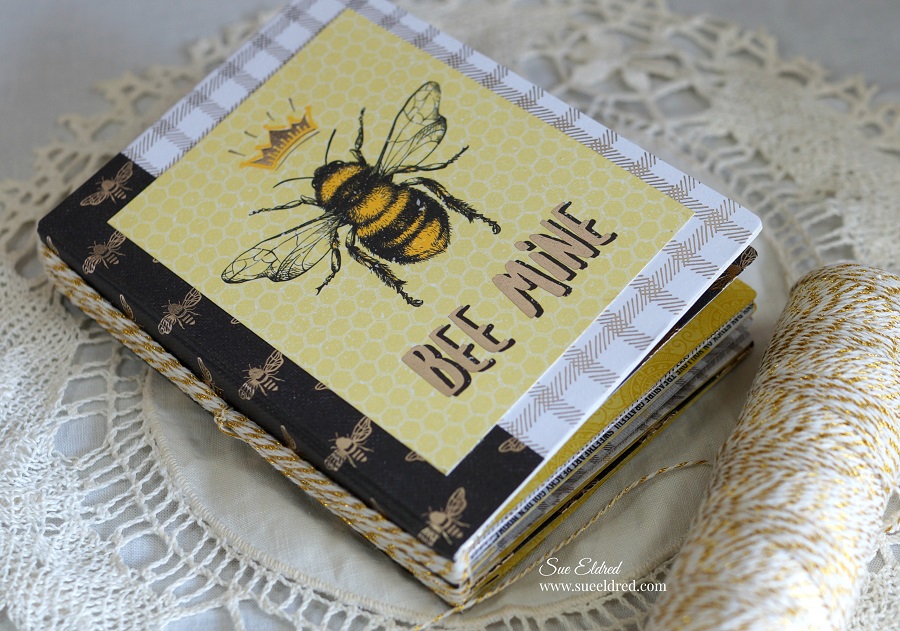
- After I had all my pages together, I tied the piece of twine together in one knot on the spine and tucked in the ends.

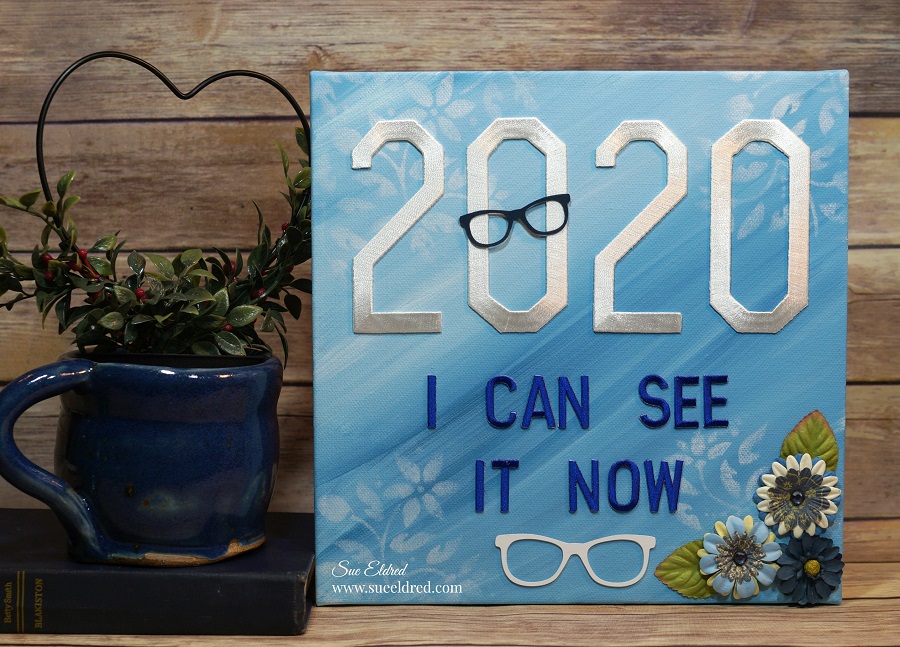
A cute little pocket notebook for taking notes or adding pictures.
After making the pocket notebook…
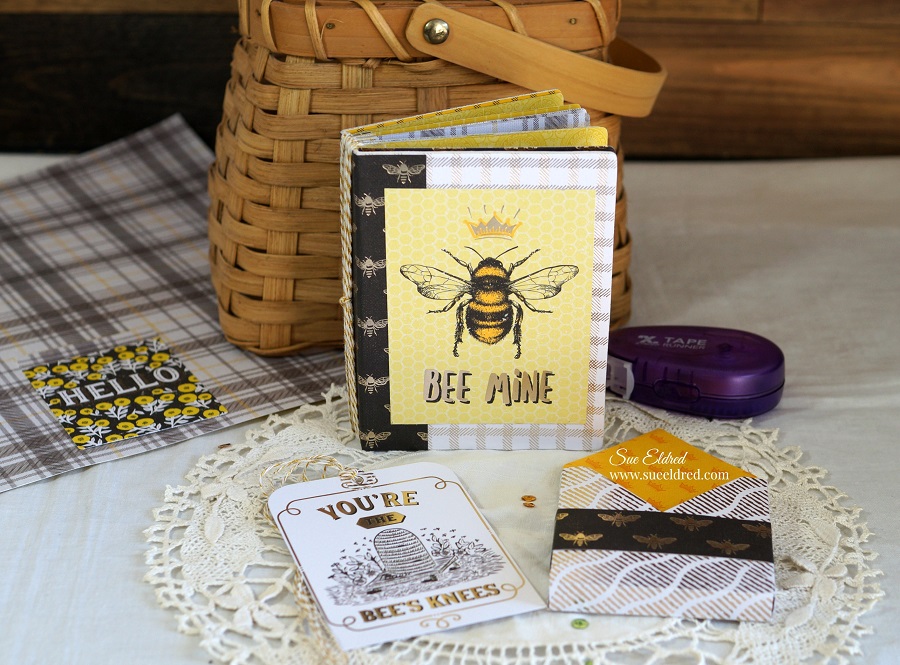
I decided to make a gift card holder with tag using the Gift Card Folder & Label Die*.

To make the Gift Card Holder:
- Cut a piece of 6″ x 9″ paper from the Honey Décor Premium Paper Stack.
- Lay the paper over the Gift Card Folder Die*
sandwiched between two cutting plates.
- Crank the handle of the Sizzix Big Shot Die Cutting Machine*
- Fold along the score lines on the three sides to create a little pocket.
- Adhere bottom three flaps together using a xyron tape runner*.
- Cut a 1″ strip of coordinating paper to create a band. Adhere the band to the holder using the xyron tape runner*.
- The Gift Card Folder Die*

“This is a sponsored post. As a member of the Xyron Makers Program I have been provided product in exchange for my creative ideas. The views and opinions are my own.


