Now that the weather has turned a little cooler… I start thinking about fall baking.
And… I’m always on the look-out for a good recipe.
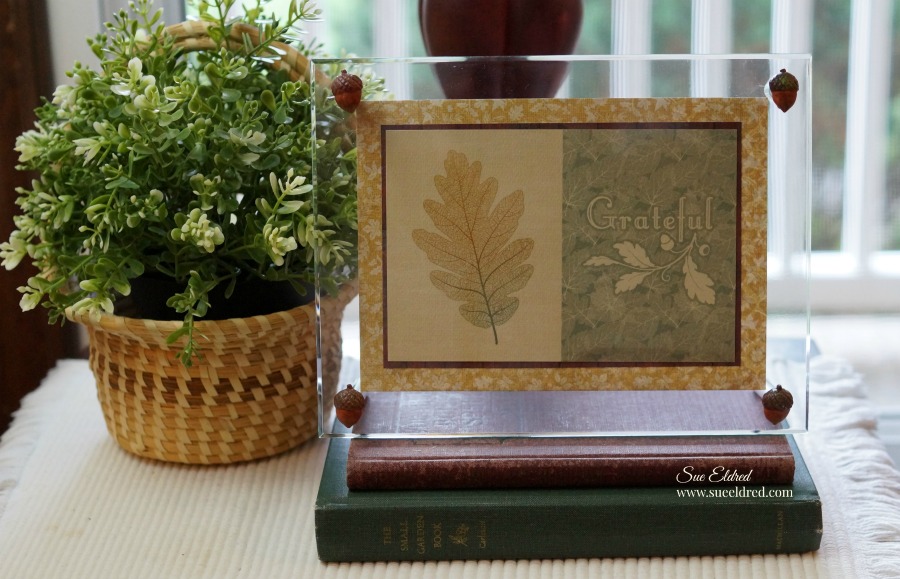
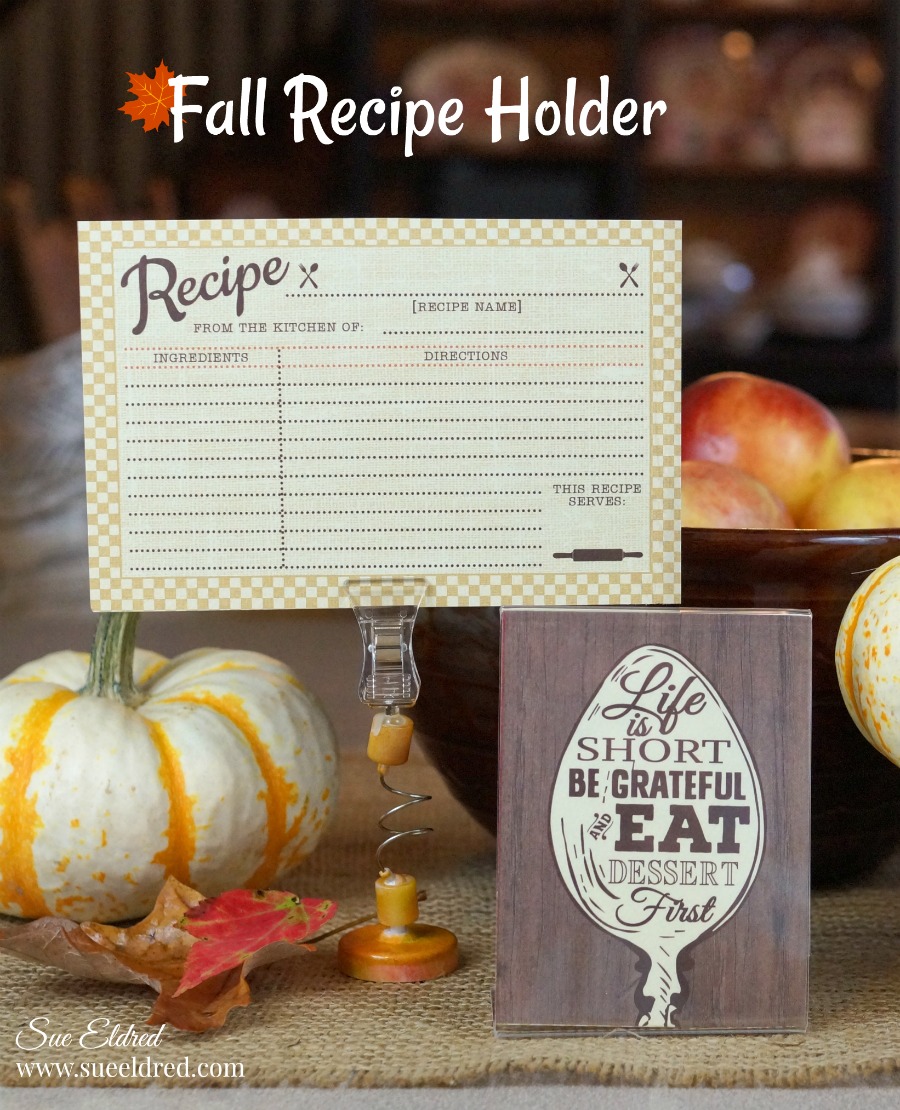
To keep the recipe from getting lost once all the ingredients are out, I need a good recipe holder.

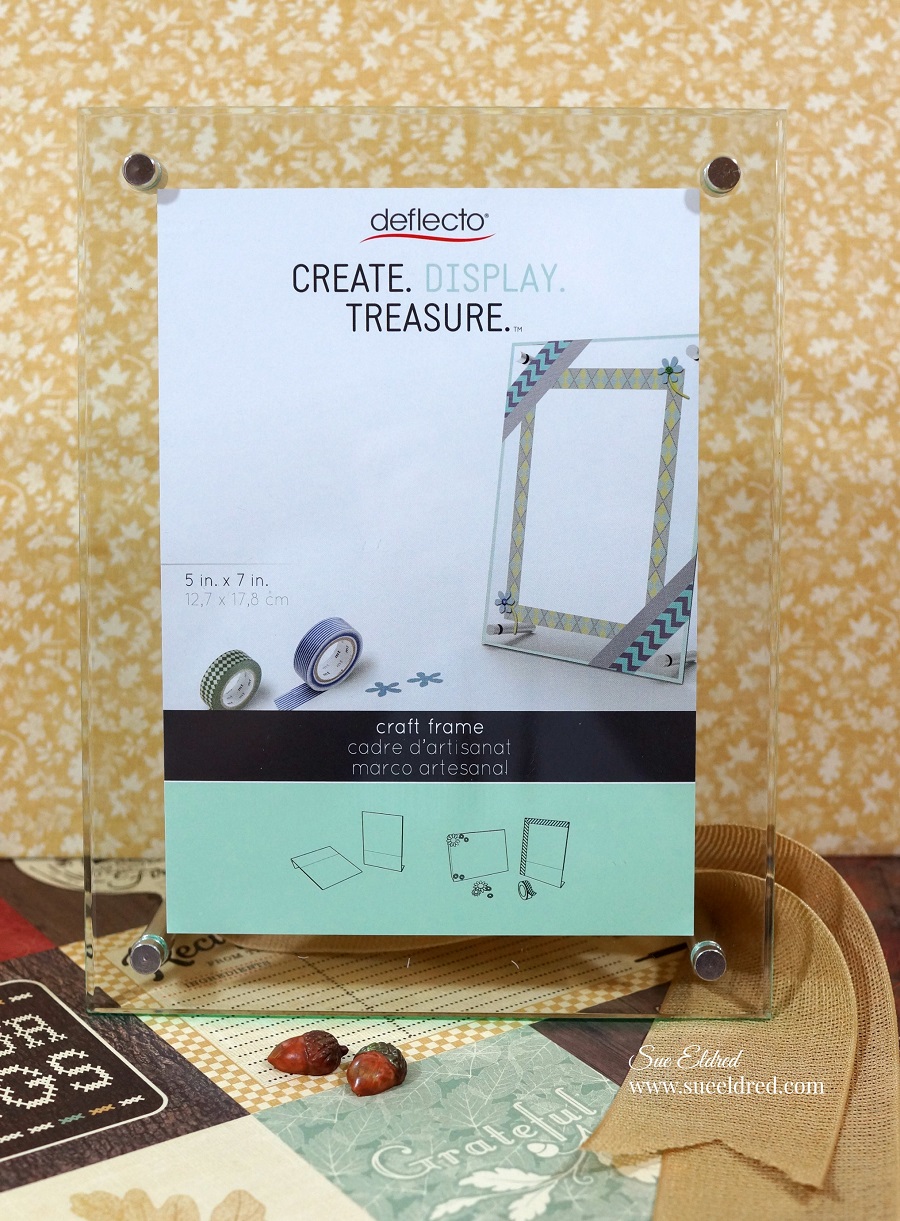
Here’s a easy project that I made using the Deflect-O VersaGrip Magnetic Sign Holder*.
(The recipe card holder would also make a cute name holder as well.)
FYI…The recipe card and “life is short…” saying is from a scrapbook sheet from the
Authentique Bountiful Collection Kit*

I added the cute fall saying into a 3″ x 4″ Deflecto Mini Slanted Sign Holder*.

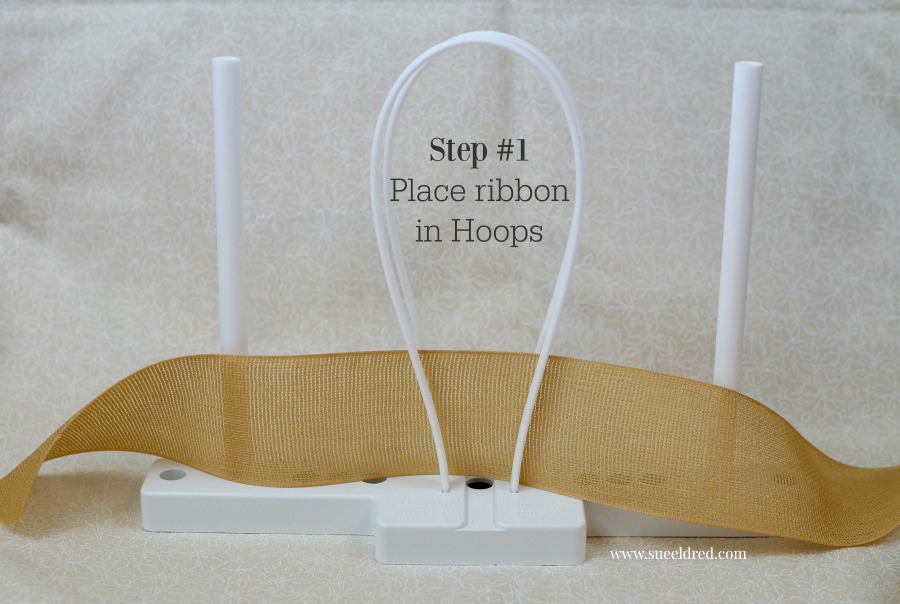
To make my Recipe Holder…
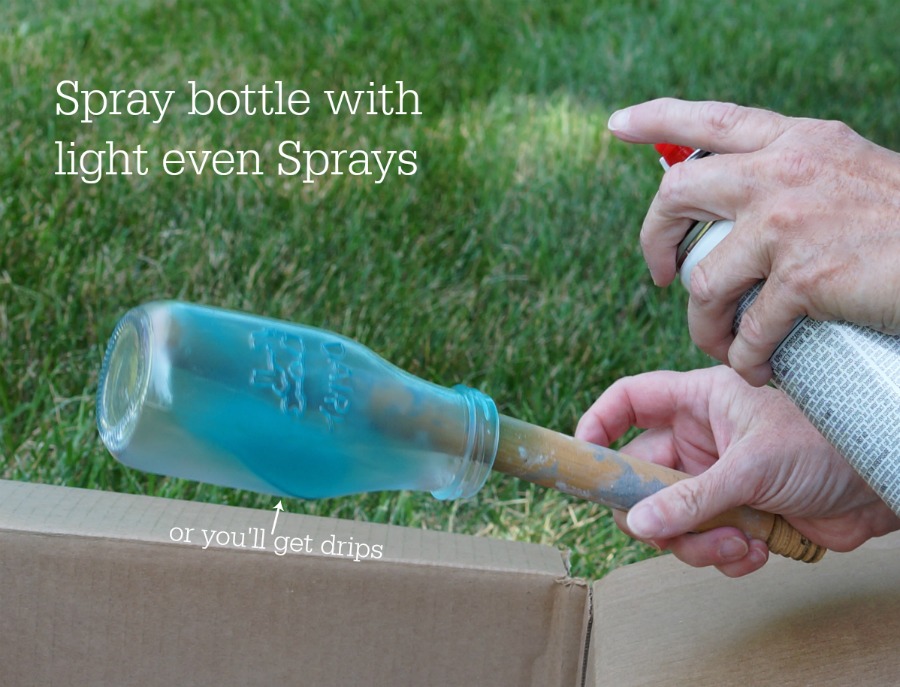
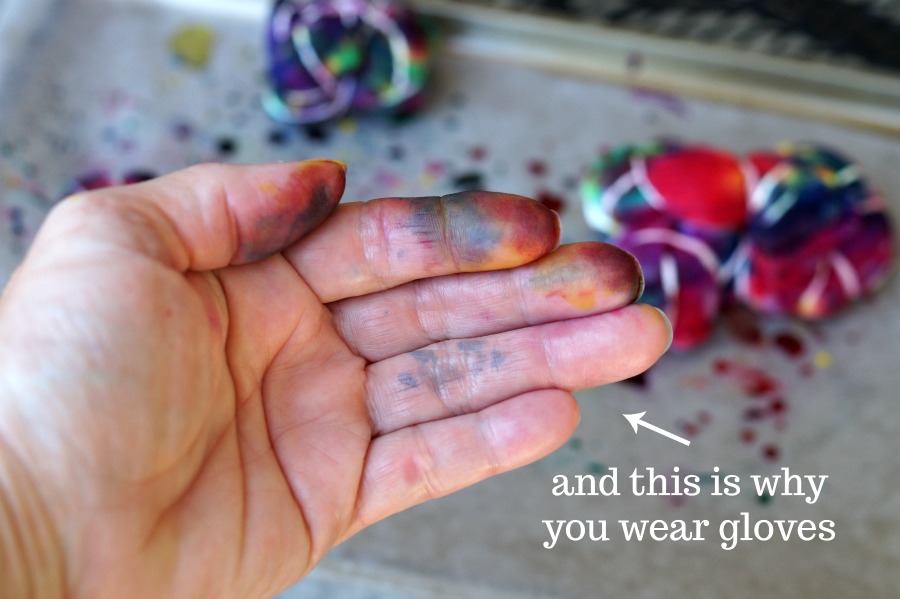
I used a compressed sponge to apply ink directly onto the base and the white band of the
VersaGrip Magnetic Sign Holder*. (I used StazOn Inkpads which are a fast-drying permanent ink
in Orange Zest*,
Claret*
and Cactus Green*
.)

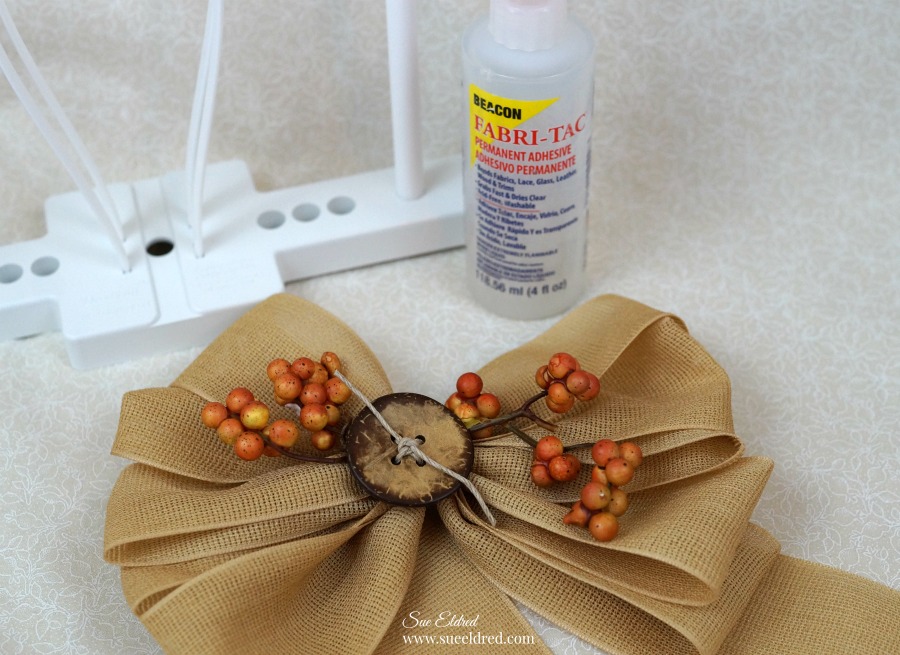
I wrapped the wire center around a round paintbrush to add a little whimsy.
(The VersaGrip Magnetic Sign Holder*is available at Amazon and comes in a pack of 5.)

The VersaGrip Magnetic Sign Holder* is magnetic so it also will stick onto your refrigerator.
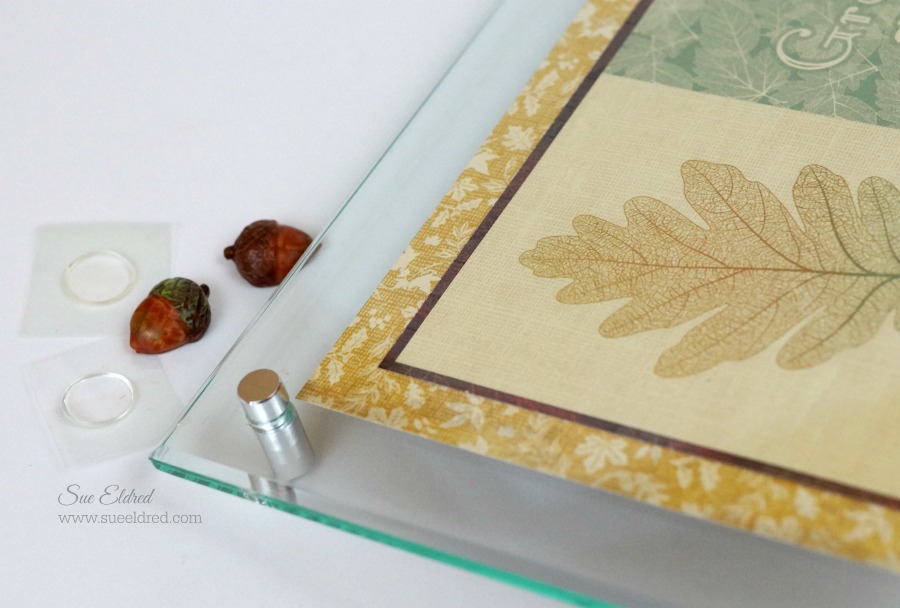
Did you notice the magnet picture frame on the top right corner?
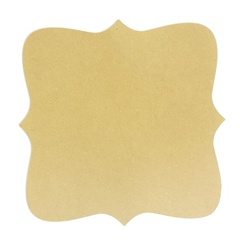
It was made by covering a Deflecto Magnetic Craft Sheet* with scrapbook paper and cutting
the frame shape out using a frame die cut.
![]()
“This is a sponsored post. As a member of the Deflecto Design Team I have been provided product in exchange for my creative ideas, views and opinions.”

Shop Amazon Scrapbooking Supplies*
*Disclaimer: This post uses ads and affiliate links. If you choose to make a purchase using one of the links, I receive a small commission (at no additional cost to you) that helps offset the costs of maintaining this blog. Thanks for your support!