Good Old Embossing Powder…
When I was introduced to stamping in 1996, do you know what hooked me?
It was the Gold Embossing Powder.
The first time I watched them melt that gold embossing powder. WOW!
At the time, I had a gift store and was looking for something new.
I can’t tell you how many people I hooked with that gold embossing powder.
Here’s a little throwback to where I started.
Back to embossing powder. (this time with a twist)
For this project, I started with a oval that was cut from chipboard.
I rubbed Colorbox White Embossing Pad* onto the surface of the oval.
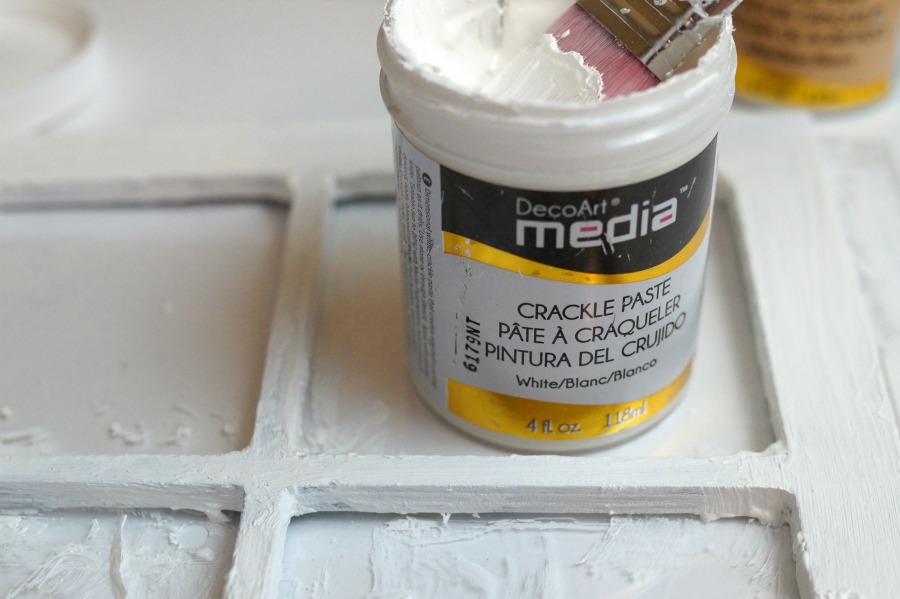
Next, I poured White Embossing Powder* over the entire oval.
After pouring the excess powder off, heat the oval with a
Multi-Purpose Embossing Heat Tool*.
Make sure all the embossing powder is melted.
Repeat that step 3 or 4 times, building up a thick layer of embossing powder.
After it was thick enough, I added a little red ink to the edge of the oval and
inked up the “Windmill” stamp.
I heated up the oval again, making sure the powder was really hot and melted.
I pressed the inked stamp into the hot, melted powder. Success!
I love the way it looks like red toile. (which is something I collect)

*Disclaimer: This post uses ads and affiliate links. If you choose to make a purchase using one of the links, I receive a small commission (at no additional cost to you) that helps offset the costs of maintaining this blog. Thanks for your support!