Simple Vintage Christmas Cards

Simple Vintage Christmas Cards

Last week-end at my annual Holiday Workshop we made several Christmas cards using the

“Simple Vintage Christmas” Collection from Simple Stories.

I’m a big fan of vintage Santa’s and fell in love with this collection.

It was so much fun to work with.

I was able to keep the cards fairly simple with only a few embellishments and ribbons

because the images were so beautiful.

I picked up the cute snowflake embellishments at Hobby Lobby.

This one I made into a gift card holder.

Simple Vintage Christmas is a great Holiday Collection.

Simple Stories Simple Vintage Christmas Collection Kit*

*Disclosure:  This blog uses ads and affiliate links.  If you choose to make a purchase using one of the links, I receive a small commission (at no additional cost to you) that helps offset the costs of maintaining this blog.  Thanks for your support!

Shop Your Fav Brands at Scrapbook.com

Shop Amazon Scrapbooking Supplies*

DIY Christmas Blocks from Wood Scraps

Quick and Easy Christmas Decorations using Wood Scraps, Vinyl and Stencils.

Got any old wood scraps lying around?

My Dad used to keep a box of old wood scraps for the kids to build and play with.

I grabbed a few of the worn out blocks for my holiday projects.

To make the Holiday Blocks…

Shop Your Fav Brands at Scrapbook.com

*Disclosure:  This blog uses ads and affiliate links.  If you choose to make a purchase using one of the links, I receive a small commission (at no additional cost to you) that helps offset the costs of maintaining this blog.  Thanks for your support!

  • Use Vinyl Transfer Tape* to pick up and apply the word directly onto the block of wood.
  • Rub over the letters using a vinyl scraper tool to remove bubbles and help the vinyl cling to the wood surface better.
  • Remove transfer tape.

  • Tie a simple ribbon around holiday berries and glue it to the top of the painted wood block using a quick dry glue*.
  • I placed the block onto an old vintage metal base scrounged and saved from my Dad’s garage.  (I love reusing cool old vintage junk.)
  • The Stag and Merry Christmas images were also created using my Silhouette Cameo and applied the same way as the Believe block.)

really simple Holiday Décor.

StyleTechCraft Christmas Colors Bundle on Amazon*

If you don’t have access to an electronic die cutter you might want to try a little DIY stenciling.

  • The “Believe” wood block was painted with red acrylic paint and stenciled using the Believe stencil from DecoArts and a stencil brush*  

Another quick and easy Holiday DIY.

Need Stencils?  I have several DecoArts Stencils in my Etsy Shop.

“This is a sponsored post.  As a member of the StyleTechCraft Design Team I have been provided product and compensation in exchange for my creative ideas.  The views and opinions are my own.


Don’t Miss a Thing…Make Sure to Follow me

Creating A Miniature “Christmas Magic” Room with Graphic 45 and Xyron

How to Create A Miniature Christmas Room…

Graphic 45 Christmas Magic…Decorating the tree.

I knew as soon as I started working with Xyron that one day I would make a miniature room.

When I got the opportunity to work with Graphic 45’s “Christmas Magic” Collection,

I knew the time had come.  (Graphic 45 and Xyron are the perfect combination.)

Here’s What I used to make my Miniature Christmas Magic Room:            (*affiliate link)

*Disclosure:  This blog uses affiliate links.  If you choose to make a purchase using one of the links, I receive a small commission (at no additional cost to you) that helps offset the costs of maintaining this blog.  Thanks for your support!

How to make a miniature Christmas Magic Room…

  • My Christmas Room is 7 1/2″ wide, 7 1/2″ tall and 5 1/2″ deep.  I used 5 3/4″ x 7 1/2″ chipboard pieces.  (that’s what I had on hand)  You could use a 7 1/2″ x 7 1/2″ piece of chipboard for the back wall instead of piecing it together like I did.

  • I cut paper for my walls into 3 3/4″ strips.
  • I cut a small strip of paper for my decorative border.
  • I ran each of my strips through the Xyron Creative Station*.
  • Adhere paper to the chipboard.

The Creative Station is perfect for projects like this.  I wanted complete adhesive coverage on every corner and edge of the paper.  (No wrinkles, no bubbles, easy to use.)

  • I cut my paper slightly wider than I need so I can trim the edges with a craft knife.
  • Gently sand edges with a extra fine sanding block for the perfect edge.

  • Glue the walls together using a good craft glue.  I used wood boxes to hold my wall up while the glue dried.  (If you have a better idea I’d love to hear it.)

  • I covered the back of my room with coordinating paper and added small strips of paper on the back corners for added support.

  • I made a small fireplace out of chipboard.  (I needed a place to hang my stocking)
  • Paint the fireplace with white paint.  Give it a vintage feel by rubbing a little ink on the edges.

  • I purchased inexpensive unfinished doll furniture at the Dollar Tree* and painted it red.
  • For a vintage look add ink to the edges of the furniture.

  • I used stickers from the collection kit to make little framed art.

  • I made a small little crate to hold my “ornaments” out of chipboard and painted it brown.  I added a small “tis the season” sticker on the front.

  • I created a small picture using a sticker and chipboard and a small felt stocking to add to the mantel.

I have spent way to much time rearranging the furniture and playing with it.

It was a real labor of love.  (and I loved every minute of it)

“This is a sponsored post.  As a member of the Xyron Design Team I have been provided product and compensation in exchange for my creative ideas.  The views and opinions are my own.

Sue’s 2018 Holiday Workshop

Registration is now open for Sue’s Holiday Workshop… 

Saturday, November 10th 

10:00 a.m. to 3:00 p.m.

Sue’s Holiday Workshop is a great jumpstart into the Holiday Season and…a good way to spend quality time laughing and creating with friends.

For the card makers…This year we will be making even more cards and tags using the “Simple Vintage Christmas” Collection from Simple Stories.

For the Holiday Crafters… We will be making a cute Felt Santa, Rae Dunn Inspired Ornaments, Wood Holiday Sign and Bonnie will be teaching you how to make an adorable Origami Star.  (Additional Holiday Workshop Samples pictures coming soon.)

The cost of the Holiday Workshop is $45…
which includes your workshop supplies*, hot lunch, yummy cookies and lots of prizes.  (Did I mention every wins a prize?)

Sue’s Holiday Workshop will be held at St. Mark’s Lutheran Church,
200 S. Main St., Washington, IL  in my church’s large Family Life Center.
Great lighting and plenty of space to spread out.

It’s going to be a fun day.

Invite a friend and reserve your spot today.
RSVP: suesholidayworkshop@yahoo.com

Payment is due by Nov. 1st.

Dollar Store Pumpkin Makeover

I love the look of heirloom pumpkins and those cute little white pumpkins called “baby boo”.

But…I always have a hard time finding them.

This year, I decided to make my own.

I found these cute little 4″ metallic pumpkins* at my local Dollar Tree*.

At $1.00 each, I couldn’t pass them up.

I painted the pumpkins with Americana Multi-Surface Satin Acrylic Paint in White Birch*.

It took 4-5 coats.  In hindsight, I wish I would have left a little green showing through.

I used Americana Multi-Surface Satin Acrylics Paint in Coffee Bean* to paint the stem and

accent the grooves of the pumpkin.  To make it look more realistic, I used a baby wipe to

strategically wipe off some of the extra brown paint.

I really please with the way they turned out.

Best part is… they won’t spoil and I can reuse them year after year.

Shop Your Fav Brands at Scrapbook.com

*Disclaimer:  This post uses ads and affiliate links.  If you choose to make a purchase using one of the links, I receive a small commission (at no additional cost to you) that helps offset the costs of maintaining this blog.  Thanks for your support!

Save

How to create an Embroidery Hoop Pumpkin…

How to Create an Embroidery Hoop Pumpkin

A Quick and Easy Fall Decoration.

What do you get when you find an outdated plaid Fall shirt, a small oval embroidery hoop

and then you add a few simple embellishments and some Joy Iron On Embroidered Letters?

You get a cute little Fall Pumpkin and A Quick and Easy Fall Decoration.

For my Embroidery Hoop Pumpkin I used:            (*affiliate link)

  • Lay the embroidery hoop onto the fabric first and  then place the letters inside the hoop to help you figure the best placement.

  • Set Iron to cotton setting, approx. 350 degrees, or follow garment care label.
  • Position letters with shiny side down onto fabric.
  • Cover letters with a fine cloth.  With a firm pressure, iron cloth over letters for 30 seconds.
  • Turn fabric over and iron the back for another 30 seconds.

  • Loosen the screw on the top of the embroidery hoop and insert fabric making sure to keep the letter alignment straight.  (re-tighten screw)
  • Trim excess fabric from outside of embroidery hoop.
  • Glue the green braided trim around the outside of the embroidery hoop.

  • Tie ribbon and leaves to the top of the frame.
  • Glue small acorn embellishment onto ribbon.
  • Super cute and simple to make.

“This is a sponsored post.  As a member of the Joy® Design Team I have been provided product and compensation in exchange for my creative ideas.  The views and opinions are my own.

Shop Your Fav Brands at Scrapbook.com

*Disclosure:  This blog uses ads and affiliate links.  If you choose to make a purchase using one of the links, I receive a small commission (at no additional cost to you) that helps offset the costs of maintaining this blog.  Thanks for your support!

Celebrate with Matte Removable Vinyl

Create Festive Door Decals for the 4th of July!

I was decorating and getting the house ready for our 4th of July Pool Party…

when I got the idea to use my new Matte Removable Vinyl to create 4th of July door decals.

They were super simple to make and they add a fun festive touch.

To make my 4th of July Door Decals…

  • I cut the vinyl letters and number using my Silhouette Cameo 3*.
  • I cut additional small white stars to stick onto the blue number.
  • I easily transferred everything onto my door using the Vinyl Transfer Tape*.

I put one onto the backdoor heading into the pool area and the other onto the door leading

into the house from the garage.

Because family don’t use the front door!

I also used the vinyl to jazz up the plain metal tin to hold cutlery.

Did you know that this vinyl will remove cleanly for up to two years?

This vinyl  film is great for decorating a kid’s room, a classroom or just about anywhere

you just  need a temporary graphic.

And, with 27 colors available, it’s not hard to find the perfect color for whatever you can

dream up!

“This is a sponsored post.  As a member of the Tape Technologies Design Team I have been provided product and compensation in exchange for my creative ideas.  The views and opinions are my own.

Shop Your Fav Brands at Scrapbook.com

*Disclosure:  This blog uses ads and affiliate links.  If you choose to make a purchase using one of the links, I receive a small commission (at no additional cost to you) that helps offset the costs of maintaining this blog.  Thanks for your support!

Sparkle your 4th…

Sparkle your 4th…

For the 4th of July, I decided to create a round-up of my past 4 favorite patriotic projects.

Enjoy!

Recycle your old blue wine bottle into a festive display.

Enjoy the party with friends.  (maybe even empty another blue wine bottle)

To make the project… read here.

Red White and Blue Table Top Decoration

White picket fences, fireworks and the good old red white and blue. 

A 4th of July Celebration Centerpiece with Fireworks, Flags, Banners and Pinwheels all

rolled into one.     To see how I made it… read more.

Welcome your visitors with an Americana Wreath for your front door.

How to make the Americana Ribbon Wreath

  • I used a 14″ ruled wreath from Smoothfoam.
  • Glue one end of the ribbon down onto the foam wreath and wrap the ribbon tightly around the first section.  Glue second end of the ribbon in place before starting second color. (I used Beacon Fabri-Tac Permanent Adhesive* to glue my ribbon in place.)
  • Using a thin floral wire, wire the small floral stems onto the base of the wreath.
  • Glue larger flowers and leaves onto the wreath over the wire.
  • Add large stemmed butterfly and ribbon to hang.

So many possibilities.

For more information… read more.

Deck out the deck with a fun denim banner made from old jeans.

Got any old worn blue jeans ready to be thrown out?

I started with my old blue jeans and 3″ Iron-on Embroidered Varsity Letters from Joy

in red and blue.

For more pictures and instructions read here.

Shop Dollar Tree for Red White & Blue Party Supplies*                      (*affiliate link)

*Disclosure:  This blog uses affiliate links.  If you choose to make a purchase using one of the links, I receive a small commission (at no additional cost to you) that helps offset the costs of maintaining this blog.  Thanks for your support!


For Creative inspiraton…Make Sure to Follow me.

Shop Your Fav Brands at Scrapbook.com

“Dyeing” for Spring

Welcome Spring with all your beautiful flowers, warmer days and everything renewed.

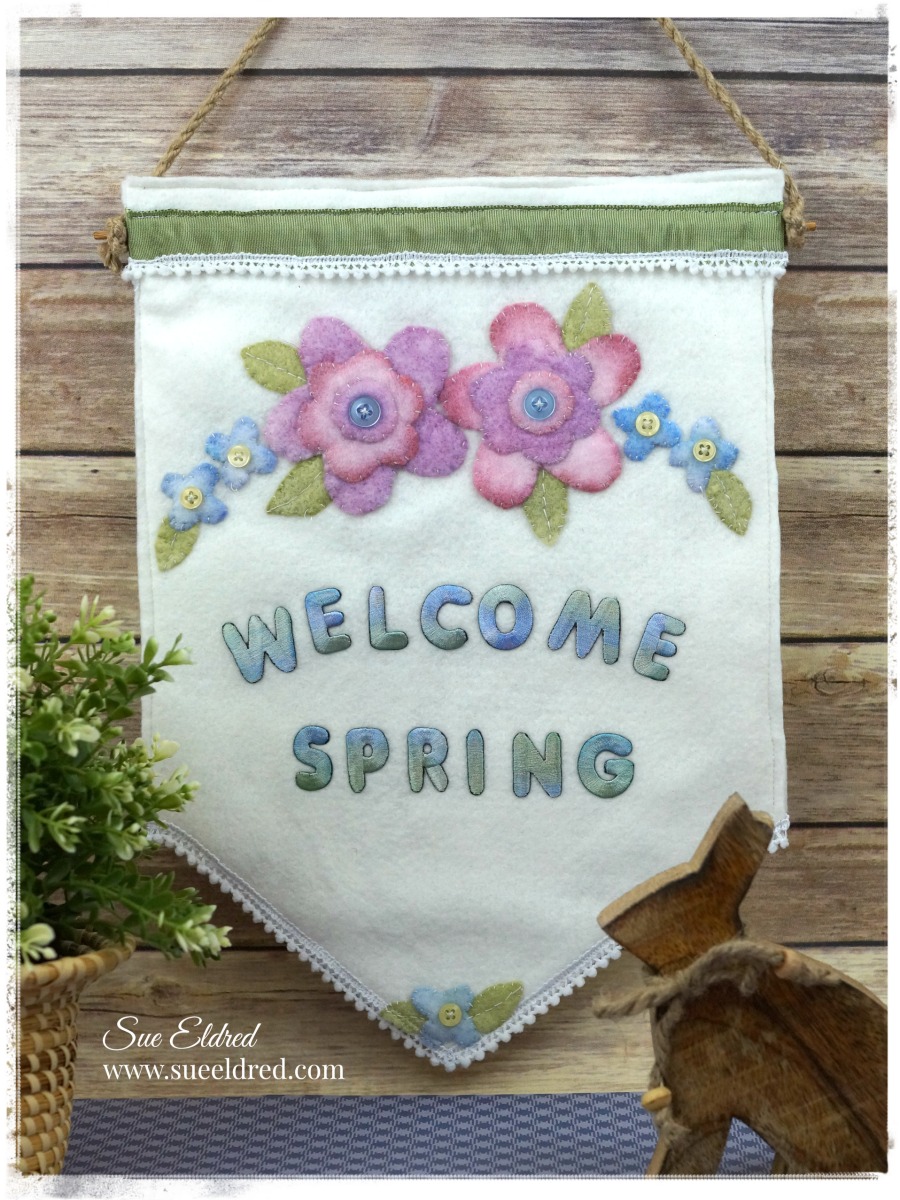
My Welcome Spring Banner turned into a real labor of love.

I began this project with the idea of using fun pink and purple hand cut felt flowers.

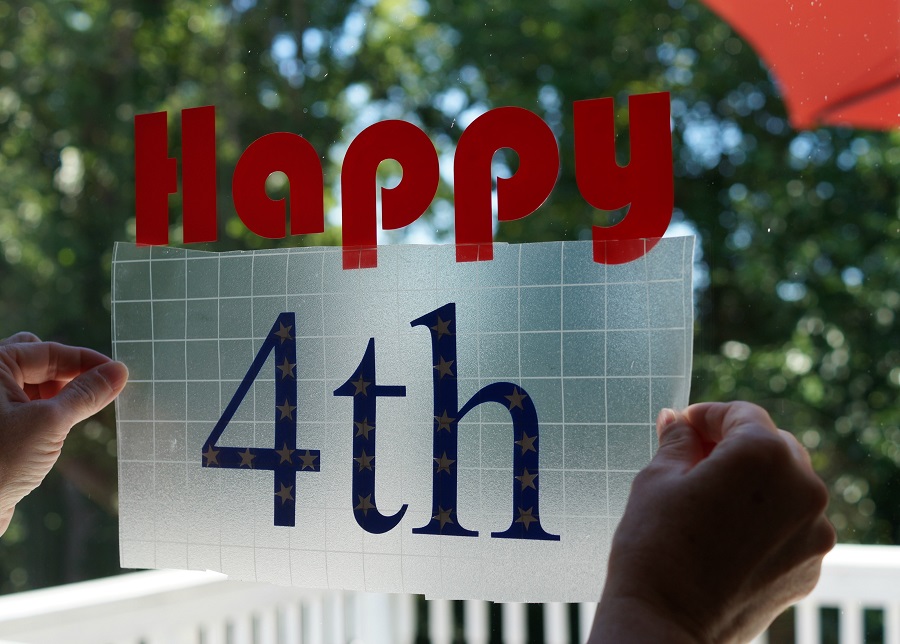
After I cut all the flowers and leaves, I decided to dye the embroidered letters.

The letters turned out so soft and delicate, I needed something softer for the flowers.

So…more flowers and more dyeing!  (make sure to read all the instructions below.)

I could of kept things simple and glued all the flowers in place, but noooo…

instead at the last minute I committed myself to stitching the entire thing.

Let me tell you…I’m not a stitcher!    (But, I am pretty satisfied by the way they turned out.)

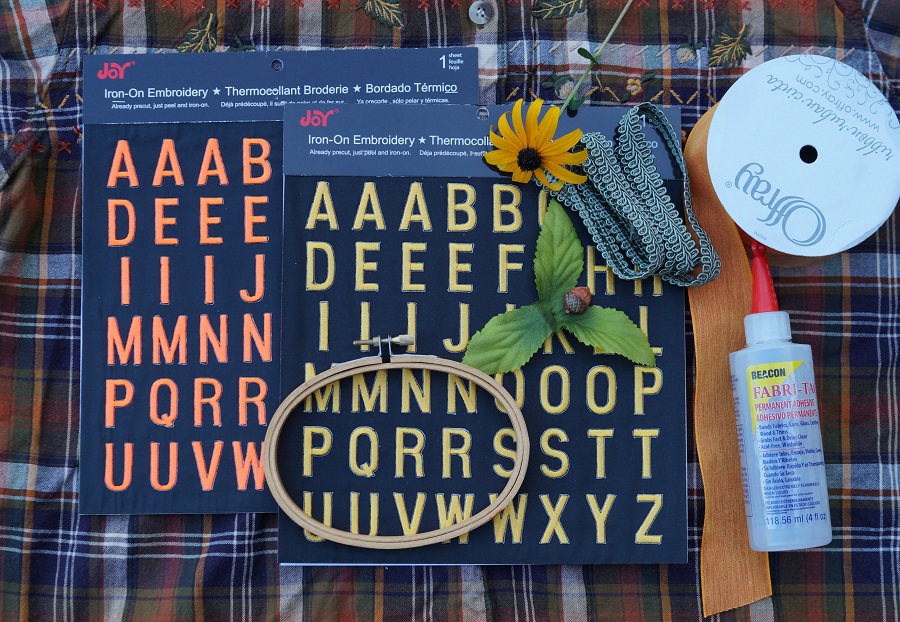
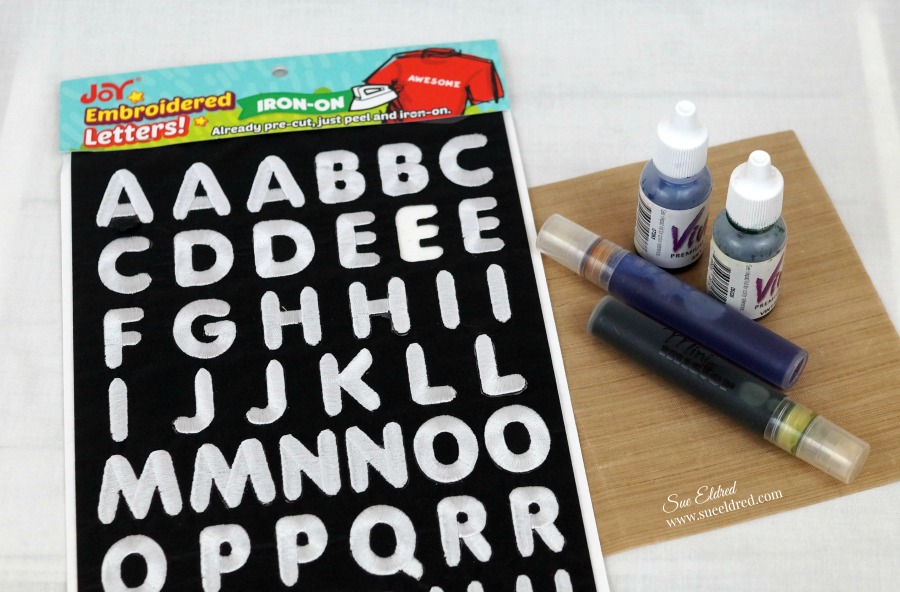
To make the Welcome Spring Banner you’ll need:

  1. Add several drops of dye ink to each misting bottle.
  2. Remove letters from backing sheet and place on a Non Stick Craft Mat* or (wax paper).
  3. Spritz the letters with both blue and green ink for a variegated look.  Allow the ink to soak into the letters then dab away excess ink and water with a paper towel.  Let dry.

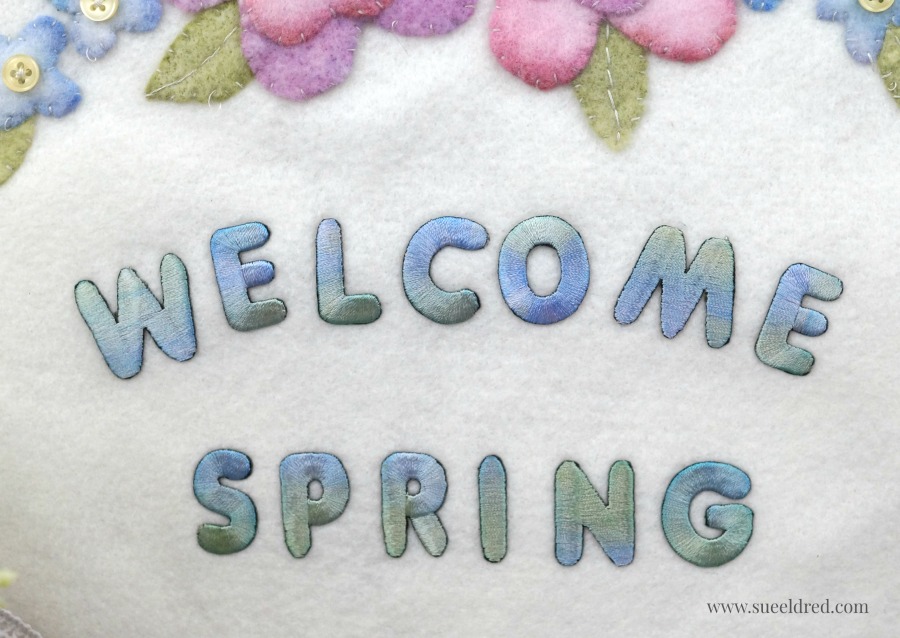
Look at how beautiful the letters dried.  ↓

4.  Create simple, hand drawn flowers (small, medium and large), circle and leaf patterns onto plain white paper.  Cut then trace around the patterns onto white felt.  Cut out.

5.  Spray the leaves green, set aside then spray the flowers and circles one color at a time.  Allow them to dry overnight.

6.  Layer the circle, small flower and large flower on top of each other then stitch in place.  Use a small amount of glue to hold the pieces in place while you stitch.

I love how the ink pooled at the edges of the pink flowers!

7.  To create the banner shape, fold a 10″ x 14″ piece of white felt in half lengthways.  Cut diagonally across the bottom from the center fold to a point about 3″ up from the bottom corner on the outer edges.  Stitch the flowers to the banner using a button at the center of each one.  Tuck leaves underneath the outer edges of the flowers then stitch in place.

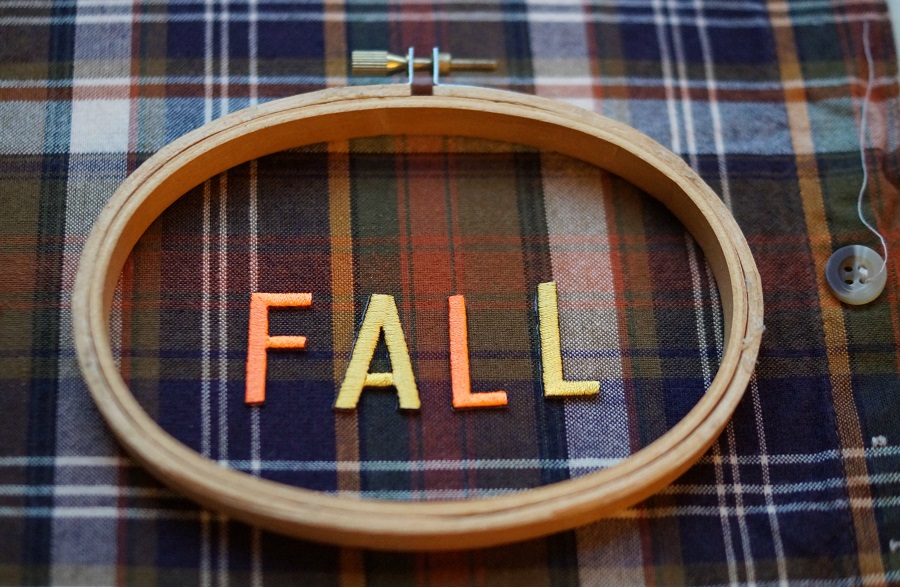
8.  Set iron to cotton setting, approx. 350°, or follow garment care label.  Position letters with shiny side down on felt, then iron the letters in place as shown.  Cover letters with a fine cloth.  With firm pressure, iron cloth over the letters for 30 seconds.  Turn banner over and iron the back of the letters for 30 seconds.

9.  Use a sewing machine to stitch the banner to backing material, then stitch trim in place across the top and around the bottom edge if desired.

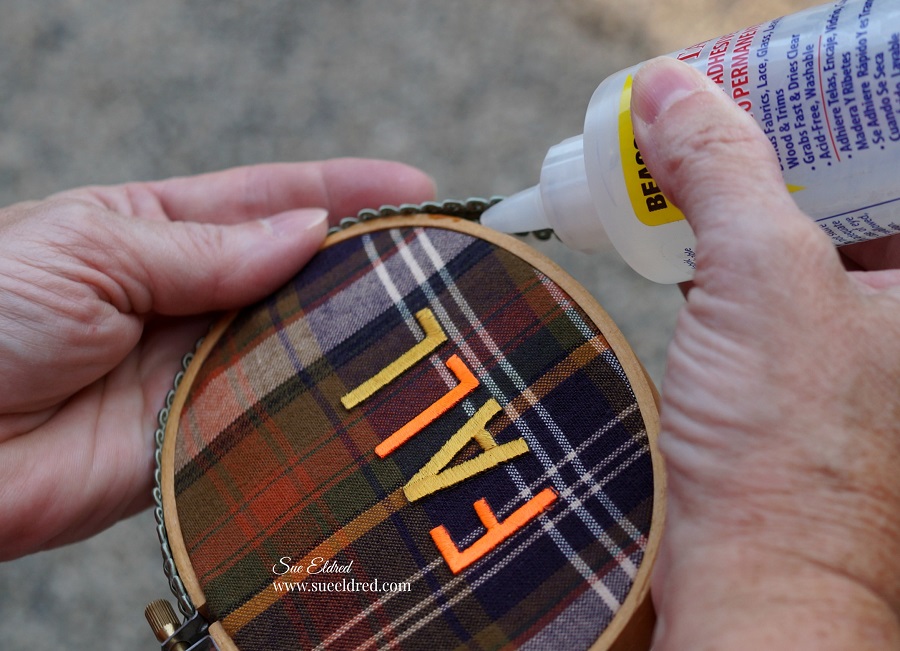
 If you need to finish your banner in less time, glue the flowers, leaves and trim in place, then use a fusible interfacing to adhere the felt banner to a backing.

Look for Joy® iron-on embroidered alphabet letter sheets at your local craft store.

My “Welcome Spring” banner was created for and sponsored by Joy SA.

Shop Your Fav Brands at Scrapbook.com

*Disclaimer:  This post uses ads and affiliate links.  If you choose to make a purchase using one of the links, I receive a small commission (at no additional cost to you) that helps offset the costs of maintaining this blog.  Thanks for your support!

Try Amazon Prime 30-Day Free Trial

March Calendar Girl Card

The March Calendar Girl card was made by using one the pages from my

Calendar Girls Mini Coloring Book* by Adornit.

The card was water colored using dye ik pads and a Waterbrush*

I apply the ink directly onto a piece of acetate and pick up the ink with my water-brush.

MATERIAL LIST:                            (*affiliate links)

Shop Your Fav Brands at Scrapbook.com

March Calendar Card Directions:

  1. Form a 5 x 6 ¾ inch card from cream cardstock.
  2. Cut green chevron patterned paper to 4 ¼ x 6 inches. Adhere to gold cardstock and trim a small border. Adhere layers onto 4 ½ x 6 ¼ olive green layer and then onto the cream card base.
  3. Cut Calendar Girl coloring page to 3 ¼ x 4 ¾ inches.
  4. Apply light watercolor wash to coloring page using waterbrush and ink from light blue dye ink pad.
  5. Color on acetate sheet with the salmon marker; pick up color with waterbrush and color girls face on coloring page.
  6. Dab ink onto the acetate sheet with ink pads. Pick up color with waterbrush and paint the rest of the calendar image.
  7. Add gold accents to the glasses, center of flower, skirt, socks and lettering using the gold gel pen.
  8. Add diamond stickles to the girl’s hair and vest.
  9. Adhere calendar girl to a thin gold cardstock border and onto the front of the card base.
  10. Add green enamel dots to the bottom corner of the card.
  11. Tie a sheer ivory ribbon to left side of card.

Finished card size: 5” x 6 ¾.”

March Calendar Girl was sponsored by ADORNit.

*Disclaimer:  This blog uses ads and affiliate links.  If you choose to make a purchase using one of the links, I receive a small commission (at no additional cost to you) that helps offset the costs of maintaining this blog.  Thanks for your support!