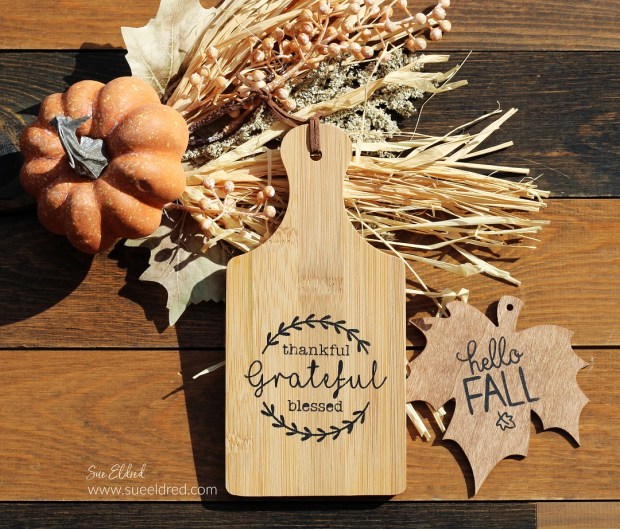
How to make a Stenciled Mini Fall Charcuterie Board
using StyleTechCraft removable vinyl. This is my first attempt at
a Charcuterie Board, so, in true “Sue” fashion, I went miniature.
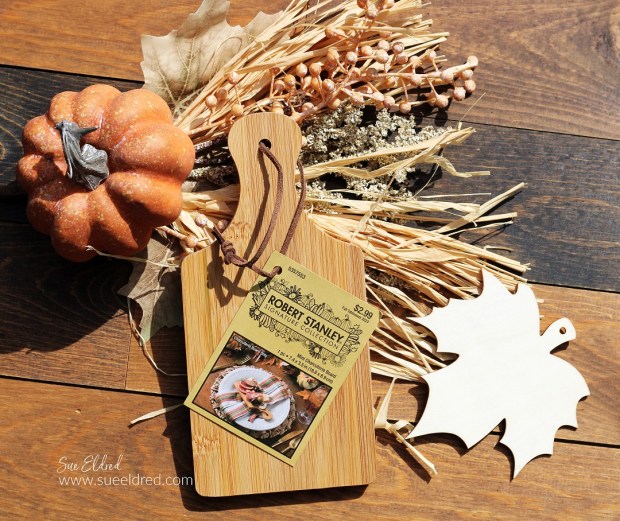
I picked up this miniature cutting board at Hobby Lobby earlier this Season.
(With their fall sale it cost under $2.)
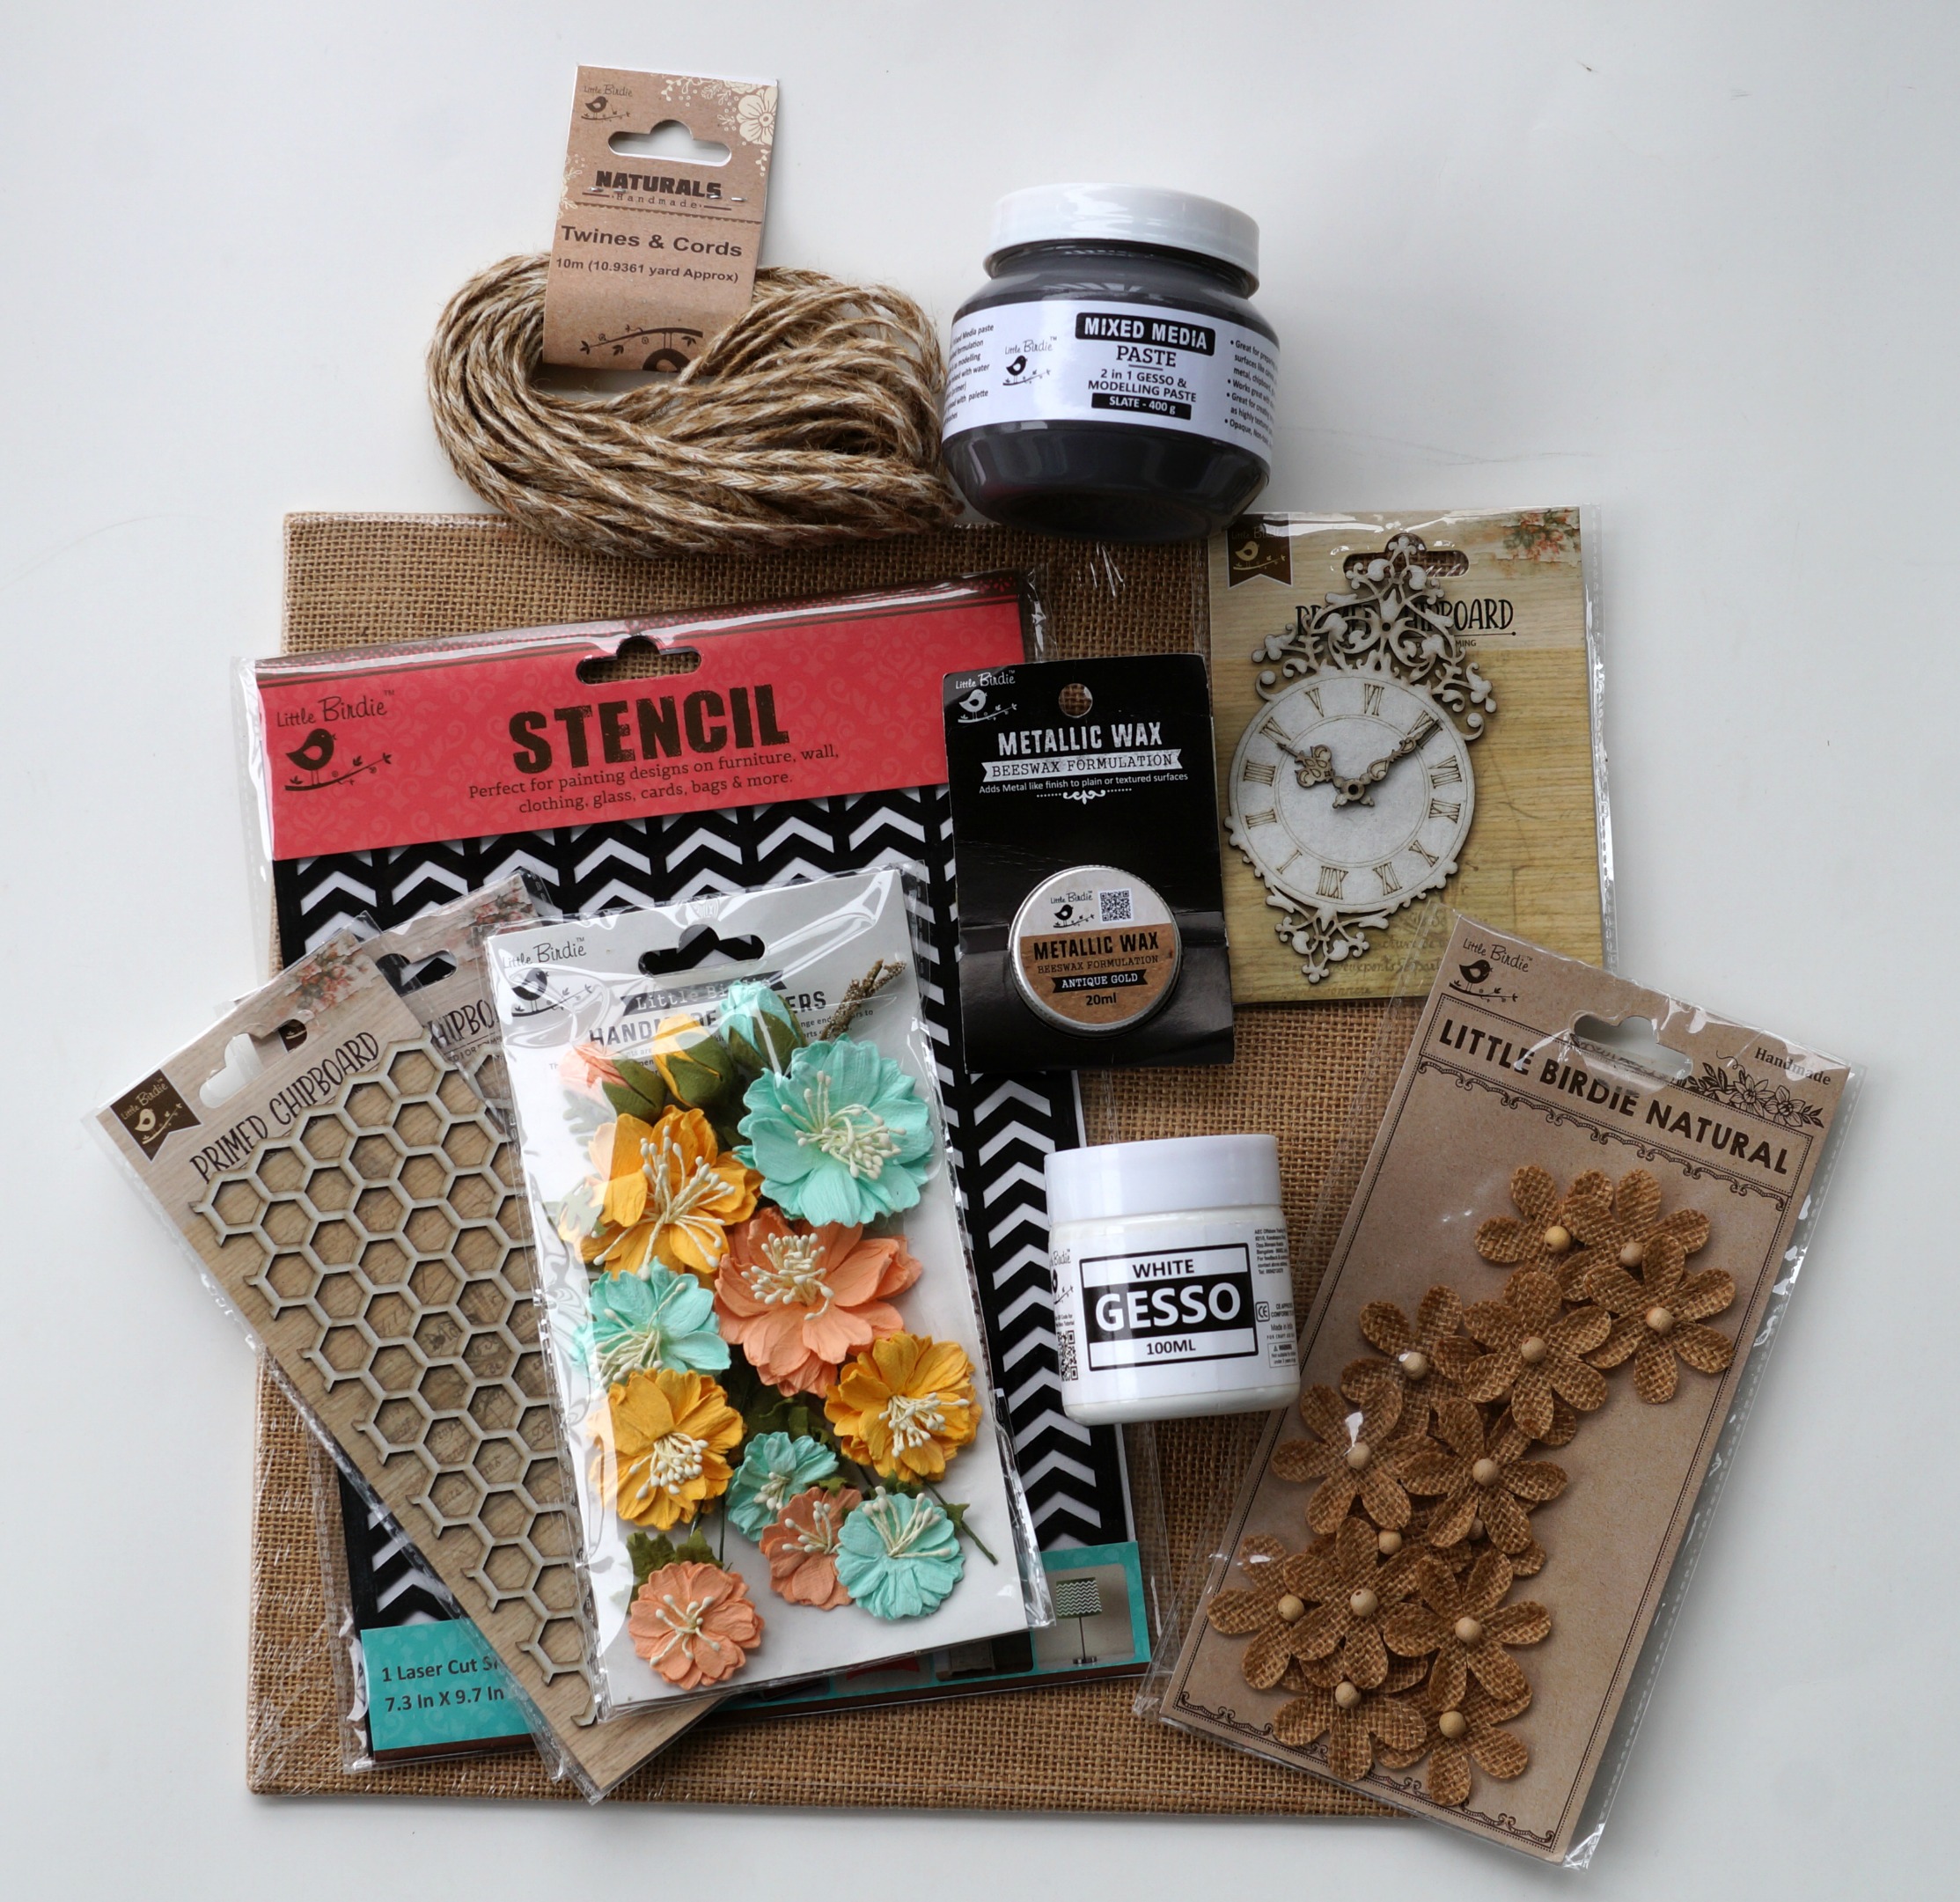
Materials Used: (*Affiliate Links)
- Mini Wood Cutting Board*
- Fall Leaf Wood Cut-Out*
- StyleTechCraft Matte Removable Vinyl*
- StyleTechCraft Vinyl Tool Kit*
- StyleTechCraft Vinyl Transfer Tape*
- SVG Files from the Silhouette Store
- Silhouette Cameo Electronic Die Cutting Machine*
- Fine Grit Sandpaper*
- Plaid Black Multi-Purpose Acrylic Paint*
- Deco Art Americana Walnut Gel Stain*
- Americana Multi-Purpose Sealer*
*Disclosure: This blog uses ads and affiliate links. If you choose to make a purchase using one of the links, I receive a small commission (at no additional cost to you) that helps offset the costs of maintaining this blog. Thanks for your support!

StyletechCraft products brought to you by ATSM Craft*
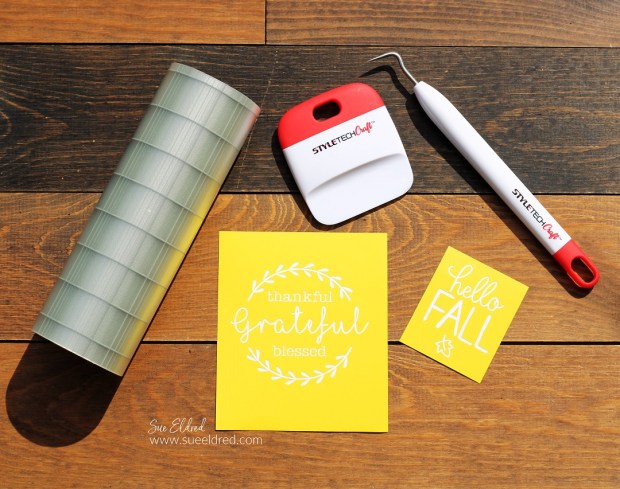
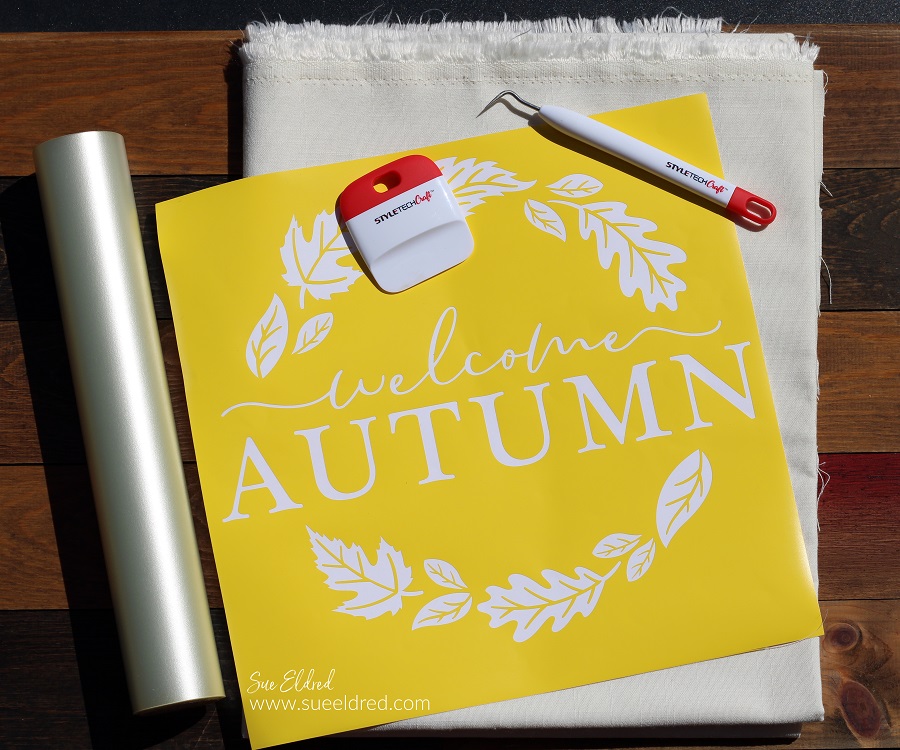
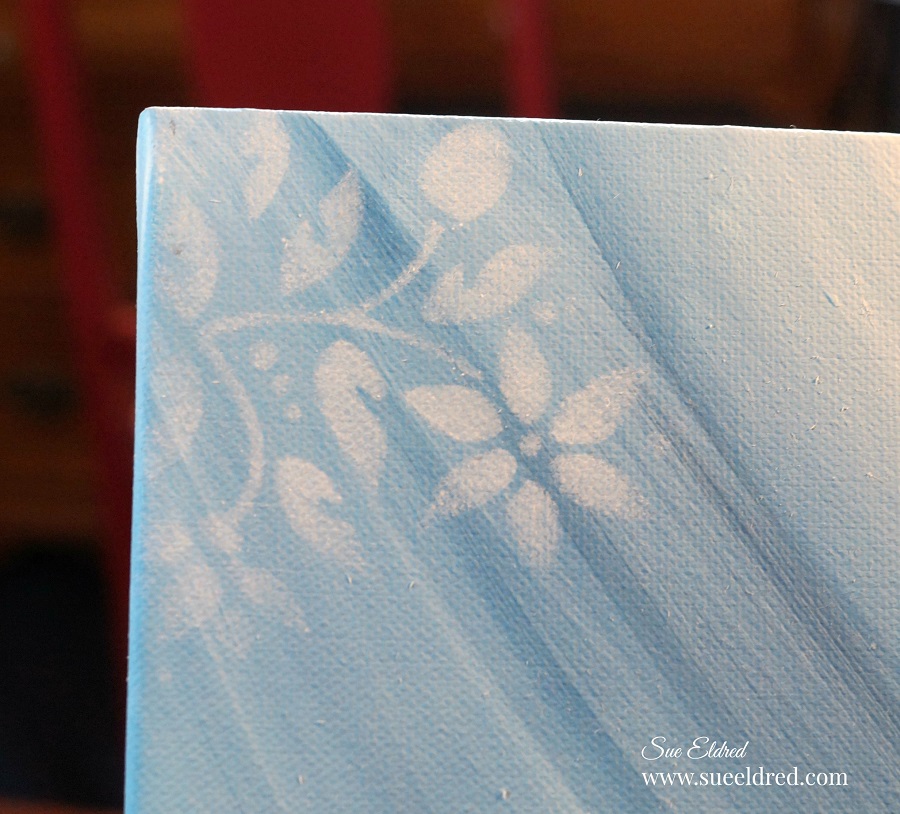
- I like to use StyleTechCraft adhesive vinyl to customize everything I can. It’s so fun and satisfying. But there are a few instances where vinyl isn’t the only option. Did you know you can use your cut files with vinyl to create custom stencils?
- I used an SVG cut file, my Silhouette Cameo Electronic Die Cutting Machine*, and StyleTechCraft Matte Removable Vinyl* to create the perfect fall stencil for my mini cutting board project.
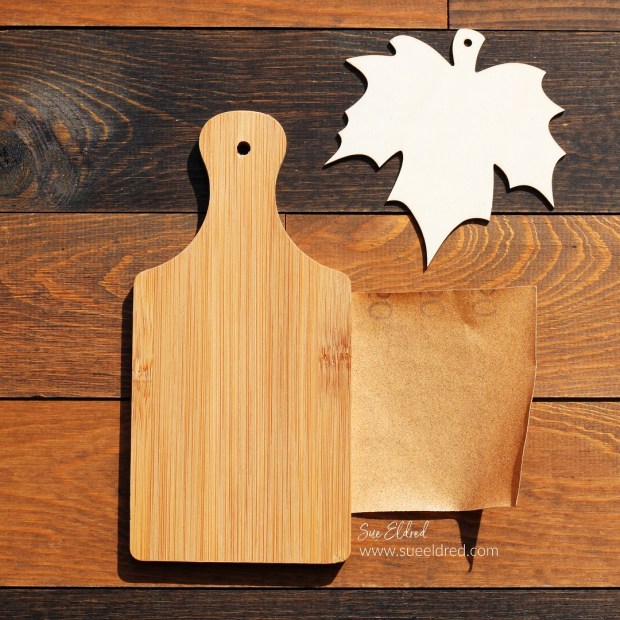
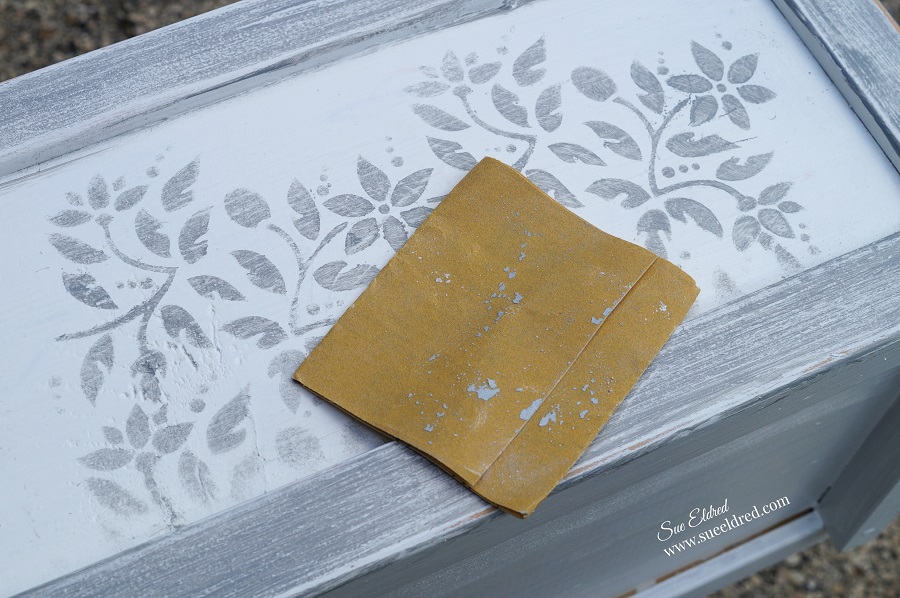
- I gave the cutting board and leaf a light sanding with fine-grit sandpaper.
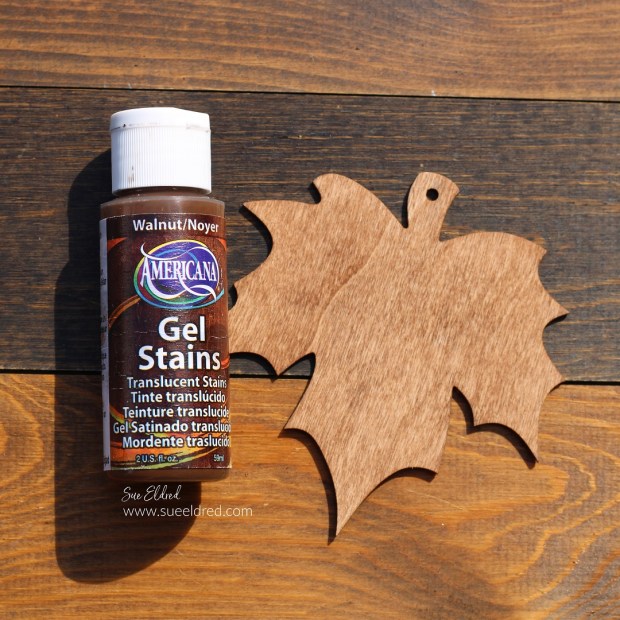
- I rubbed Walnut Gel Stain* on both sides of the leaf. It will make a great package tag.
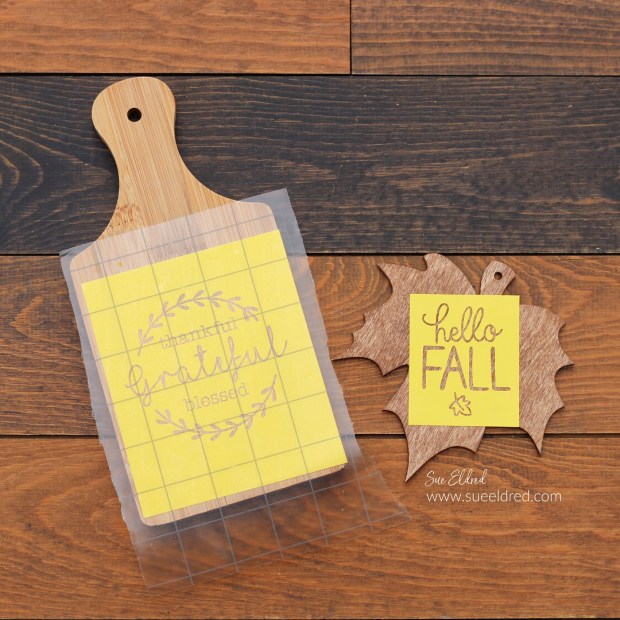
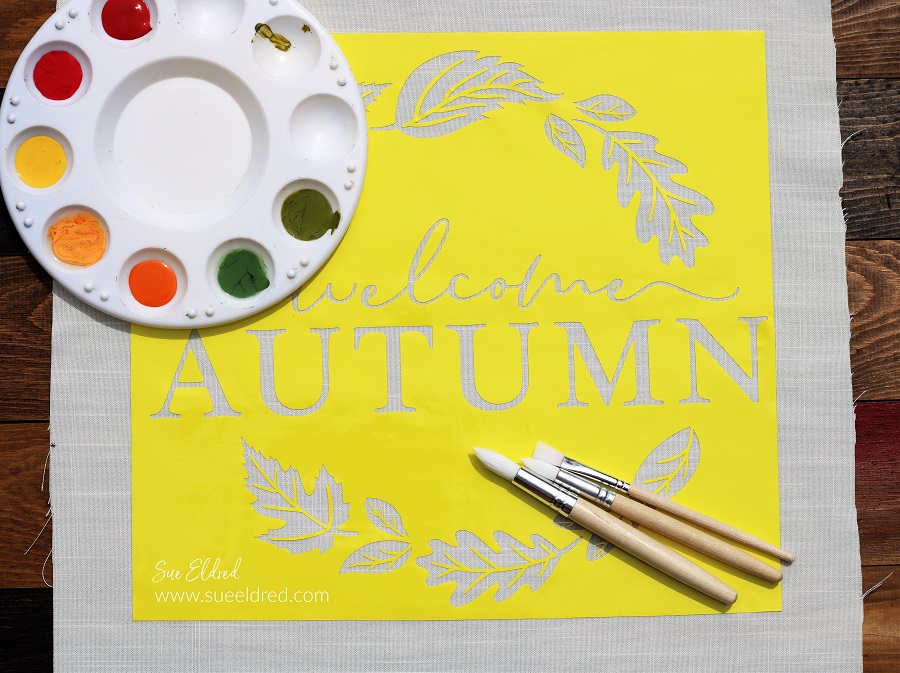
- Lay the Transfer paper over the vinyl and gently rub with a vinyl scraper tool. Make sure all the little inside letter pieces transfer.
- Place the Vinyl Transfer Tape* and vinyl onto the wood pieces. Rub over Vinyl Transfer Tape* and gently remove from the vinyl.
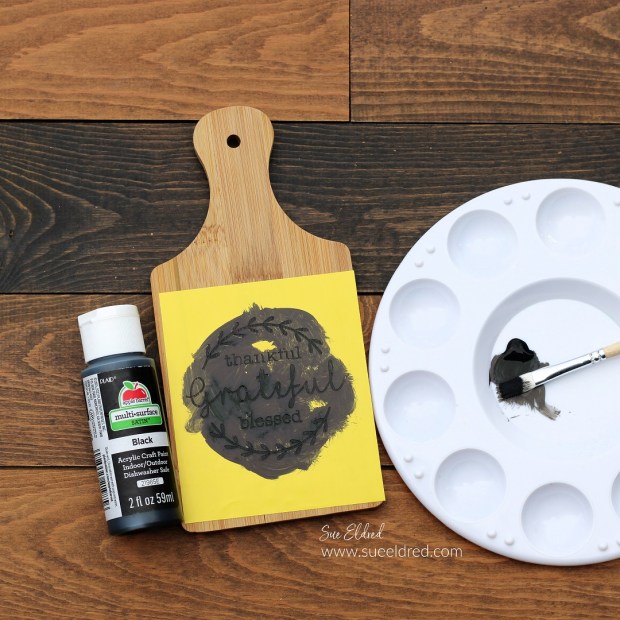
- Paint the inside area of the vinyl with Black Multi-Purpose Acrylic Paint*. (You may need two coats.)
- Carefully remove the vinyl from the wood. Use a sharp point to remove the vinyl from the inside of the lettering.
- Once the lettering is fully dry, lightly sand to smooth the design.
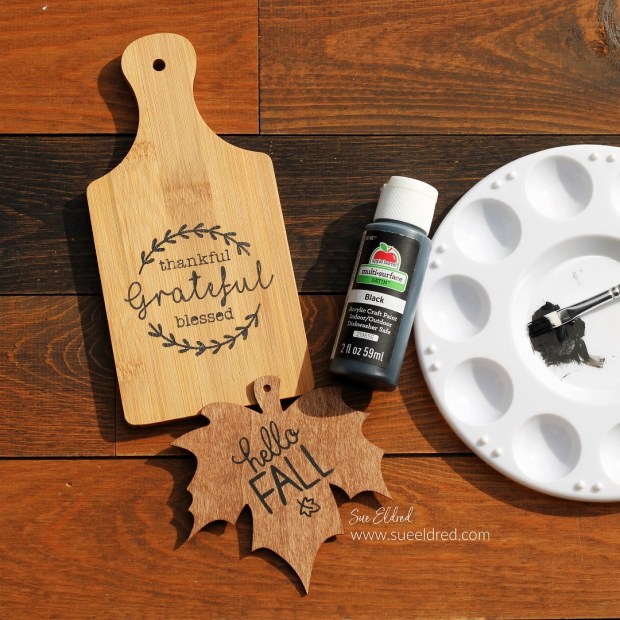
The black paint makes it look like it has been wood burned. (but it’s not!)
I debated back and forth whether to seal the wood or not.
I didn’t know if it mattered for use.
I used a Multi-Purpose Sealer* on both the board and the leaf.
I reasoned that the board is more decorative than it is utilitarian.
So, it was just a matter of preference.
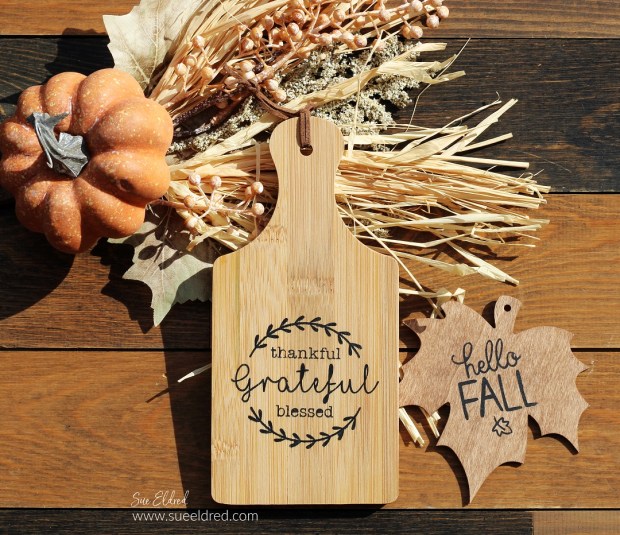
Wouldn’t it look cute with a mini loaf of pumpkin bread?
Just wrap it up with a ribbon and add the Hello Fall Tag for an
adorable Fall Hostess Gift.
Or use it for a mini party for two.

for another fun Fall Stenciled project click here.
![]()
“This is a sponsored post. As a member of the StyleTechCraft Design Team I have been provided product and compensation in exchange for my creative ideas. The views and opinions are my own.


