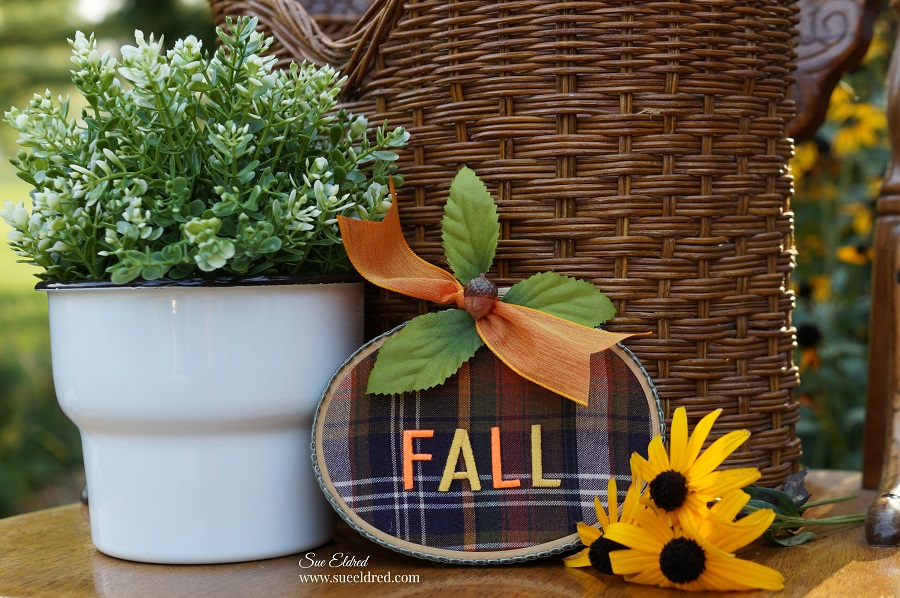
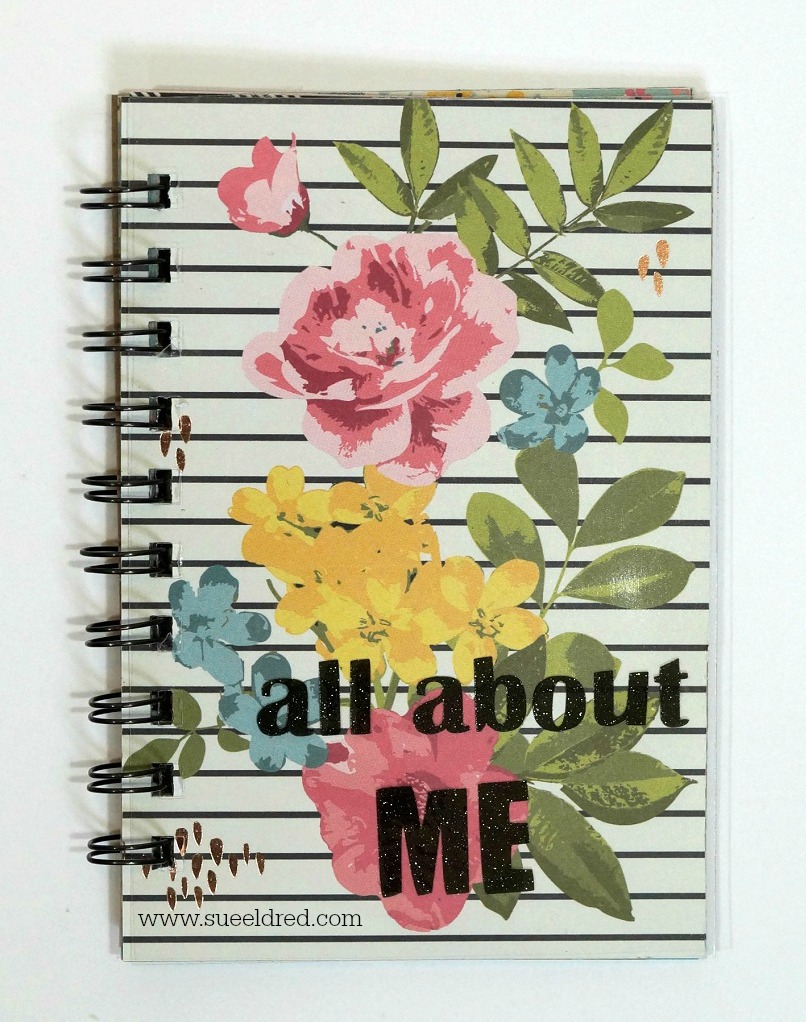
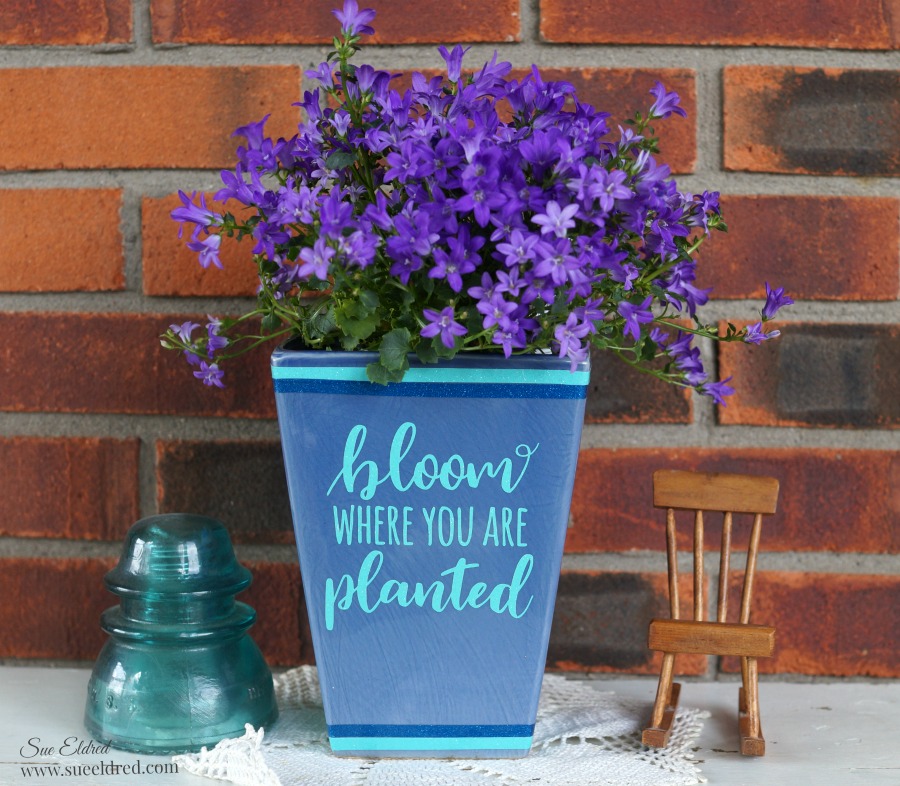
How to Create an Embroidery Hoop Pumpkin
A Quick and Easy Fall Decoration.
What do you get when you find an outdated plaid Fall shirt, a small oval embroidery hoop
and then you add a few simple embellishments and some Joy Iron On Embroidered Letters?
You get a cute little Fall Pumpkin and A Quick and Easy Fall Decoration.
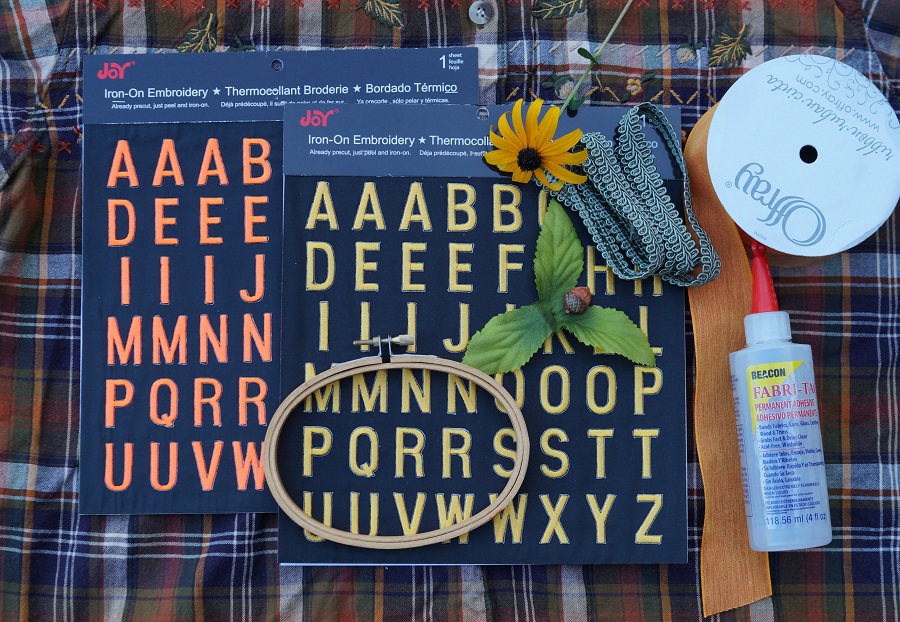
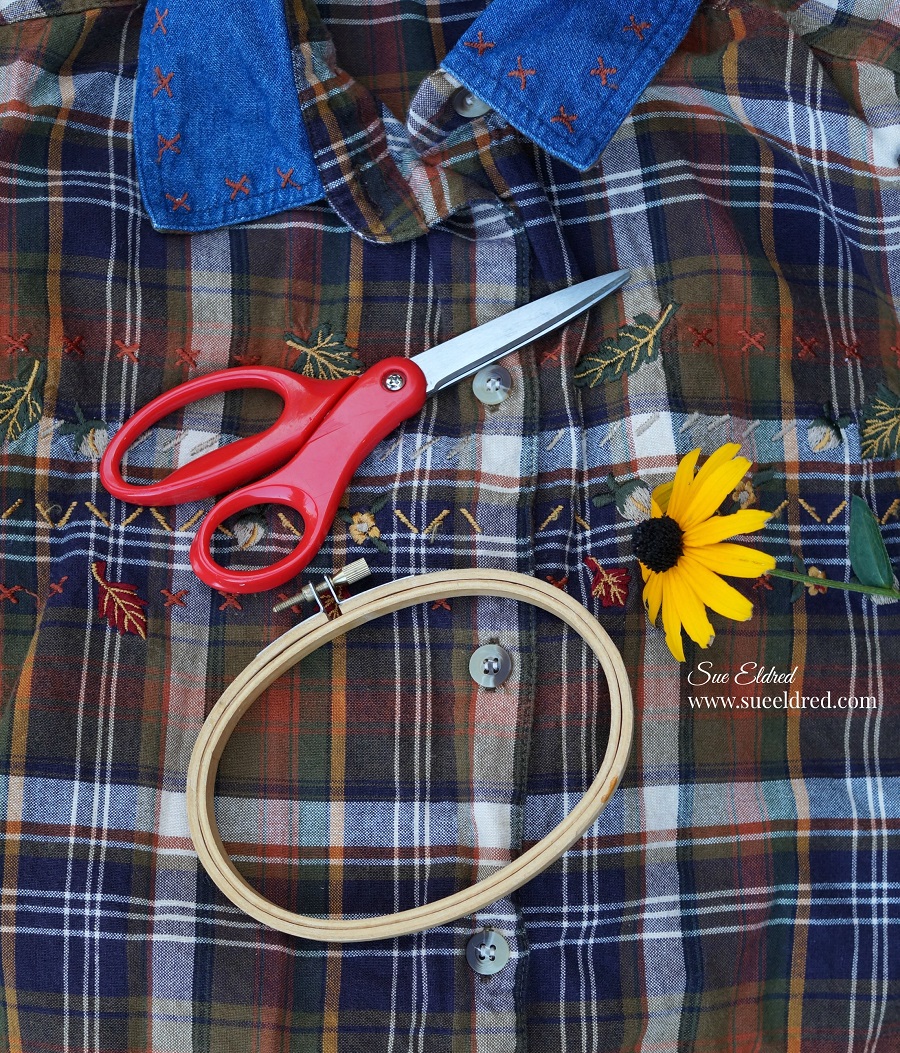
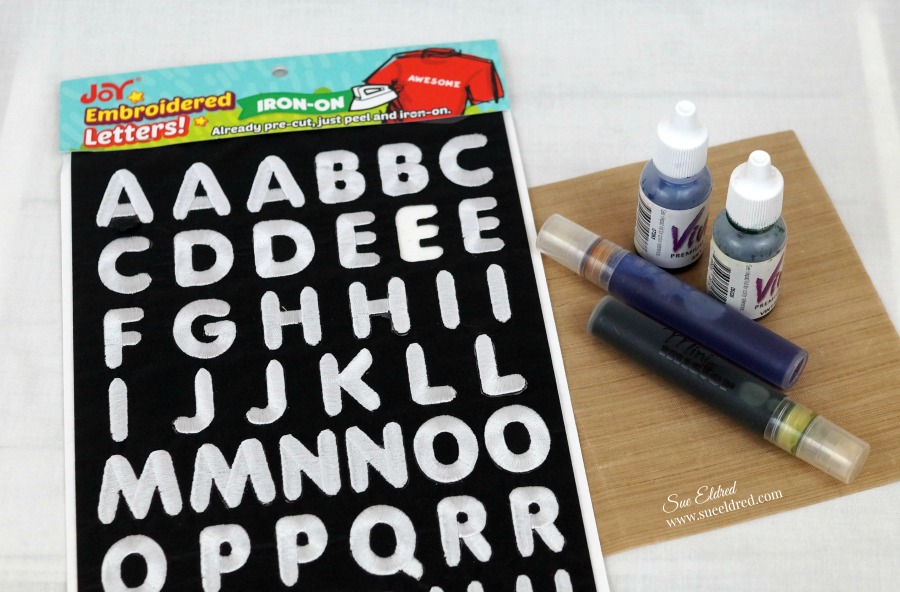
For my Embroidery Hoop Pumpkin I used: (*affiliate link)
- Joy Iron On Embroidered Letters in Orange and Gold
- 3 1/2″ x 5″ Oval Wooden Embroidery Hoop*
- Old Plaid Fall Shirt
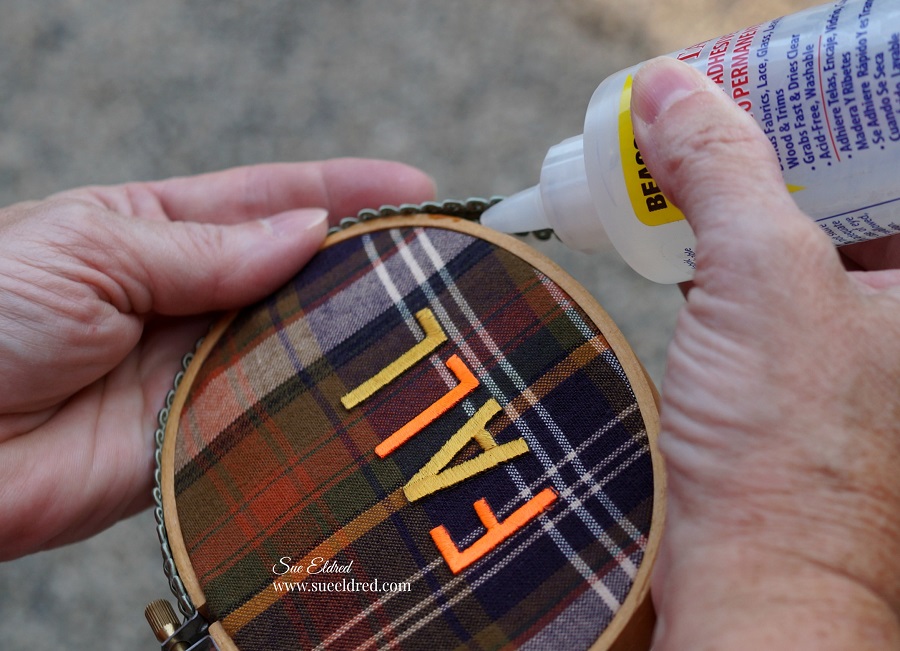
- Beacon Fabri-Tac Permanent Adhesive*
- Ribbon and Trim
- Acorn Embellishment
- Scissors
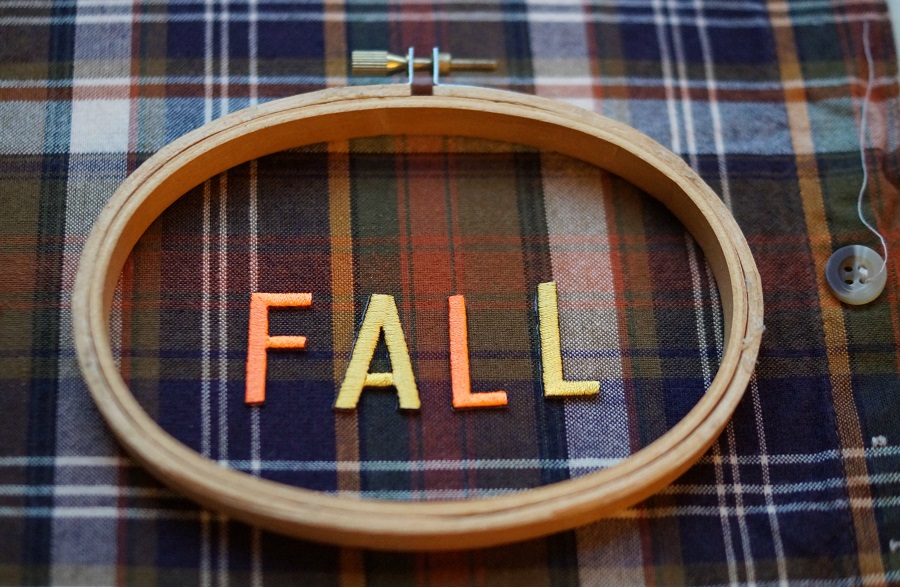
- Lay the embroidery hoop onto the fabric first and then place the letters inside the hoop to help you figure the best placement.

- Set Iron to cotton setting, approx. 350 degrees, or follow garment care label.
- Position letters with shiny side down onto fabric.
- Cover letters with a fine cloth. With a firm pressure, iron cloth over letters for 30 seconds.
- Turn fabric over and iron the back for another 30 seconds.
- Loosen the screw on the top of the embroidery hoop and insert fabric making sure to keep the letter alignment straight. (re-tighten screw)
- Trim excess fabric from outside of embroidery hoop.
- Glue the green braided trim around the outside of the embroidery hoop.

- Tie ribbon and leaves to the top of the frame.
- Glue small acorn embellishment onto ribbon.
- Super cute and simple to make.

“This is a sponsored post. As a member of the Joy® Design Team I have been provided product and compensation in exchange for my creative ideas. The views and opinions are my own.

*Disclosure: This blog uses ads and affiliate links. If you choose to make a purchase using one of the links, I receive a small commission (at no additional cost to you) that helps offset the costs of maintaining this blog. Thanks for your support!


