The Ugly Planter Box

It’s true…I have a soft spot in my heart for sweet old gentlemen. 

(and apparently, so does my husband)

While on a call, my husband met this nice older gentleman.

The two began to talk and one thing leads to another and my husband walks away

with this wood planter box that the gentleman had made.

“This is a sponsored post.  I have been provided product from Wagner and DecoArt in exchange for my creative ideas.  The views and opinions are my own.
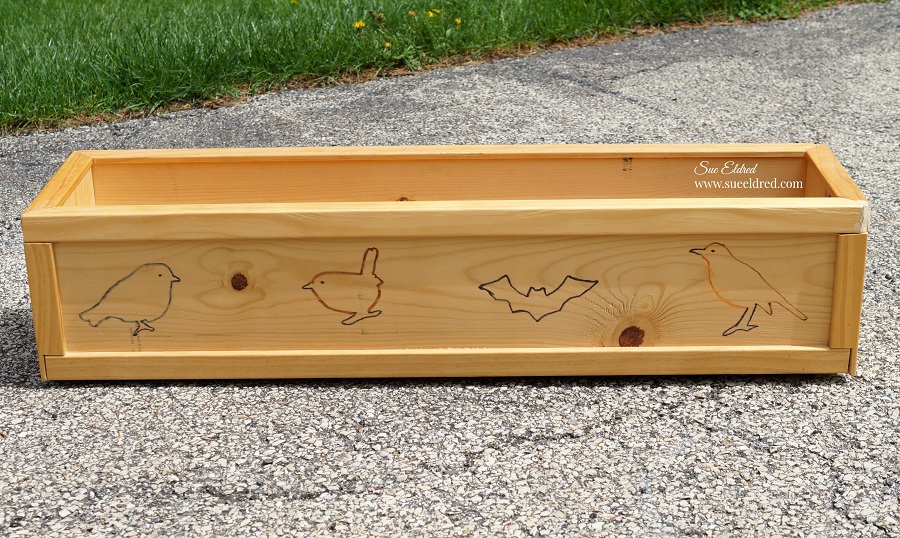
Stenciled Wood Planter Box

As he unloaded it from the car he actually apologized.   (it’s like he doesn’t know me at all)

It was a little unique with the hand drawn pictures on the side.

But, I thought it was great.
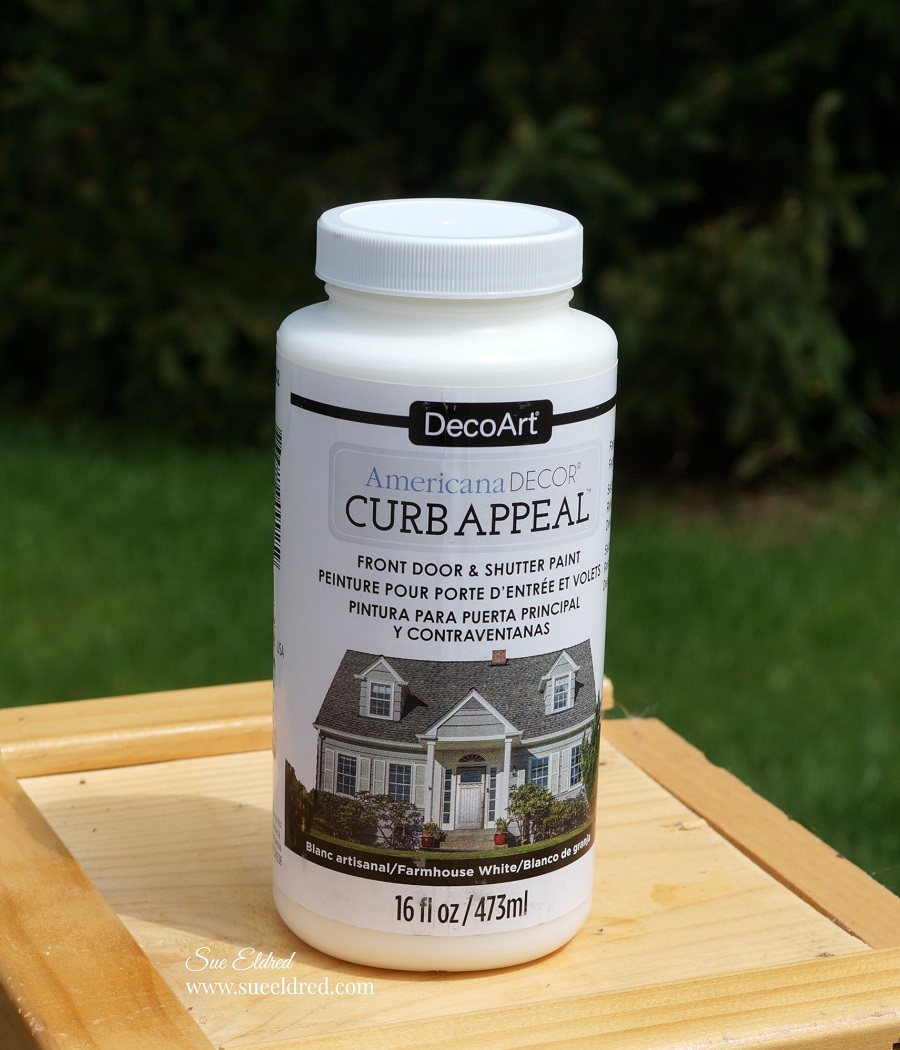
All it needed was a couple coats of Farmhouse White Curb Appeal Paint from DecoArt*.

Shop Your Fav Brands at Scrapbook.com

*Disclosure:  This blog uses ads and affiliate links.  If you choose to make a purchase using one of the links, I receive a small commission (at no additional cost to you) that helps offset the costs of maintaining this blog.  Thanks for your support!
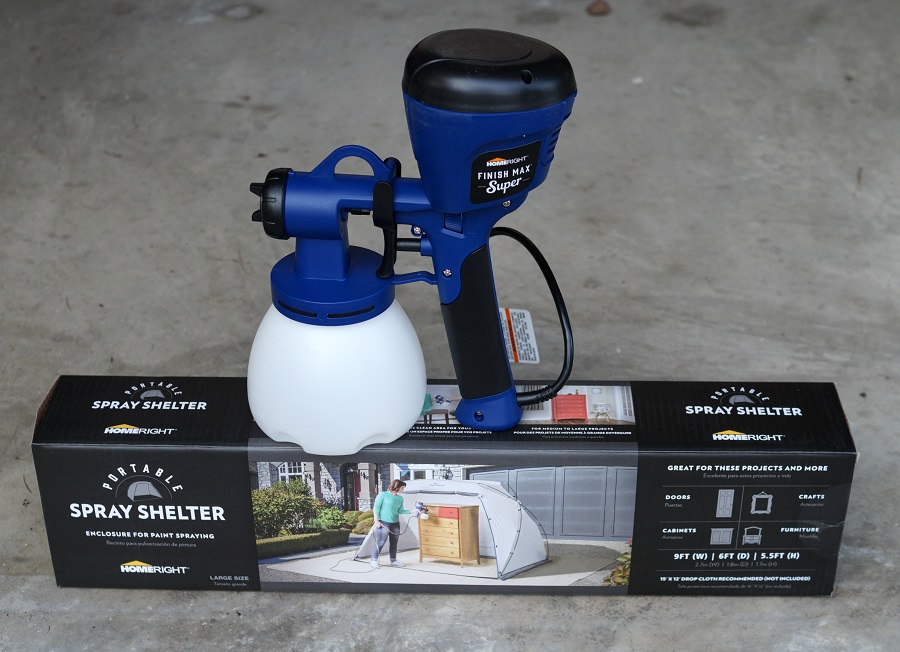
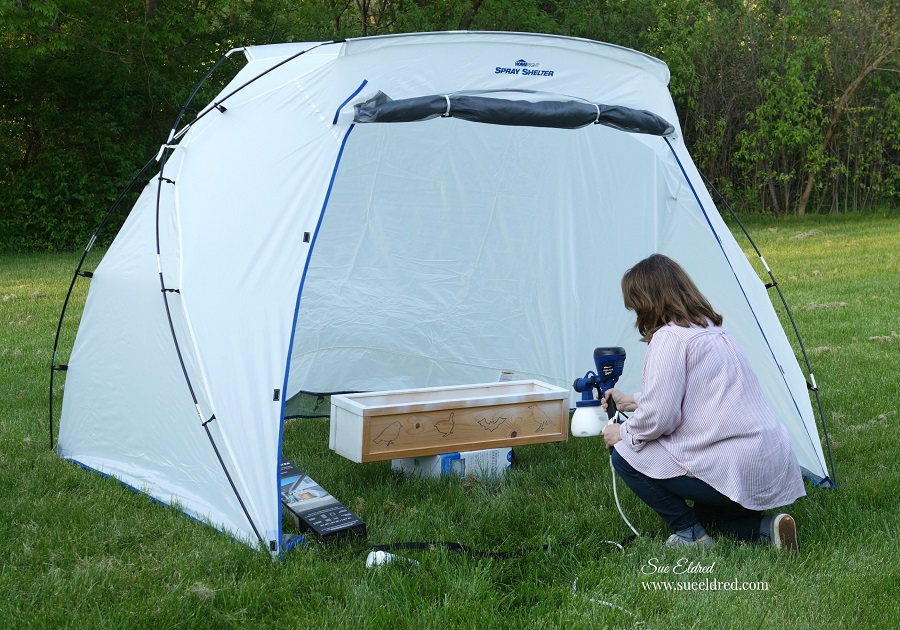
Earlier this year… I received the HomeRight Super Finish Max Extra Power Painter*

along with the HomeRight Large Spray Shelter* from the awesome folks at Wagner.

I’ve been wanting these for a while now and have been eagerly waiting for the weather to turn

nice and the rain to stop so that I could use them.

With the exception of trying the sprayer at the Creativation Trade Show,

it was the first time I’d used a power sprayer.  It was super easy to use and clean up.

And…it comes with three sprayer tips for different uses.

The portable spray tent is great to use on days with a little breeze or even indoors.

I can’t wait to use it on even bigger projects.
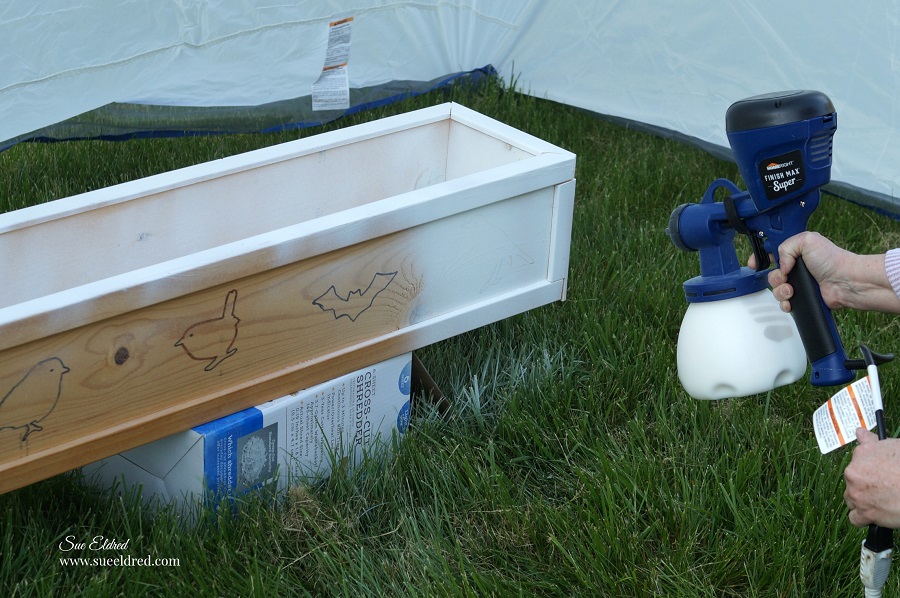
Ok, I’ll admit, because of the marker drawings on the side it took more than a couple coats.

It really was easy to use and the Curb Appeal Paint dried really quick.

After all the coats of paint were dry I gave the box a light sanding to make it smooth.
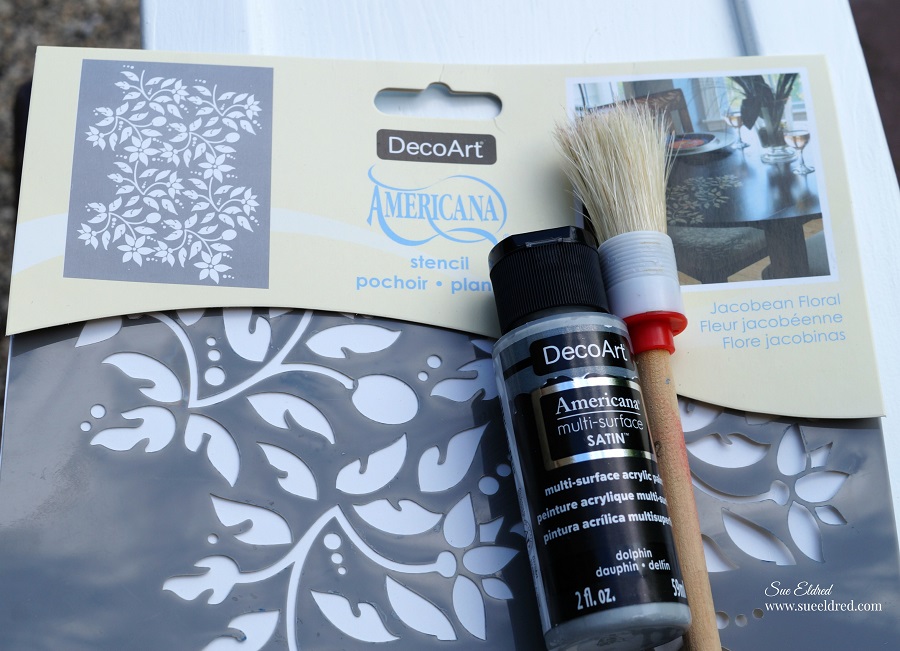
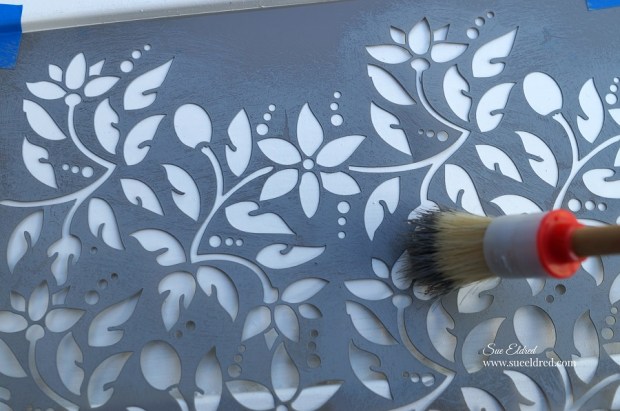
The box looked a little too plain, so I decided to stencil a design on the sides.  

To stencil the design…

  • Position the stencil onto the box and tape down the edges with removable painter’s tape to keep the stencil from moving.  Use stipple brush to apply paint inside open stencil areas.
  • Carefully remove stencil from box.  Make sure there is no excess paint that’s seeped under the stencil before moving the stencil to the next area on the box.
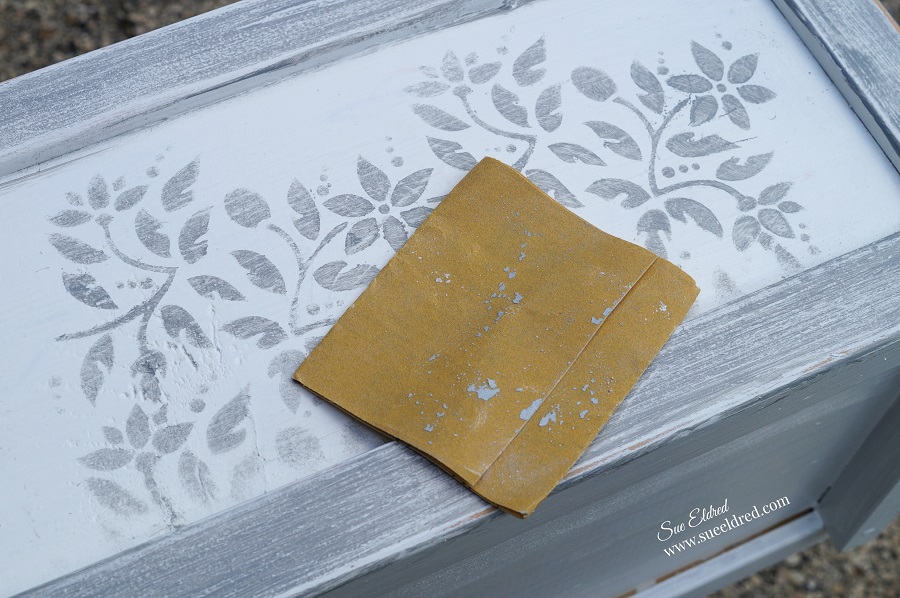
  • I painted the edges of the box with a thin layer of “dolphin” paint.
  • After everything was completely dry I lightly sanded the box with a piece of extra fine sand paper.  The sand paper gives the box the worn and weathered look I was going for.
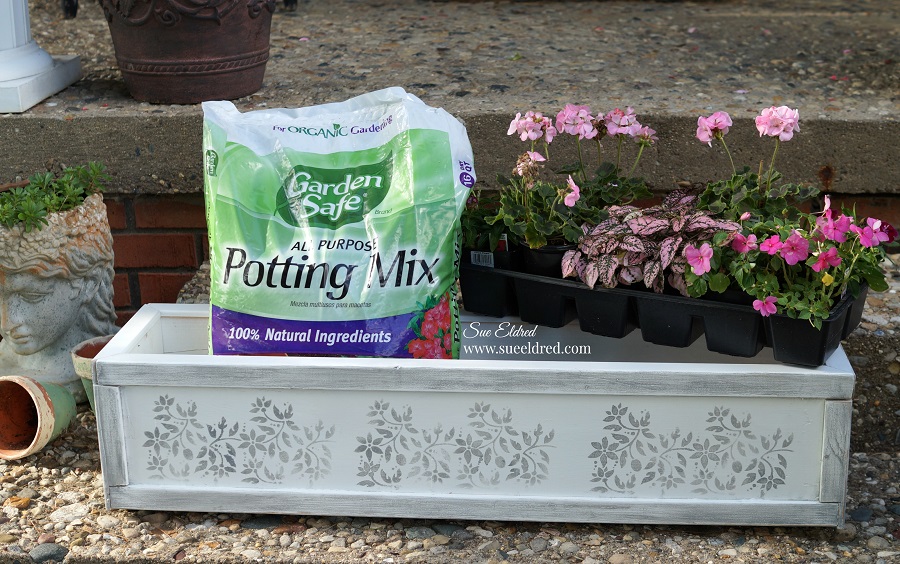
Now onto the fun part, the fruits of my labor.

I picked soft pink geraniums, vincas, pink coleus and vinca vines to fill my flower box.
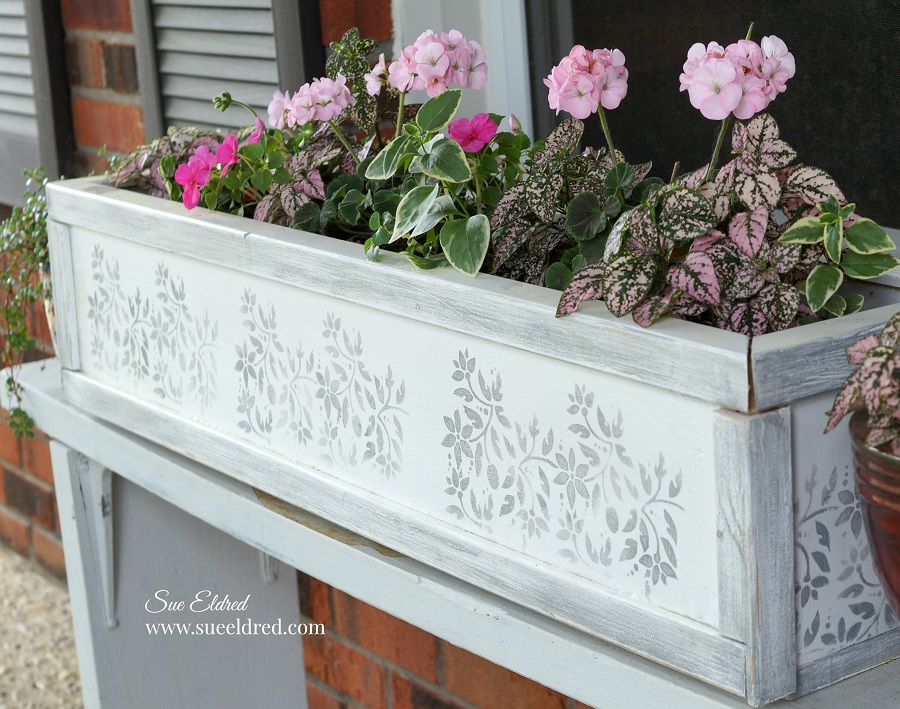
I put the box on an old white bench and sat it in front of my window.
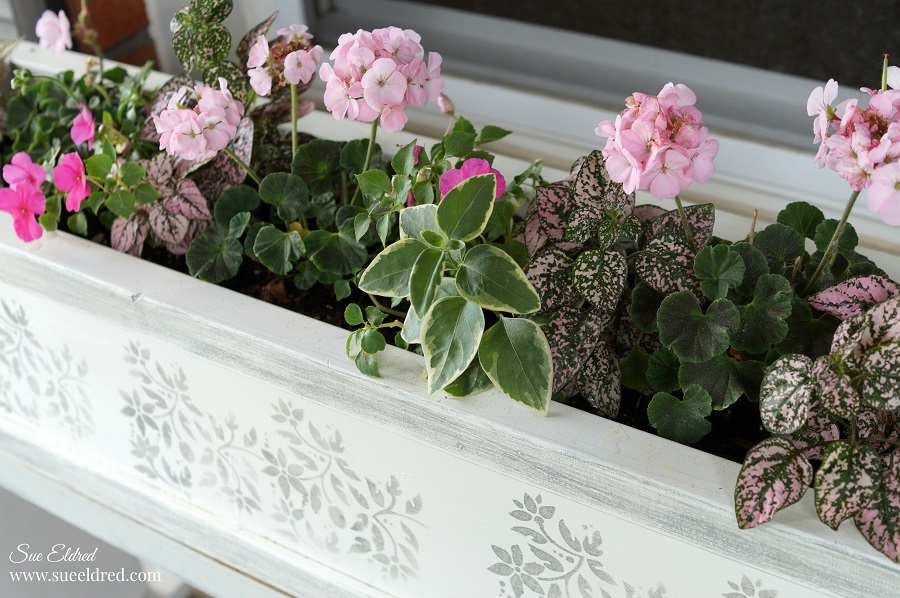
It’s one of the first things I see as I come down the stairs in the morning.

I love how soft and delicate the flowers look inside the box.
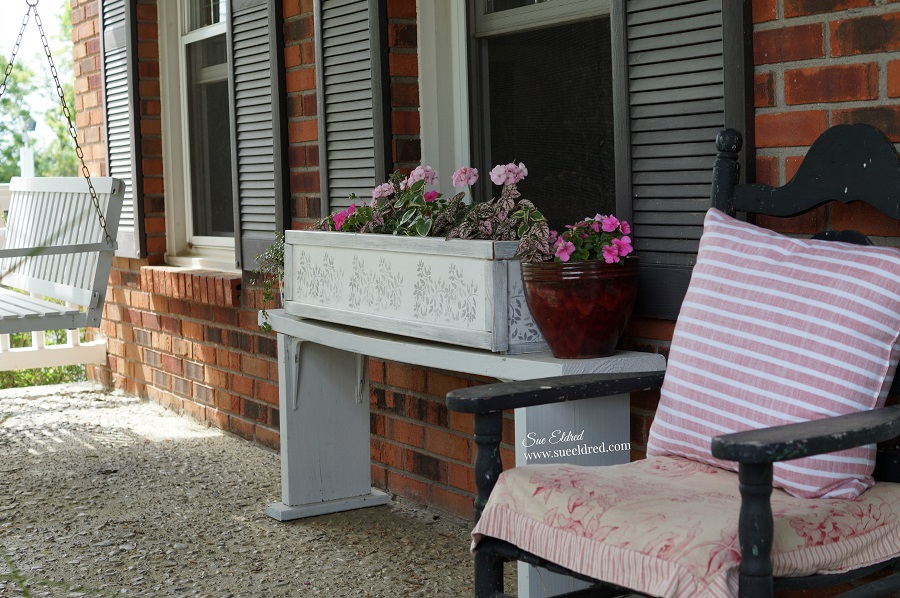
It’s a great addition to my front porch.  

And to think my husband apologized for bringing it home.  (I think it’s lovely.)
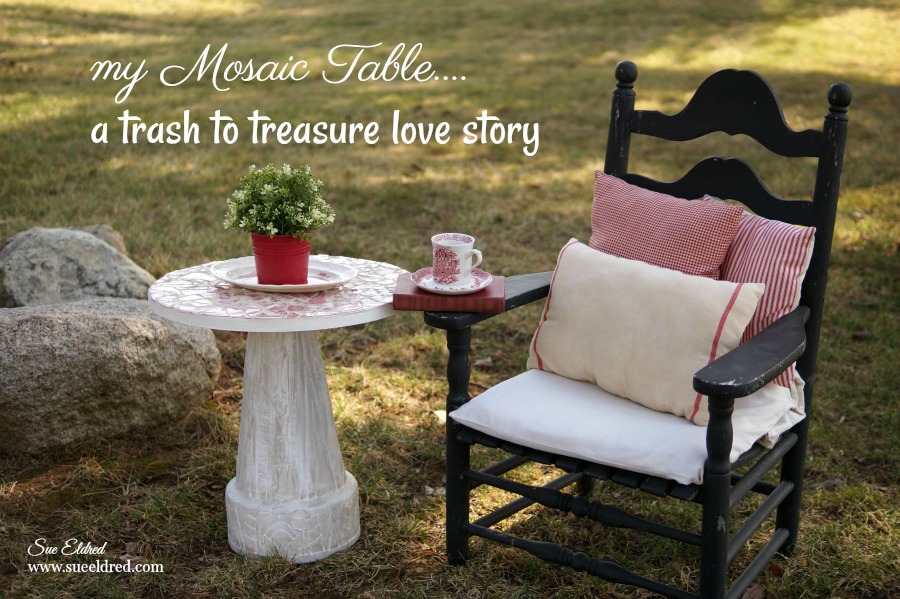
If you liked this post you might like to read  A Trash to Treasure Love Story

Simple Summer Vase

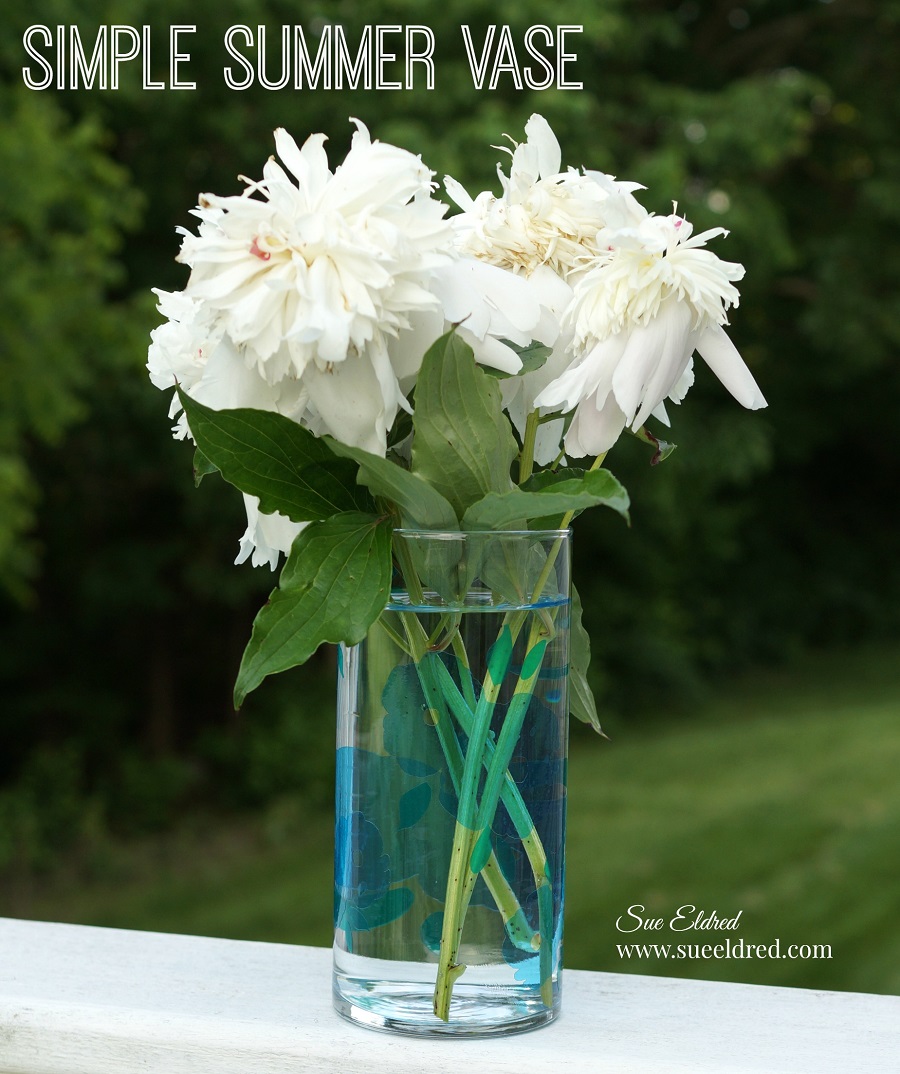
Create a Simple Summer Vase using Transparent Adhesive Vinyl from StyleTechCraft.

Transparent vinyl is great when you just want to add a subtle touch of color.

It’s great for using on windows, glassware and just about anywhere else you want a unique look.

To create my Simple Vase I used:       (*affiliate links)

Directions:

  1. Cut several flower shapes using the Silhouette Cameo* and the Sky-Blue Transparent Vinyl.  Don’t have a electronic die cutter?  The transparent vinyl can be cut using various metal dies.
  2. Cut leaves out of the teal vinyl.
  3. Using the weeding tool, I carefully removed the negative spaces in and around the flowers and leaves.
  4. Place a piece of Vinyl Transfer Tape* over the flower image.  Apply transfer tape onto the cylinder vase and rub over the vinyl using a vinyl scraper tool to eliminate bubbles.
  5. Remove transfer tape.
  6. Repeat with the leaves.

Allow vinyl to cure for several days.  (Hand washing is recommended.)

I added a piece of white paper inside the vase so you can see the pattern better.

It’s hard to see in this picture the variation between the sky blue and teal vinyl.

“This is a sponsored post.  As a member of the StyleTechCraft Design Team I have been provided product and compensation in exchange for my creative ideas.  The views and opinions are my own.

You can now find the full line of StyletechCraft online at ATSM.

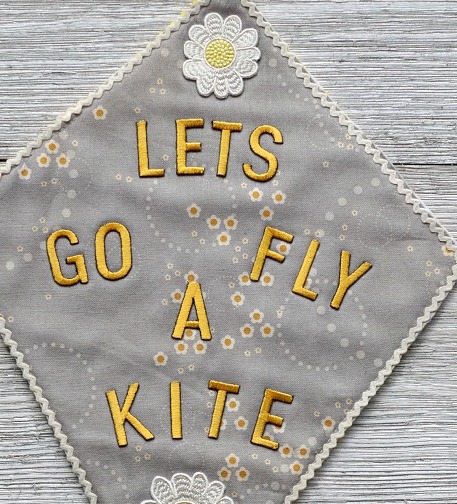
Let’s Go Fly a Kite

Let’s Go Fly a Kite…

I’m so happy that Spring is finally here.

I’m ready to celebrate Spring with beautiful sunny skies and just enough breeze to fly a kite.

If you’re not into flying kites, you could always make a fabric one to hang up on the wall.

Kite Wall Hanging                                   (*affiliate link)

*Disclosure:  This blog uses ads and affiliate links.  If you choose to make a purchase using one of the links, I receive a small commission (at no additional cost to you) that helps offset the costs of maintaining this blog.  Thanks for your support!

How to make a Kite Wall Hanging:

  • Creating a kite pattern… Cut the white cardstock to 9″ x 12″.  Fold the cardstock in 1/2 lengthways.  On the two long sides make a mark at 4″.
  • For the top of the kite, draw a line from the top middle fold to the 4″ mark on each side.  For the bottom of the kite, draw a line from the 4″ mark to the bottom middle folds.
  • Cut out Kite pattern.
  • Trace and cut out the kite pattern on the backsides of both of the printed fabrics and the white felt.

  • Sandwich the white felt between the two patterned pieces.  Pin into place and top stitch around the kite.
  • Arrange the words “Let’s go fly a kite” onto the front of the kite with the shiny side down.
  • Cover with soft, clean cloth and iron on cotton settings for 30 seconds.  Turn kite over and repeat for an additional 30 seconds.

  • Cut the top flower and leaves off the floral applique.
  • Arrange the flowers on the kite and iron onto the kite the same way as the letters.
  • Glue rick rack around the edge of the kite.

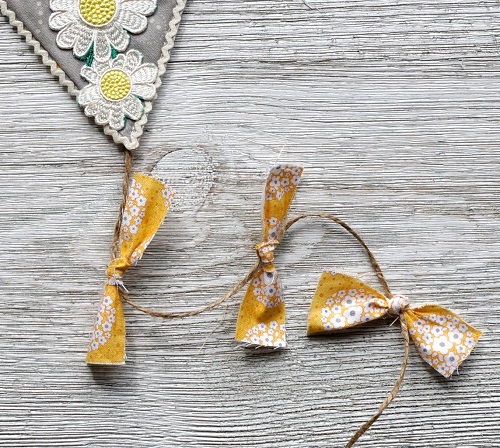
  • Cut strips of fabric and tie onto a 14″ piece of twine.  Glue one end of the twine to the backside of the kite.
  • Make a small loop with a second piece of twine and glue to the top of the kite.

“This is a sponsored post.  As a member of the Joy® Design Team I have been provided product and compensation in exchange for my creative ideas.  The views and opinions are my own.


Don’t Miss a Thing…Make Sure to Follow me

Glittered with Mod Podge Ultra

Rainbow Glittered Monogram with Mod Podge Ultra

I have used Mod Podge for years…

So, when Plaid gave me the opportunity to try out Mod Podge Ultra, I thought why not.

I always love trying something new.

What makes Mod Podge Ultra different?

America’s favorite decoupage medium is now available as a spray!  Mod Podge Ultra  is a super strong, non-toxic spray formula that works as all-in-one glue and sealer with a high adhesion level.  Perfect for adding dimensional design embellishments to your projects.  This versatile, water-based formula dries quickly and naturally self-levels, leaving no brush marks.  It cleans up easily with soap and water and is available in both matte or gloss finishes.

For my Framed Rainbow Glitter Monogram I used:                         (*affiliate links)

Directions:

  • Protect your work area with newspaper or drop cloth.
  • Shake Bottle for 15 seconds.
  • Prime the nozzle with a few test pumps.
  • Spray the chipboard letter with Mod Podge Ultra using short even strokes.
  • Add various colors of glitter over the letter.
  • Pour excess glitter off.  Allow project to dry for 30 minutes.
  • Seal letter with 1-2 coats of Mod Podge Ultra.
  • Allow  the letter to fully dry.
  • Accent the outside edge of the letter  using the silver leaf paint pen with a chisel point.
  • Spray or paint the back of the letter with Mod Podge Ultra and add to a piece of black chipboard.
  • Place inside frame for fun and funky framed art.
  • Just like a paint brush, Mod Podge Ultra Spray tops need to be cleaned after every use. If they aren’t they will clog and become unusable.

Shop Your Fav Brands at Scrapbook.com

*Disclosure:  This blog uses ads and affiliate links.  If you choose to make a purchase using one of the links, I receive a small commission (at no additional cost to you) that helps offset the costs of maintaining this blog.  Thanks for your support!

With most glittered projects… if you touch the glittered area you leave a little bit of glitter everywhere you go.  Once I sealed the glittered “S” the glitter does not rub off.  How cool is that.

A special Thank You goes out to Plaid the makers of Mod Podge Ultra*.   

My project is part of a Blog Hop put on the Designer Crafts Connection Blog.

For more fun projects using Mod Podge Ultra and the list of participating blogs click here.

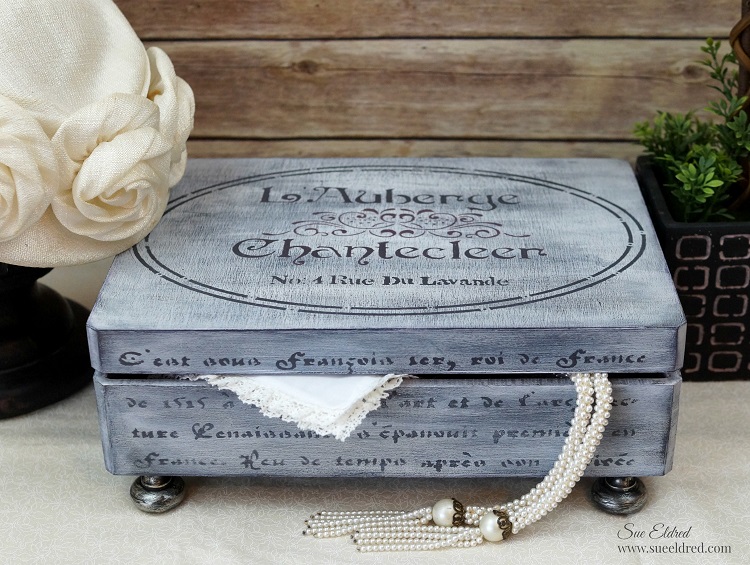
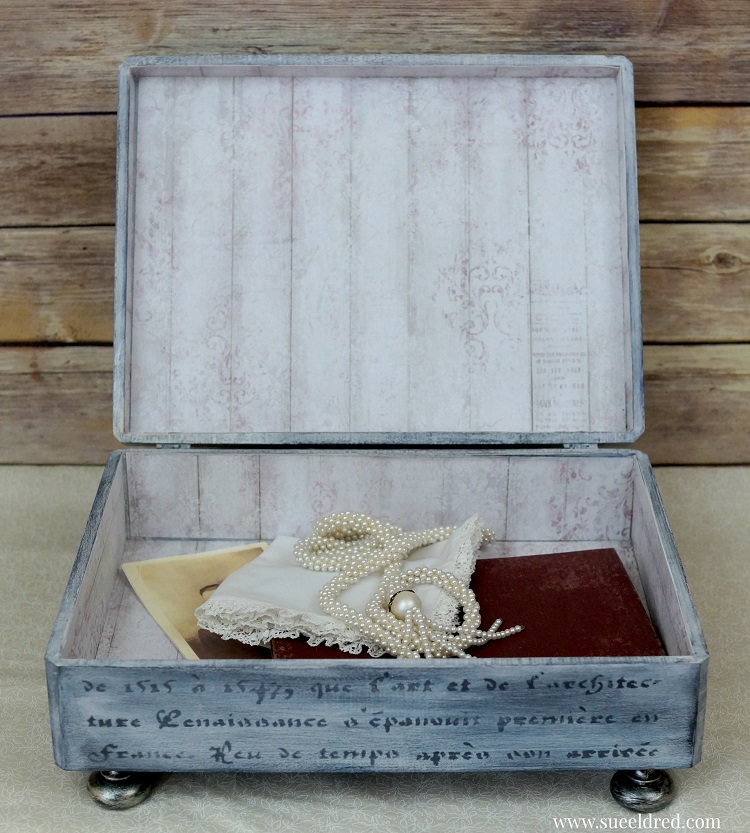
How to Create a Vintage Inspired Memento Box

Vintage Inspired Memento Box

This Vintage Inspired Box is the perfect place to store special mementos for years to come.

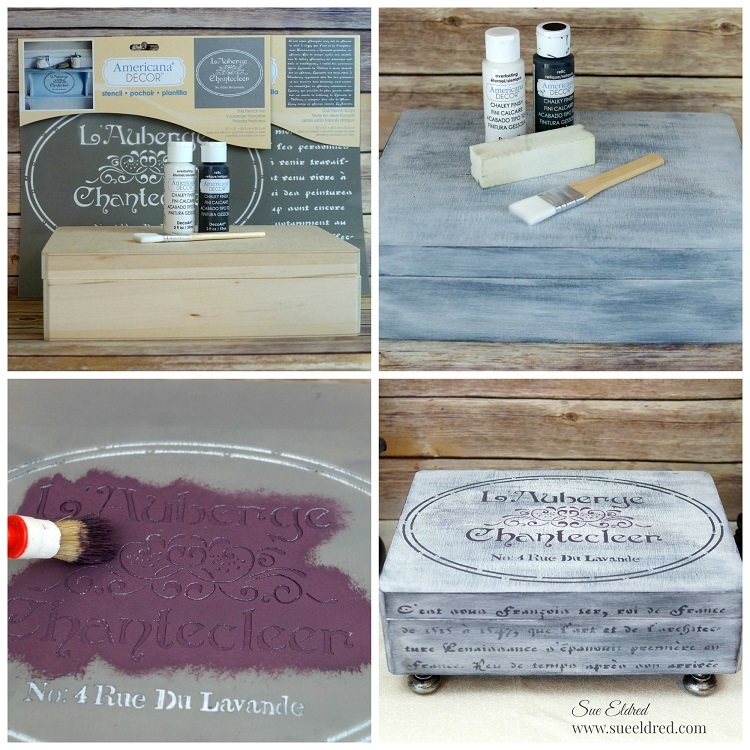
For this project,  I started with a Unfinished Cornice Box from Walnut Hollow*

which I lightly white washed with a soft gray chalky finish, stenciled and slightly distressed,

for a warm vintage-feel home décor piece with a soft timeless finish.

The Vintage Inspired Memento Box was sponsored by Walnut Hollow and DecoArts.

*Disclosure:  This blog uses ads and affiliate links.  If you choose to make a purchase using one of the links, I receive a small commission (at no additional cost to you) that helps offset the costs of maintaining this blog.  Thanks for your support!

Supplies Used on the Vintage Inspired Memento Box…           (*affiliate links)

How to Create a Vintage Inspired Memento Box…

Directions:

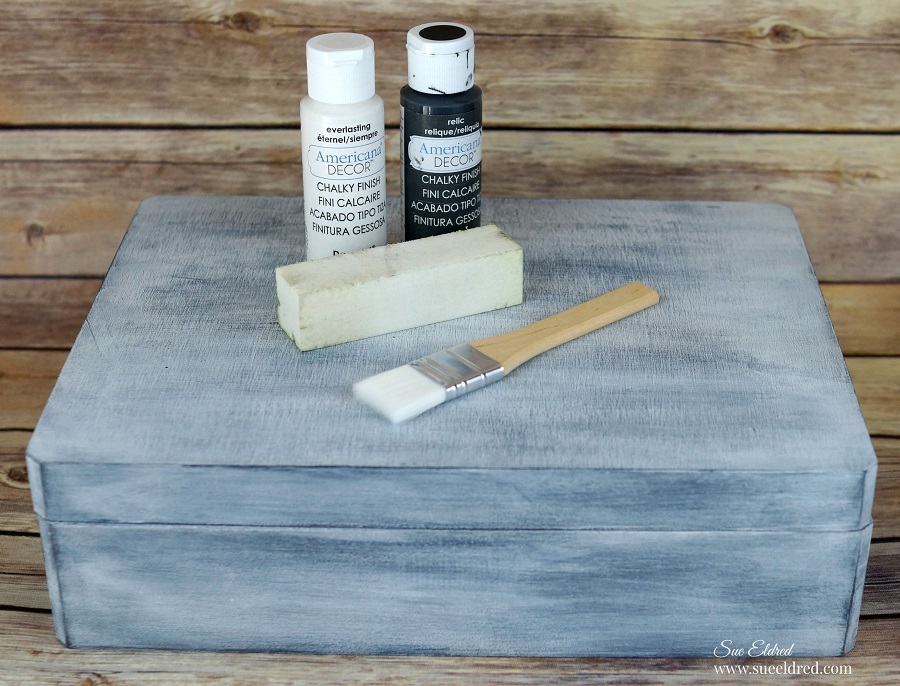
    1. Paint the Cornice Box* with Relic Chalky Finish Paint* (inside and out).
    2. Lightly sand the box to smooth out the finish.
    3. Add a small bit of water to Everlasting* paint and give the box a quick white wash.
    4. Rub excess paint off the box with a clean soft rag for a slightly distressed look.

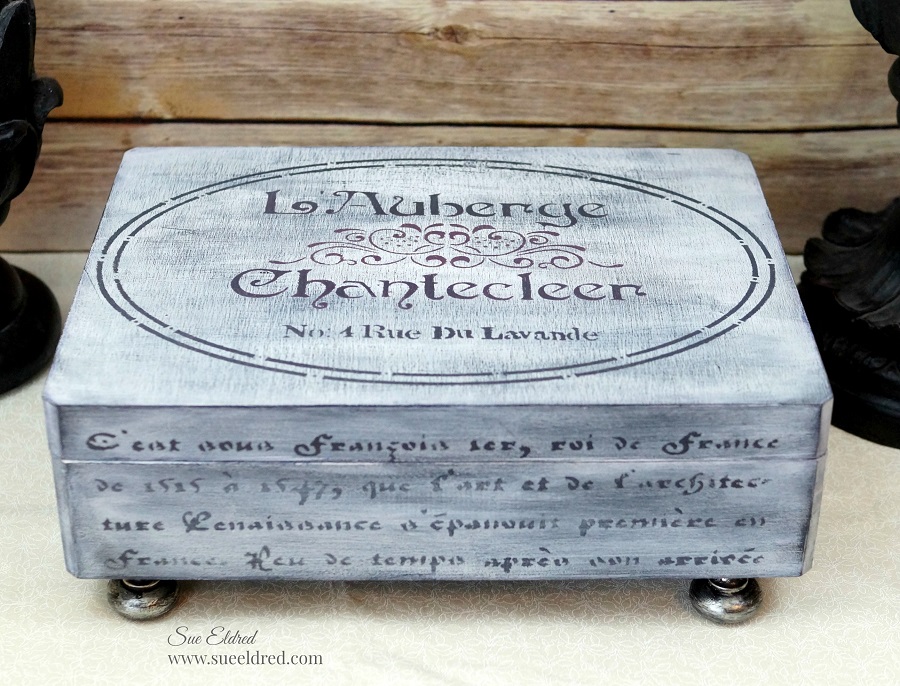
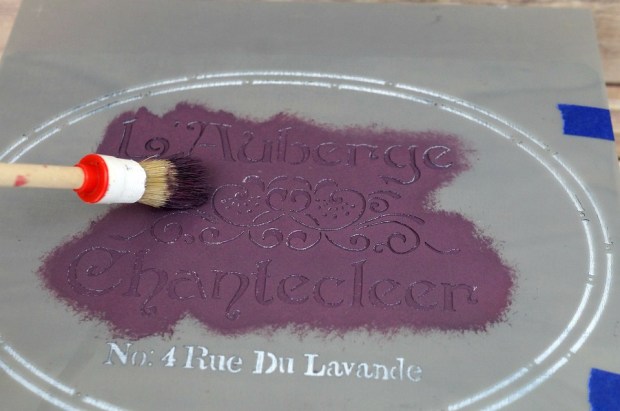
5.  Position The French Inn stencil over the top of the box.  Secure the stencil in place with the     painters tape to prevent slipping.  Use stipple brush to apply a mix of Relic, Romance & Everlasting paint to the decorative element in the center of the stencil.
6.  Stencil the remaining open stencil areas with “Relic” paint.
7.  Position and stencil Old French Script pattern onto the sides of box.
8.  Allow paint to dry for a few hours and lightly sand over the stenciled area to give a slightly worn look.
9.  Apply Clear Crème Wax onto the inside and outside of the box.  Wait one hour and buff box using a soft clean rag.

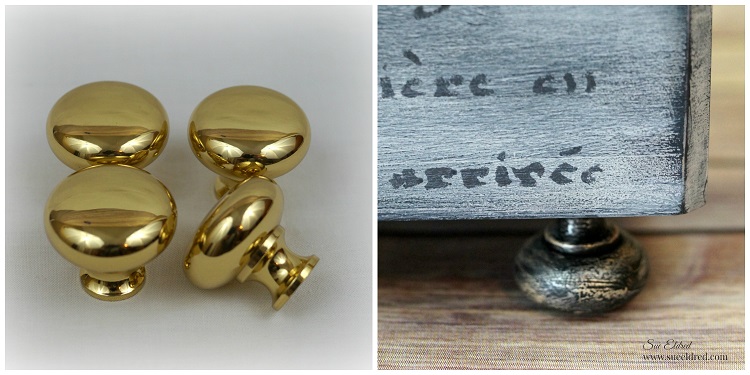
10.  Spray the brass knobs with black spray paint.
11.  Rub the knobs with Champagne Metallic Lustre Wax and buff.
12.  Glue or Screw knobs in place.

13.  Measure decorative scrapbook paper or wallpaper scraps to fit inside the box.
14.  Apply a thin layer of craft glue on the back of the paper and stick to the sides and bottom of the box.

Shop Your Fav Brands at Scrapbook.com

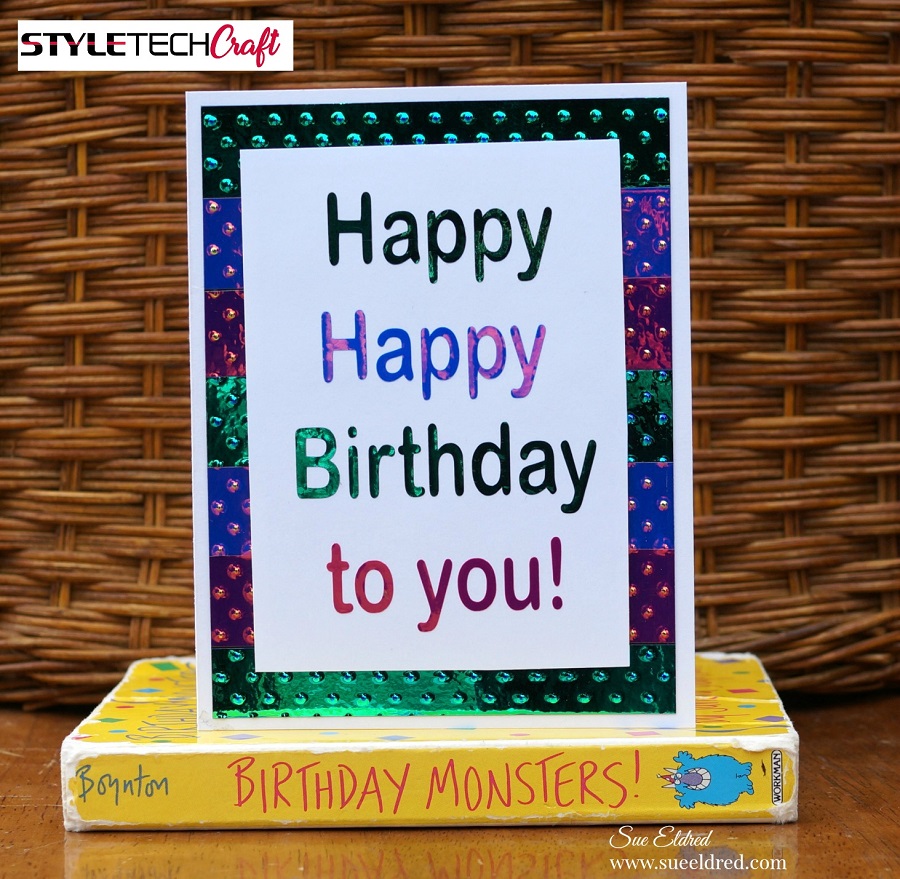
Create a Iridescent Birthday Card using StyletechCraft Opal Vinyl

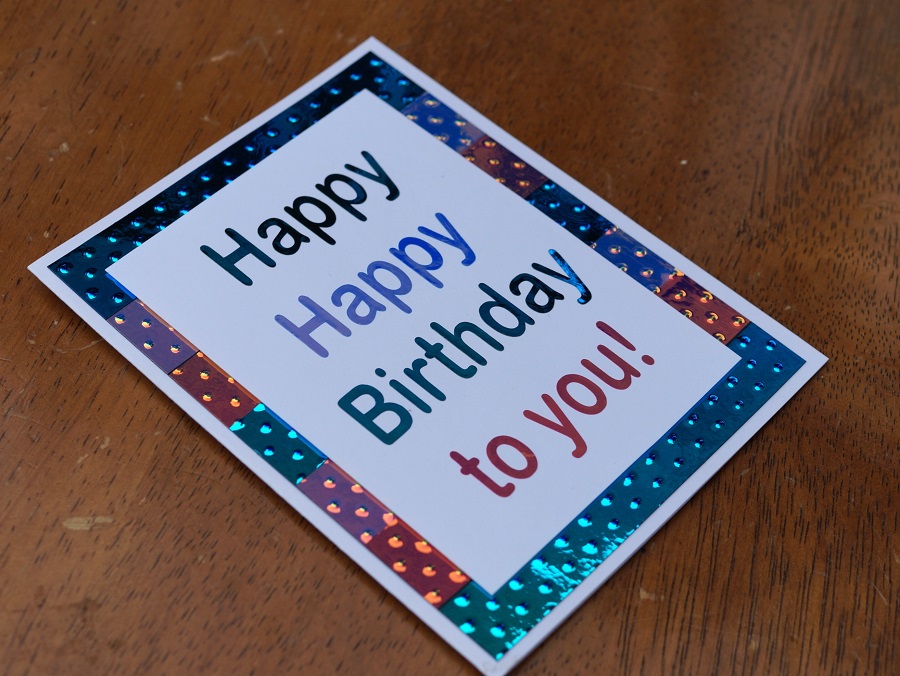
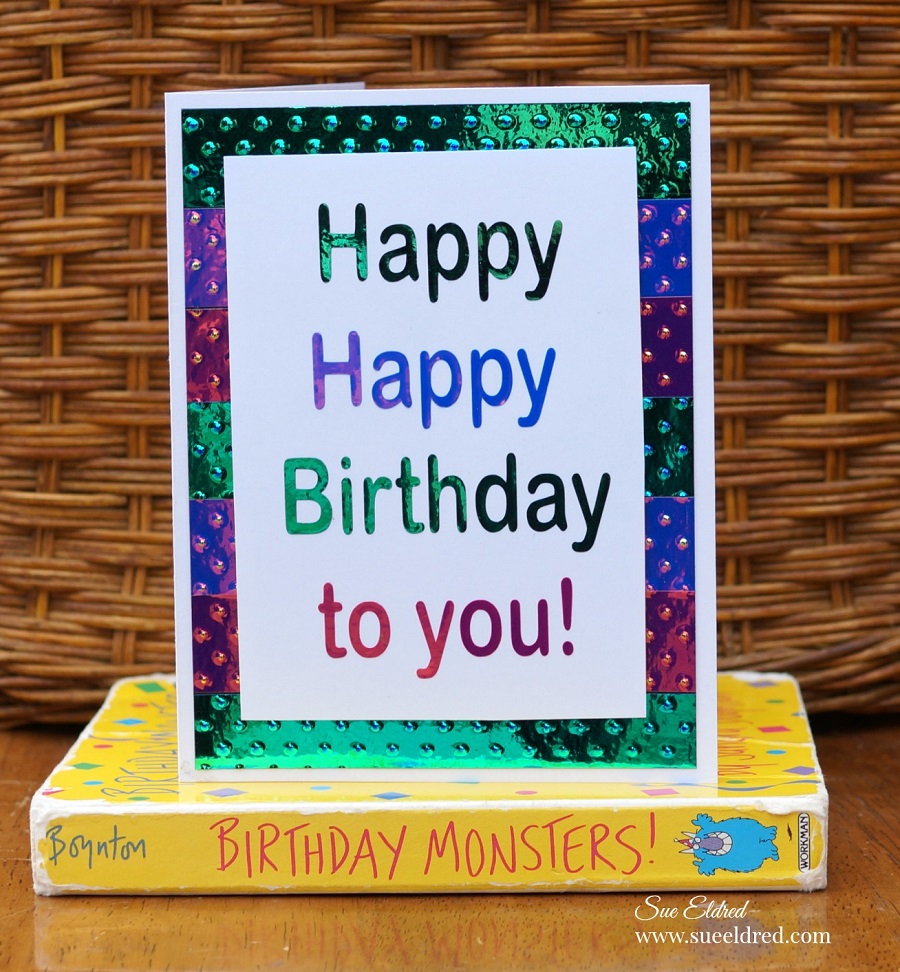
Create a Quick and Easy Iridescent Birthday Card with StyleTechCraft Opal Vinyl.

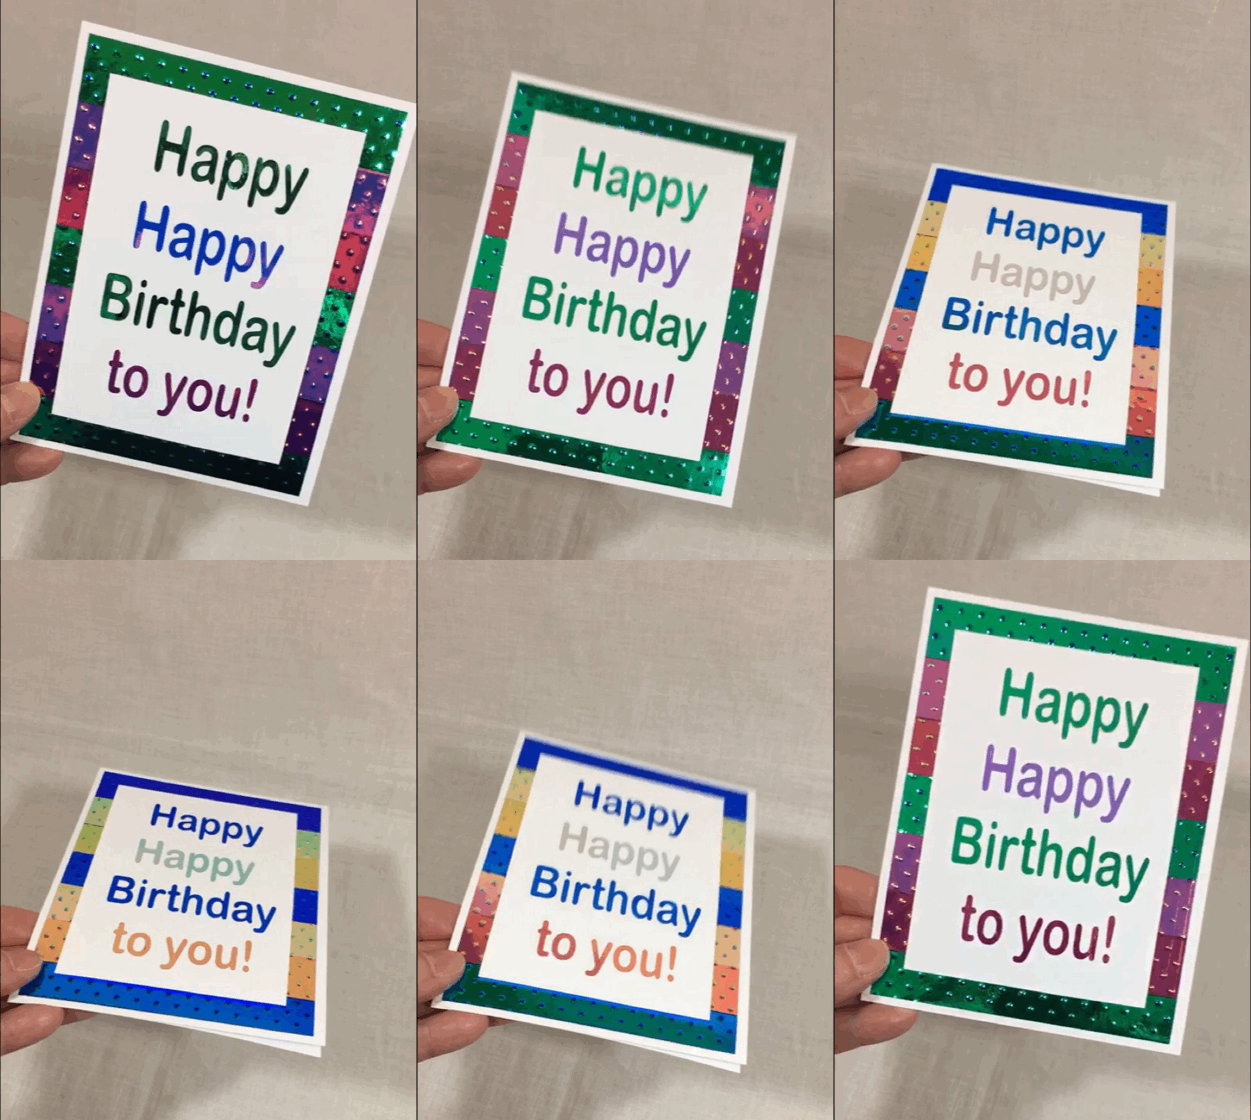
When making a card using StyleTechCrafts Opal Vinyl, a regular picture just won’t do.

You need to see the shimmery iridescent fun.

StyleTechCraft’s Opal Vinyl is one of the coolest vinyl they have.

The colors shift dramatically based on light and their surroundings and adds a little

razzle dazzle to this simple birthday card.

To make the Birthday Card I used…                                        (*amazon affiliate links)

Shop Your Fav Brands at Scrapbook.com

*Disclosure:  This blog uses ads and affiliate links.  If you choose to make a purchase using one of the links, I receive a small commission (at no additional cost to you) that helps offset the costs of maintaining this blog.  Thanks for your support!

Directions:                                

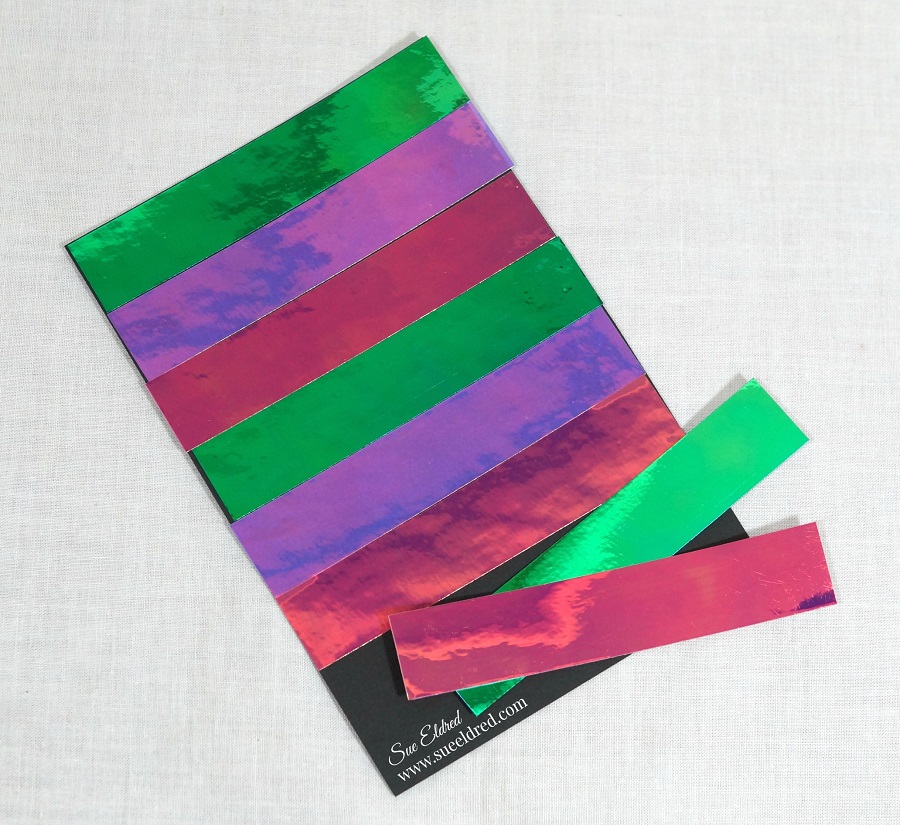
  • Cut several 3/4″ strips of Opal Vinyl and stick it onto a 4 1/2″ X 6″ piece of black cardstock.  For my card I used Pink, Blue and Green Opal Vinyl.
  • Trim the excess vinyl strips from the sides of the cardstock.
  • Cut the cardstock 4″ x 5 1/4″.

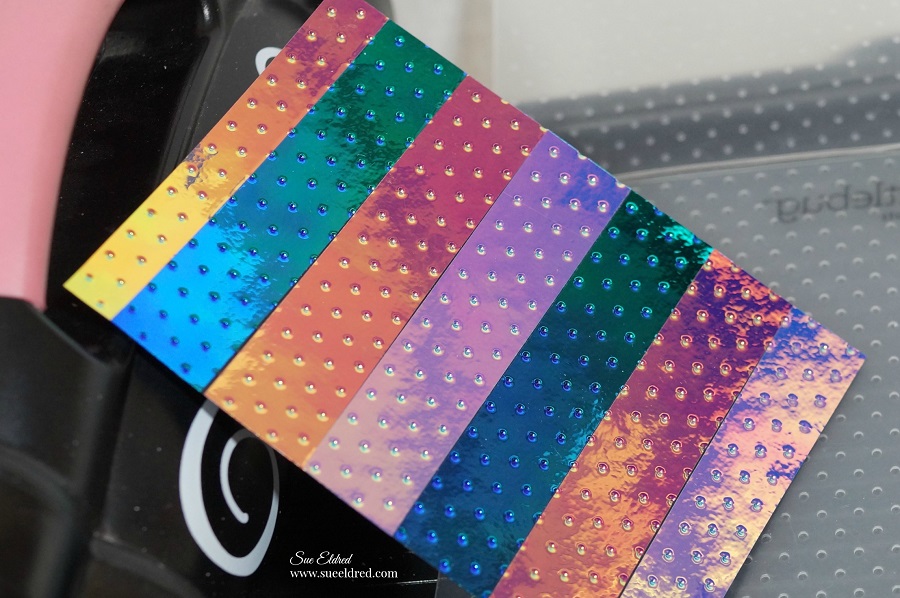
  • The embossing folder creates a wonderful raised background.

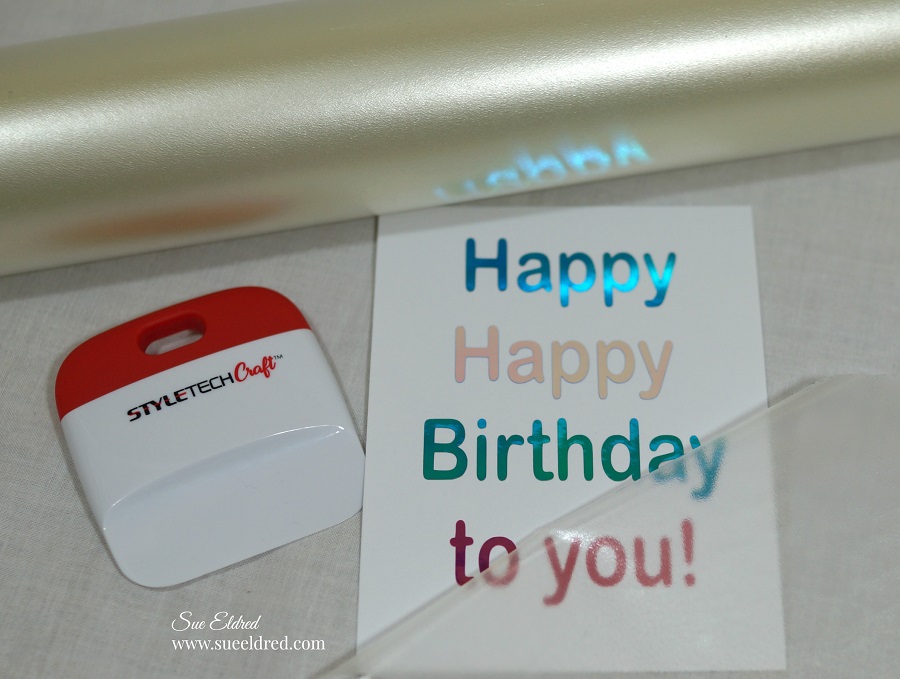
  • Using a weeding tool carefully remove the negative spaces in and around the letters.
  • Place a piece of Vinyl Transfer Tape* over the letters.  Rub over the letters using a vinyl scraper tool to help the vinyl cling
  • Apply words onto a piece of 3 1/4″ x 4 1/2″ white cardstock.
  • Remove transfer tape.

  • To give the card additional dimension…I added a piece of thin foam onto the back of the white cardstock.

  • Adhere the layers onto a 4 1/4″ x 5 1/2″ white card.

“This is a sponsored post.  As a member of the StyleTechCraft Design Team I have been provided product and compensation in exchange for my creative ideas.  The views and opinions are my own.

You can now find the full line of StyletechCraft online at ATSM.

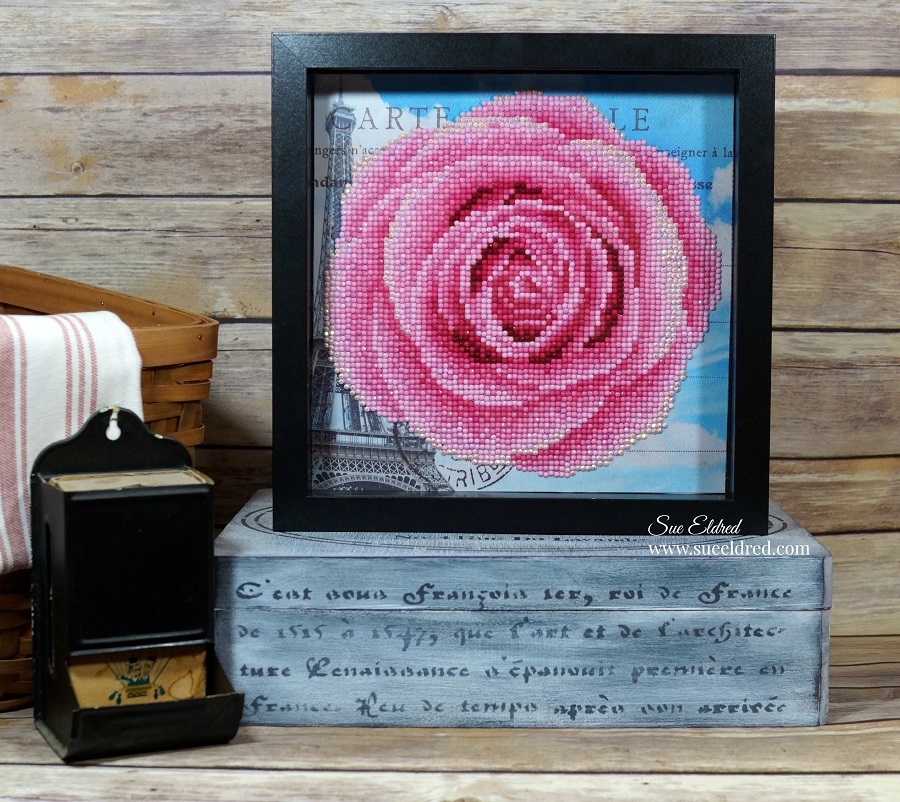
Diamond Art…a new trend in crafting

Diamond Art by Leisure Arts 

This past week-end was a stormy, nasty, stay indoors kind of week-end.

The perfect time for crafting and learning/trying something different.

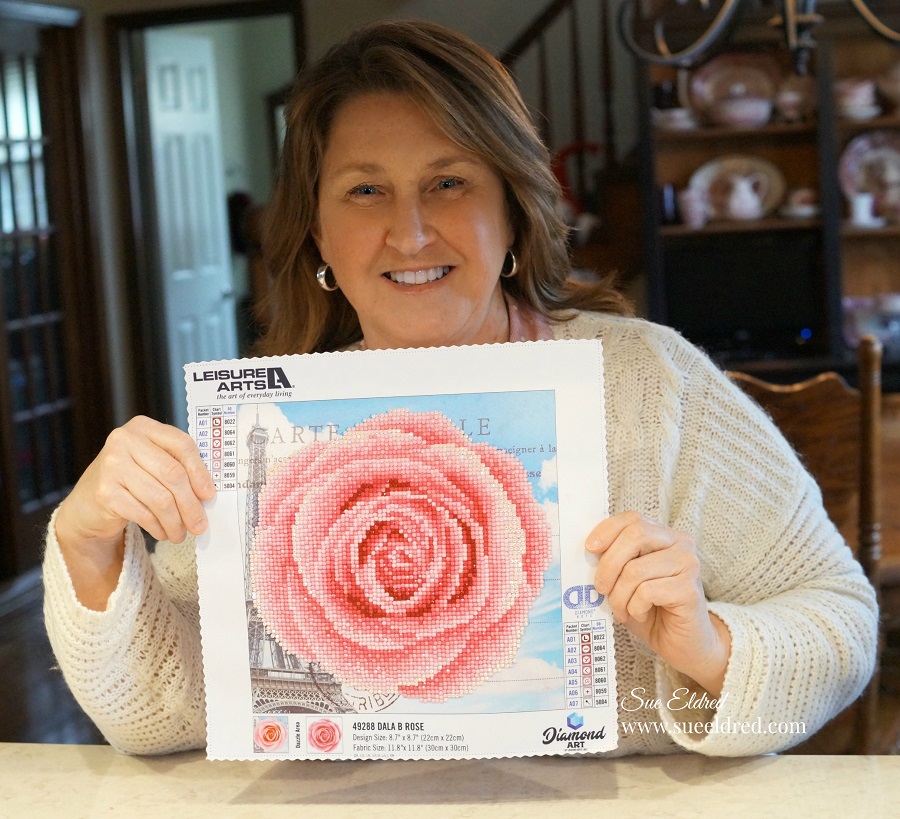
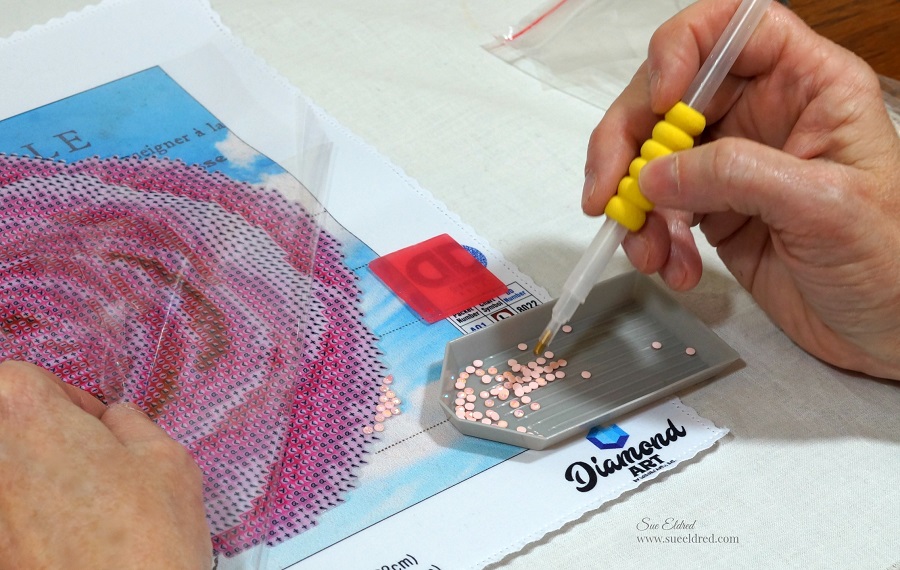
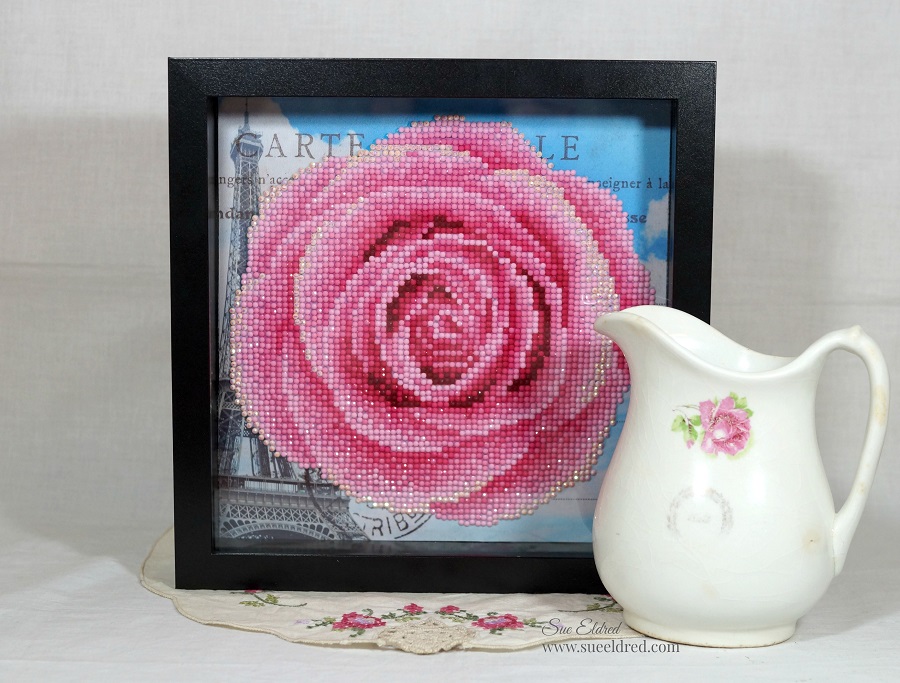
I’d been wanting to start the new Rose Diamond Art kit that I received from Leisure Arts.

I knew the kit was going to take a little time and I was just waiting for the perfect opportunity

to give it my full attention.

What is Diamond Arts?

It is a new trend in crafting.

It’s similar to cross stitching and paint by numbers.

“A little bit tedious, curiously addicting and extremely satisfying.”

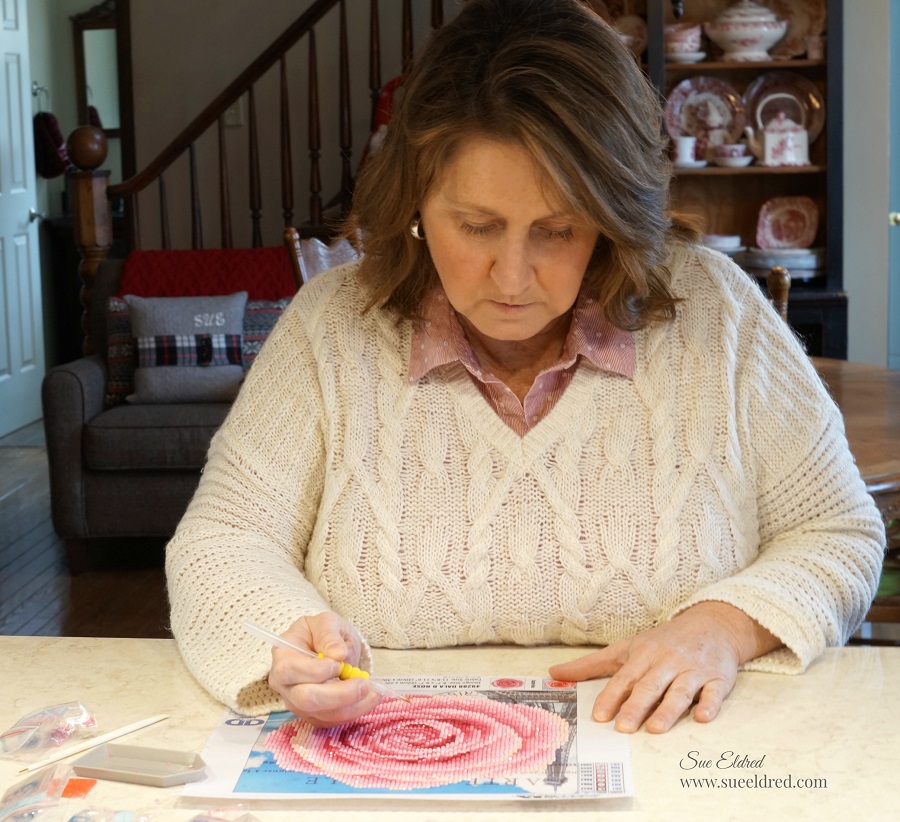
It was so addicting that I didn’t want to stop…

I had to bring it down onto the kitchen counter so I could work on the it while cooking dinner.

Leisure Arts makes kits for beginners, intermediate and advanced.

They have a great selection of Diamond Arts Kits for both kids and adults.

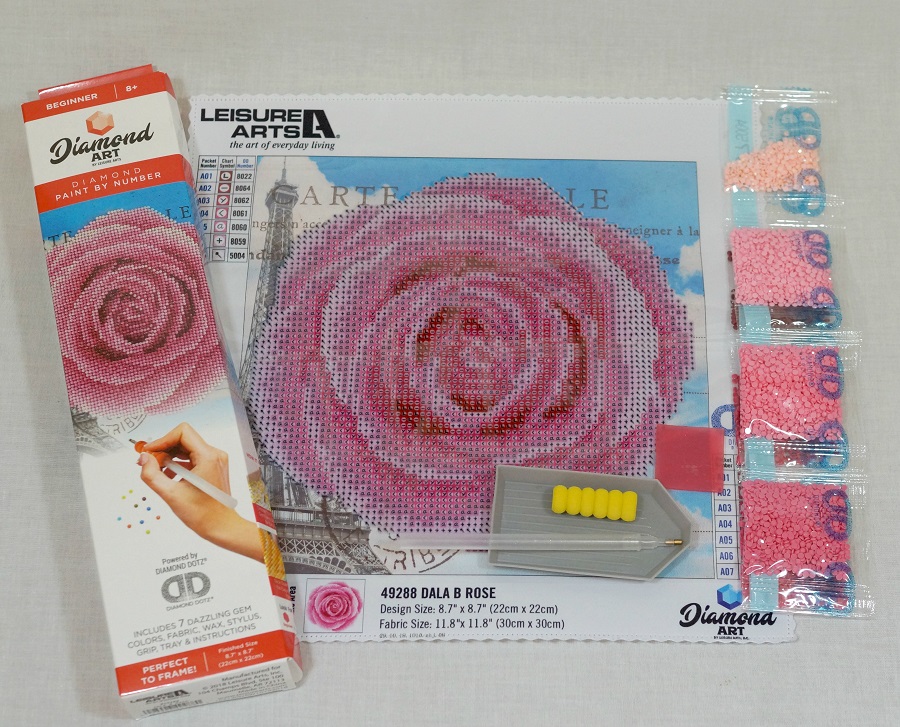
The Rose Diamond Art kit includes:

  • One High Quality Printed Fabric
  • Gems Pre-sorted by Color
  • Stylus
  • Craft Tray
  • Wax Piece
  • Comfort Grip
  • Instructions

*Disclosure:  This blog uses affiliate links.  If you choose to make a purchase using one of the links, I receive a small commission (at no additional cost to you) that helps offset the costs of maintaining this blog.  Thanks for your support!

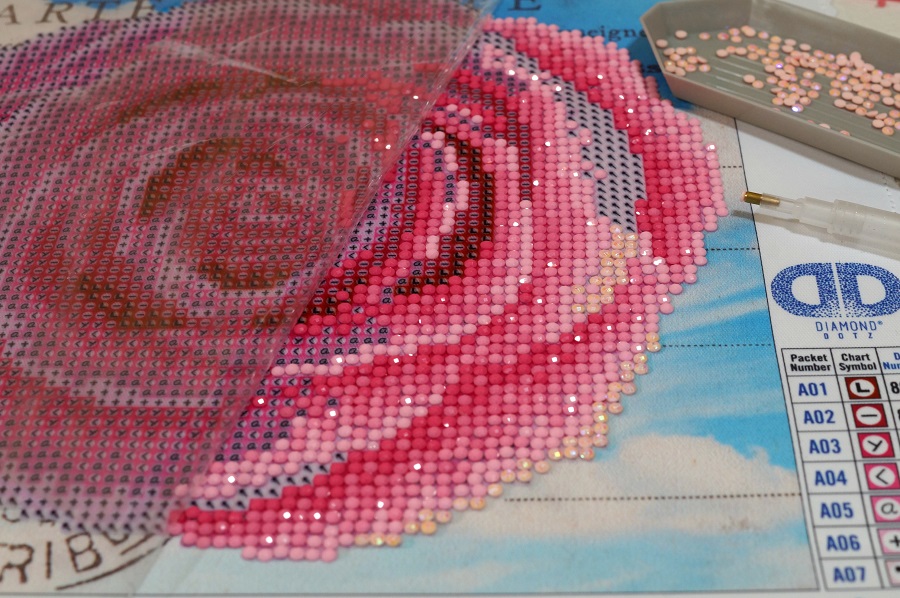
The rose design is pre-printed on the fabric with the symbols for the Diamond Art gems and

is coated with a special adhesive.  You pick the gem up using the stylus and place the gem

onto the corresponding symbol on the printed fabric.

It really is that easy.  Great for kids age 8 and up.

The kits comes with photos and great instructions.

If you’re a visual learner like me, check out the video below.

LeisureArts.com has a great selection of Diamond Arts kits that you can purchase online.

If you sign up for email updates you can get 15% off your first order.

THANK YOU Leisure Arts for providing this awesome Rose Diamond Art kit.

Creating a Mini Album with Xyron

Creating a Mini Album using the Xyron Creative Station…

This week the Xyron Design Team was asked to post about our favorite Xyron Product.

With so many wonderful Xyron items to choose from it was a hard decision.  

 When it comes to making Mini Albums, Tags and Altered Home Décor pieces,

the Xyron Creative Station* is hands down my favorite product to use.
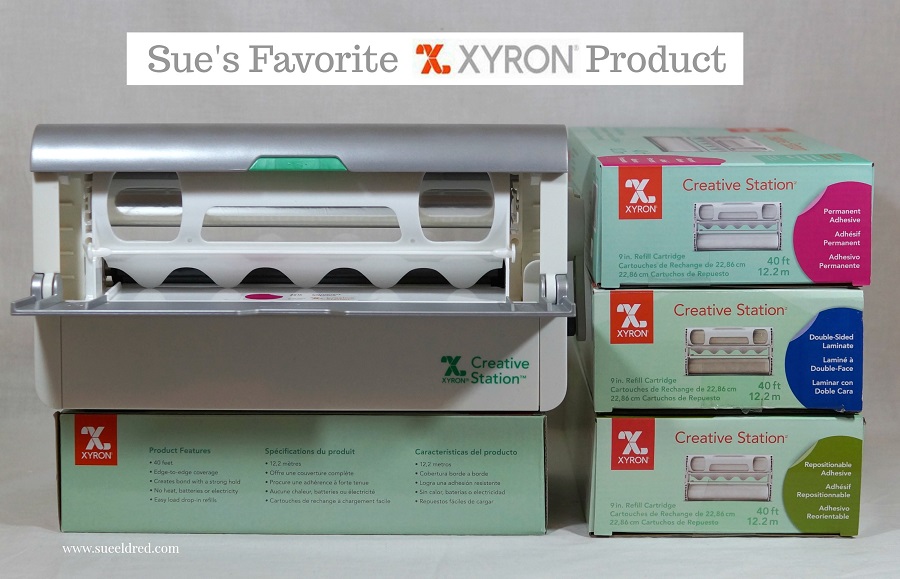
When I go to the effort to create, I don’t want my projects falling apart.

With the Xyron Creative Station* you get complete coverage, no gluing, no wrinkling,

no bubbles!  There are so many refill cartridge options available in both the 9″ and 5″ sizes.

*Disclosure:  This blog post uses affiliate links.  If you choose to make a purchase using one of the links, I receive a small commission (at no additional cost to you) that helps offset the costs of maintaining this blog.  Thanks for your support!

To make my Mini Albums…

  • I use chipboard or mat board for the base of my Mini Album and cut it to my preferred size.
  • I cut decorative scrapbook paper to fit onto the base.
  • Put the paper design side up on the  *Xyron Creative Station, 9″ crank the handle to run the paper through the machine.  As it moves through the Xyron Creative Station it adds adhesive to the back side of the paper.  Easy to use and it doesn’t need any electricity.
  • Line up the paper onto the chipboard.

  • Create extra pages for the inside of the Mini Album using cardstock or coordinating scrapbook paper.
  • Bind the album together using a Book Binding Machine*.
  • Embellish the front of the album with frames, flowers, charms, stickers and ribbon.

  • I created a frame for the cover using chipboard and scrapbook paper and cutting it out using a steel rule die.
  • You can run the frame through the Xyron Creative Station* also.
  • The Creative Station makes quick work of putting my Mini Album together.

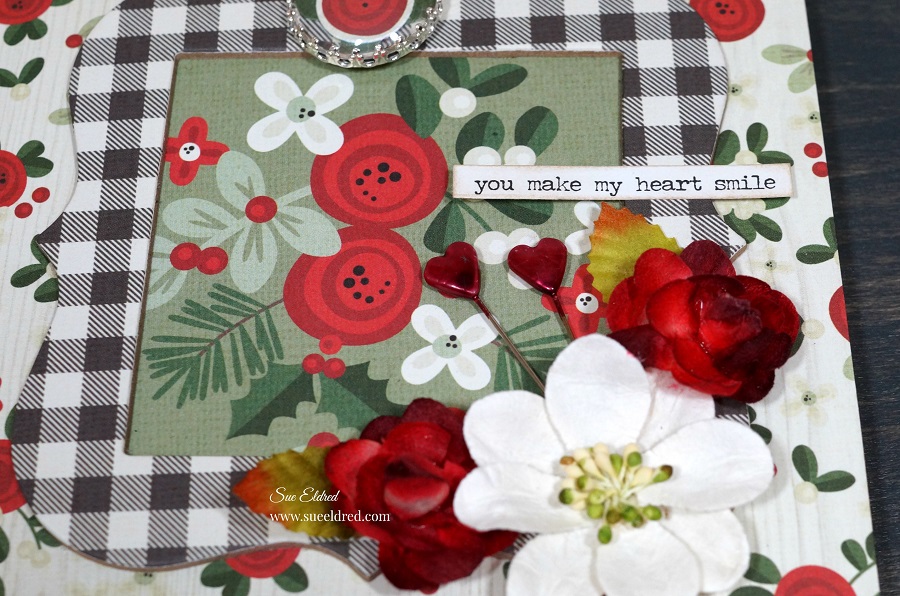
The paper used on my Mini Album was from Simple Stories Merry & Bright Collection*

 “This is a sponsored post.  As a member of the Xyron Design Team I have been provided product and compensation in exchange for my creative ideas.  The views and opinions are my own.

Shop Your Fav Brands at Scrapbook.com

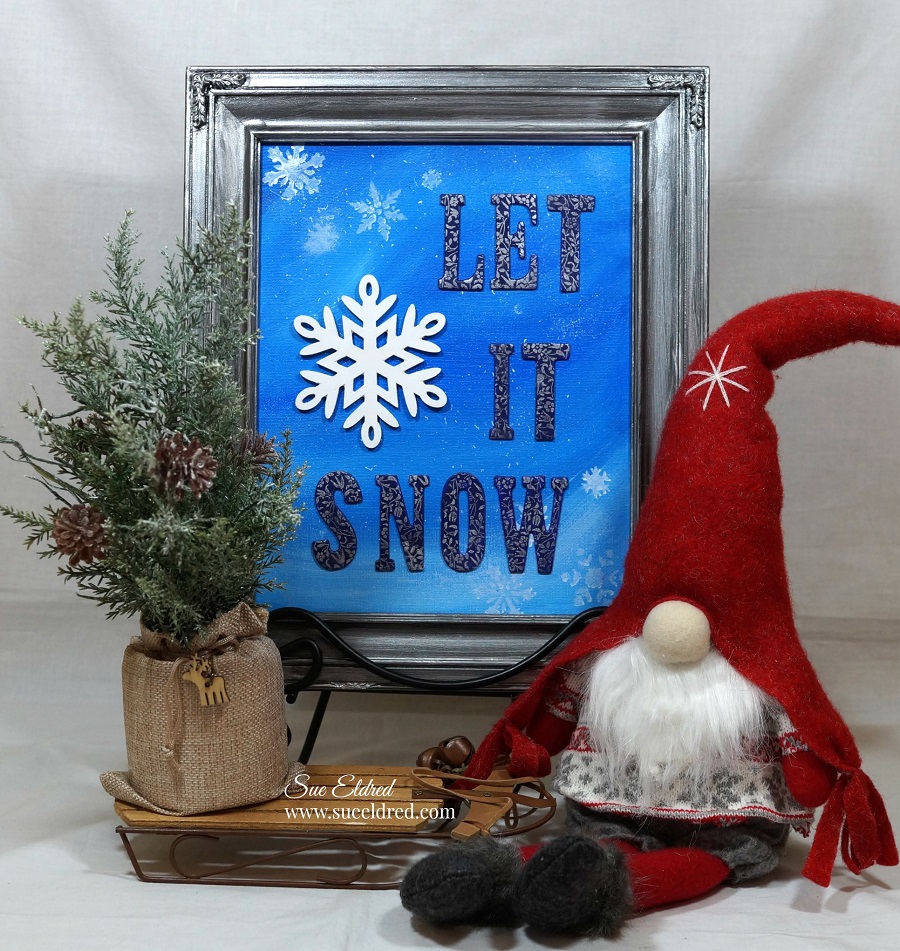
Let it Snow Painted Canvas

A Simple DIY Holiday Canvas

Christmas came early for the Xyron Design Team  and I love a good present.

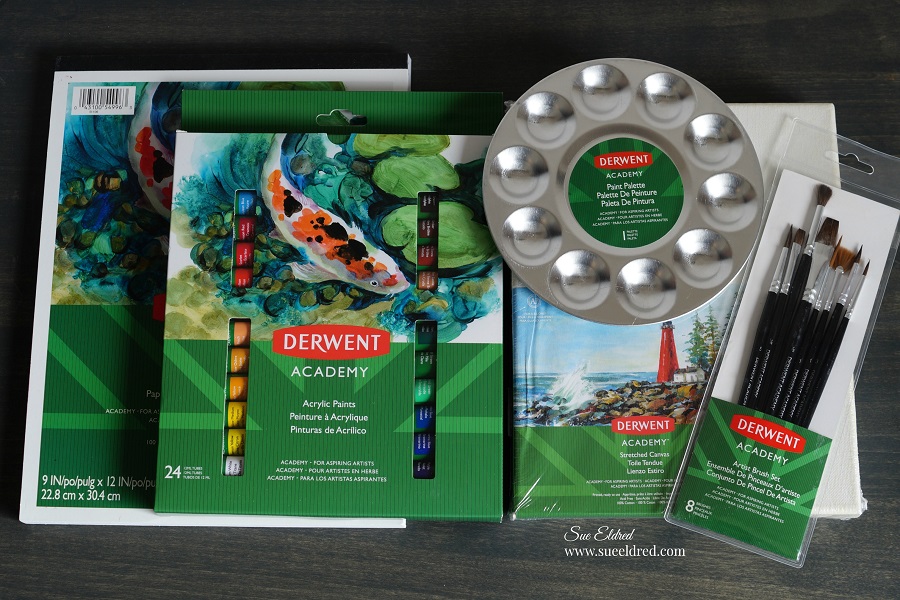
We all received a wonderful box of paints and supplies from Derwent Academy.

It’s been a while since I’ve painted with acrylics on canvas so I decided to keep it

simple and festive.

I painted my canvas with a mixture of Cerulean Blue, Phthalo Blue, Ultramarine Blue

and Titanium White.  I was going for a “snowy sky”.

I added a few stenciled snowflakes on the corners and then splattered the canvas with

titanium white paint using an old toothbrush.   (I kept it really simple)

I used random chipboard letters and painted them with a mixture of Cobalt Blue and

Purple Violet to make them all match.

After the letters had dried, I stamped them with silver ink.

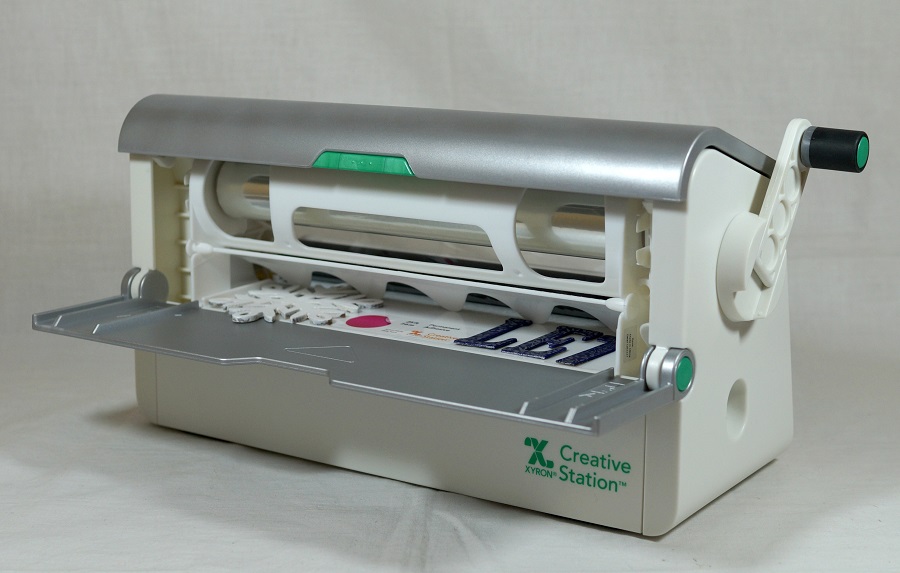
I used my Xyron 9″Creative Station* to add adhesive to the back of the chipboard letters

before adhering them to my canvas.  I even used it on the large white wood snowflake.

I added the canvas to an antiqued silver frame for a cute Holiday Decoration.

Here’s the Derwent links to the products I used:

“This is a sponsored post.  As a member of the Xyron Design Team I have been provided product and compensation in exchange for my creative ideas.  The views and opinions are my own.

Shop Your Fav Brands at Scrapbook.com

*Disclosure:  This blog uses affiliate links.  If you choose to make a purchase using one of the links, I receive a small commission (at no additional cost to you) that helps offset the costs of maintaining this blog.  Thanks for your support!

Happy Holidays Chalkboard Sign

How to Create a Happy Holidays Chalkboard Sign with a Simple Button Bow.

I really enjoy working with vinyl and love coming up with simple Holiday DIY projects.

The Happy Holidays Sign was one of the projects we created in last month’s Holiday Workshop.

For my sign, I used Styletech Craft’s Ultra Metallic Glitter Adhesive Vinyl in red, green and

white.  The Ultra Metallic Glitter Vinyl has a white backing which ensures the colors stay bright

and true no matter what surface you apply it too.

To start my project…                                                                                 (*amazon affiliate links)

  • I used a piece of Wood Hardboard*.  (it’s like a hole-less peg board) I cut mine 5 1/2 x 7 1/2″.
  • Drill two small 3/8″ holes in the top of the board to use for hanging the sign.
  • Paint the board using DecoArt Black Chalkboard Paint*.
  • Lightly sand the board using 3M Sandpaper, 220-Grit*.  This smooths the board and allows a little bit of the brown board to show through for a vintage look.
  • Wipe the board with a clean soft cloth.

*Disclosure:  This blog uses ads and affiliate links.  If you choose to make a purchase using one of the links, I receive a small commission (at no additional cost to you) that helps offset the costs of maintaining this blog.  Thanks for your support!

  • I applied the words on the chalkboard using Styletech Clear Vinyl Transfer Tape*.
  • I applied the word “Holidays” first and lined the word “Happy” over top.
  • Cut a small white snowflake using white ultra metallic vinyl and add onto the sign above the word happy.
  • Create a “Button Bow”  for the top of your “Happy Holidays Chalkboard Sign”.
  • Directions for “button bow” below.
  • Add twine to the two top holes for hanging.
  • Glue Button Bow onto the top of the “Happy Holidays Chalkboard Sign” using craft glue*.

“This is a sponsored post.  As a member of the StyleTechCraft Design Team I have been provided product and compensation in exchange for my creative ideas.  The views and opinions are my own.

Shop Your Fav Brands at Scrapbook.com

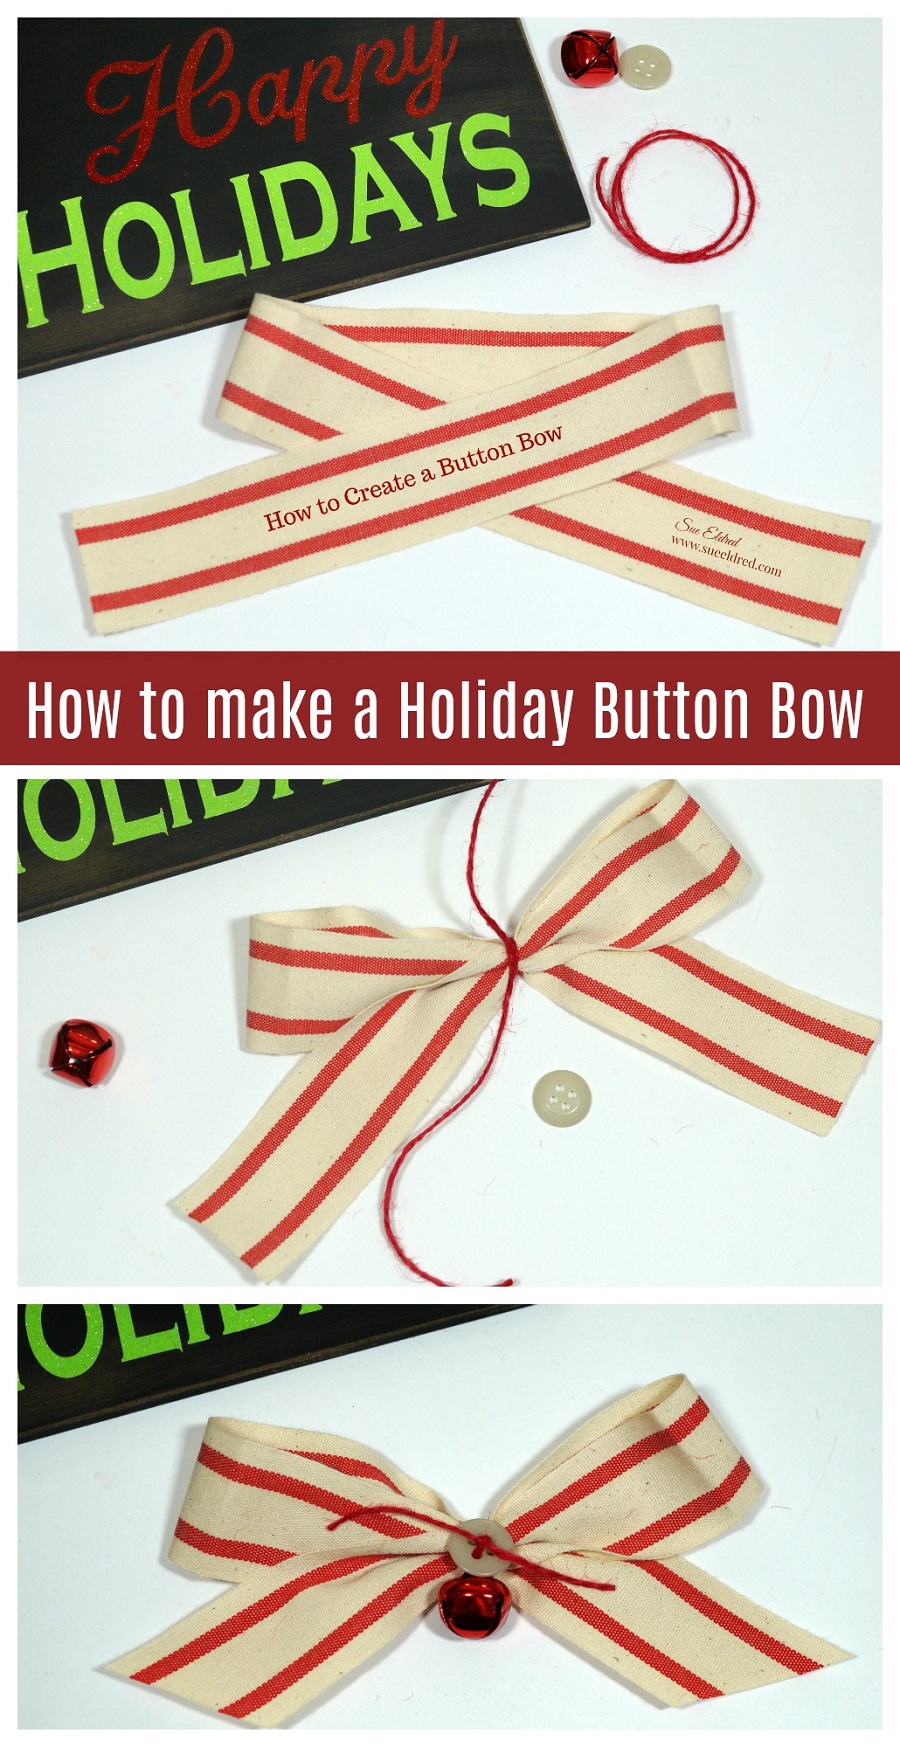
How to Make a Holiday Button Bow…

  • Fold ribbon in thirds.  (like your getting ready to tie a tie.)
  • Gather and wrap twine around the center of the ribbon a couple of times and tie tightly.
  • Add a jump ring to the jingle bell and add onto one end of the twine and tie.
  • Add button to both ends of the twine and tie to the center of the bow.
  • Trim the ends of the ribbon and twine.

Ask for Styletech Craft vinyl at your local craft store

or online at ATSMCRAFT and limited availability on Amazon.

StyleTechCraft Christmas Colors Bundle on Amazon*


Shop Amazon Scrapbooking Supplies*