Rae Dunn Inspired Utensil Holder
I’ve been looking for the perfect utensil holder ever since we did our kitchen makeover in 2018.
I was looking for just the right one. None of the ones I found were what I was looking for.

I found this canister sitting on a thrift store shelf in Wisconsin for only $1.50.
I thought, what the heck. Not much of a gamble if it doesn’t work.
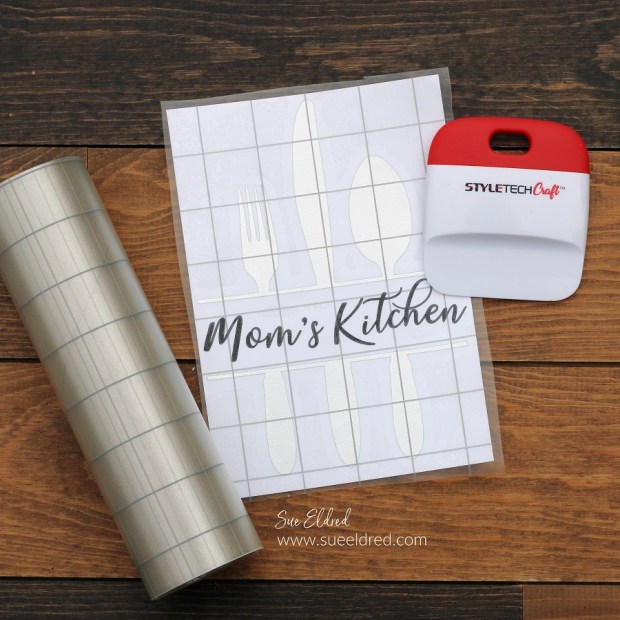
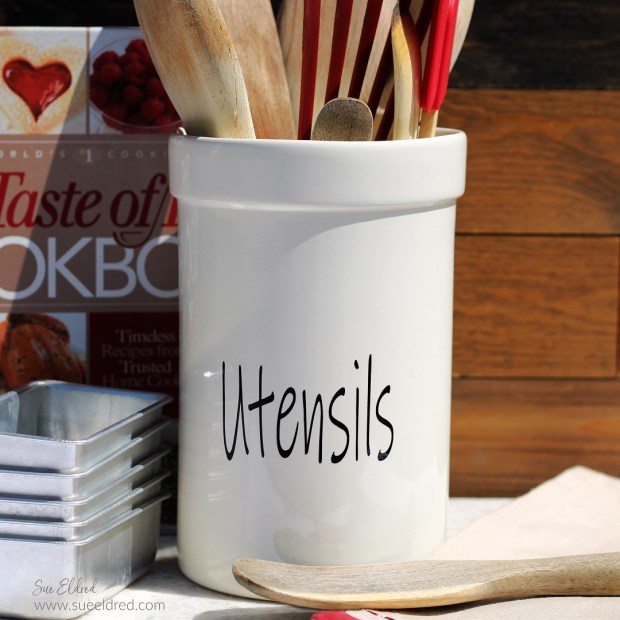
All I needed was a little bit of StyleTechCraft Black Glossy Vinyl* to make it complete.

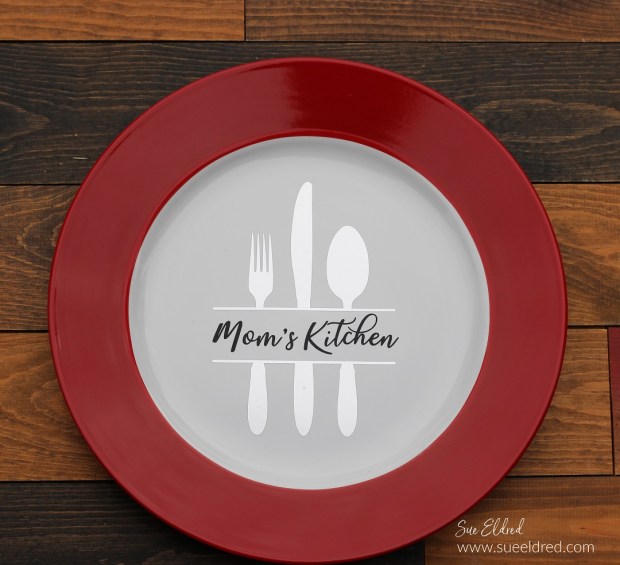
I used the “ink-free” font on my Silhouette and stretched the word to make it longer,
giving it the classic Rae Dunn-inspired tall skinny handwritten font.
The word “utensils” is approx. 2″ x 3.
Materials Used: (*affiliate links)
- StyleTechCraft Black Glossy Vinyl*
- StyleTechCraft Vinyl Transfer Tape*
- StyleTechCraft Vinyl Tool Kit*
- Silhouette Cameo Electronic Die Cutting Machine*
- Thrift Store Canister

StyletechCraft products brought to you by ATSM Craft*
*Disclosure: This blog uses ads and affiliate links. If you choose to make a purchase using one of the links, I receive a small commission (at no additional cost to you) that helps offset the costs of maintaining this blog. Thanks for your support!

Directions:
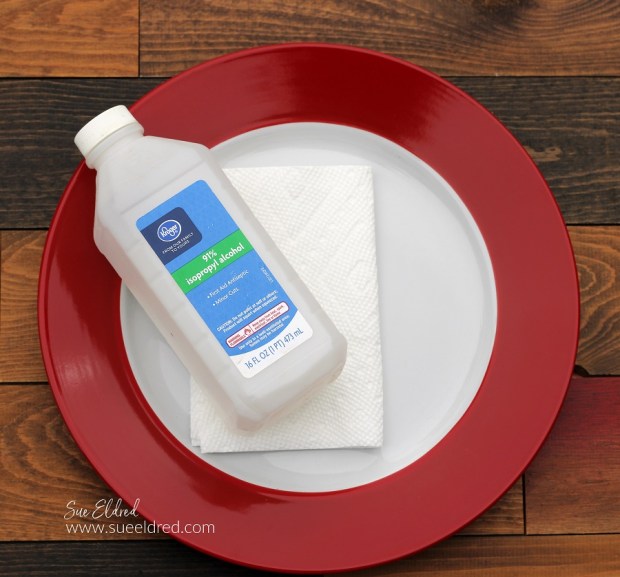
- Prep the surface of the canister with rubbing alcohol to remove any oils.
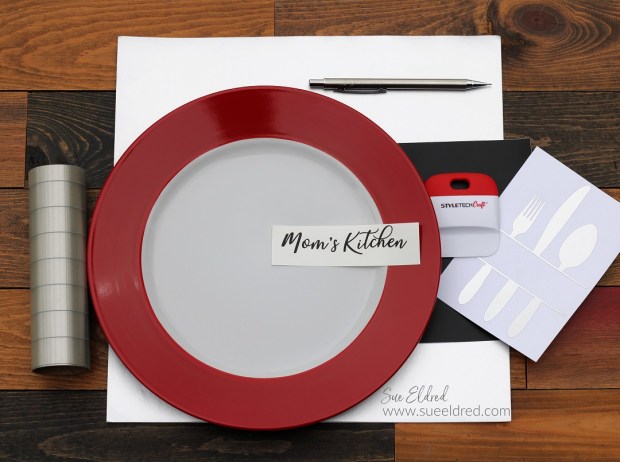
- Use the Silhouette Cameo Electronic Die Cutting Machine* to cut the word utensil out of StyleTechCraft Black Glossy Vinyl*
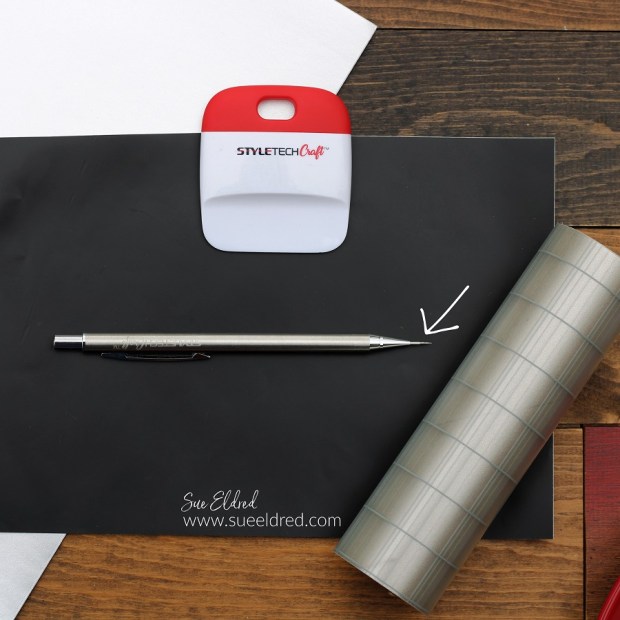
- Remove the excess vinyl around the word using a Vinyl Weeding Tool*.
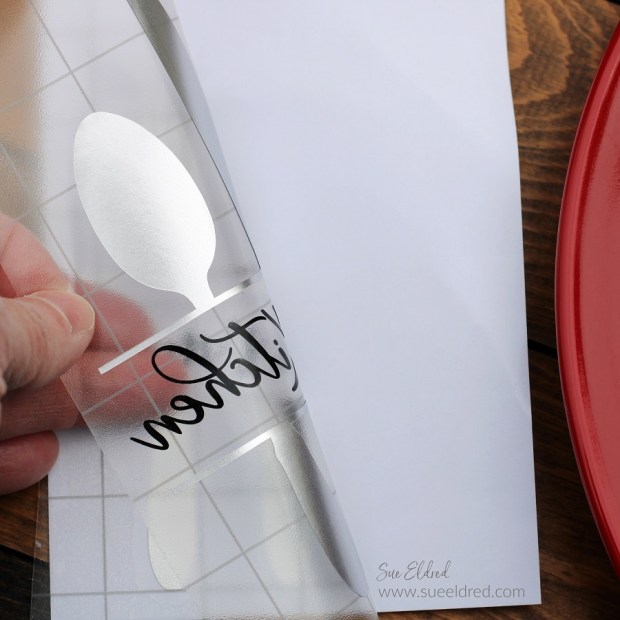
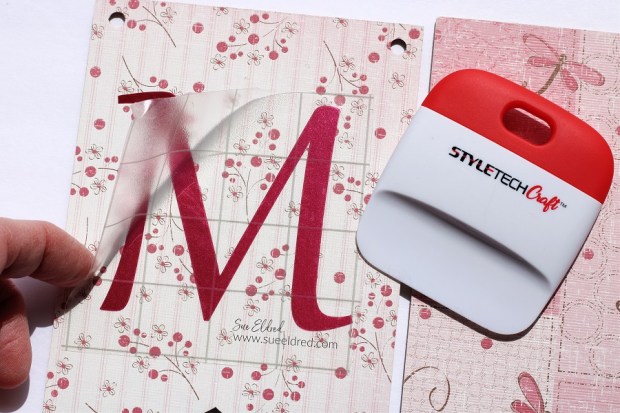
- Lay the transfer paper over the vinyl image.
- Rub over the transfer paper with a vinyl scraper tool.

- Remove vinyl from the white backing.
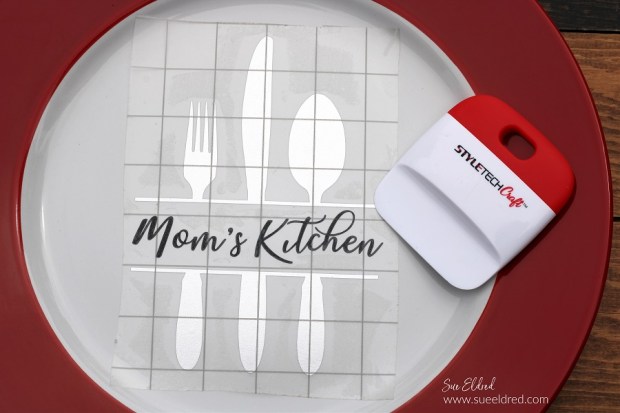
- Use StyleTechCraft Vinyl Transfer Tape* to adhere the vinyl onto the front of the canister.
- Gently rub the transfer paper and remove it from the canister.

Quick and Easy to do. (and it looks great on my counter)
Some of the simplest projects are the most satisfying.
![]()
“This is a sponsored post. As a member of the StyleTechCraft Design Team I have been provided product and compensation in exchange for my creative ideas. The views and opinions are my own.