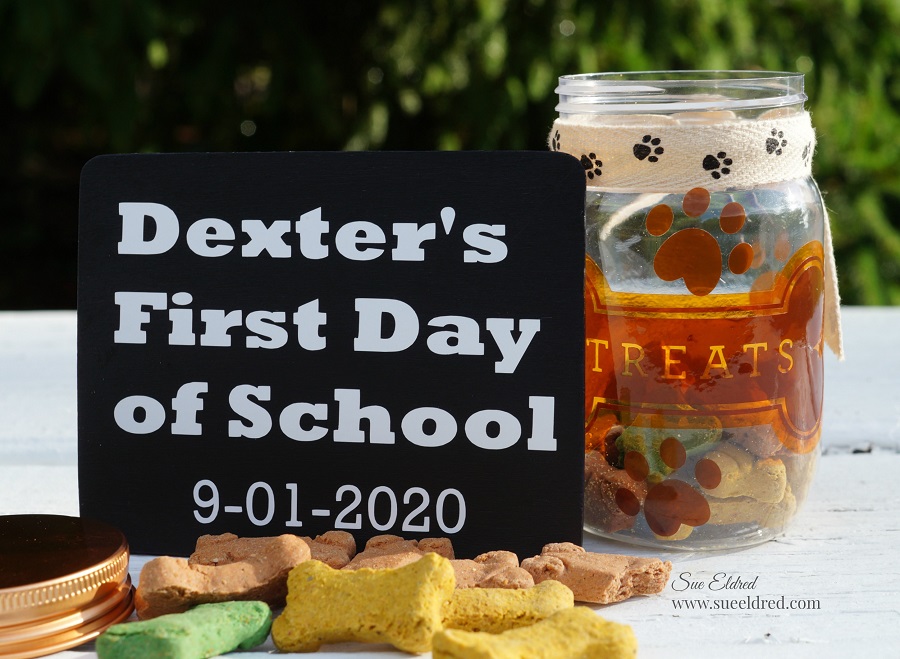
Yesterday was Dexter’s First Day of School.
Dexter is our 9-month Shichon puppy. He is a sweet, loving, energetic ball of fluff.
We adopted him two days before Valentine’s Day and about a month before everything
went nuts. He’s not a quarantine puppy, but he’s sure been a bright spot during that time.
I’ve been on more walks and talked to more neighbors because of him. He loves everyone!
Anyway…
In the list of instructions for the first day of class was to bring dog treats. (lots of treats)
So, I decided to decorate a little jar for his treats.
I found the little plastic jar at Dollar Tree* and used vinyl to decorate it.

*Disclosure: This blog uses affiliate links. If you choose to make a purchase using one of the links, I receive a small commission (at no additional cost to you) that helps offset the costs of maintaining this blog. Thanks for your support!
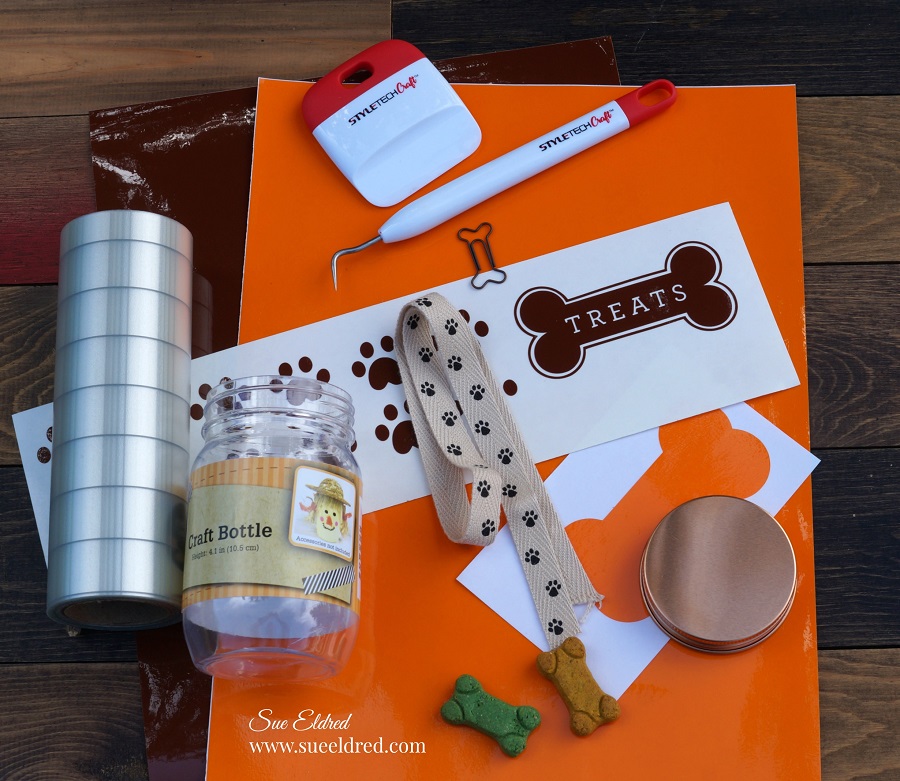
Here’s what I used to make my treat jar:
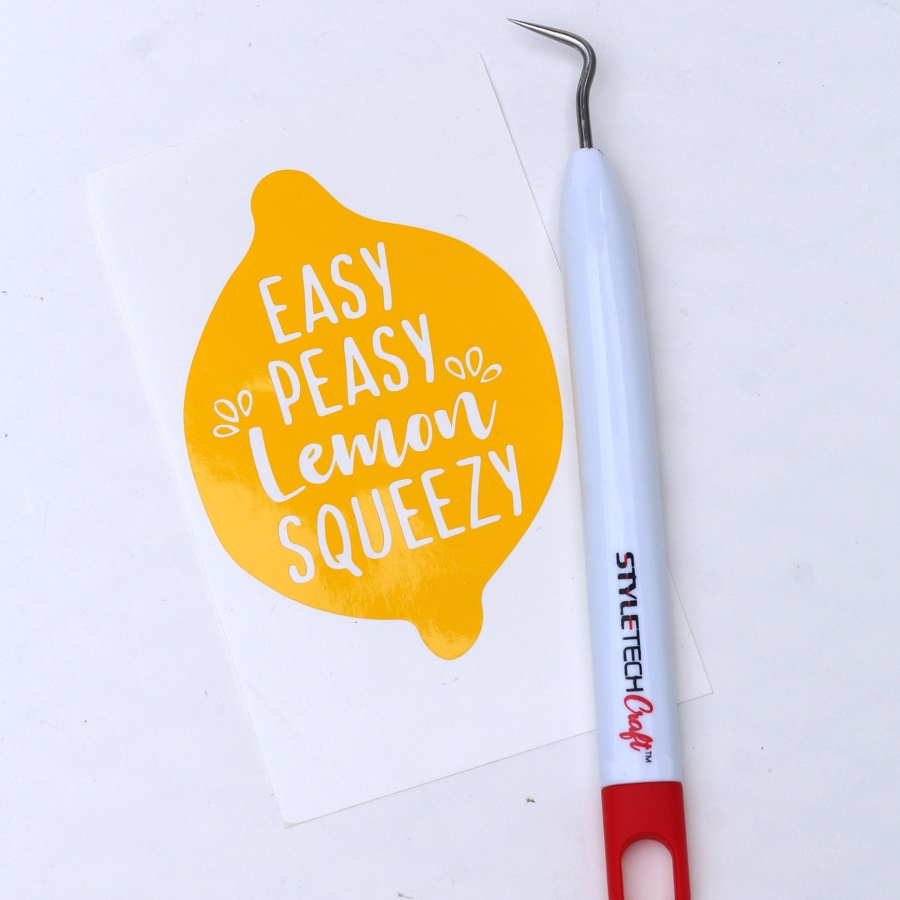
- StyleTechCraft™ Transparent Vinyl: Sunflower and Brown*
- StyleTechCraft™ Vinyl Transfer Tape*
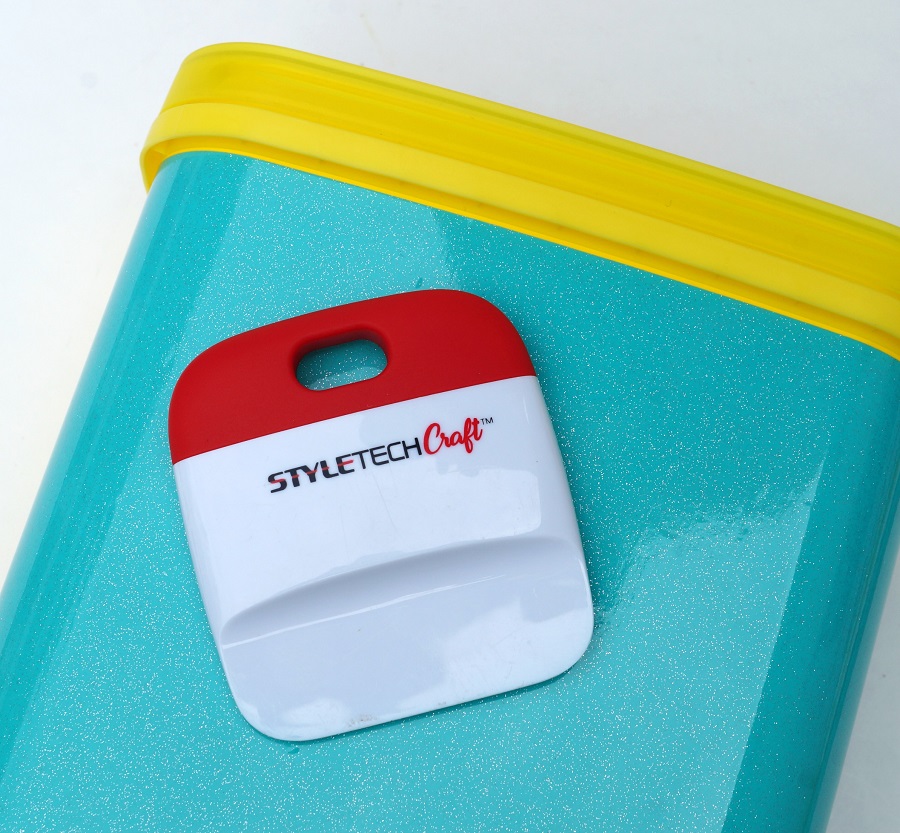
- StyleTechCraft™ Vinyl Tool Kit*
- Silhouette Cameo Electronic Die-Cutting Machine*
- Small Plastic Jar
- Paw Print Ribbon

StyleTechCraft™ products brought to you by ATSM Craft

Directions:
- Using a “Dog Bone Treats” SVG file from the Silhouette Store and the Silhouette Cameo Electronic Die-Cutting Machine*
, cut out the images using StyletechCraft Transparent Vinyl in Sunflower and Brown.
- Use the vinyl pick to remove the letters from dog bone, leave the inside pieces of the letters.
- Cut a piece of Vinyl Transfer Tape* to fit over the vinyl image. Gently rub over the transfer paper using the squeegee tool. Remove the vinyl image from the white liner.
- Overlay the brown bone onto the large orange bone silhouette.

- Carefully apply the vinyl to the jar. Give the vinyl a gentle rub using the squeegee to make sure everything has transferred and remove the transfer tape.
- Add paw prints randomly around the jar using the transfer tape.
- Tie with a paw print ribbon and fill with dog treats.
FYI…The First Day of School Sign was made by painting a small wood sign with black chalkboard paint and applying words created with StyleTechCraft White Craft Vinyl*.

Dexter is such a smart, sweet little boy.
He’s our first dog and, he’s been a great addition to our family. He brings a lot of smiles.
And by the way…he did really great during his first class!
![]()
“This is a sponsored post. As a member of the StyleTechCraft Design Team I have been provided product and compensation in exchange for my creative ideas. The views and opinions are my own.