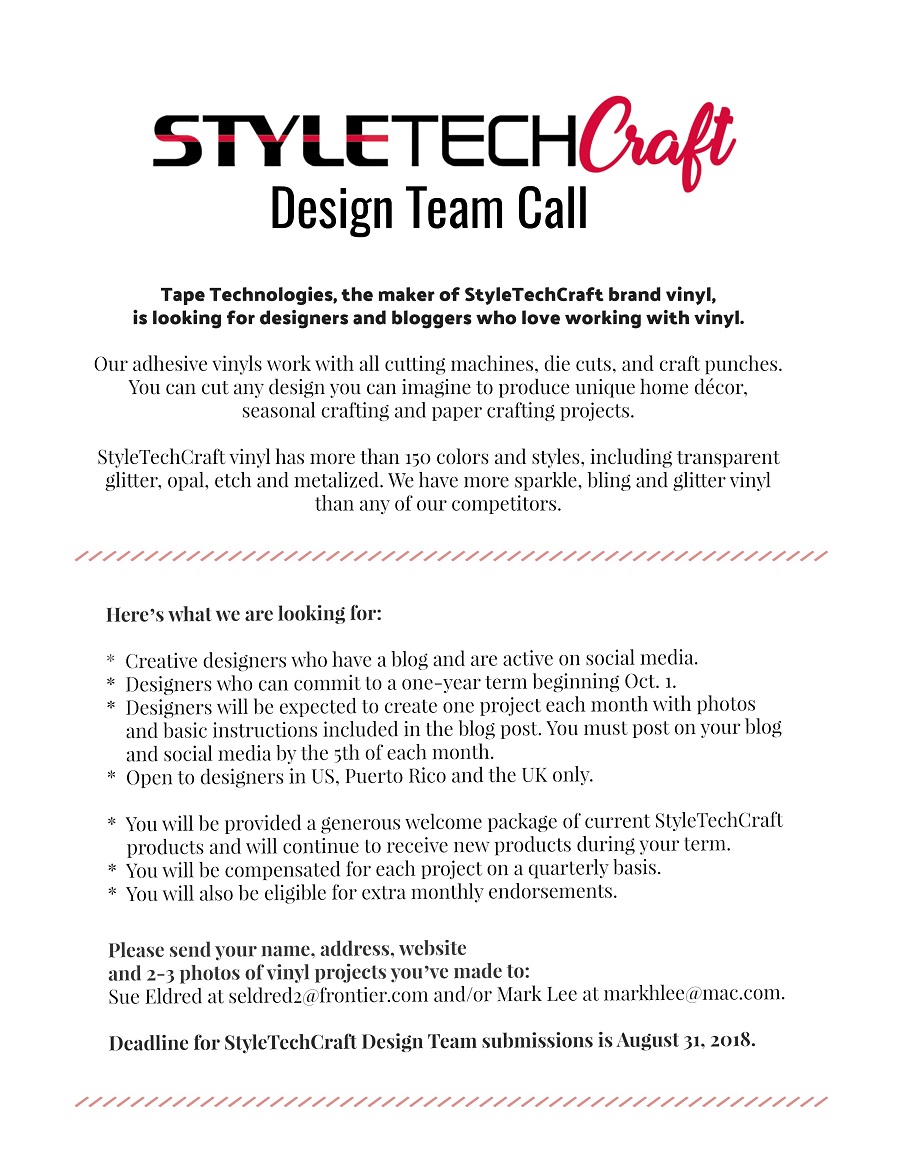
Do you love working with vinyl?
Tape Technologies the maker of StyletechCraft adhesive vinyl is looking for fresh
new faces to join their Design Team. http://tapetechnologies.com/
Tape Technologies the maker of StyletechCraft adhesive vinyl is looking for fresh
new faces to join their Design Team. http://tapetechnologies.com/
One of my favorite childhood memories was the summer I was cast as Lucy in the library’s
production of “You’re a Good Man Charlie Brown”.
My favorite song was “happiness is”. At the end of the show we all held hands and sang.
Still makes me happy.
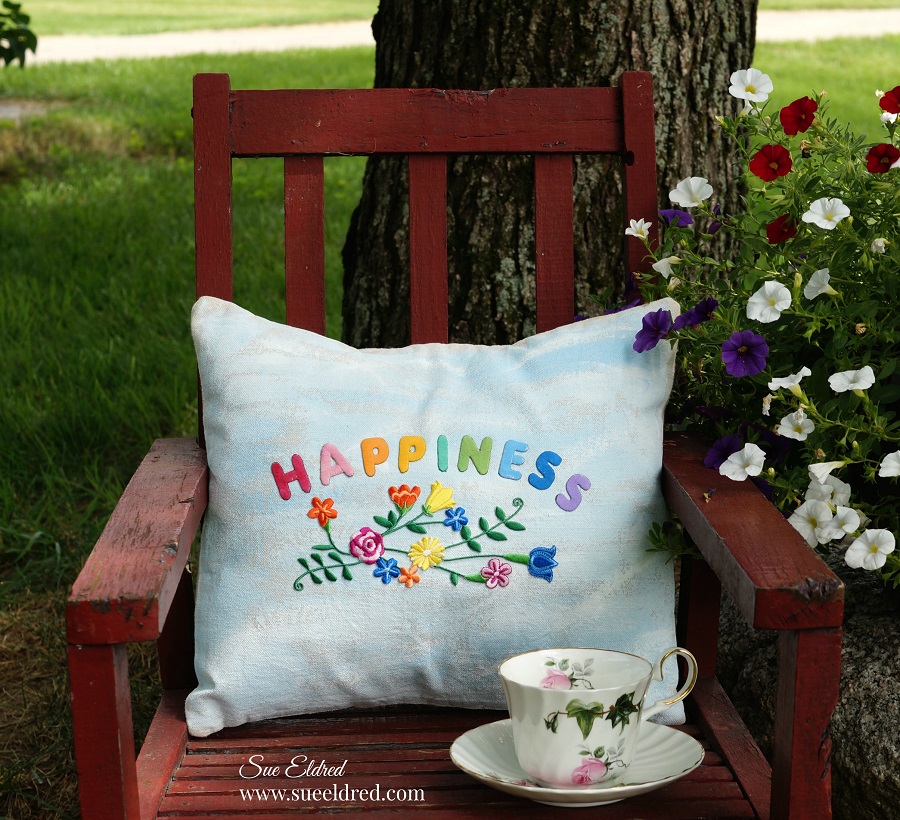
When it comes to using Joy Iron-on letters…
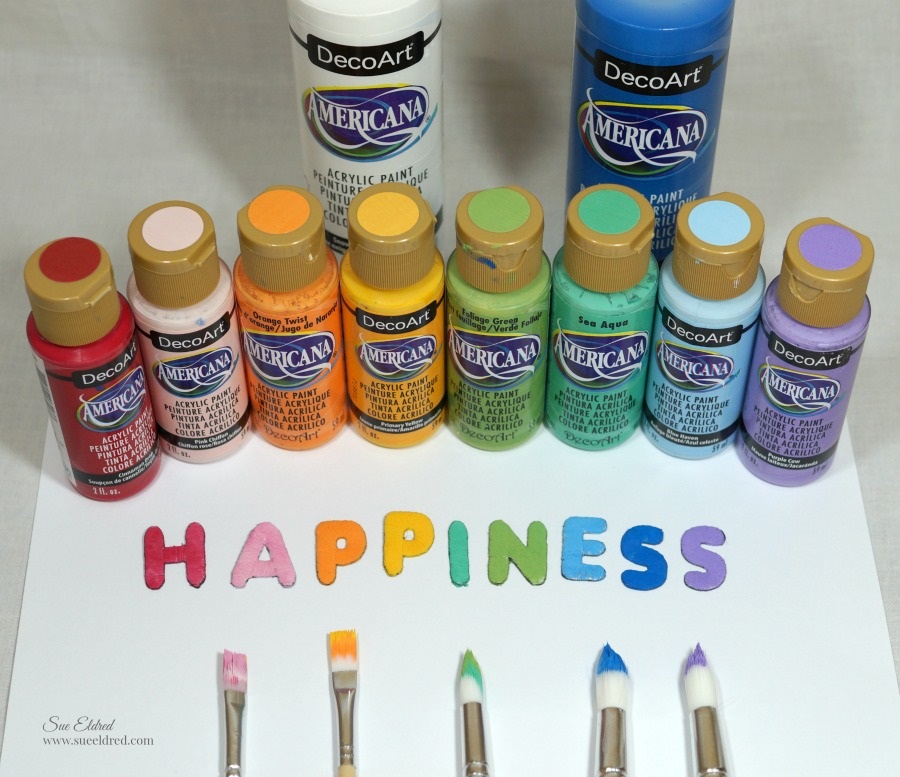
I’ve dyed them, inked them and even misted the letters, I never thought about painting them.
Joy White Embroidered Iron On Letters are great for creating any color you can imagine.
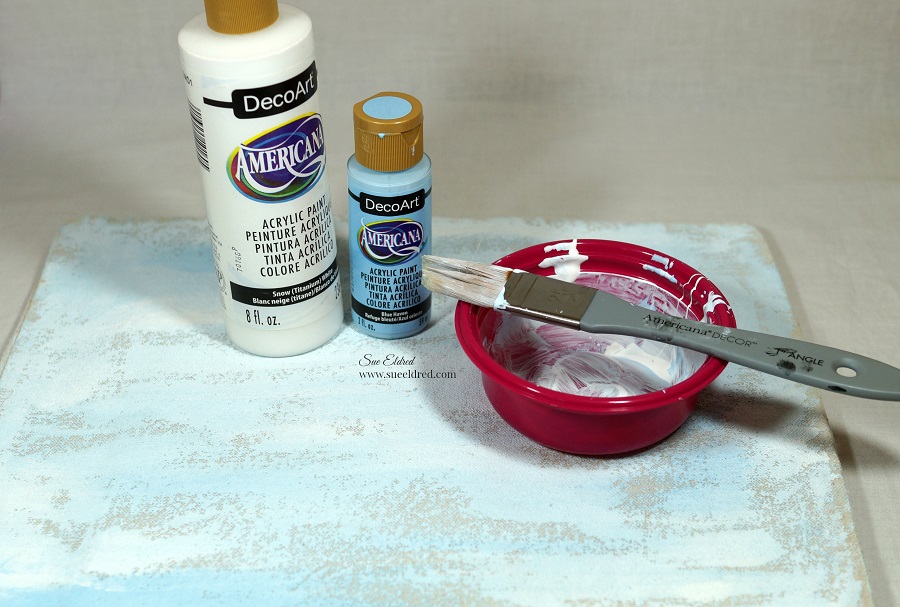
They even work great with acrylic paint.
To Make the Happiness Pillow you’ll need… (*affiliate link)
*Disclosure: This blog uses affiliate links. If you choose to make a purchase using one of the links, I receive a small commission (at no additional cost to you) that helps offset the costs of maintaining this blog. Thanks for your support!
Look for Joy® iron-on embroidered letters and numbers at your favorite craft store. They’re available in different sizes, colors and fonts, suitable for every occasion.
“This is a sponsored post. As a member of the Joy® Design Team I have been provided product and compensation in exchange for my creative ideas. The views and opinions are my own.
In the backyard of my childhood home stands a ginormous Silver Maple tree.
That gigantic tree has been the backdrop for tons of family pictures during it’s 40 plus years.
I’d always thought of it as “my tree” because I was the one who drug it up from the woods
and had planted it. Up until recently, possibly last year, I found out that it wasn’t my tree.
Dad told me that my tree didn’t make it and he had replaced it with this one. (Sigh!)
One of my favorite pictures was this one taken on Thanksgiving Day 2006.
The guys were out in the yard playing catch with the football and I asked my sister-in-law
to snap a family picture. The guys lifted my youngest up in the tree, football still in hand.
As we get my parents house ready to sell, it dawned on me that I need to get another
family picture by “my tree” while we still have the chance.
This past week-end, we had one last large family get-together at the home
and took one enormous family picture around that old tree. (35 in all with only 3 missing.)
We also took this one of my family…Just as we were, sweaty and all.
It was a beautiful evening spent celebrating family.
It was also a little bittersweet as I know Mom and Dad would have loved it.
For my Xyron Design Team project this week, the team got the opportunity to pick any
collection we wanted from Photoplay Paper.
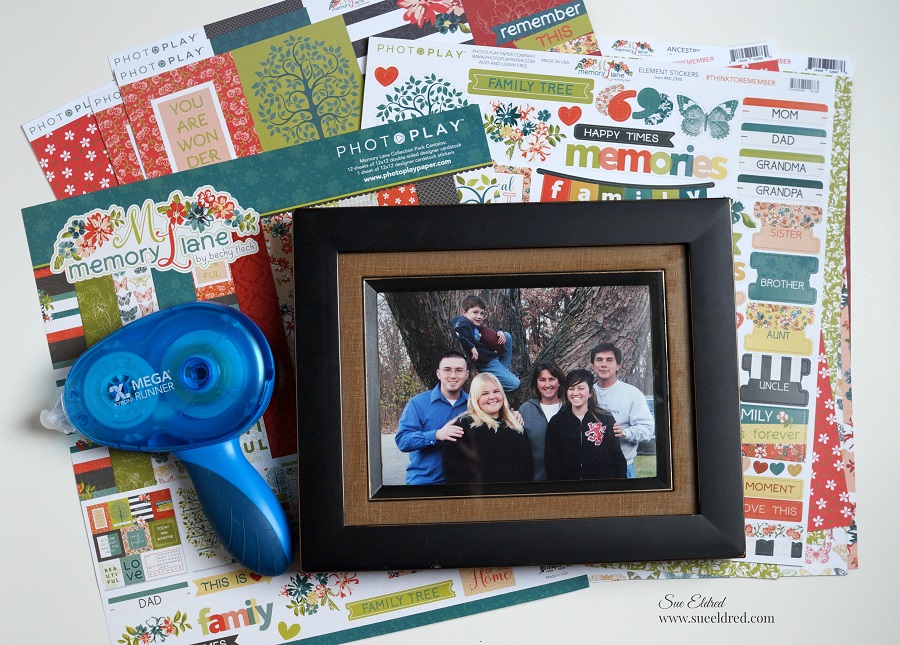
The moment I saw the Memory Lane Collection I knew it was perfect for my pictures.
I received the collection which included 12 sheets of beautiful double-sided paper and a full
sheet of beautiful cardstock stickers and a package of the ephemera cardstock die cuts.
Everything went together smoothly with the help of my trusty Xyron Mega Runner*.
“This is a sponsored post. As a member of the Xyron Design Team I have been provided product and compensation in exchange for my creative ideas. The views and opinions are my own.
*Disclosure: This blog uses affiliate links. If you choose to make a purchase using one of the links, I receive a small commission (at no additional cost to you) that helps offset the costs of maintaining this blog. Thanks for your support!
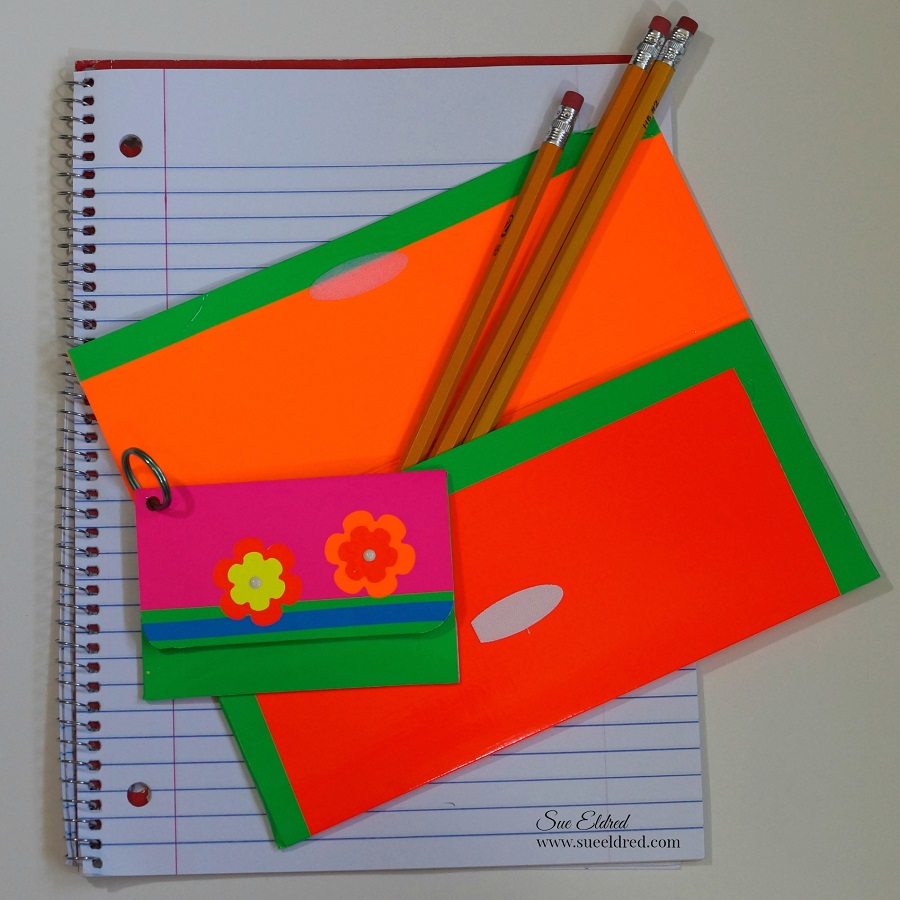
A little BTS project to make with the bigger kids.
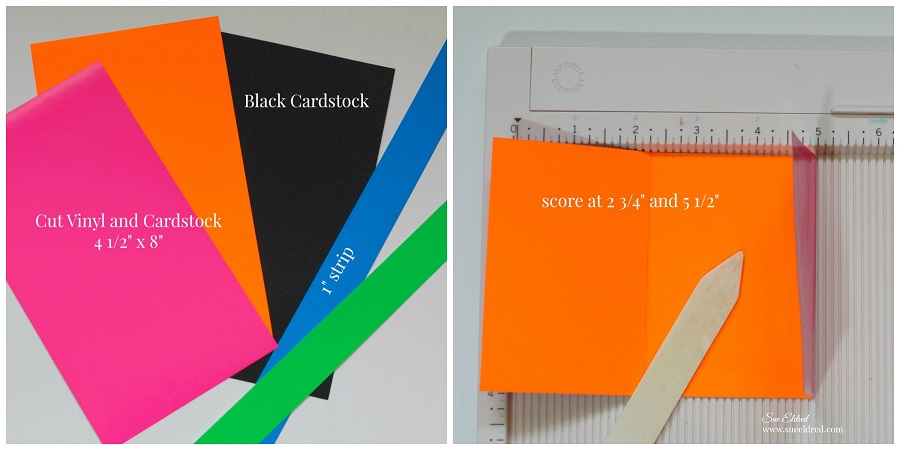
I wanted my project to be bright, fun and colorful so I used
Styletech Fluorescent Craft Vinyl from Tape Technologies.
How to make the BTS Vinyl Pouch… (*affiliate link)
For more fun, try making a larger pencil pouch.
“This is a sponsored post. As a member of the Tape Technologies Design Team I have been provided product and compensation in exchange for my creative ideas. The views and opinions are my own.
*Disclosure: This blog uses ads and affiliate links. If you choose to make a purchase using one of the links, I receive a small commission (at no additional cost to you) that helps offset the costs of maintaining this blog. Thanks for your support!
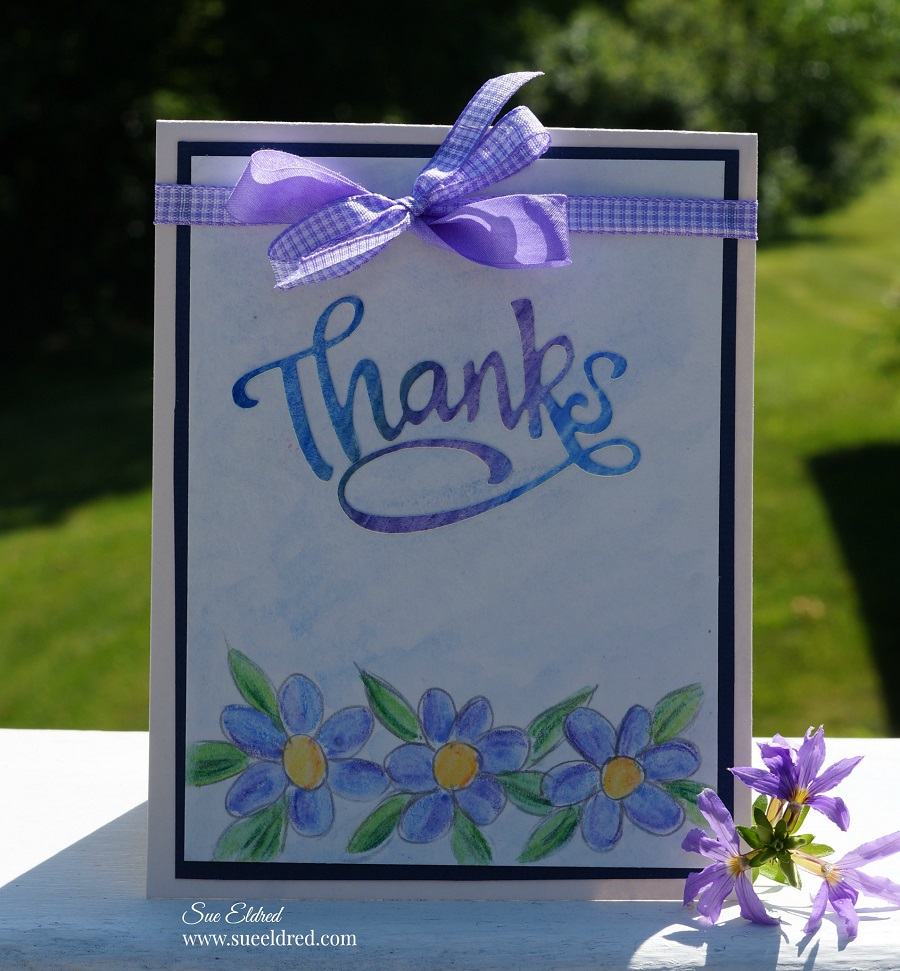
Simple Water Colored Posies Card
My love of water color started in my High School Art class.
Unfortunately for me, I’m not very good at drawing.
Except simple little objects.
For my Xyron Design Team project this week…
Derwent Academy sent us some awesome goodies to play with.
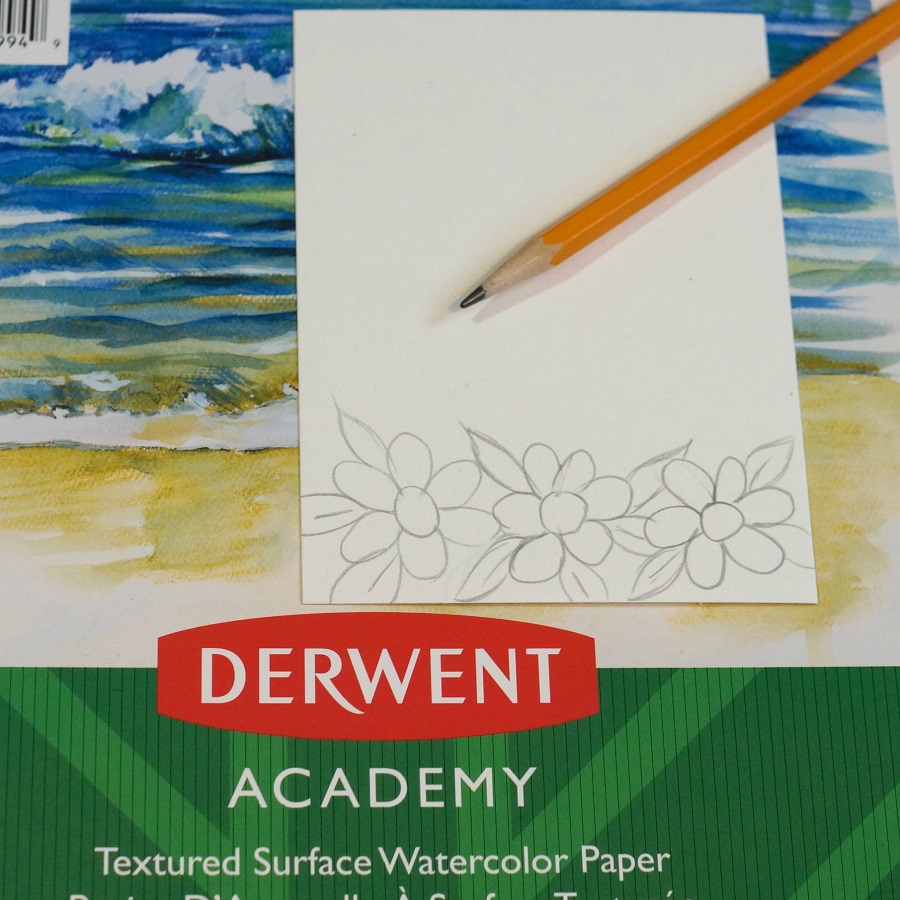
For my card…I cut the watercolor paper to 3 ¾” x 5″ and drew simple little flowers
on the bottom. (Can’t get much easier than this.)
I colored in my flowers and leaves using the water color pencils.
I used the lighter pencil first and then added a little shading with the darker pencil.
You don’t have to fill the entire image.
Use a wet paint brush and go over pencil marks to blend the colors.
For my Words…I took a small piece of the water color paper and did a scribble background
with the blues and purple water color pencils.
Blend the colors together with a wet paintbrush.
After the paper was completely dry, I inserted it into my Xyron 3″ Sticker Maker*.
The Xyron Sticker Maker* is great to use when cutting out small dies.
It adds complete adhesive and makes the perfect little word sticker.
I used my Xyron Creative Station* to add adhesive to the back of my layers.
That way, I don’t have to worry about any warpage on my watercolored layer.
A simple bow finishes off this simple watercolored card.
“This is a sponsored post. As a member of the Xyron Design Team I have been provided product and compensation in exchange for my creative ideas. The views and opinions are my own.
*Disclosure: This blog uses affiliate links. If you choose to make a purchase using one of the links, I receive a small commission (at no additional cost to you) that helps offset the costs of maintaining this blog. Thanks for your support!
A Gift for that special Bride…
Create a special pouch for the Bride-to-be to keep her wedding day jewelry safe while in
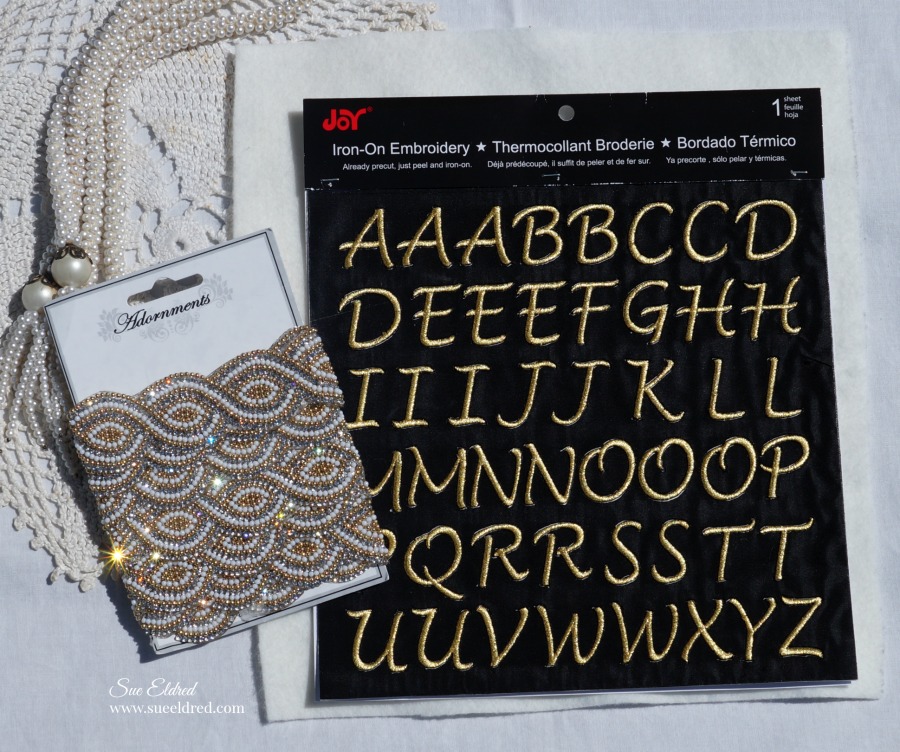
transport. Personalize it with Joy Iron On Embroidered letters.
To make the Bridal Pouch here’s what you’ll need:
You can also use the beaded-iron on trim to make into a bracelet, belt or headband.
For the beaded bracelet…
This project was sponsored by Joy SA.
Shop Handmade – The Wedding Store
*Disclaimer: This post uses ads and affiliate links. If you choose to make a purchase using one of the links, I receive a small commission (at no additional cost to you) that helps offset the costs of maintaining this blog. Thanks for your support!
Who doesn’t love receiving a Cheery Little Birthday Card?
I know I do.
This week the Xyron Design Team is all about Lawn Fawn…
and I had a blast. I loved using their dies to make this fun card.
Here’s what I used: (*affiliate link)
*Disclosure: This blog uses affiliate links. If you choose to make a purchase using one of the links, I receive a small commission (at no additional cost to you) that helps offset the costs of maintaining this blog. Thanks for your support!
The card was so easy to put together using the Xyron Sticker Maker* for all my little pieces.
A really fun card to make.
A special thank you to Lawn Fawn for sending the dies and paper used on this project.
“This is a sponsored post. As a member of the Xyron Design Team I have been provided product and compensation in exchange for my creative ideas. The views and opinions are my own.
I was decorating and getting the house ready for our 4th of July Pool Party…
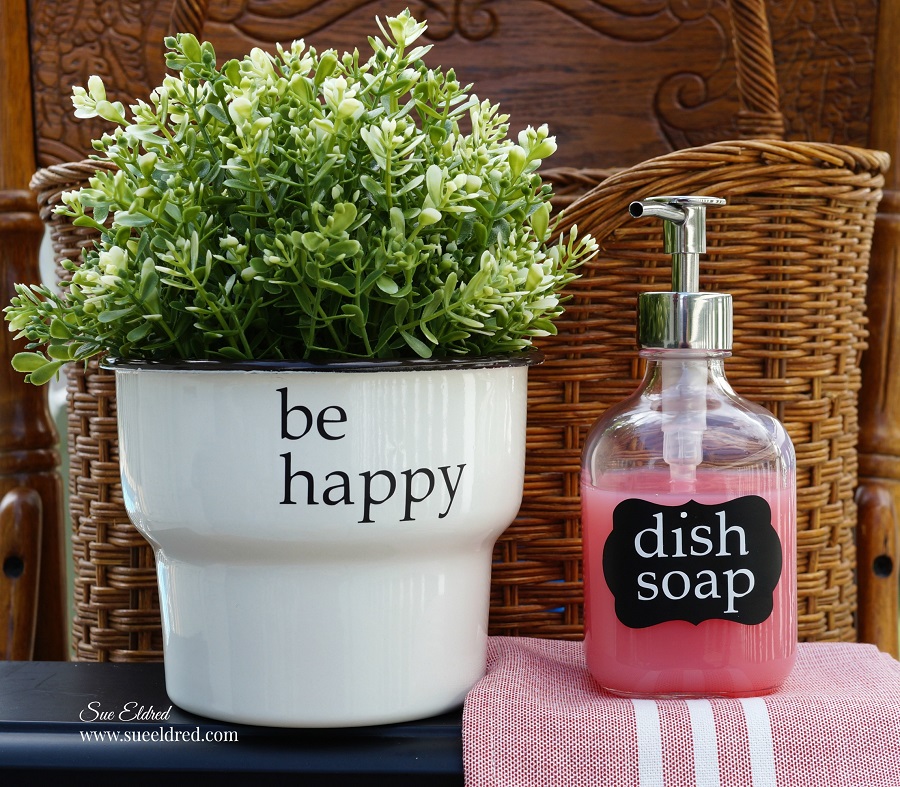
when I got the idea to use my new Matte Removable Vinyl to create 4th of July door decals.
They were super simple to make and they add a fun festive touch.
To make my 4th of July Door Decals…
I put one onto the backdoor heading into the pool area and the other onto the door leading
into the house from the garage.
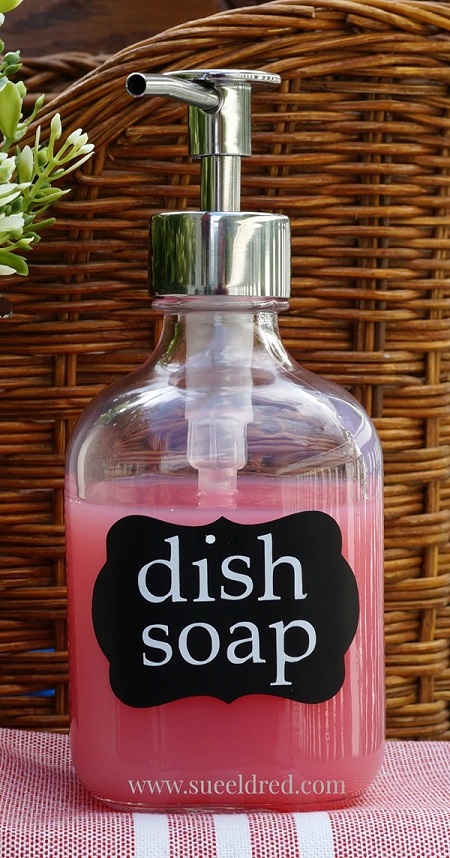
I also used the vinyl to jazz up the plain metal tin to hold cutlery.
Did you know that this vinyl will remove cleanly for up to two years?
This vinyl film is great for decorating a kid’s room, a classroom or just about anywhere
you just need a temporary graphic.
And, with 27 colors available, it’s not hard to find the perfect color for whatever you can
dream up!
“This is a sponsored post. As a member of the Tape Technologies Design Team I have been provided product and compensation in exchange for my creative ideas. The views and opinions are my own.

*Disclosure: This blog uses ads and affiliate links. If you choose to make a purchase using one of the links, I receive a small commission (at no additional cost to you) that helps offset the costs of maintaining this blog. Thanks for your support!
For the 4th of July, I decided to create a round-up of my past 4 favorite patriotic projects.
Enjoy!
Enjoy the party with friends. (maybe even empty another blue wine bottle)
To make the project… read here.
White picket fences, fireworks and the good old red white and blue.
A 4th of July Celebration Centerpiece with Fireworks, Flags, Banners and Pinwheels all
rolled into one. To see how I made it… read more.
Welcome your visitors with an Americana Wreath for your front door.
So many possibilities.
For more information… read more.
Got any old worn blue jeans ready to be thrown out?
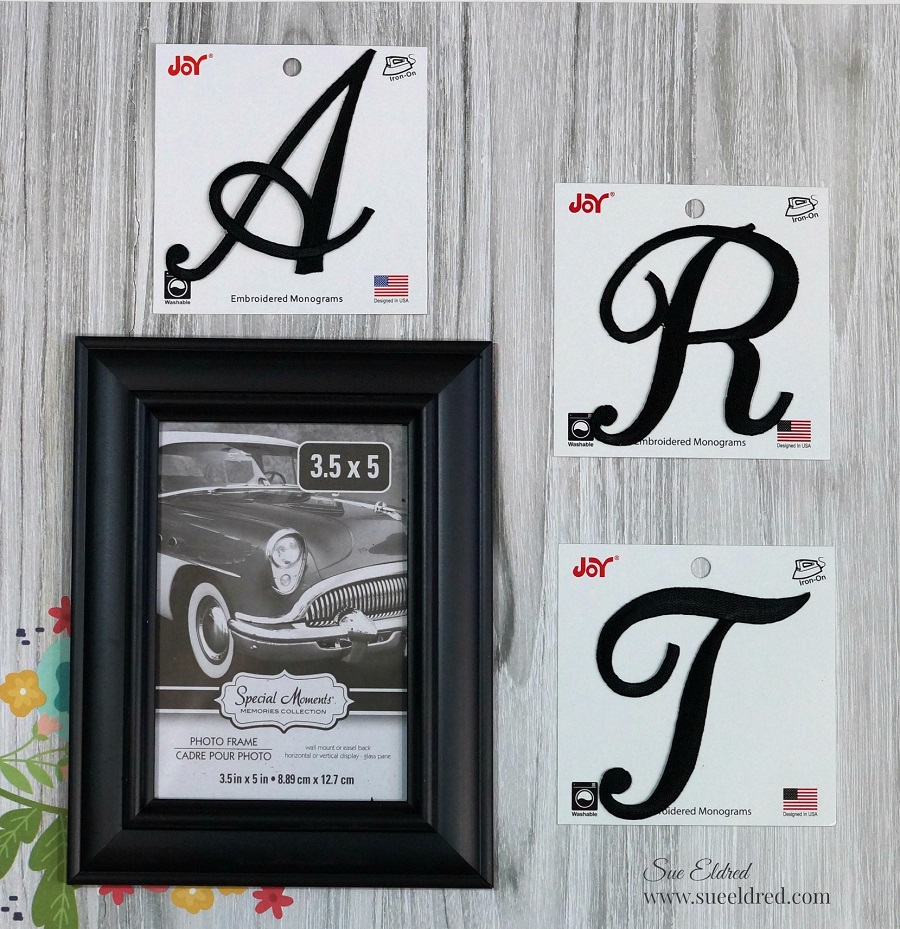
I started with my old blue jeans and 3″ Iron-on Embroidered Varsity Letters from Joy
in red and blue.
For more pictures and instructions read here.
Shop Dollar Tree for Red White & Blue Party Supplies* (*affiliate link)
*Disclosure: This blog uses affiliate links. If you choose to make a purchase using one of the links, I receive a small commission (at no additional cost to you) that helps offset the costs of maintaining this blog. Thanks for your support!
This week the Xyron Design Team teamed up with Newton’s Nook for some fun inspiration.
Click on each of the links below to leave your comments all week for a chance to win a Xyron Mega Runner and a $25 Newton’s Gift Card.
For my project, I picked out this cute little “Newton Scoots by” stamp set and matching dies.
I also picked out the Floral Lace Stencil* to use on the background.
I used my stencil brush and a light blue dye inkpad to create the subtle background.
Using my Xyron Creative Station* made quick work in putting all my layers together.
I’ll be honest…this was the first time I’ve used a stamp and matching die set.
I love how clean it looks. Super Easy to use. No messy fussy cutting needed!
“This is a sponsored post. As a member of the Xyron Design Team I have been provided product and compensation in exchange for my creative ideas. The views and opinions are my own.
*Disclosure: This blog uses affiliate links. If you choose to make a purchase using one of the links, I receive a small commission (at no additional cost to you) that helps offset the costs of maintaining this blog. Thanks for your support!