Pretty in Pink

Little Miss Serenity, so Pretty in Pink.

I was shopping with my sister the day she/we found this pretty pink outfit.

As any good sister would, I helped her justify why she really needed it.

I’m good at that sort of thing.

I told her “just think of how cute it’ll look in pictures”.

I was right, wasn’t I?

It’s hard to believe my sweet little niece will be four in just a couple of weeks.

Such a Sweetie!

“This is a sponsored post. As a member of the Deflecto Design Team I have been provided product in exchange for my creative ideas, views and opinions.”

DCC: Simple Little Valentine…

Little B Valentine's Card 1607

I really love this new border punch that I received last month from Little B LLC.

This Little B 100366 Trim Punch, Honeycomb,punches both sides of the paper at one

time leaving you with a great border strip to uses on all sorts of projects.

For my “Simple Little Valentine”, I punched four border strips from white cardstock.

I glued the strips onto another piece of white cardstock, butting up the ends to create

a continuous pattern.  An easy way to create a simple and elegant background.

Another great thing I love about this punch is it’s locking feature.

It has a button on the side of the punch so that you can lock it in the closed position for easy storage.

How great is that?

Disclosure:  This project was created for me and was sponsored by Little B.  The post uses Amazon Affiliate links.  I am a Amazon Affiliate.

Winter Lazies…

Winter LaziesIn January, I came down with a severe case of the “Winter Lazies”.

It was brought on by a combination of Holiday Fatigue, Head cold and Two Snow Days.

All I can say is I had it bad.

Symptoms Include: (but not limited too)

  • not wanting to crawl out of a warm bed
  • hating to leave the house for things like groceries, getting the mail etc.
  • procrastination
  • doing multiple things at one time, but finishing none of them
  • the need to sit on the couch and watch DIY TV, but not making anything
  • spending too much time on the computer

Treatment:  Sunshine, Warm Weather, Tropical Vacation, Time.  Usually clears in a week or two,  almost always by Spring.

My Creative Mojo was really drained.  Thankfully, I’m glad to say, I think I’m finally over it.

I’m excited for February, a whole month of sweetness and I’ve got a lot of projects and

creative things planned to share with you.

TBT: Family Ties

A little Throw Back Thursday.

Family Ties Layout 1657

I recently transferred my old scrapbook layouts into a new album.  A lot of my pages were

so thick that I needed to find an album that would fit all my dimension with out bulging.

While transferring the pages, I ran across this one that I made in 2007 of my husband’s parents.

I always tell Justin that he’s a lot like his dad.

Not so much in appearance, but in personality.

You know those traits that your husband has that drives you crazy?

He has all those and more.  (teens!)

Anyway...

I showed this page to Justin and he was amazed at how much he looked like his grandfather.

Eyes, Stature…

So, I’m blaming all those traits on him.

Getting out the album was a lot of fun for everyone.

Looking through it, I realized how thankful I am for the pages that had journaling.

It’s important to document your story!

We think we’ll always remember, but we don’t.

We R Black Album


Here’s the album I purchased, it’s from We R Memory Keepers.

I have 34 layouts with dimension and the album still lays flat.

“Love with all my heart”

Deflecto Mini Album 1557

I was supposed to be crawling into bed last night, when inspiration struck.

Happens to me all the time.   Does that ever happen to you?

So….In about a 1/2 hour time, I whipped up this cute little Mini Album using a couple of

Flexible Pouches from Deflecto Craft Solutions.

These pouches made the perfect cover for my mini album.

I used two pouches for my cover and inserted older left over Valentine scrapbook paper from

Authentique Paper.  I cut several inside pages and bound it together with my Bind It All and 1/2″ coil.

Fun, Simple and Cute.  (if I say so myself)

“This is a sponsored post. As a member of the Deflecto Design Team I have been provided product in exchange for my creative ideas, views and opinions.”

Vintage Inspired Hearts

 When we think Valentine’s Day we think hearts, right?

These DIY vintage hearts would also make a sweet gift for a special friend

or they could be used as a decoration in a vintage inspired wedding centerpiece.

Hearts are not just for Valentine’s Day.  

 How to make Vintage Inspired Hearts                    (*affiliate link)

*Disclosure:  This blog uses affiliate links.  If you choose to make a purchase using one of the links, I receive a small commission (at no additional cost to you) that helps offset the costs of maintaining this blog.  Thanks for your support!


Directions:

  1. Cover Smoothfoam Heart with Newsprint paper using glue stick.
  2. Apply a thin coat of cream acrylic paint over heart.  Wipe off excess.
  3. Add Fired Brick Ink to heart using the ink applicator.  Accent the edges of the heart with the Vintage Photo Ink.
  4. Stick small word stickers onto center of heart.
  5. Apply mod podge over heart for added shine.

To make the heart an ornament:

  1. Poke a small hole into the top of the heart.
  2. Fold a 6″ piece of twine in half, thread bead onto twine.  Knot on both sides of the bead to keep in place.
  3. Add small dab of craft glue into hole and insert loose ends of twine.

“This is a sponsored post.  As a member of the Smoothfoam Design Team, I have been provided product and compensation in exchange for my creative ideas.  The views and opinions are my own.


Shabby Vintage Clipboard

Shabby Clipboard 2509

More new products today from Clear Scraps.

This was a fun project.

When I first got this new acrylic clipboard I wasn’t sure how I was going to use it.

Once I got a clearer vision on how I wanted it to look, inspiration soon followed.

Now, I can’t wait to make another one.

Here’s the link to all of the NEW PRODUCTS from Clear Scraps.

Shabby Vintage Clipboard

Supplies Used:

  1. Spray the back of the clipboard with the IrRESISTible Texture Spray to give it a soft lacey look and dab the edges with White Picket Fence paint.  (Both paints work great on acrylic.)
  2. Adhere collage papers and vintage photo into place or allow the clip to hold them.
  3. Adhere mirror embellishment to corner of clipboard
  4. Embellish Clipboard with Vintage Trim and Lace.
  5. Add small adhesive rhinestones and a vintage style button to the clip and tie a crinkle ribbon bow.

DSCN2510

This project was created for and sponsored by Clear Scraps.

Vintage Frame Project (aka Plan B)

I woke up pretty darn proud of myself today.  All I had to do was put the final coat of wax

on my project and then “Wow” you with the finished masterpiece.

I even had a catchy title for the post called “When Procrastination Pays Off”.

I even took a picture of the pieces beforehand.

I was confidentially prepared for the win.  (you know, my awesome blog post)

Vintage Frame Project Supplies

Some may call me a procrastinator….

I like to wait until inspiration strikes.

Here’s the way I think…

The other evening, I received some awesome paint from the good people at Plaid.

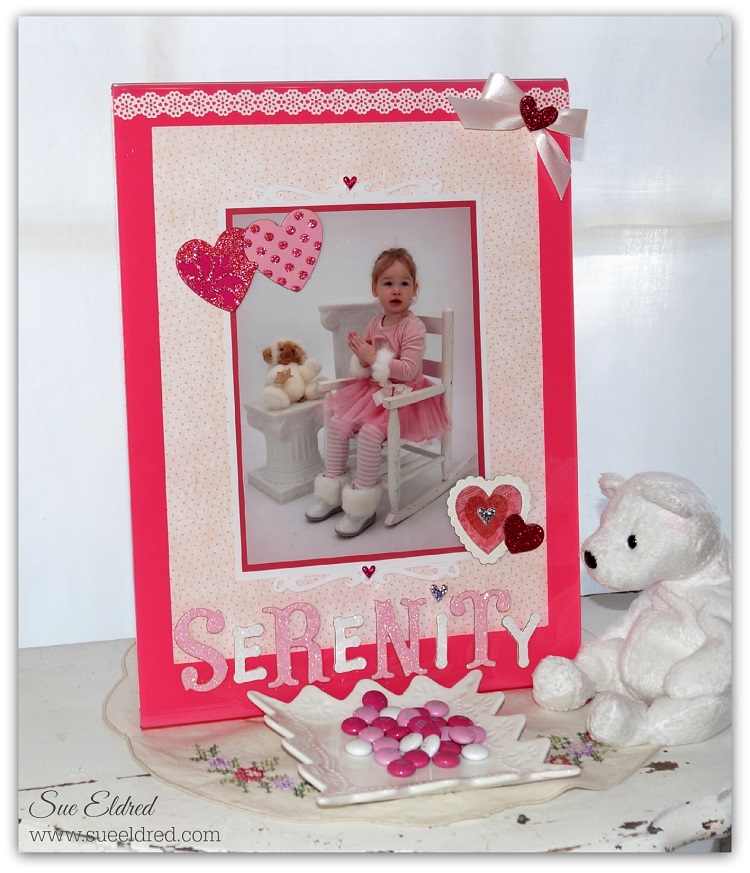
I had this old frame that I picked at a garage sale last May for a quarter, an old needlepoint

tapestry that I made (um-hum) 25 years or so ago, old sheet music and a coupon for Jo-Ann’s

for framing.  All of a sudden I needed to use that frame.

The original plan was to have Jo-Ann Fabrics frame the tapestry and then see if I could purchase

glass and a mat for the frame.

(Side note:  Just because you have a framing coupon doesn’t mean your Jo-Ann’s have a frame shop)

So…the next stop, the hardware store for a $5 piece of glass.

How hard could it be?  I don’t need professional framing.  I can do it myself.

I guess I should of seen the sweat off the old man’s brow as a sign

that I was in for more than I could chew.

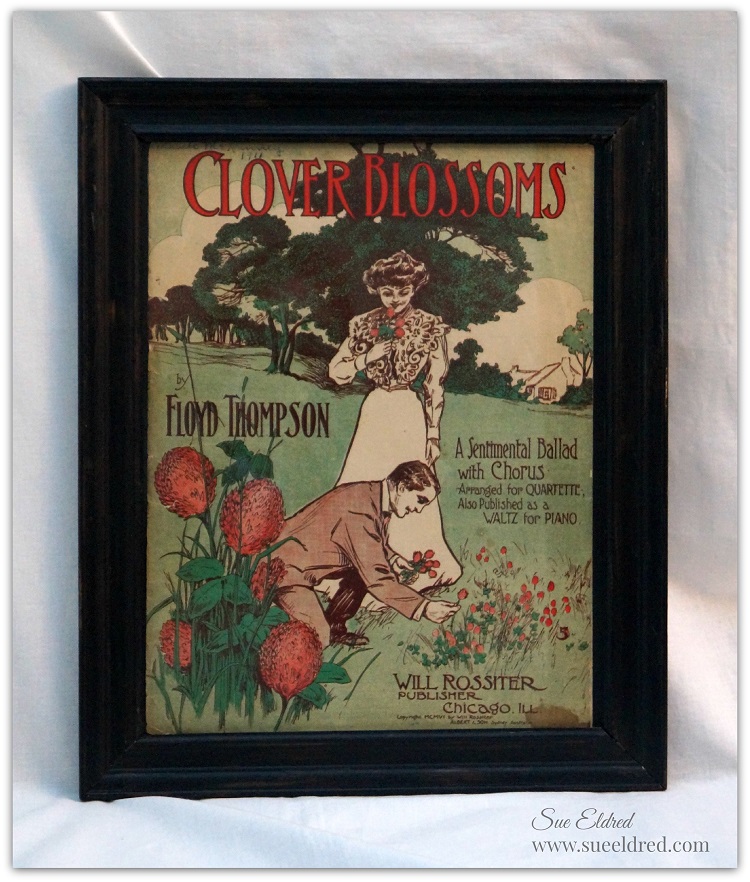
Last night I sanded, painted and distressed.  The frame looked lovely.

Today a coat of clear wax, wait an hour, then buff.

Armed with chipboard, tape, flat head screwdriver, old tapestry and good intentions

I went on to finish my masterpiece.  Only one problem… it didn’t fit.

The needlepoint tapestry was too fat for the frame.  (I didn’t see that one coming.)

So… on to “Plan B”.

Framed Clover Blossoms

I decided to stick the Vintage Sheet Music in the frame instead.  (maybe it’s really Plan A?)close up of distressed frame

Seriously, I love this chalk paint from Plaid.  (Did you happen to notice the date on the sheet music?)

tapestry

I guess I’ll leave this wonky shaped tapestry for the professionals.  (Michael’s here I come.)

Sledding Fun

Sledding Fun Collage

Yesterday was finally warm enough for a little sledding.

Our back yard has just the right incline, perfect run for a four year old.

After about a half hour both he and his Mom was done.

Nicholas Sledding with Watermark 1069

I took 100 pictures of him sledding.  These are some of my favorites.

I love the new camera I got for my birthday/Christmas present.

I received the Sony SLT-A58, I’m loving the clarity a better camera provides.

We purchased the camera the week-end after Thanksgiving.

I’ve taken over 1100 pictures already.  (love it)

Happy Sunday Everyone.  Have a great Day!

from Drab to Fab: My Perfect Planner

Sue's 2015 Planner 1049

Every year around this time, I start searching for the perfect planner.

My sweet husband even picked up a couple of planners for a Christmas gift.

I’m really picky and he knows my requirements.  They came with the receipt and a disclaimer.

After taking one of the calendars back, I picked up a third one just in case.

I like to keep my options open before committing to something as important as a yearly planner.

After forgetting to pick up hairspray during our last trip to Walmart,

my husband volunteered to take the groceries to the car and pick me up at the door if

I went back and got it.   (after all, it was for him)  Besides it was really cold.

Anyway… on my way back to get the hairspray I ran across a huge display of

very cheap inexpensive planners for only $1.00.  Eureka!

Finally… exactly what I was looking for.

A month at a glance, thin, big enough space for writing, with lines planner.

Plain 2015 Planner

The colors were bright, but, I knew that didn’t matter.  It was perfect for decorating.

And… better yet, it came with a clear protective cover.

With the help of some scrapbook paper and stickers, I just happened to have on hand,

I now have the perfect planner.

From Drab to Fab, Cheap to Designer.  I love it and I couldn’t be happier!

On a Side-note:  I showed my husband my fabulous creation and he wasn’t nearly as

amazed as I thought he would be.  (go figure!)