Kaisercraft “Dream Big”

Some of you may remember my family pictures that was taken on Easter.

Easter Layout #2

I love all the silly shots we got that day.  I think “captured” really fits on the layout below.

The caption reads:

Somebody got a little excited as Mom ran back and forth setting the camera on the tripod.

Easter Layout #1

These layouts were made with Kaisercraft’s Dream Big Collection.

And the Winner is…

And the winner is...

Congratulations goes out to Pat S. she is the winner of the Cupcake Cling Stamps

from Serendipity Stamps.

Thanks to everyone who participated.  I loved hearing from you all.

It’s nice to know your out there.

Hmmm…  I think I should have another Give Away sometime later this month.

Make sure to keep stopping by.  (and keep those comments coming)

FYI:  Did you know that Sue’s Creative Workshop is being seen all over the world?

Last month I had visitors from 24 countries.  (Kind of exciting, don’t you think.)


Quick & Easy Washi Tape Vase

Today’s the first Monday of the month time for the Designer Craft Connection Blog Hop.

The Theme this month is Handmade Gift Ideas.  (don’t forget to hop)

Quick & Easy Washi Tape Vase

My project today is a fun, quick & easy project that you can make in minutes.

This would make a great last minute gift.

Washi Tape Vase Close Up  Washi Tape Vase Details

I started with a narrow glass bottle that has a fairly long straight section.

Wrap the bottle with Washi Tape.  Choose two patterns or more.

Having a straight section is important to getting the washi tape on evenly.

You can smooth out any wrinkles in the tape with your thumb nail or a bone folder.

I added a little more detail around the neck of the bottle with some ribbon and a button.

I picked up the ribbon this Spring at The Paper Source in Indianapolis.  (I’ll be hoarding this)

I glued the button onto a Memo Pin* from Tim Holtz and stuck into the ribbon.

Grab a flower from the garden and your ready to go.  It really is that easy.

Just a note in case you’re wondering:

The tape on the vase, just like the flower won’t last for ever.  It’s just pretty.

*Disclosure:  I am a Amazon Affiliate.

It only seems impossible…

Free Printable Quote courtesy of Living Well Spending Less

it only seems impossible until it is done

“I Did It, I Really Did It!!!

I AM FINALLY ON DAY 31 of  “A New Month, A New Challenge”.

To be honest, there were a few days when I wasn’t sure I could complete it.

Some days, I felt like the little engine that could, “I think I can, I think I can.”

I’ve learned a lot this month, a few good a few bad.

Here are 10 things I learned:

  1. Blogging every day is hard.
  2. Some days I’m just not that interesting.  (and that’s o.k.)
  3. I overthink things.
  4. Anything’s a potential blog post.
  5. You like anything with a picture of a cute kid.
  6. I play Bejeweled Blitz on Facebook when I’m stuck or stalling.
  7. I’m addicted to looking at my blog stats.
  8. I spend to much time on the computer.
  9. I’m not alone.
  10. I really like blogging.  (phew, I made it to 10)

Thanks for sticking with me this month.  (more to come in June)

Random Thoughts with pictures…

My original thought when I work up this morning was to write about what a beautiful day

it is and how wonderful everything looks outside (which it does).

I was going to tell you that I’m in such a great mood because of some “Happy News”

I received last night (because I am).   And then I was going to tell you that I’m also excited

because I’m getting my Summer Highlights today (which will make me feel like a new woman).

Then I thought,  What’s a post without pictures?  Hmmm….

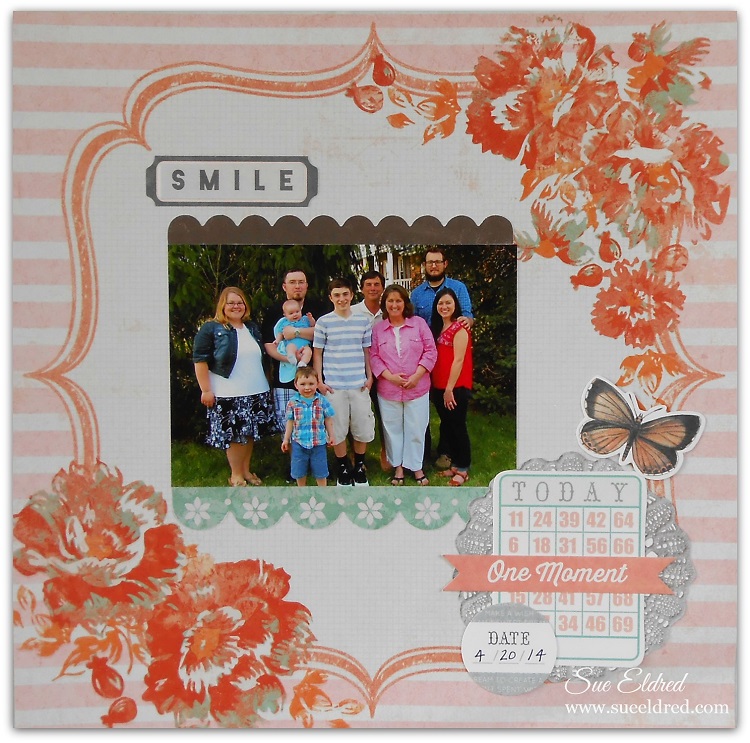
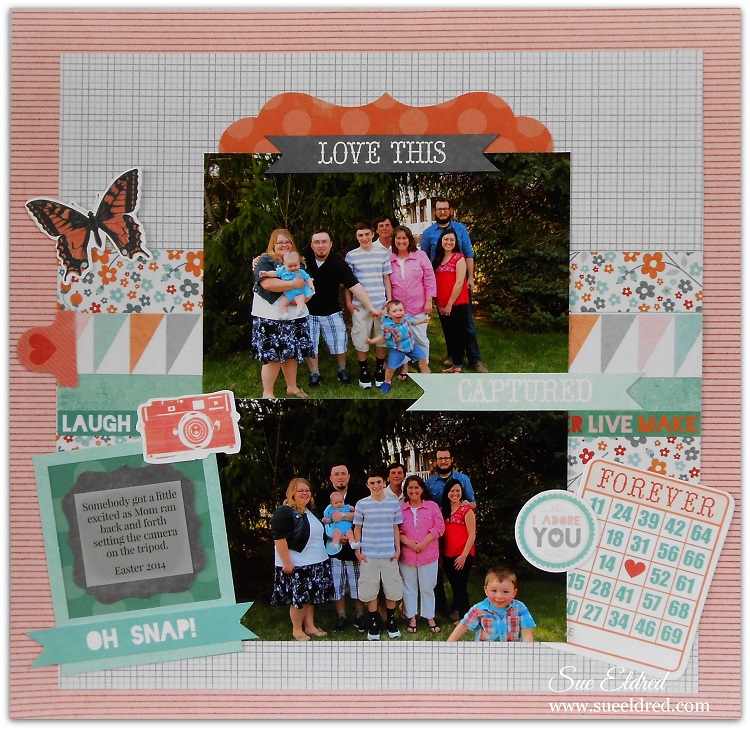
Suddenly, I remembered that I hadn’t shared with you the pictures that I took a couple week-ends ago

when my little buddy came over for a sleep-over.  (I know how much you like pictures of cute kids!)

Creative Mind at Work

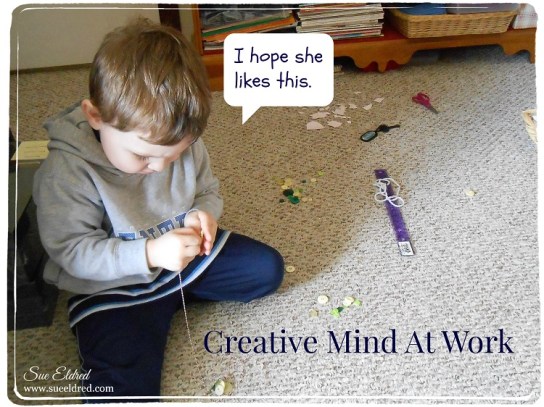
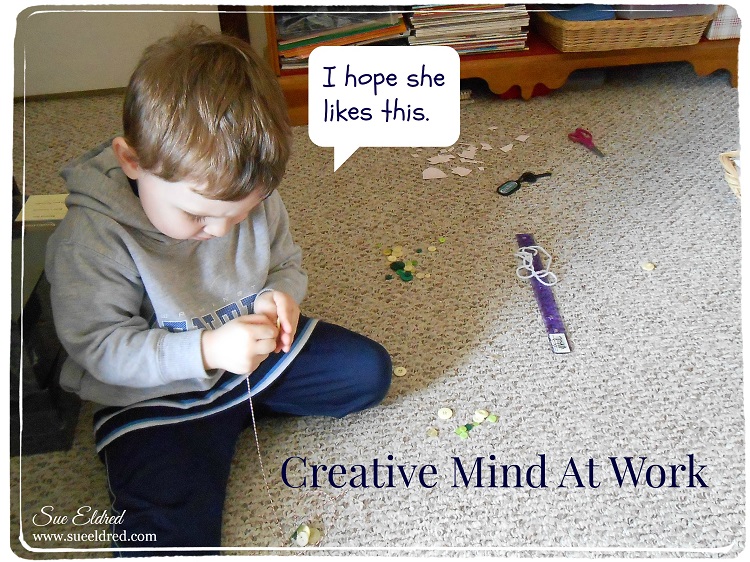
One of the first things Nick wanted to do at 7:30 a.m. when he got here was to do a project.

Which usually means cutting paper with scissors.  (since I wasn’t ready to go outside and play)

He worked very hard at making me a beautiful button necklace.  I wore it all day, even out to dinner.

Nick at Greenhouse

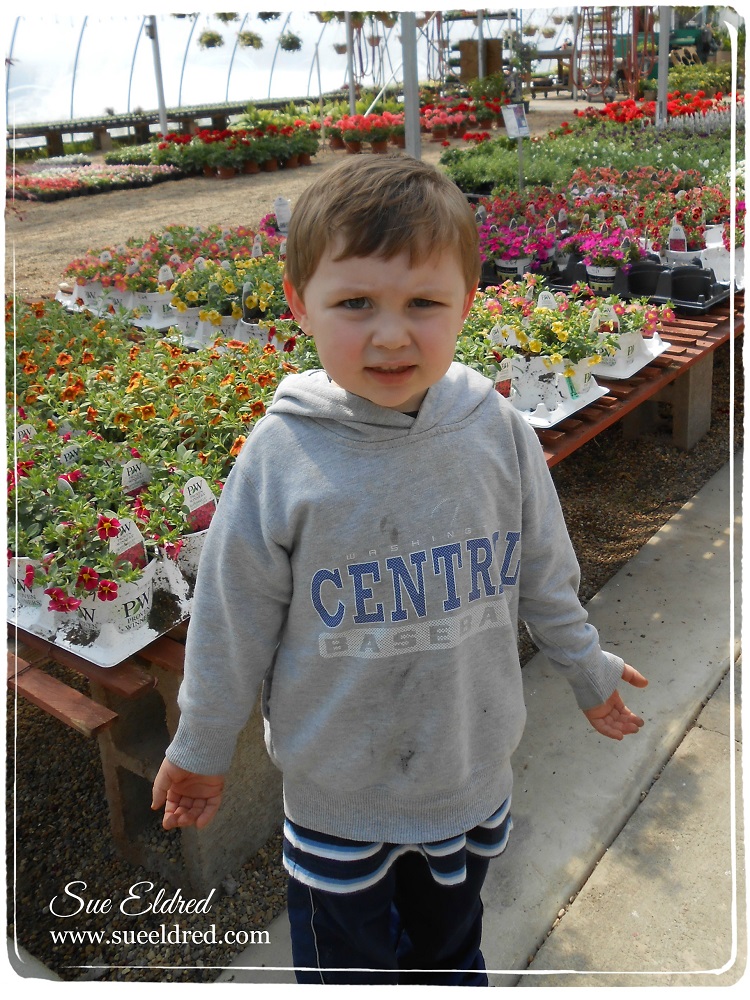
He also went to three garden shops with us.  (He’s wondering why’s she taking a picture?)

Spring Garden 2

Grandpa put him to work spreading mulch.  (you got to pull your weight around here)

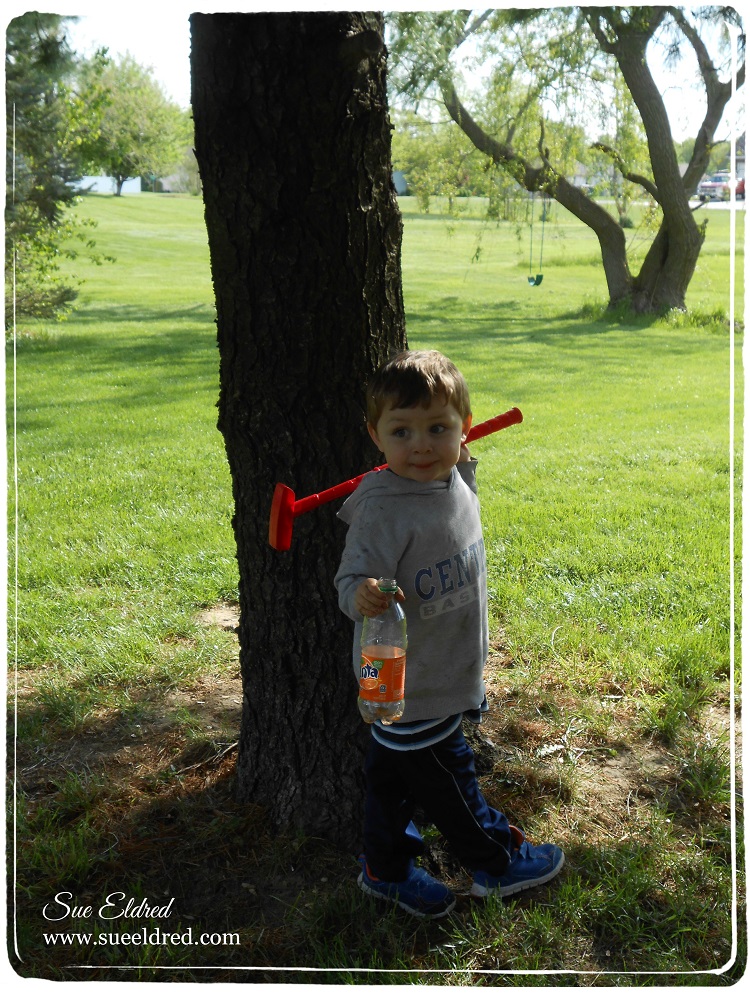
I love his ingenious use of the skateboard to haul the watering can around.

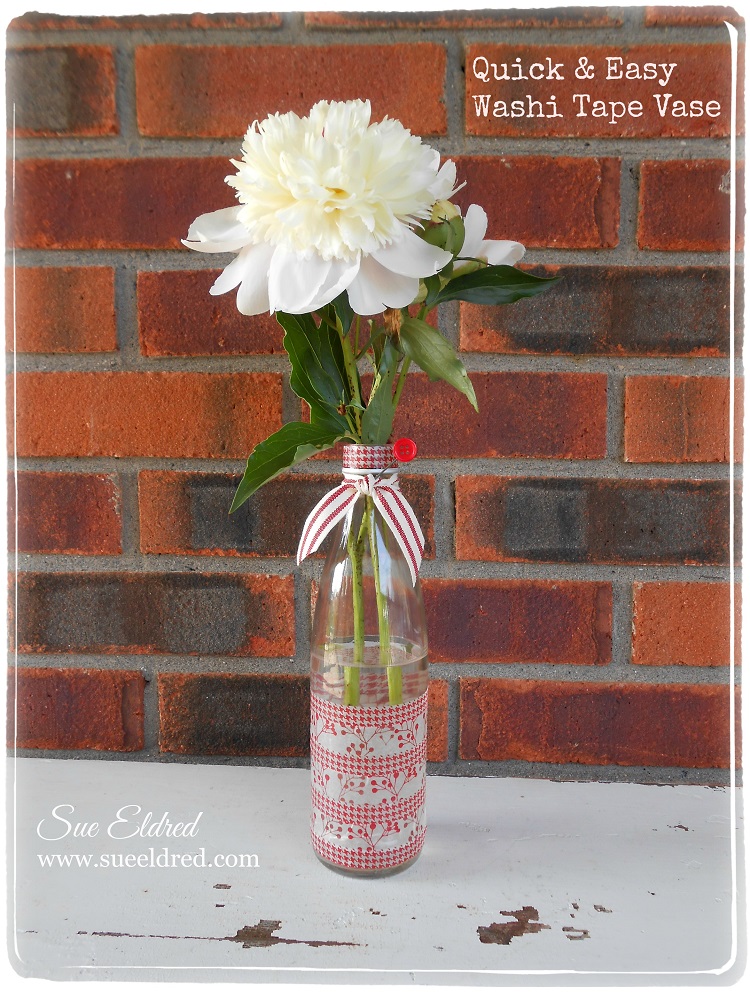
Oh, in case you’re wondering, the blue bottle on the sidewalk was Grandpa’s.

Spring Garden 3

Of course after a hard days work you have to take some time to relax and play a few holes.

Spring Garden

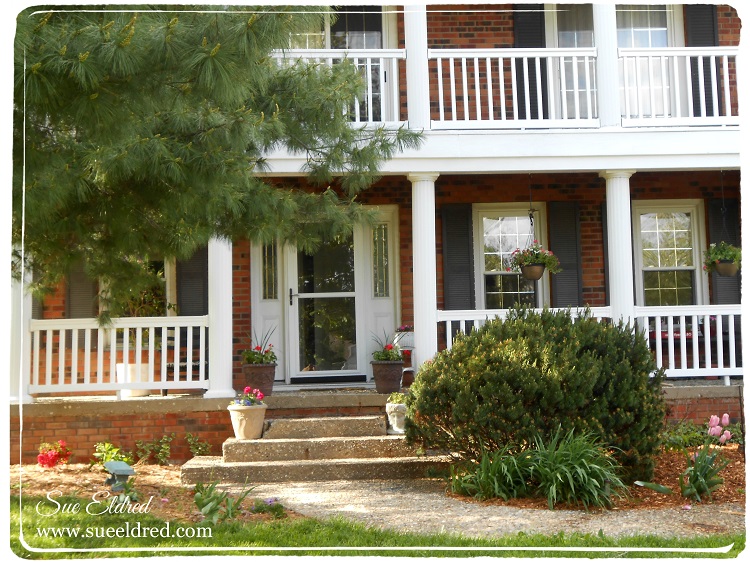
My Spring Garden:  Everything is planted and I can’t wait to see it fill in.

Give Away Alert:  Don’t forget to leave a comment on any post for a chance to win a set of stamps from Serendipity Stamps.  (See yesterdays post.)

Have a Great Day!  (I just got a text from Jim saying he’d just got a hole in one)

It’s going to be a good one.

It’s Give Away Time!!!

Would you like to win something?

I think it’s time to give something away to Celebrate my “New Month, New Challenge”.

Cupcake Stamps Giveaway

I will be giving away four new cling stamps from Serendipity Stamps.

Cupcake, Candle, Happy Birthday and Small Cupcake  (Retail Value $14.95)

I’ll even throw in the Cupcake Card Sample.

TO ENTER:  Leave a “Comment” on any post by Sunday, June 1, 2014.

(Winner will be announced on Monday, June 2nd.)

Good Luck!!!

Washington Good Neighbor Days

Good Neighbor Days

Hello Washington Good Neighbor Days…

Forget what I said the other day, “now” it’s officially summer.  (The carnival has come to town.)

One of the things I love about Washington is its Good Neighbor Days.

Rides, Entertainment, Fireworks, Cherry Taco’s…  What’s not to love.

For many, “Good Neighbor Days” has taken on a deeper meaning here in our hometown.

Even a tornado can not squash our Community Pride and Spirit.


Little Trivia:  The Washington Good Neighbor Days Festival started back in the 70’s and kept that

name for over 20 years until it’s change to “Cherry Festival”.  (you know Washington, Cherry Tree)

This year, I think everyone’s happy to see the name changed back to Good Neighbor Days.


This is the year I’m finally going to try a Cherry Taco!


Reverse Glass Painting Technique with Decocolor Markers

I learned the Reverse Glass Technique, a long time ago,  from my Mom who loved to paint.

I believe, when did the reverse glass technique, she used Acrylic Paint on her painting.

For mine, I’m using Deco Color Paint Markers* (affiliate link) from Marvy Uchida.

I use these paint markers all the time on a variety of surfaces.

First thing you’ll want to do is to pick out the image.

For me, the simpler the better.

I picked a free graphic from Coloring Hub. (link below)

Stained Glass Clip Art from Coloring Hub

Reverse Glass Paint #1

1.  Lay Clip Art under glass and trace around image with black Decocolor marker.

Reverse Glass Paint #2

2. Use ruler for outside areas to get those lines straight.  Make sure to leave time for the ink to dry before laying ruler on top the previous line.

Here is the design outlined.  I like using the fine point marker better than the extra fine marker.

Reverse Glass Paint #3

3.  Flip the glass over and do your coloring on the reverse side of the glass.  Make sure to color all the way to the edge of the lines.

Reverse Glass Paint #4

4.  Color in the remaining sections.  Make sure to get the colors as close as possible.  Here is the back of the glass with the full design colored in.

Marvy Uchida also makes a DecoColor Paint Marker Remover* which I absolutely love.  It has saved me on more than one occasion.  It works wonderful to correct any mistakes you make.  I recommend you pick one of those up also.  (FYI:  it also removes alcohol ink from non porous surfaces)

Here’s some interesting history on Reversed Glass Painting.  (it’s been around for a long time)

Reverse Glass with Scrapbook Paper

Here’s another possible way to do a background.  (a more updated version)

Color/Paint only a portion of the image and leave the rest unfinished.

Add a piece of scrapbook paper to the back of the glass before framing.

Shop Amazon Scrapbooking Supplies*

Disclaimer:  This blog uses ads and affiliate links.  If you choose to make a purchase using one of the links, I receive a small commission (at no additional cost to you) that helps offset the costs of maintaining this blog.  Thanks for your support!

Let the fun begin…

It’s Memorial Day, the official start of summer.

The cover has come off the pool and we’re ready to put Winter far behind us.

Time for Baseball, Relaxing and Fun in the Pool.

Serendipity Stamps Sprinkler Card

This stamp image from Serendipity Stamps has always reminded me of my grandson Nicholas.

The long-awaited new sod has finally been laid at Nick’s new house.

Nicholas got in trouble the other day because he couldn’t stay out of the sprinkler.

He’s three, I’m sure it was calling his name.

Let the fun begin…

Happy Memorial Day!