I’m taking the day off. (If I could insert happy elevator music right now I would.)
Happy Sunday!
***Don’t forget today is the last day to leave a comment to be eligible to win the free cling stamps. I’ll be choosing one lucky winner Monday morning.
Free Printable Quote courtesy of Living Well Spending Less
“I Did It, I Really Did It!!!
I AM FINALLY ON DAY 31 of “A New Month, A New Challenge”.
To be honest, there were a few days when I wasn’t sure I could complete it.
Some days, I felt like the little engine that could, “I think I can, I think I can.”
I’ve learned a lot this month, a few good a few bad.
Here are 10 things I learned:
Thanks for sticking with me this month. (more to come in June)
My original thought when I work up this morning was to write about what a beautiful day
it is and how wonderful everything looks outside (which it does).
I was going to tell you that I’m in such a great mood because of some “Happy News”
I received last night (because I am). And then I was going to tell you that I’m also excited
because I’m getting my Summer Highlights today (which will make me feel like a new woman).
Then I thought, What’s a post without pictures? Hmmm….
Suddenly, I remembered that I hadn’t shared with you the pictures that I took a couple week-ends ago
when my little buddy came over for a sleep-over. (I know how much you like pictures of cute kids!)
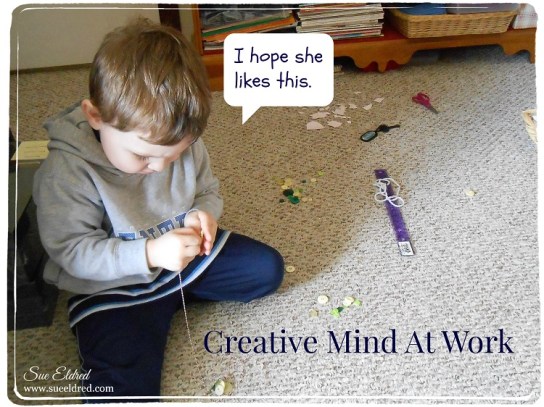
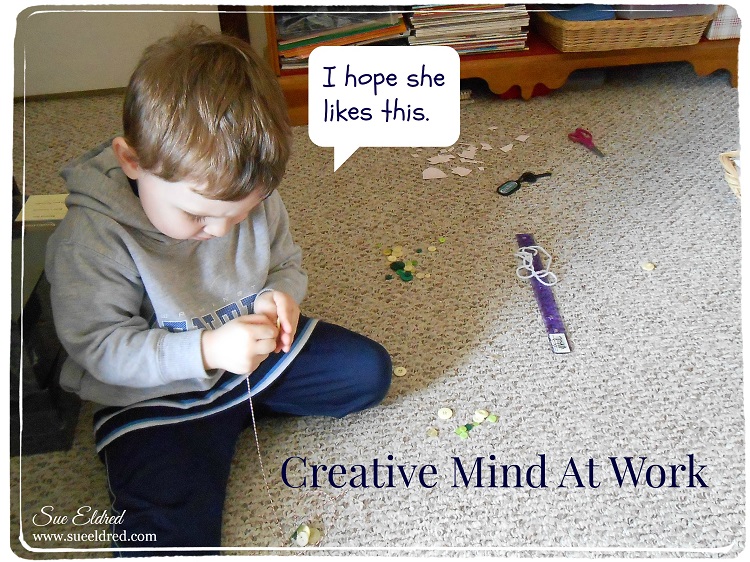
One of the first things Nick wanted to do at 7:30 a.m. when he got here was to do a project.
Which usually means cutting paper with scissors. (since I wasn’t ready to go outside and play)
He worked very hard at making me a beautiful button necklace. I wore it all day, even out to dinner.
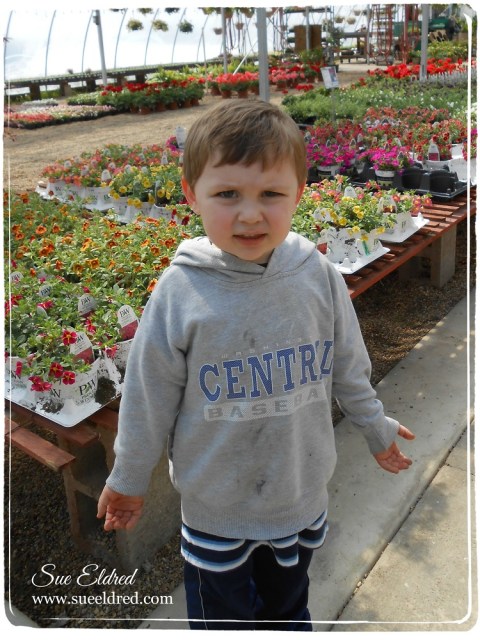
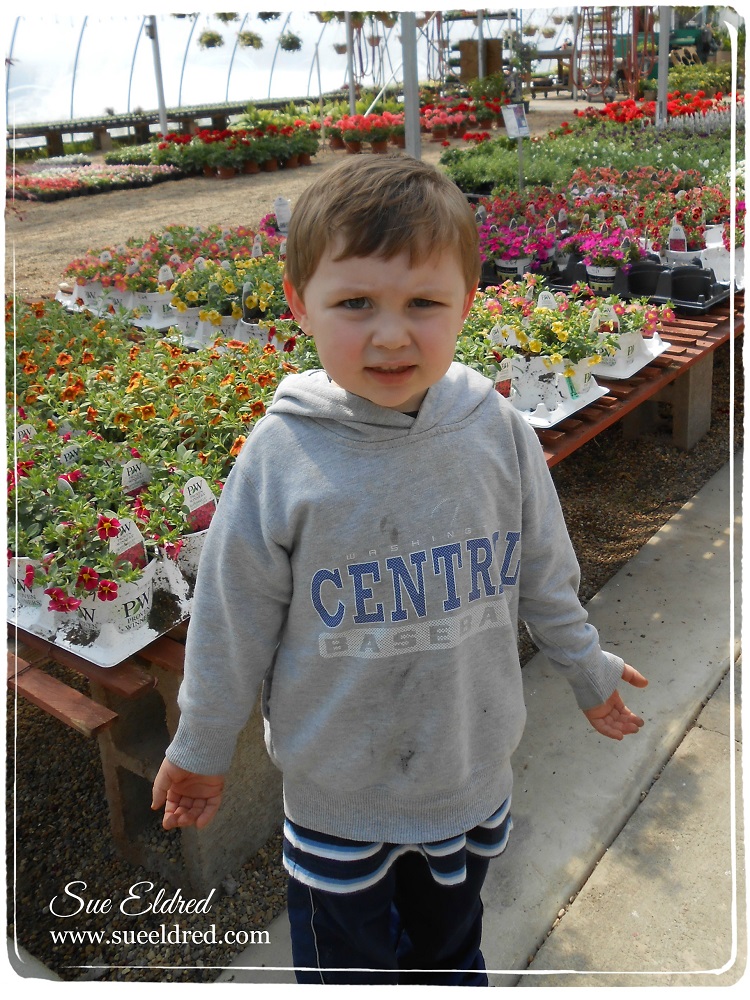
He also went to three garden shops with us. (He’s wondering why’s she taking a picture?)
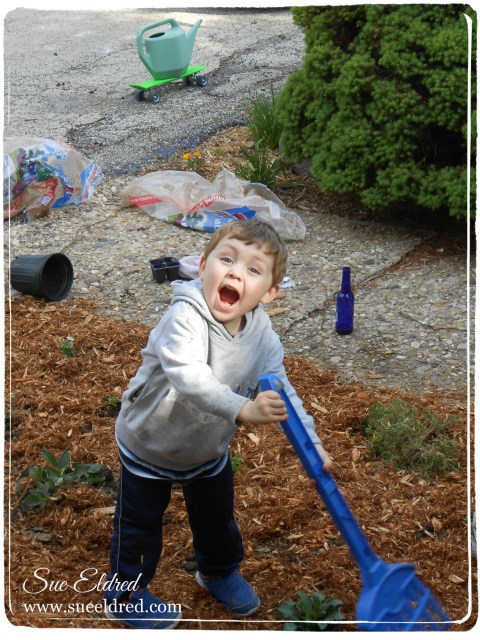
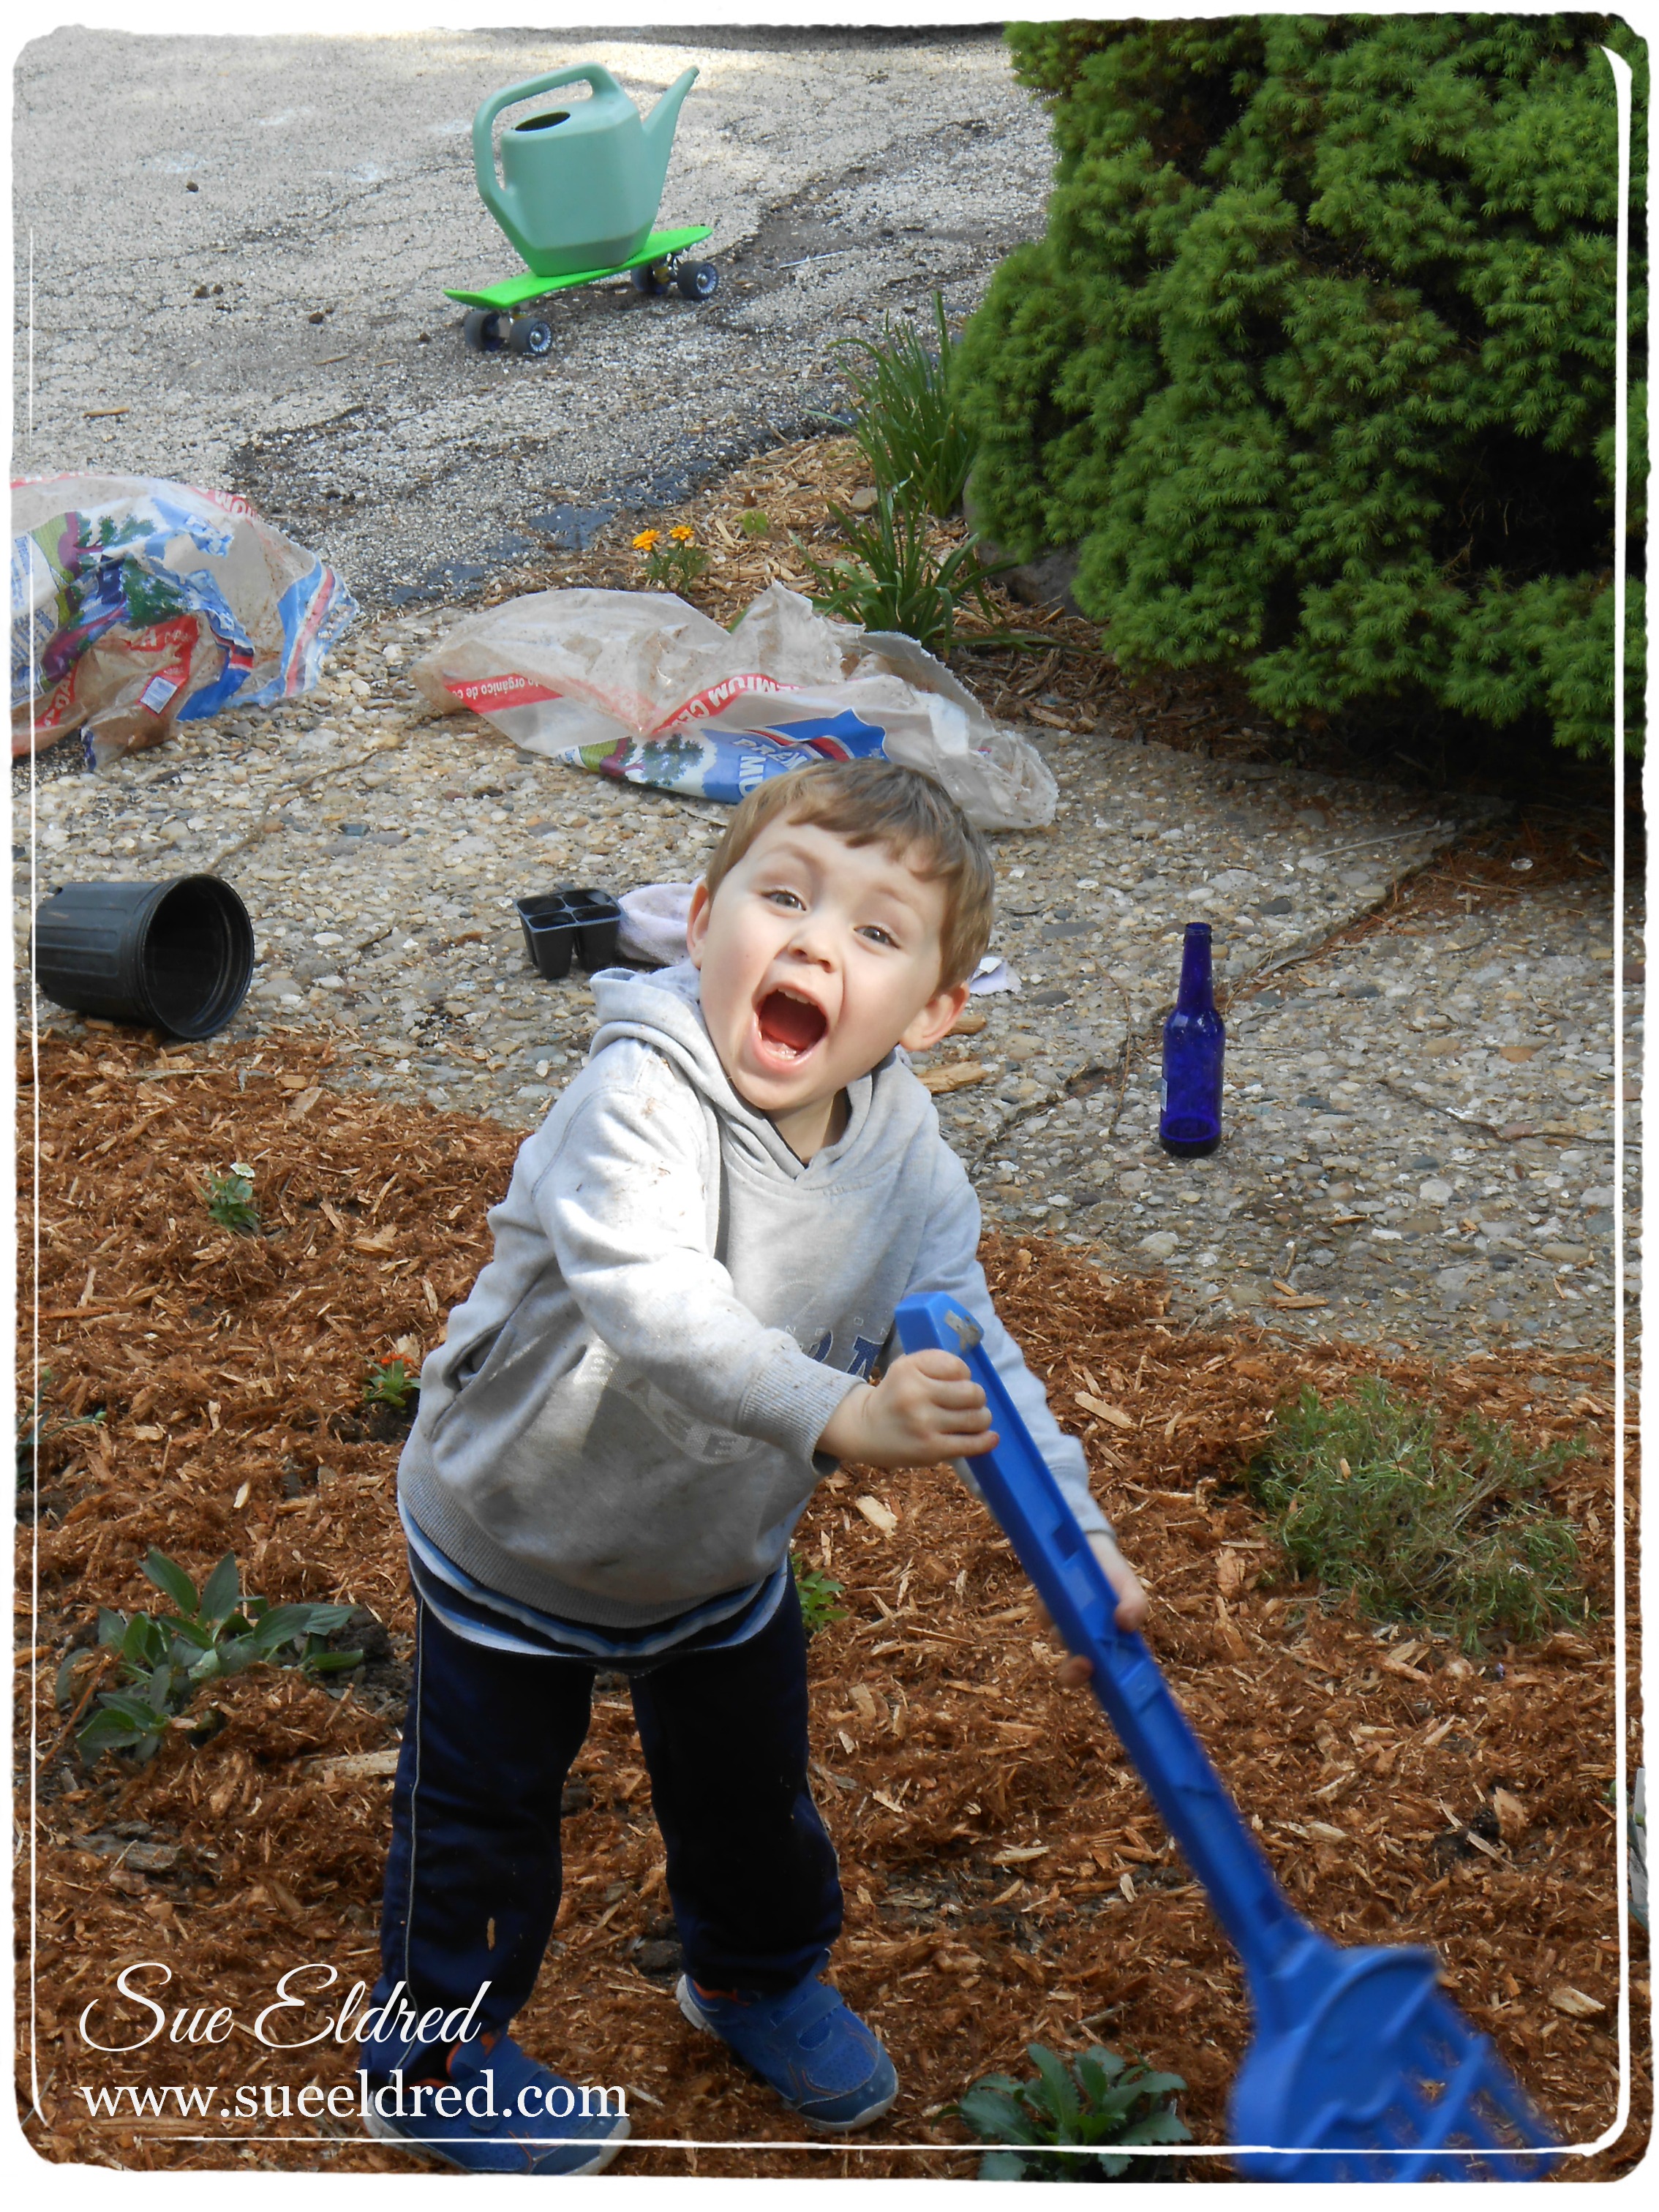
Grandpa put him to work spreading mulch. (you got to pull your weight around here)
I love his ingenious use of the skateboard to haul the watering can around.
Oh, in case you’re wondering, the blue bottle on the sidewalk was Grandpa’s.
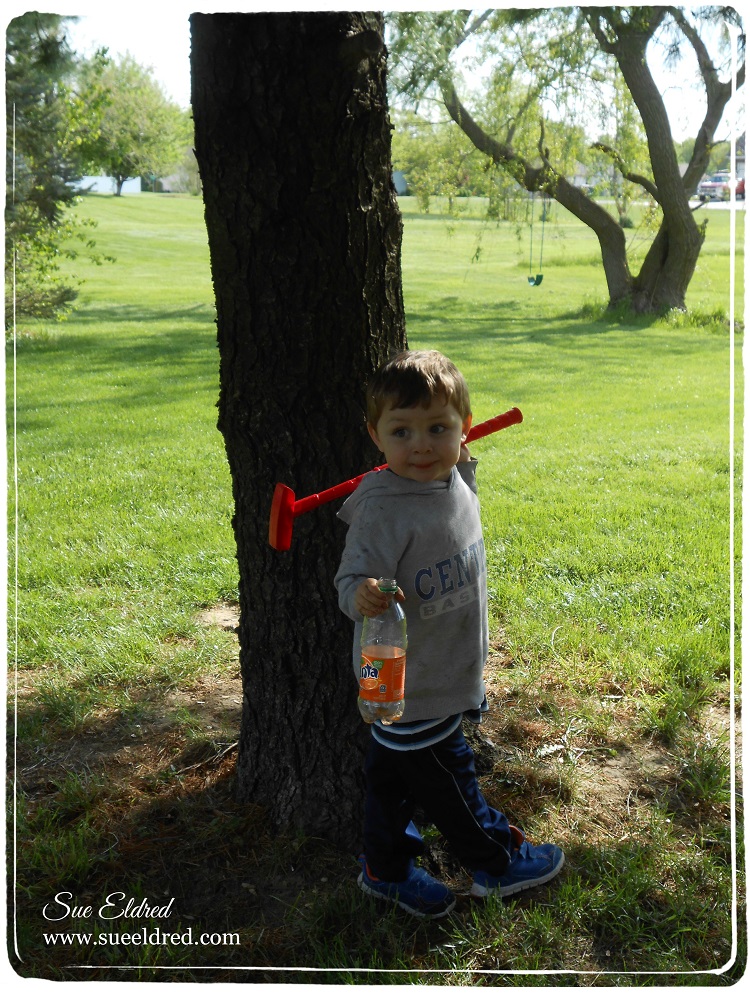
Of course after a hard days work you have to take some time to relax and play a few holes.

My Spring Garden: Everything is planted and I can’t wait to see it fill in.
Give Away Alert: Don’t forget to leave a comment on any post for a chance to win a set of stamps from Serendipity Stamps. (See yesterdays post.)
Have a Great Day! (I just got a text from Jim saying he’d just got a hole in one)
It’s going to be a good one.

Would you like to win something?
I think it’s time to give something away to Celebrate my “New Month, New Challenge”.
I will be giving away four new cling stamps from Serendipity Stamps.
Cupcake, Candle, Happy Birthday and Small Cupcake (Retail Value $14.95)
I’ll even throw in the Cupcake Card Sample.
TO ENTER: Leave a “Comment” on any post by Sunday, June 1, 2014.
(Winner will be announced on Monday, June 2nd.)
Good Luck!!!
Hello Washington Good Neighbor Days…
Forget what I said the other day, “now” it’s officially summer. (The carnival has come to town.)
One of the things I love about Washington is its Good Neighbor Days.
Rides, Entertainment, Fireworks, Cherry Taco’s… What’s not to love.
For many, “Good Neighbor Days” has taken on a deeper meaning here in our hometown.
Even a tornado can not squash our Community Pride and Spirit.
Little Trivia: The Washington Good Neighbor Days Festival started back in the 70’s and kept that
name for over 20 years until it’s change to “Cherry Festival”. (you know Washington, Cherry Tree)
This year, I think everyone’s happy to see the name changed back to Good Neighbor Days.
This is the year I’m finally going to try a Cherry Taco!
I learned the Reverse Glass Technique, a long time ago, from my Mom who loved to paint.
I believe, when did the reverse glass technique, she used Acrylic Paint on her painting.
For mine, I’m using Deco Color Paint Markers* (affiliate link) from Marvy Uchida.
I use these paint markers all the time on a variety of surfaces.
First thing you’ll want to do is to pick out the image.
For me, the simpler the better.
I picked a free graphic from Coloring Hub. (link below)
Stained Glass Clip Art from Coloring Hub
1. Lay Clip Art under glass and trace around image with black Decocolor marker.
2. Use ruler for outside areas to get those lines straight. Make sure to leave time for the ink to dry before laying ruler on top the previous line.
Here is the design outlined. I like using the fine point marker better than the extra fine marker.
3. Flip the glass over and do your coloring on the reverse side of the glass. Make sure to color all the way to the edge of the lines.
4. Color in the remaining sections. Make sure to get the colors as close as possible. Here is the back of the glass with the full design colored in.
Marvy Uchida also makes a DecoColor Paint Marker Remover* which I absolutely love. It has saved me on more than one occasion. It works wonderful to correct any mistakes you make. I recommend you pick one of those up also. (FYI: it also removes alcohol ink from non porous surfaces)
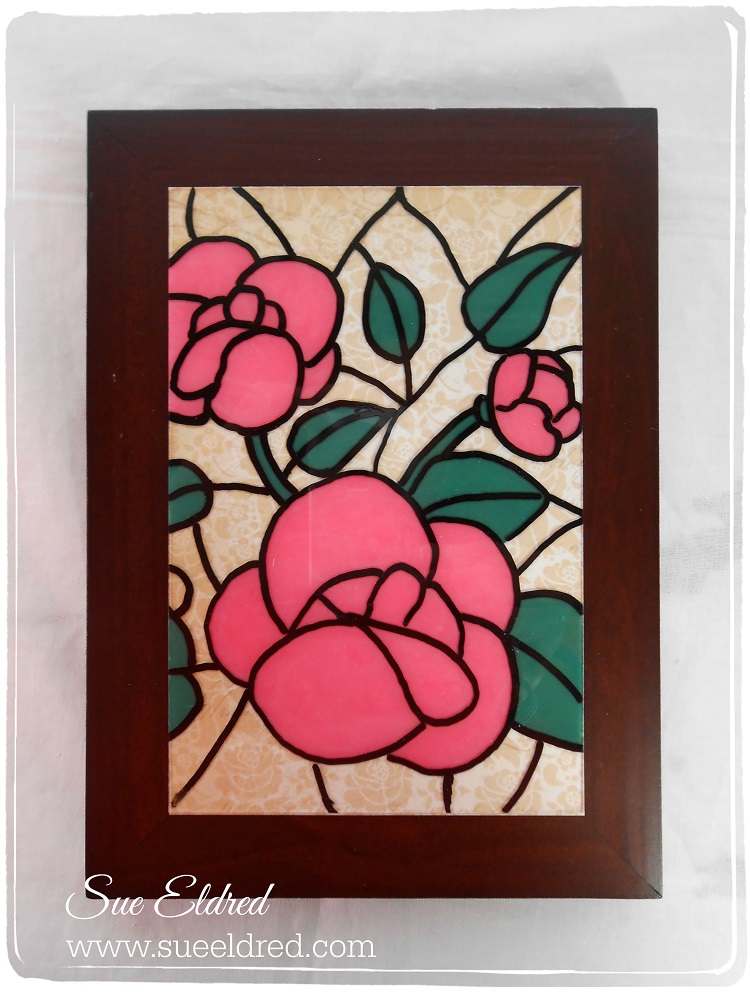
Here’s some interesting history on Reversed Glass Painting. (it’s been around for a long time)
Here’s another possible way to do a background. (a more updated version)
Color/Paint only a portion of the image and leave the rest unfinished.
Add a piece of scrapbook paper to the back of the glass before framing.
Shop Amazon Scrapbooking Supplies*
Disclaimer: This blog uses ads and affiliate links. If you choose to make a purchase using one of the links, I receive a small commission (at no additional cost to you) that helps offset the costs of maintaining this blog. Thanks for your support!
It’s Memorial Day, the official start of summer.
The cover has come off the pool and we’re ready to put Winter far behind us.
Time for Baseball, Relaxing and Fun in the Pool.
This stamp image from Serendipity Stamps has always reminded me of my grandson Nicholas.
The long-awaited new sod has finally been laid at Nick’s new house.
Nicholas got in trouble the other day because he couldn’t stay out of the sprinkler.
He’s three, I’m sure it was calling his name.
Let the fun begin…
Happy Memorial Day!
The weather’s finally turned warm and I’m still making Snowflakes.
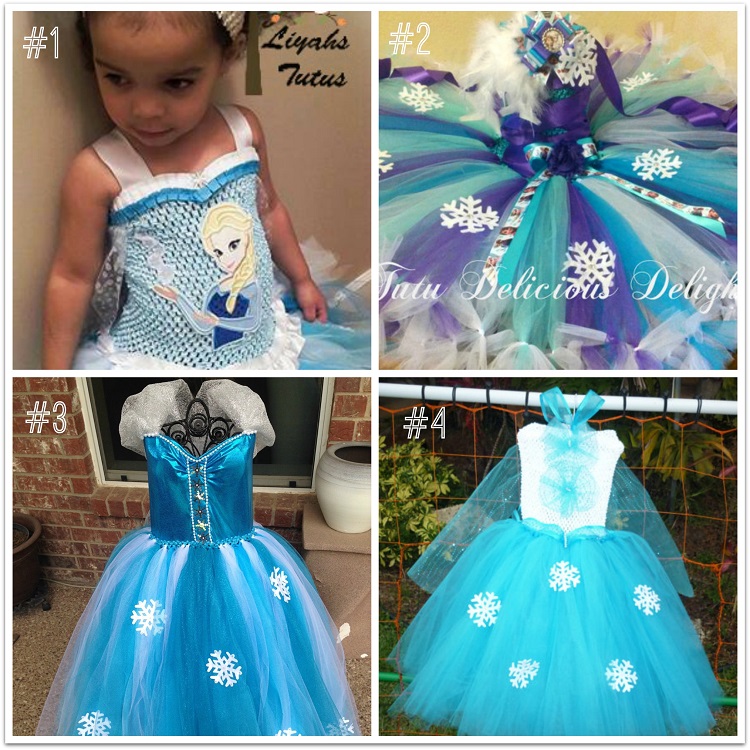
Want to know why? Here are just four of the reasons…
I make 3″ felt snowflakes that I sell in my Etsy Shop. (I’ve been making them by the hundreds.) And… these ladies (and others) have been buying them all up. I think these dresses are just adorable and I wanted to share them with you. Makes me wish I had a granddaughter to buy one for.
So…Since I make so many snowflakes I figured I should at least watch the movie. When I went to the video store I was put on the wait list. (really?) I finally watched the movie “Frozen” with my little buddy Nicholas last Saturday. What a sweet movie. (now I get it!)
If you have any little girls that are hooked on the movie “Frozen”, you might want to check out these lovely ladies.
I went treasure hunting the other day and around the third stop I finally scored.
I couldn’t believe all the goodies I found. (all for only $10.50)
Here are a few of the treasures I found.
I was a little disappointed when I opened up the Diary and found that it wasn’t
full of juicy gossip. Instead it is full of pasted old recipe clippings.
Now I can learn how to make Cream of Celery Soup, Chocolate Surprise Pudding,
Christmas Fruit Cake, Mrs. Moody’s Wonder Cake and so much more.
Who knows I might even try one of those recipes one day.
I picked up the sheet music with the idea of framing them. (since I don’t have a piano anymore)
I picked up the vintage frame at an estate sale a couple of weeks ago for a quarter.
All I need is a piece of glass and I’m ready to hang.
My son asked as I laid the frame over top the sheet music if I bought them together.
Sometimes things just work out perfectly.
When I told my son this was a song about coming back from the war.
He asked me “Vietnam?” I didn’t know whether to laugh or cry. (I shook my head instead)
I recently ran across this old Family Reunion picture from 1936.
Because there is over 100 relatives in the picture, I wanted to highlight where my Grandparents are.
I used one of the frames from the “Clear Mixers”.
After removing one side of the protective covering, I painted the edges with Antique Linen Distress
Paint. I glued a small piece of scrapbook paper under the painted side and trimmed it with an exact-o
knife. I gently sanded the edges with a sanding block and distressed it slightly with Vintage Photo
Distress Ink before removing the second protective coating.
My grandfather is the one with the x and my grandmother is sitting to his left holding my Uncle Bill.
I used the Chamberry Collection from Adorn it and a scalloped circle punch and a old border punch
from Marvy Uchida.
This project was created for and sponsored by Clear Scraps.