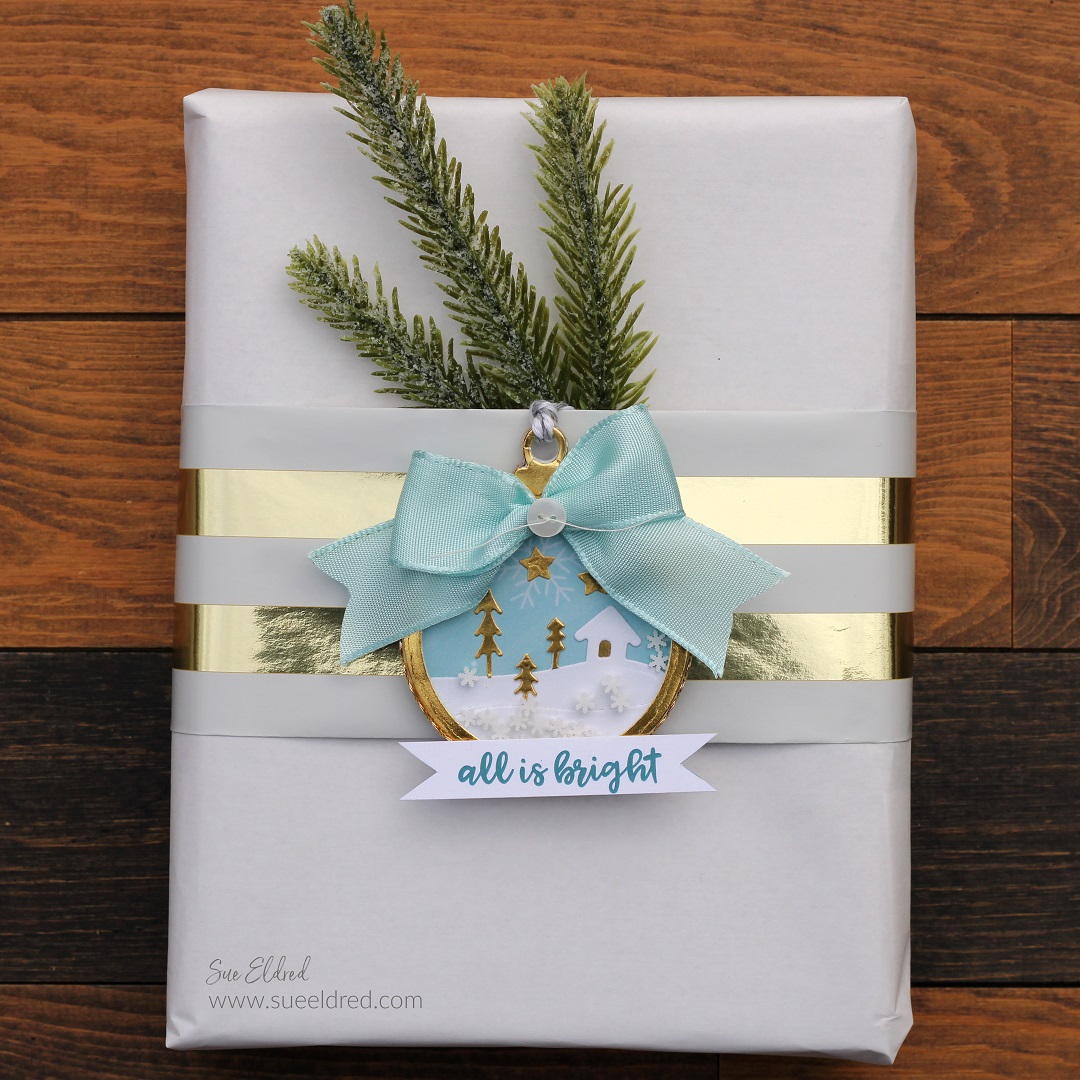
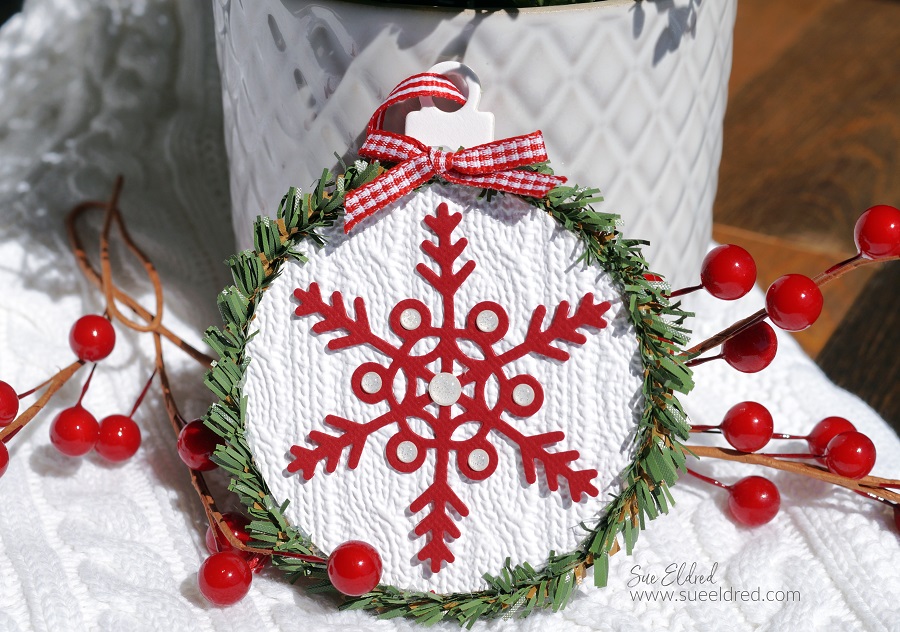
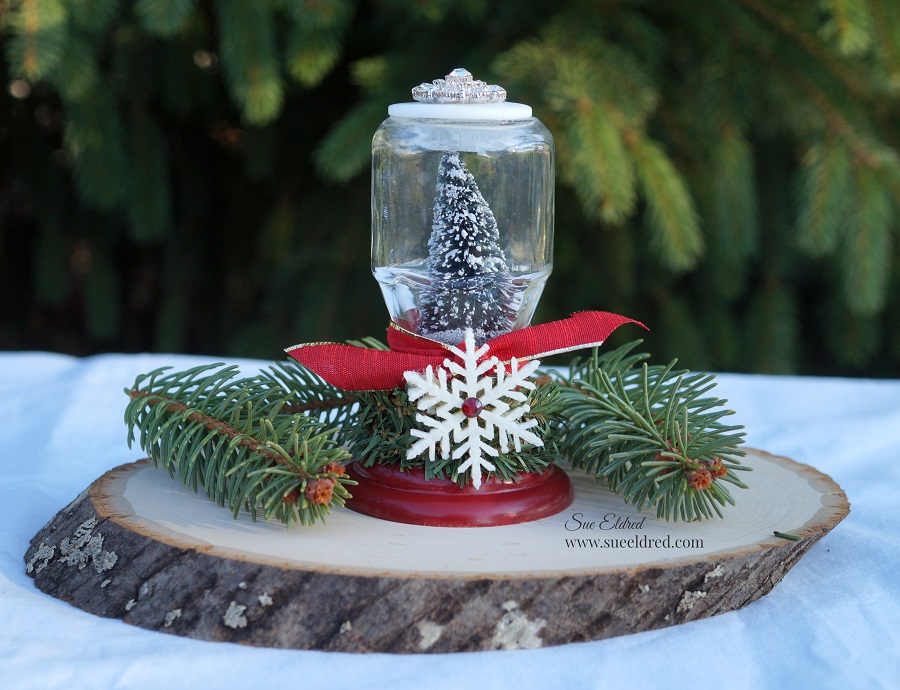
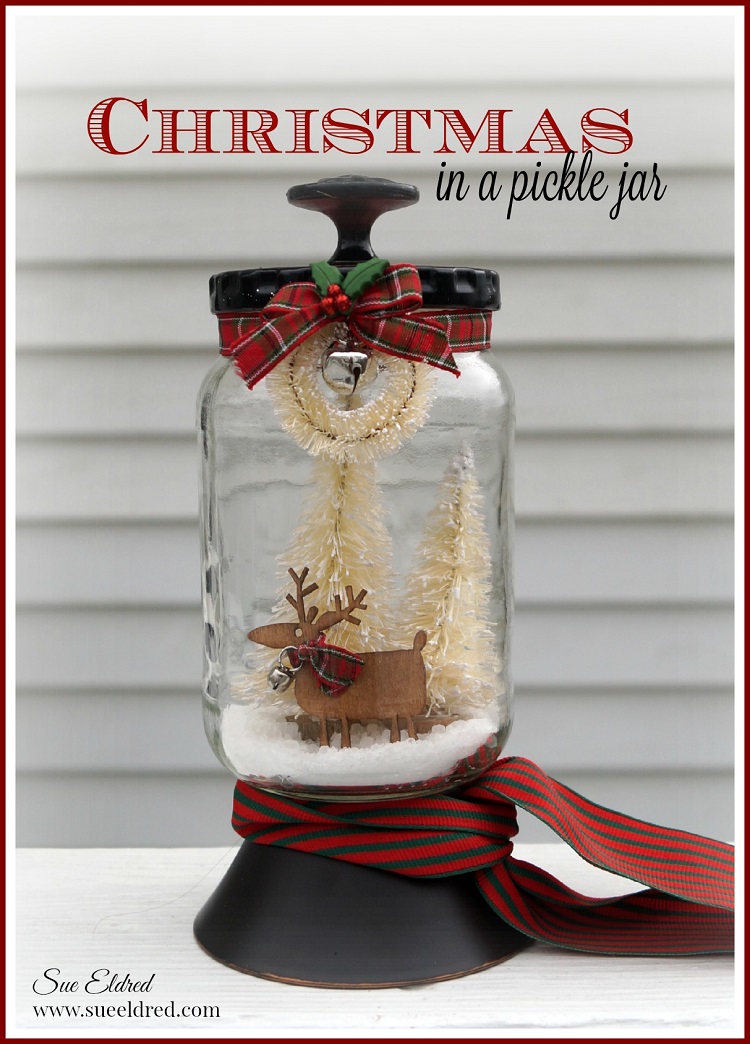
A Quick and Easy DIY Holiday Ornament.
Make it a personal memory with a piece of fabric or flannel from a “special” shirt.
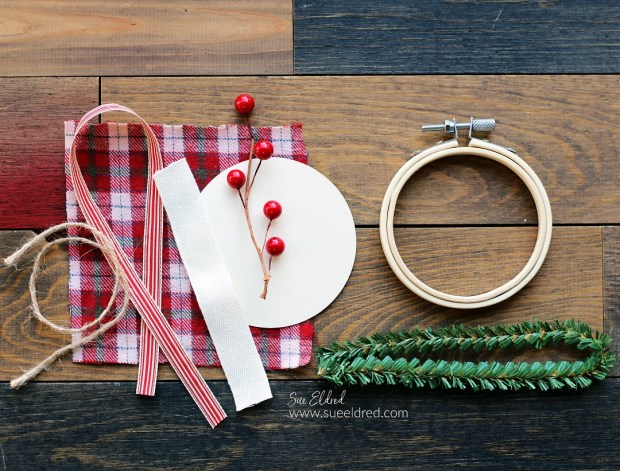
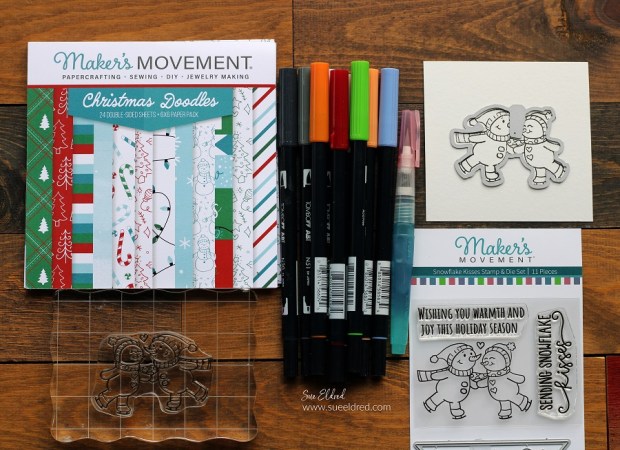
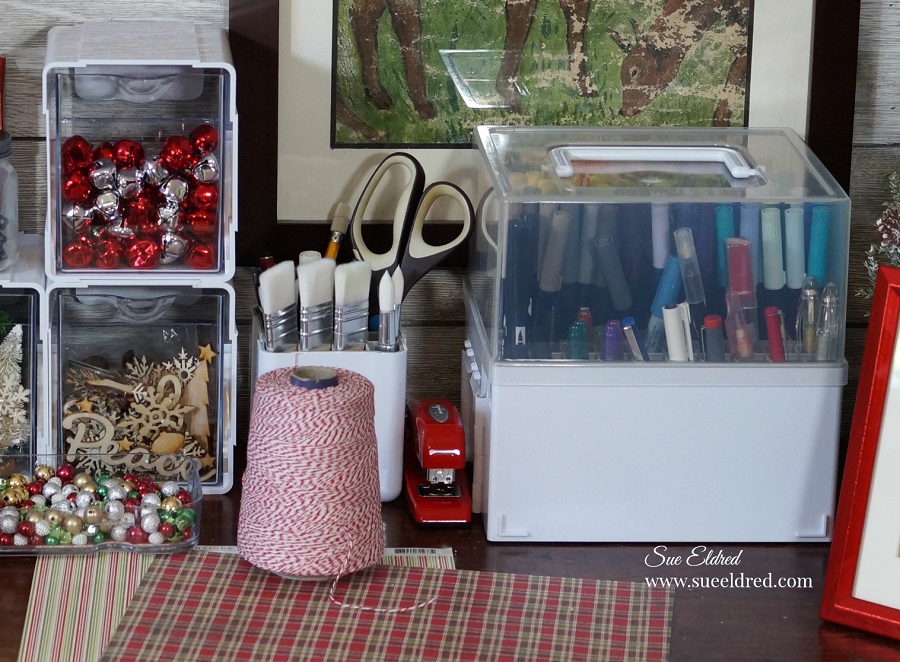
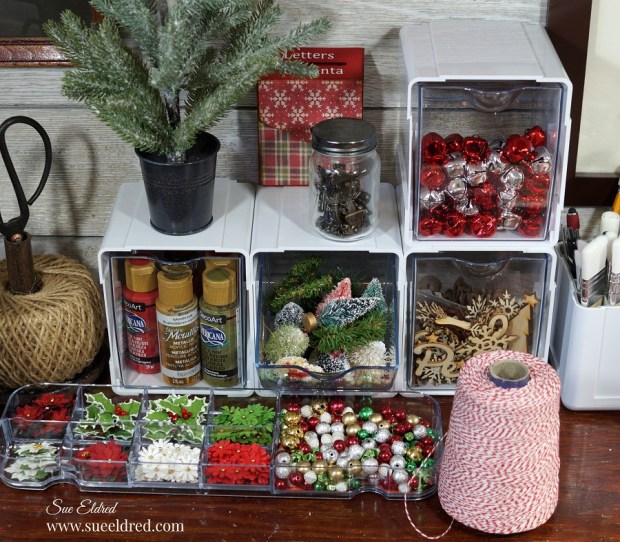
Materials Used: (*affiliate links)
- 3” Wood Embroidery Hoop*
- 5” Plaid Fabric or Flannel*
- ¾” Cotton Twill Ribbon*
- Ribbon, Berries, Craft Pine Stem*
- Glue Gun*
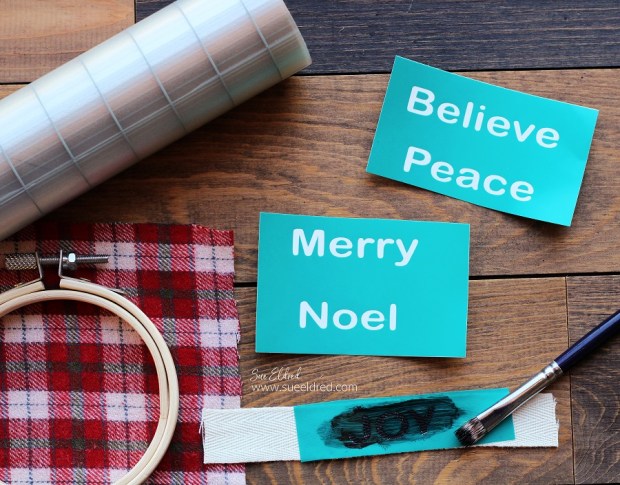
- StyleTechCraft Removable Vinyl*
- StyleTechCraft Vinyl Transfer Tape*
- Silhouette Cameo Electronic Die Cutting Machine*

*Disclosure: This blog uses ads and affiliate links. If you choose to make a purchase using one of the links, I receive a small commission (at no additional cost to you) that helps offset the costs of maintaining this blog. Thanks for your support!
Directions:
- Instead of hand painting or stenciling on the ribbon, I created the “stencil words” using a Silhouette Cameo Electronic Die Cutting Machine*
out of removable vinyl*. I removed the inside of the letters leaving the blank space.
- Use the transfer tape* to pick up the stenciled word. Place the transfer tape* on the center of the cotton twill ribbon. Rub gently over the transfer paper to transfer the vinyl onto the twill ribbon. Remove the transfer paper.
- Use a paintbrush to carefully stencil (or paint) the inside of the letters. Allow to dry and remove the vinyl. (The vinyl words are for one use.)

- Open the embroidery hoop* and place the flannel on the embroidery hoop. Lay the stenciled twill over the center of the flannel.
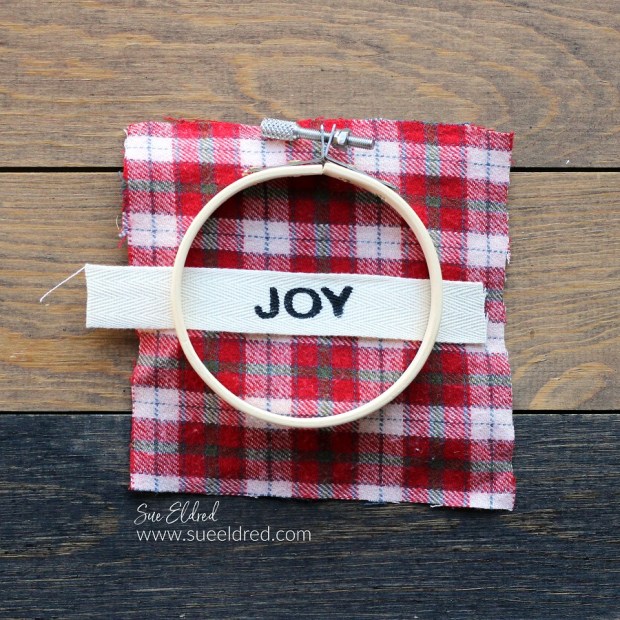
- Place the outside hoop over the flannel and twill and tighten the embroidery hoop. Cut the excess flannel and ribbon from the back of the embroidery hoop.
- Glue a cardstock circle onto the back of the embroidery hoop.

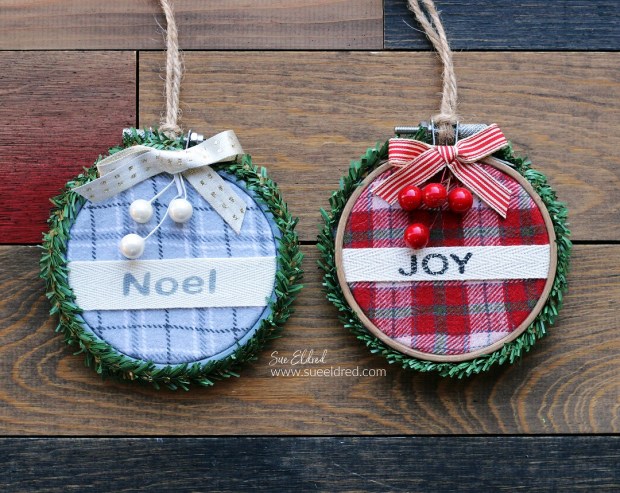
- Measure and cut the pine stem to fit around the outside edge of the embroidery hoop. Glue the craft pine stem* onto the embroidery hoop.
- Tie a small bow using the striped ribbon.
- Cut the berry sprig down to size, glue both the ribbon and berry to the top of the hoop.
- Add natural twine to the top to hang.