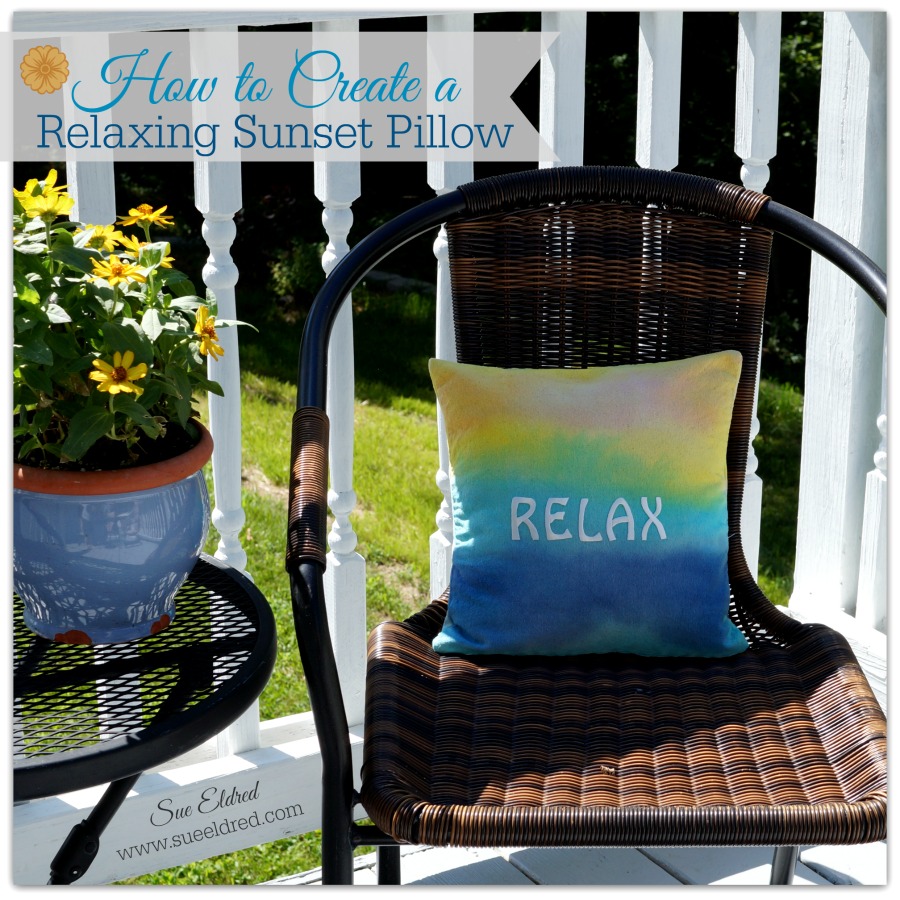
How to Create a Relaxing Sunset Pillow

How to create a Relaxing Sunset Pillow 9318

There’s something about a beautiful sunset that always stops me in my tracks.

No matter how many I’ve seen, I still marvel at all the vibrant, beautiful colors.
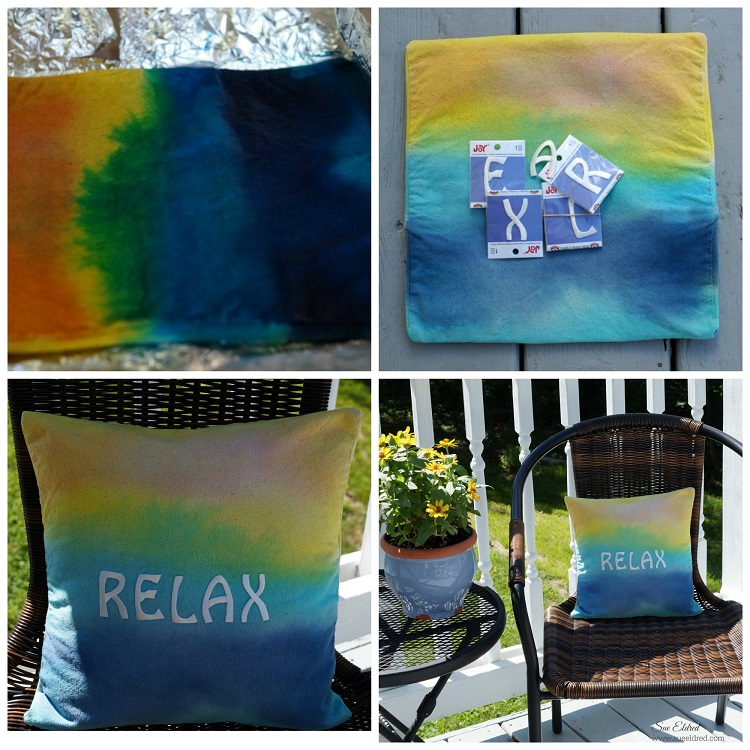
How to make a Relaxing Sunset Pillow Collage

After all the fun we had making the Patriotic Tied Dyed Shirts for the 4th of July…

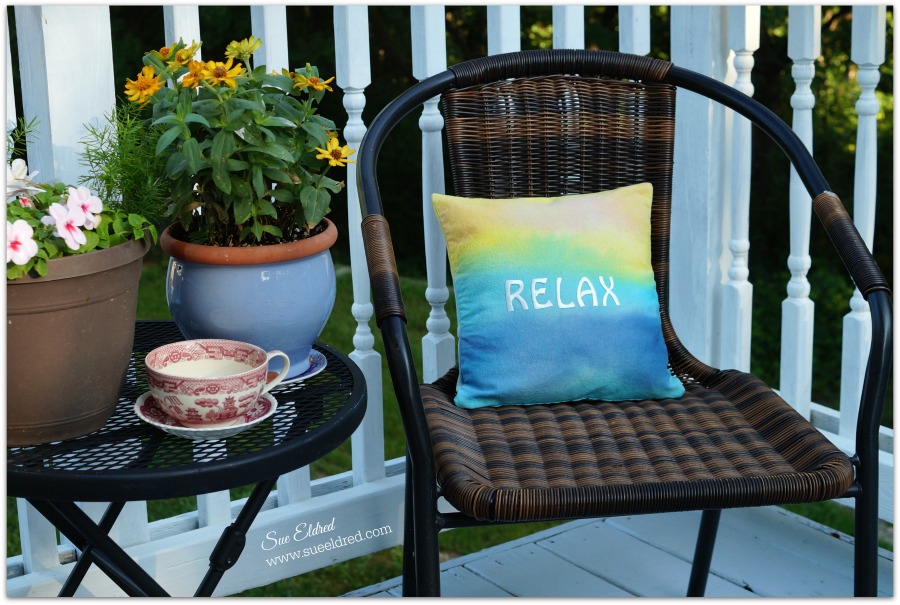
I decided to create a color wash dyed pillow with the colors you might see during a beautiful sunset.

With the help of my 2 year old Grandson this is how we made the pillow:

  1. We used the Rainbow Tie Dye Kit from Tulip that comes with pre-measured squirt bottles.  All you need to do is add water to the bottles and shake to mix.
  2. Squirt dye onto 12″ canvas pillow square one color at a time starting at the top.
  3. Dip medium/large paintbrush into water and brush the dye to spread the color.
  4. Continue with the others colors until canvas pillow square is covered.
  5. Note:  When using a helper who’s only 2 1/2 things can get really wet.  (he had fun)
  6. Cover dyed fabric with plastic wrap to keep damp.
  7. Let set for 6-8 hours or longer for intense colors.  (we waited around 2 hours)
  8. Rinse well with water until excess dye is removed.
  9. Fill washer to “large load” setting with hottest water suitable for fabric and a small amount of laundry soap.  Wash and dry separately.  (Wash separately for the first few washes.)
  10. Iron the canvas pillow square to get out excess wrinkles.
  11. To add the word “relax”, I used iron-on embroidered letters from Joy.  It’s quick and easy – just preheat your iron to the cotton setting, cover the letters with a cotton cloth and iron for about 30 seconds.  I ironed it again from the back of the fabric for another 30 seconds.
  12. Stuff pillow with a 12″ pillow form.


Tulip One-Step 5 Color Tie-Dye Kits Rainbow*   (affiliate link)

Relaxing Sunset pillow 9321

*Disclaimer:  This post uses ads and affiliate links.  If you choose to make a purchase using one of the links, I receive a small commission (at no additional cost to you) that helps offset the costs of maintaining this blog.  Thanks for your support!

“I’d rather be thrifting” bag

Thrifting Bag 6289

My daughter is an expert at shopping the thrift stores

and finding a great deal… 

When she asked me to make her a tote bag similar to the ones she’d seen online.

I knew exactly where to start.  I used a large canvas bag from Canvas Corp Brands

and ironed on a fun saying using Joy® embroidered letters.

ironing the letters 6266

It’s quick and easy – just preheat your iron to the cotton setting, then remove the paper liner

on back of each letter (exposing the temporary adhesive) and press into place on your tote bag

to spell out your quote. Cover the letters with a cotton cloth and iron for about 30 seconds.

I ironed it again from the back of the fabric for another 30 seconds.

bag close up

Fast, Quick, Personalized and Ready to Go!

We’re thinking of adding “take me to a flea market” on the other side.


This project was created and sponsored by Joy SA.

A little Americana for your front porch swing

The quickest way to spruce up the front porch swing for summer is with new pillows.

And if your a little bit handy and have a sewing machine why not try making a few of your own.

When it comes to sewing I’m very simple and it doesn’t get much easier than this.

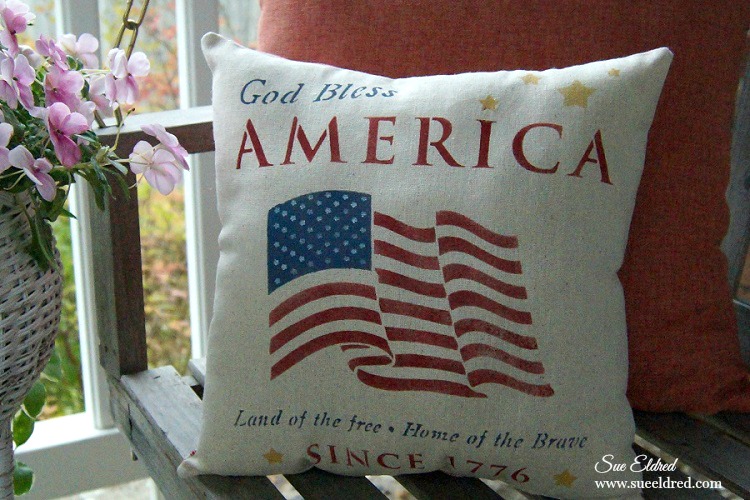
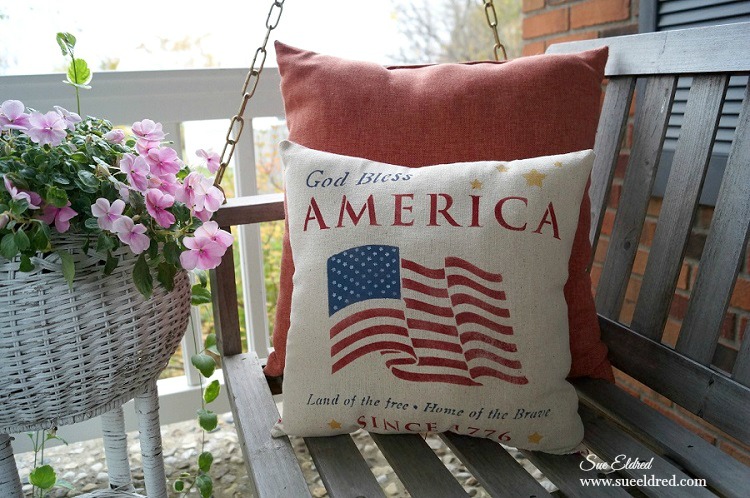
A simple stenciled and stitched pillow.

Deco Arts has so many 12″ stencils in a variety of patterns, you’re sure to find one you’d love.

Supplies 270 2

DecoArts® Products Used:                           (*affiliate link)

  • ADS16 American Tribute Stencil*
  • Americana® Multi-Surface Satin Acrylics: Dark Scarlet, Cotton Ball, Night Sky
  • Splendid Gold Dazzling Metallics® Acrylic Paint

Additional Products:

Directions:

  1. Lay paper under muslin fabric before stenciling.
  2. Center and tape stencil onto muslin with removable painter’s tape so that the stencil won’t move.
  3. Work one color at a time and mask off with painter’s tape the areas that won’t be painted.
  4. Remove the “star section” of the flag using a craft knife and set aside.
  5. Stenciling is a “dry” brush technique. Using a stencil brush, dip just the tip of your brush into the paint. Tap off excess paint before applying to prevent the paint from seeping under the edges of the stencil.
  6. Apply paint with stencil brush in a straight up and down motion called stippling.
  7. Once you’ve added the red, blue and gold colors. Replace the star section of the flag back onto the stencil and stencil the stars with white paint.
  8. Create a simple pillow by sewing the muslin onto the red and cream ticking fabric.
  9. Stuff pillow with Poly-fil®.

God Bless America Pillow 572 2

This project was sponsored by DecoArts.

Disclosure:  This blog uses ads and affiliate links.  If you choose to make a purchase using one of the links, I receive a small commission (at no additional cost to you) that helps offset the costs of maintaining this blog.  Thanks for your support!

Pretty Pink Rose Card

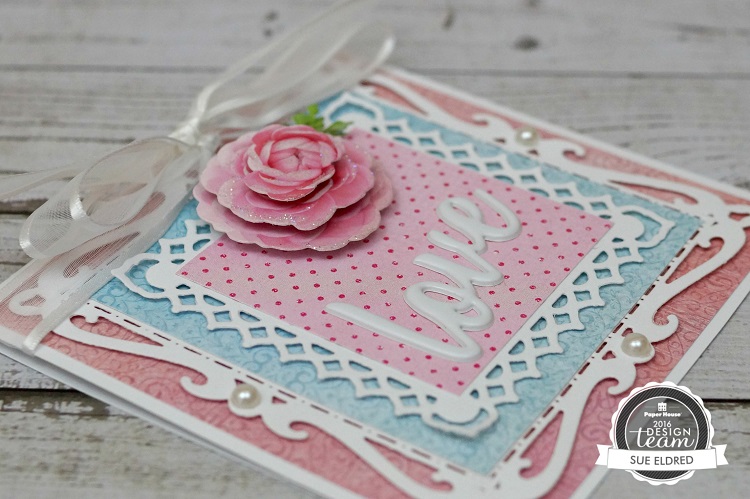
Pretty Pink Rose Card 7594

The challenge, this week, for the Paper House Production Design Team

was to create something using their 3D stickers.  They have so many beautiful dimensional stickers

it was hard to choose.

white frame 7560

The inspiration for this card came from a small picture frame picked up at Michael’s one spot.

The frame spoke to my soft feminine “girly” side.

Pretty Pink Rose Card Close Up 7591

The pretty pink rose used on my card comes from the Sisters 3D sticker sheet.

Finished Card Size:  4 1/2″ x 4 1/2″

Paper House Productions Products Used on the Card:

Additional Product Used:


“This is a sponsored post. As a member of the Paper House Productions Design Team I have been
provided product in exchange for my creative ideas, views and opinions.”

Mini Floral Wreath

Mini Floral Wreath 7122

I get some of my best creative inspiration late at night…

I was planning on making a card using these 3-D puffy stickers from Paper House Productions

when a light bulb moment happened and I decided to make a wreath instead.

I’m really happy with the way it turned out, a little different and very easy to make.

Tip:  Use a good craft glue to adhere the stickers to the ribbon.

Mini Floral Wreath Collage

Paper House Productions Stickers Used:

Additional Supplies:

How to make a Mini Floral Wreath using 3D Puffy Stickers:

  1. Wrap wreath with satin ribbon.
  2. Start with the large pansy flowers and glue evenly around wreath.
  3. Fill in wreath by gluing on the smaller flowers, butterflies and leaves. (The leaves are from the lady bug sticker sheet.)
  4. Tie a thin silver ribbon around wreath to use as a hanger.
  5. Make a bow from the sheer ribbon and glue onto the top of the wreath.

This is a sponsored post. As a member of the Paper House Productions Design Team.

Join Amazon Kindle Unlimited 30-Day Free Trial

Disclaimer:  This blog uses ads and affiliate links.  If you choose to make a purchase using one of the links, I receive a small commission (at no additional cost to you) that helps offset the costs of maintaining this blog.  Thanks for your support!

DIY Up-cycled Jar…a little trash to treasure

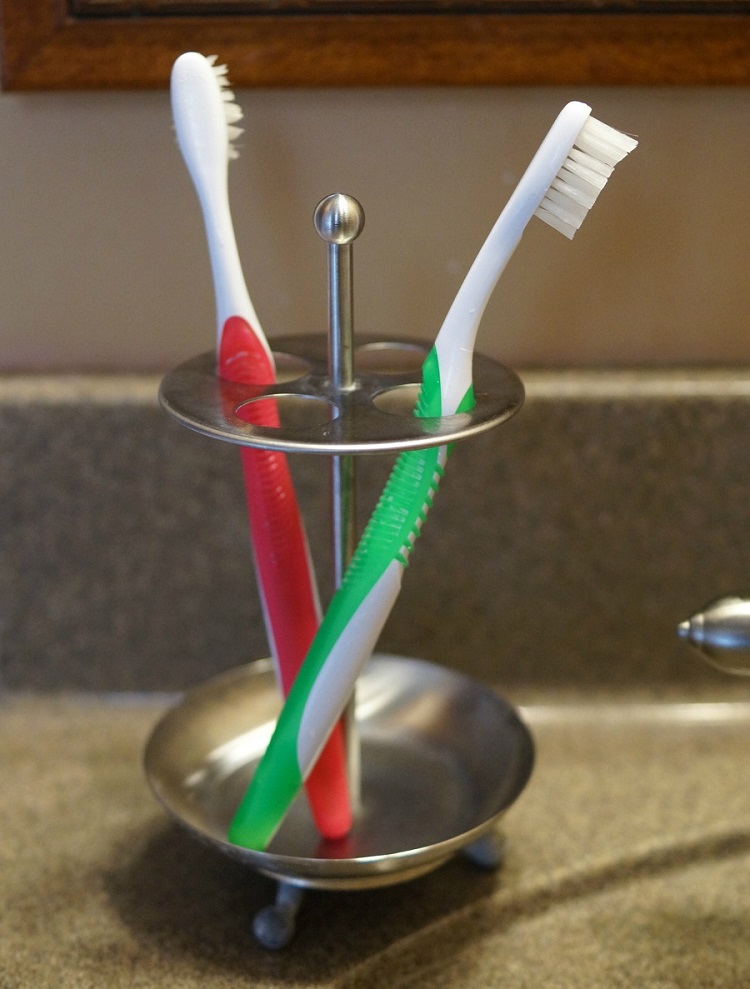
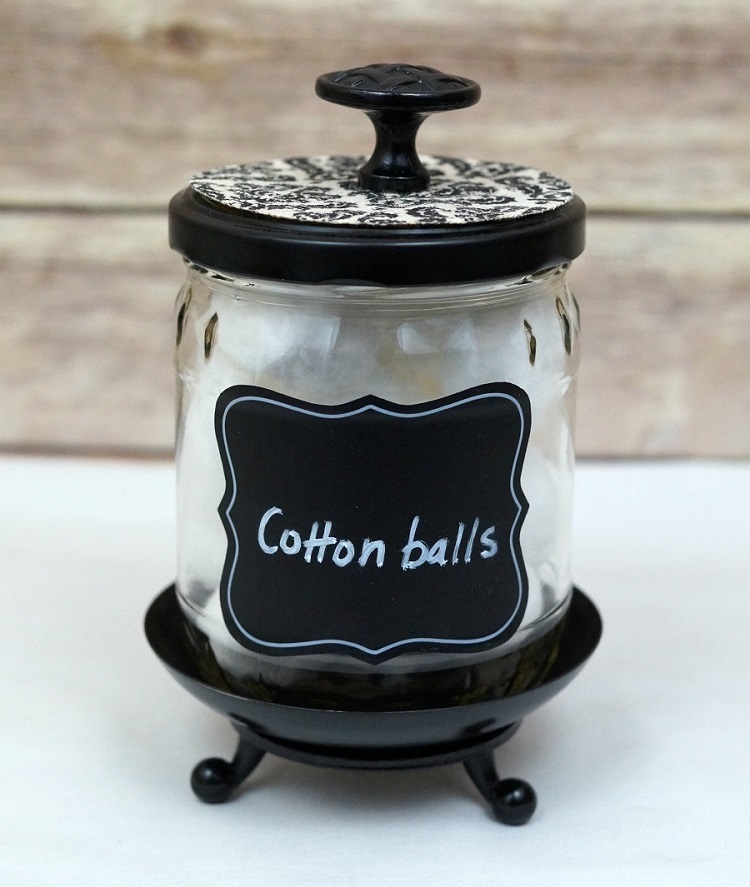
Ikea Toothbrush Holder

I was about to throw away this inexpensive toothbrush holder

(from IKEA) while cleaning my bathroom, when I got the idea.  I’m always looking for items

to use as a base on repurposed projects and thought this was perfect for a quick project.

Inspiration and ideas can be found anytime, anywhere…

even while cleaning your bathroom.
Upcycled Jar and Toothbrush Holder 3964Upcycled Jar and Toothbrush Holder 3988
Great Storage or Gift Idea.  So many ways to customize using items destined for the trash.

How to make an Up-Cycled Jar…

Materials Used:                                            (affiliate links)

Upcycled Jar Collage

Directions:
  1. Disassemble toothbrush holder.  Set aside the top portion of the holder for future projects.
  2. Paint the bottom of the holder, the lid of the jar and the cabinet knob with black semi-gloss spray paint.
  3. Glue the bottom of the jar to the painted base.
  4. Cut a circle from the decorative paper and adhere it to the top of the lid.
  5. Glue knob onto the center of the lid.
  6. Add chalkboard label to front of the jar.

craft-ideas-garden-2016

The DIY Up-cycled Jar was featured in  2016 Craft Ideas Garden Issue. (page 72)

This project was created for and sponsored by Craft Ideas Magazine.

Check out Craft Ideas Magazine for Craft Ideas for Every Occasion, Every Skill Level.

Join Amazon Kindle Unlimited 30-Day Free Trial*

Disclaimer:  This blog uses ads and affiliate links.  If you choose to make a purchase using one of the links, I receive a small commission (at no additional cost to you) that helps offset the costs of maintaining this blog.  Thanks for your support!
Create a Simple Vase Centerpiece

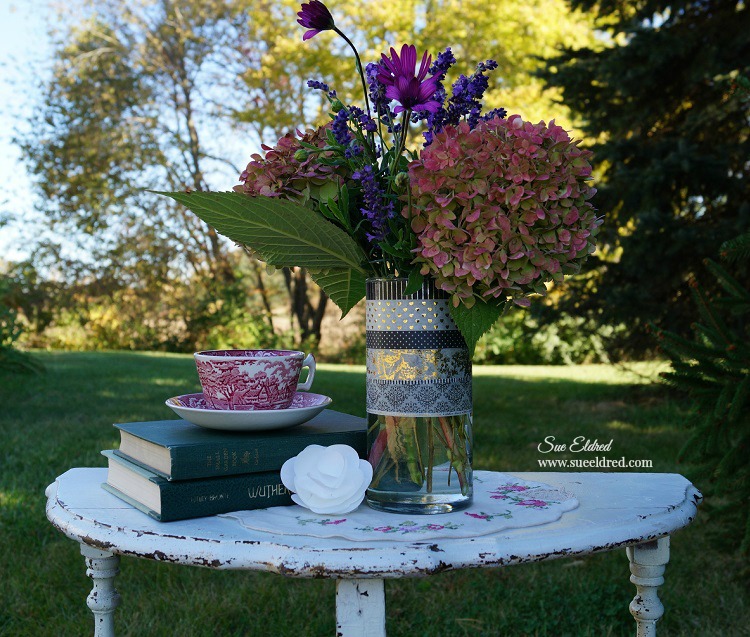
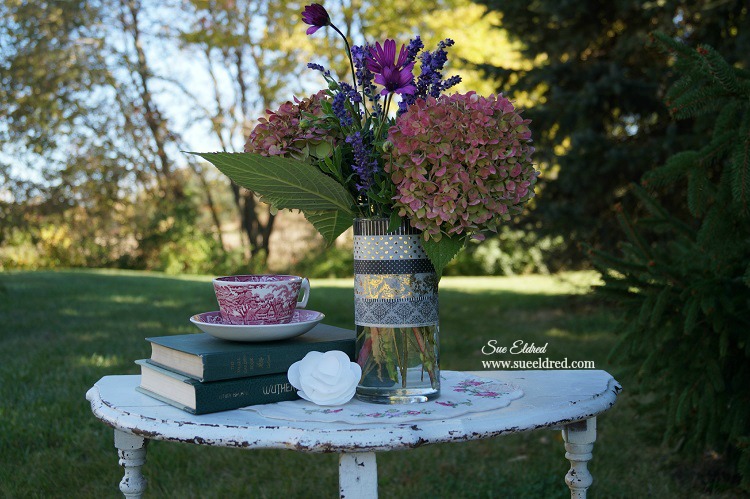
Washi Tape Vase and Flowers 2

Want to make a great impression but don’t have a lot of time? 

Here’s a quick and easy centerpiece project for your next party or gathering?

Washi Tape and Vase

I put together this simple vase using Washi Tape I received from Little B LLC

and an inexpensive dollar store cylinder vase.

TIP:  I drew a line with a permanent marker halfway down the vase to use as a starting point to keep everything neat and all my lines straight.  Simply wrap the vase with the washi tape.  (it’s that easy)    It only takes a few minutes to create an elegant look.

Washi Tape Vase Close Up

Next…I filled it with fresh flowers cut from my garden.

Or pick up a bouquet at the grocery store.

It would be great centerpiece vase for Weddings, Showers or any special gatherings.

It’s a temporary idea with elegant results. 

Here’s the list of the Little B Decorative Tape Used:

  • 100435 Silver Foil Black Pin Stripe
  • 100562 Gold Foil Hearts
  • 100047 Blk w/Sm Wht Polka Dots
  • 100443 Gold Foil Toile
  • 100344 Black and White Stripe
  • 100011 Damask Black/White
  • 100563 Gold Foil Love

A Quick and Easy DIY Gift for Her

Quick and Easy Gift for her 6988

Need a quick and easy gift for Mom or that new Grad in your life?

plain pink pencil cup 7023

 Deflect-O Photo Frame Pencil Cup*                                      (*affiliate link)

This pretty pink pencil cup from Deflecto is cute all by itself.

But add some decorative washi tape, a couple small pieces of decorative paper and

a few random stickers and you have a special gift ready to give.

♥ Make it extra special and add a couple photos of you and her together. ♥

Pink Pencil Cup Close Up 7013

I wish I could tell you where to find this cute pink rosebud washi tape.

My daughter gave it to me as a mother’s day gift a few years ago.

I’m sure with the huge variety of washi tape available you’ll find one just as nice.

Pink Pencil Cup 7009

If pink’s not your style?

Here’s a project I did last year using Deflecto’s Black pencil cup. ↓

Quick & Easy Washi Tape Make Over 7014

Quick & Easy Washi Tape Make-Over

“This is a sponsored post. As a member of the Deflecto Design Team I have been
provided product in exchange for my creative ideas, views and opinions.”

 AD↓

*Disclaimer:  This post uses ads and affiliate links.  If you choose to make a purchase using one of the links, I receive a small commission (at no additional cost to you) that helps offset the costs of maintaining this blog.  Thanks for your support!

Join Amazon Kindle Unlimited 30-Day Free Trial

Justin’s Baseball Layout for Paper House Productions

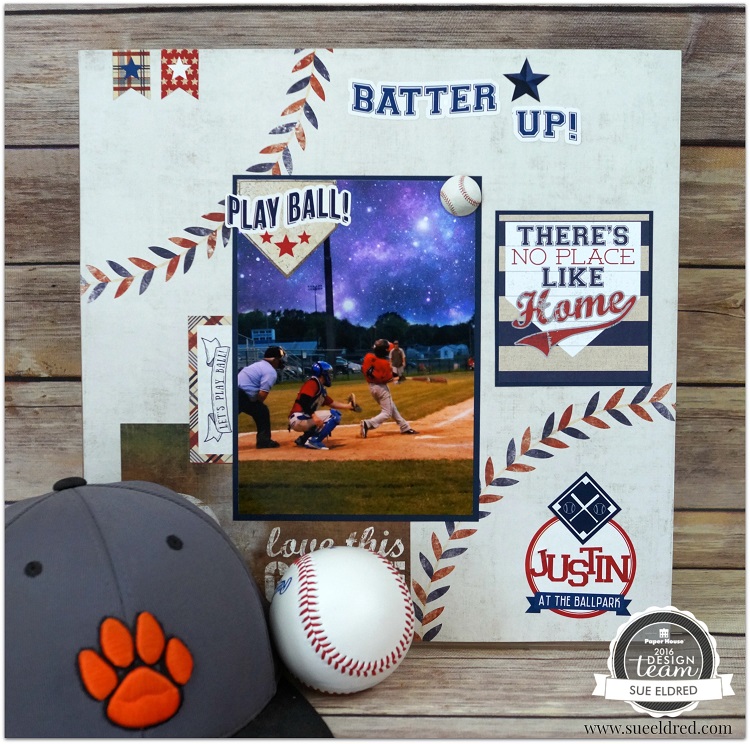
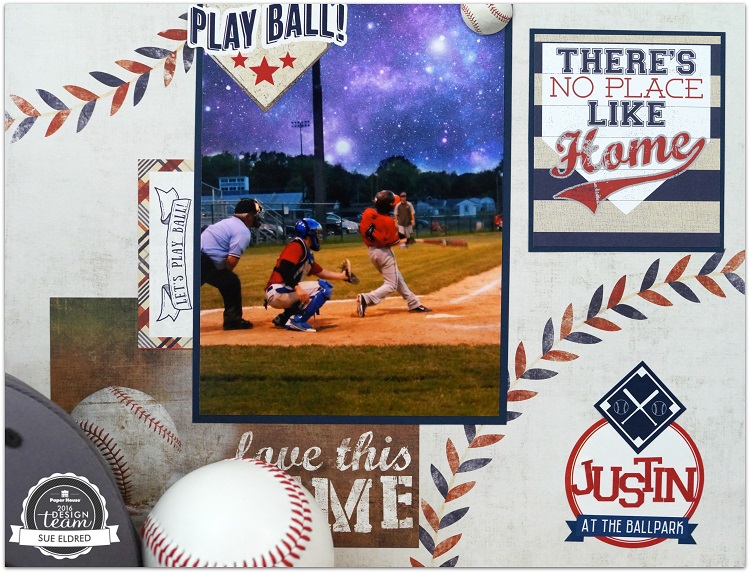
Justin Baseball layout 6527

Of the 100’s of baseball pictures I’ve taken throughout Justin’s years of playing baseball,

this is one of my favorites.  Under the lights on a warm summer day.

I don’t even remember if he scored.  (I do remember we got creamed.)

Justin Baseball layout close up 6532

Justin decided to get a little creative and added a galaxy background to the picture.

We framed it as an 11 x 14 for his room.

Now that he’s done with baseball, I miss being a Baseball Mom.

Justin Baseball Layout 6512

Here’s what I used:


As a member of the Paper House Design Team…

This layout was created for and sponsored by Paper House Productions.

Crafting with Kids: Serenity’s Craft Bag

Serenity's Craft Supplies 2

When it comes to craft supplies for some reason people tend to refer to me.

So when I heard that my 5 year old niece was looking for beads and craft supplies for her

birthday, I jumped all over that one.

Serenity's Crafting Supplies 4207

I had a small 8″ x 8″ canvas bag from Canvas Corps and iron-on letters from Creating with Joy.

Who doesn’t like a personalized bag, to let everyone know just who’s bag it is?

I filled Serenity’s bag with a divided container full of beads and gave her paintbrushes,

pom poms, craft stems and pink scissors.  (Things a typical 5 year old might need.)

True story…

Sad Nick Face

One Sunday, my 5 year old grandson, said to me, “Grandma, let’s do a project.”

I looked him straight in the eyes and said…

“Do I look like the kind of Grandma that does projects?”

He gave me the saddest look, not knowing what to say.

Happy Nick Face

When his mom started laughing, a big smile emerged.

I can’t remember if we did a project or not.