Taking Fall Garden Notes and a Peek into My Garden.
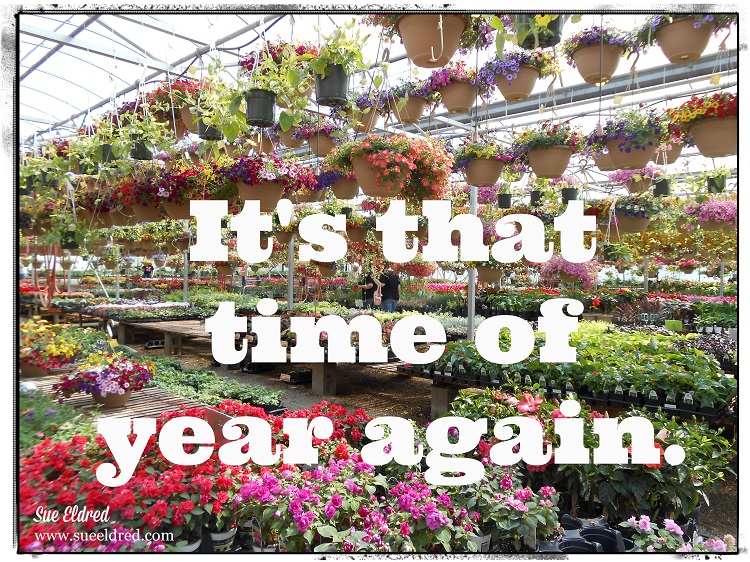
Here in the Midwest, there’s a point in September when your flowers look their very best.
All the bare spots have filled in, and the flowers have big, beautiful blooms.
That’s when I start thinking about next year’s garden.
At the end of Summer, while flowers are looking their best,
I try to take some photos and make a few garden notes.
I recently read in a Better Homes and Garden Post that
“Keeping a Garden Journal will help you become a better Gardener.”
In my personal experience, that’s true.

You could purchase fancy garden planners and journals*,
but I like to make notes on my computer.
I stick the notes in the pocket of my current planner and transfer
them to my new planner at the beginning of the new year.
I make notes on how my garden grew.
What did well, and what was disappointing.
You can keep track of seeds and the dates you planted,
watering habits, weather, names of plants, sprays, and fertilizers.
I like to do it while everything is still fresh in my mind.
It helps me make better choices when I go to the Greenhouse
next year.

*Disclosure: This blog uses ads and affiliate links. If you choose to make a purchase using one of the links, I receive a small commission (at no additional cost to you) that helps offset the costs of maintaining this blog. Thanks for your support!
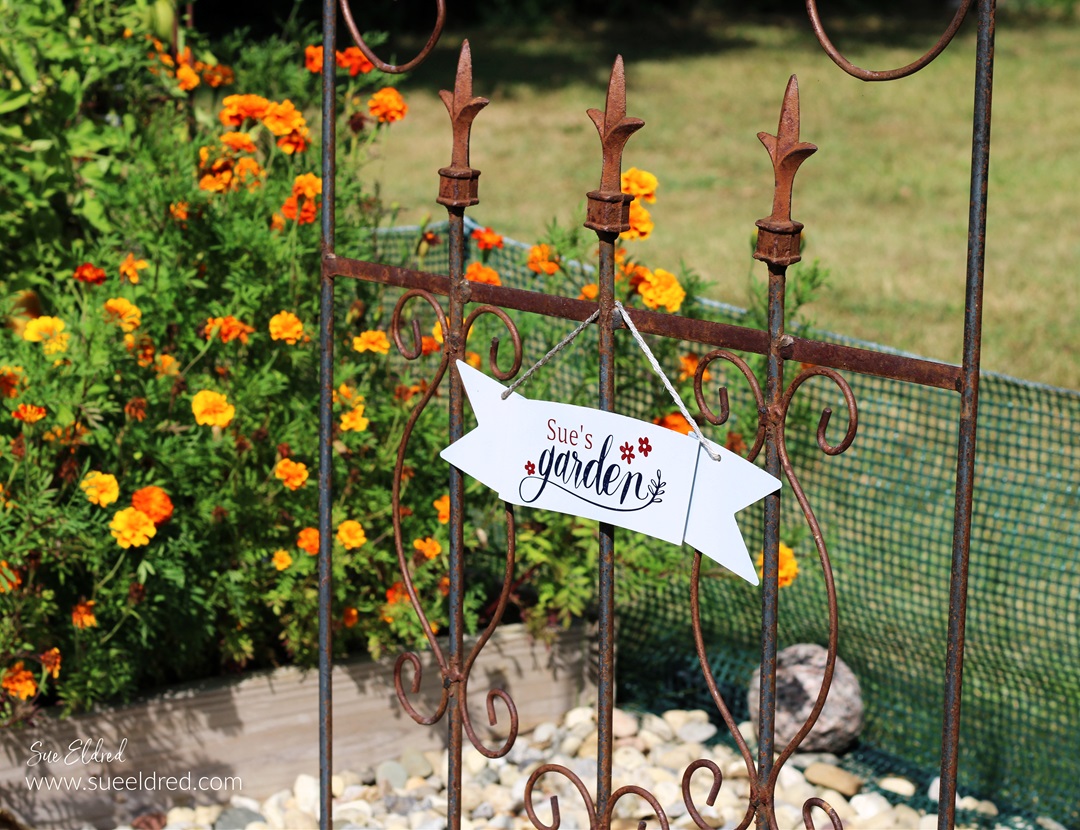
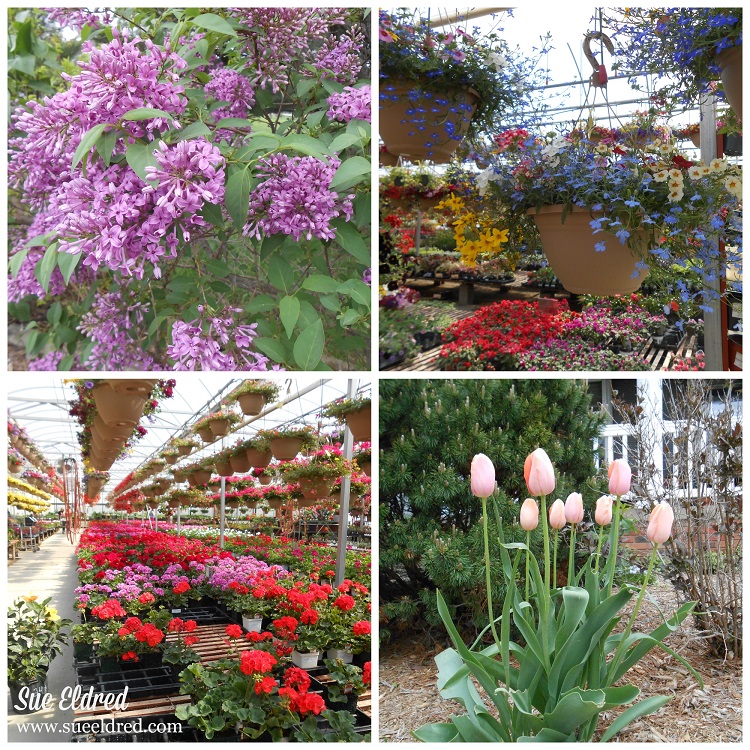
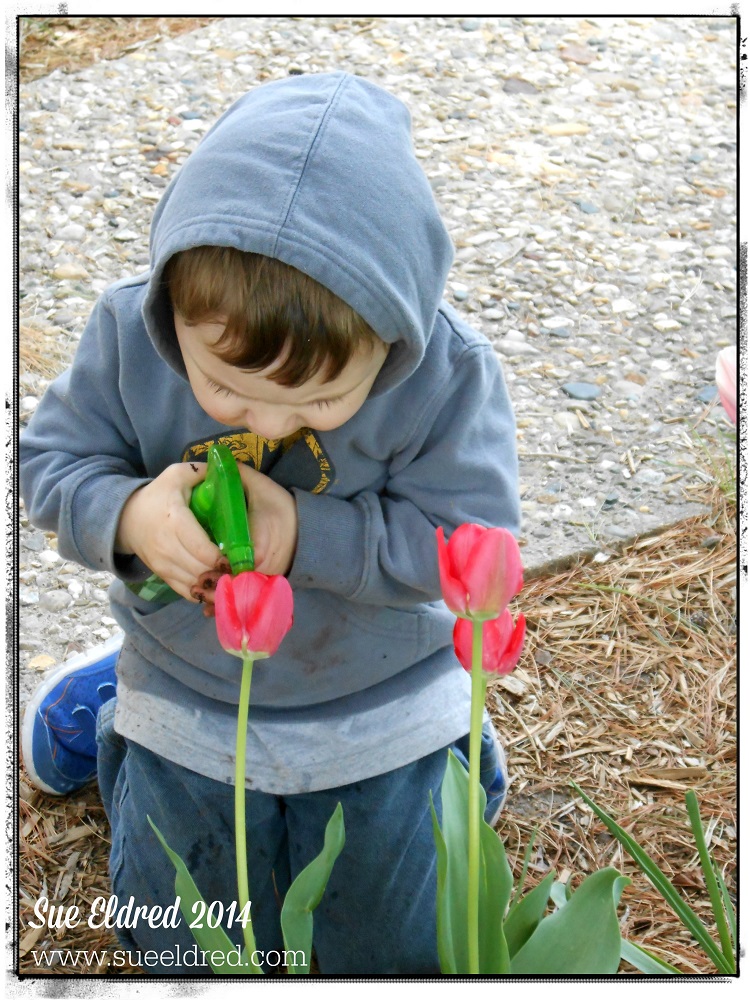
My Summer Garden.
My photo journal into this year’s garden.
This year, I planted corn, cucumbers, tomatoes, zucchini,
squash, peas, peppers, and carrots.
I will tell you right off the bat, the corn was a bust.
Even the squirrels won’t eat it.
I’m not sure why. (I guess I need to do a little research.)
I will use the stalks with my Fall Decorating, so it’s not a complete loss.
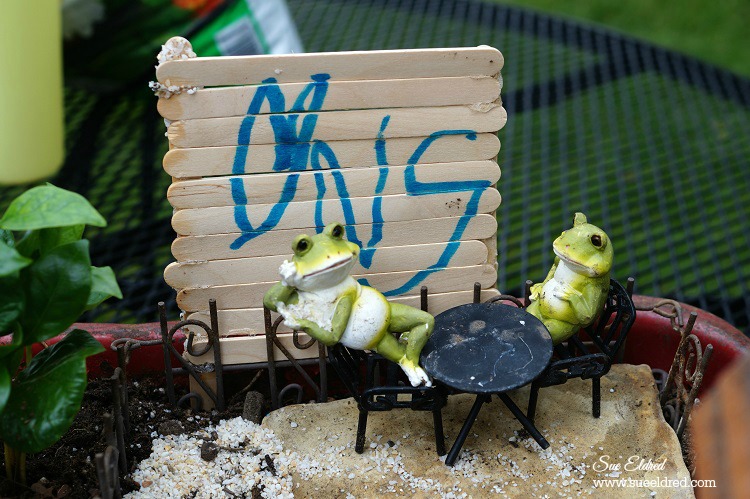
(How to make the “Farmhouse Garden Sign” post here.)

The cucumbers did great.
I learned how to trim and stake the plants off Instagram
for a higher-yielding plant. (It worked!)
So much so that we had a rule that everyone that came over had
to take cucumbers home.
We even gave some to the Amazon Delivery guy.
As soon as we were overloaded, the darn thing died.
It’s a good thing I canned a few jars of pickles first.
(Teach a Woman how to Garden, and the whole neighborhood gets cucumbers.)
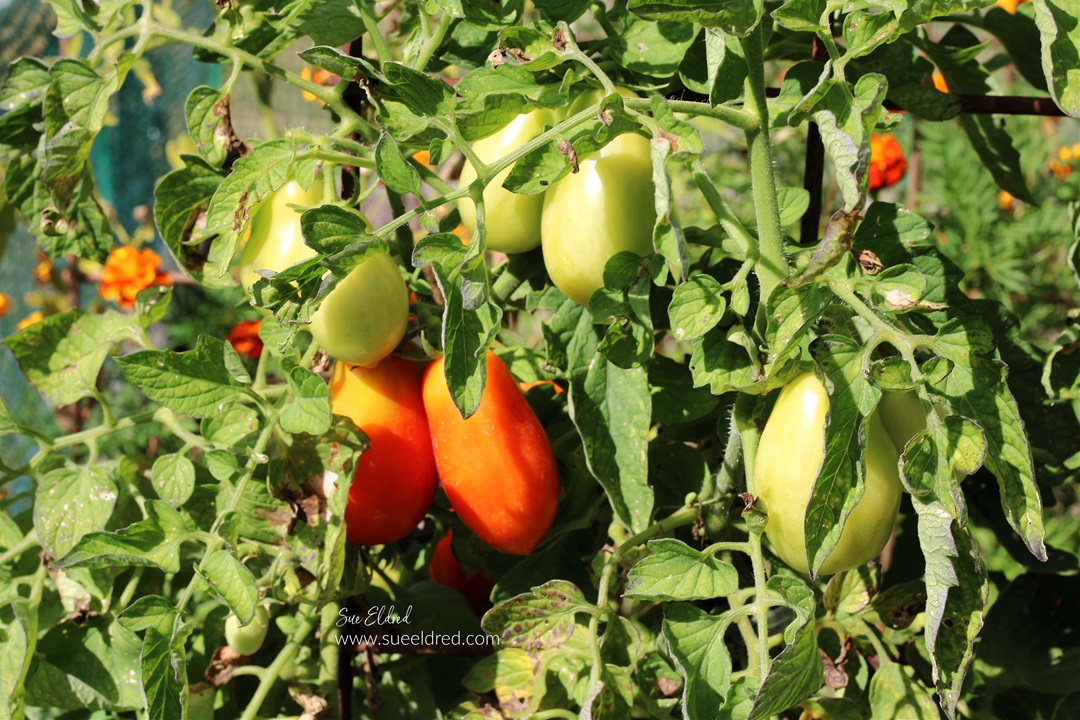
Tomatoes
I planted three varieties of tomatoes.
I planted Amish Paste, Roma’s, and Jet Star.
Last year, I started making homemade spaghetti sauce, ketchup,
and stewed tomatoes.
I heard the Amish Paste and Roma’s were the best for sauce,
so that’s what I bought.
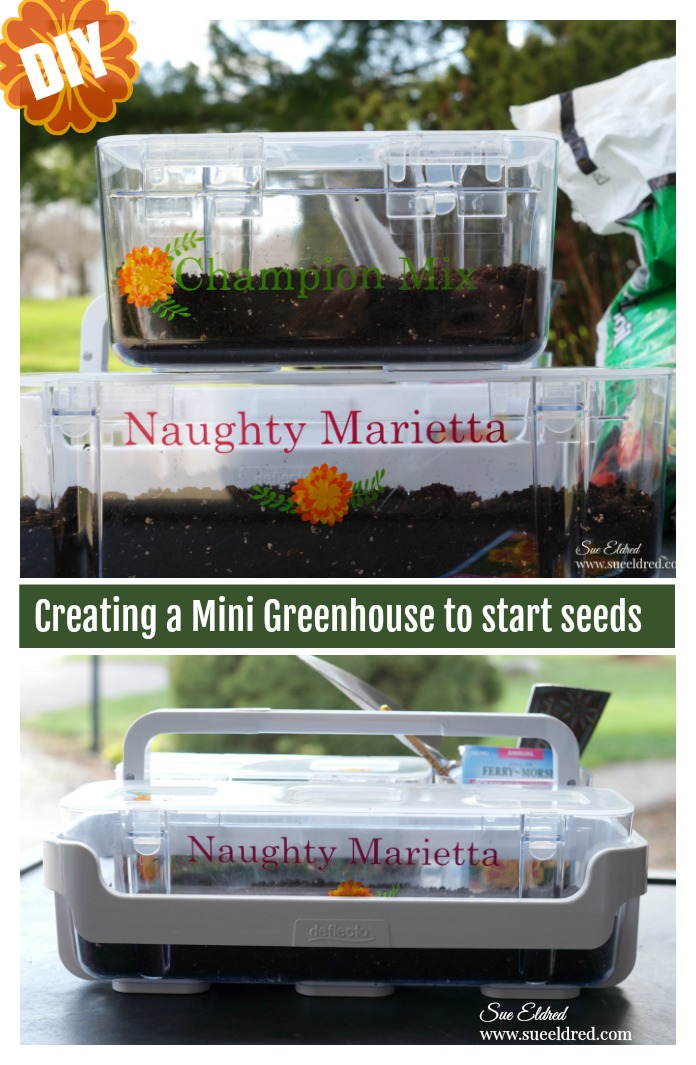
I planted marigolds (from last year’s seeds) around the beds.
I planted carrots in between the rows of tomatoes. (I’m learning.)
My tomatoes didn’t do as well as last year, which was disappointing.
(They needed more water and fertilizing.)
So next year, I’ve decided to add more tomato plants.
FYI…I spray my beds and plants with Critter Ridder* once a month,
it helps keep the furry pests away.
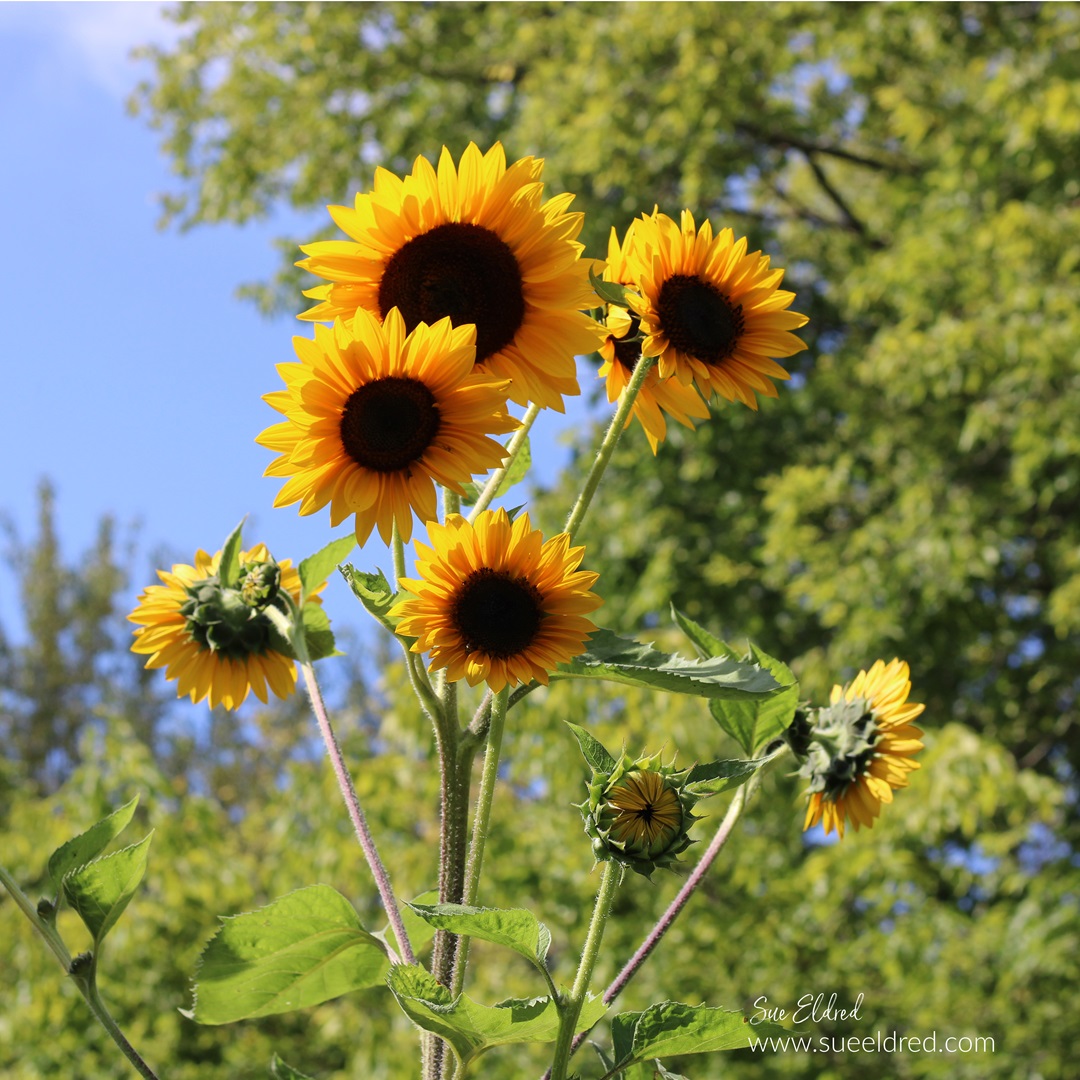
My favorite addition to the garden this year was my Sunflowers.
The first set of flowers was a rust color, the second set was maroon,
and the last were these beautiful yellow ones.
The ones I planted were a smaller variety.
I plan on growing the large one next year so that I will have
plenty of Sunflower seeds for the birds.

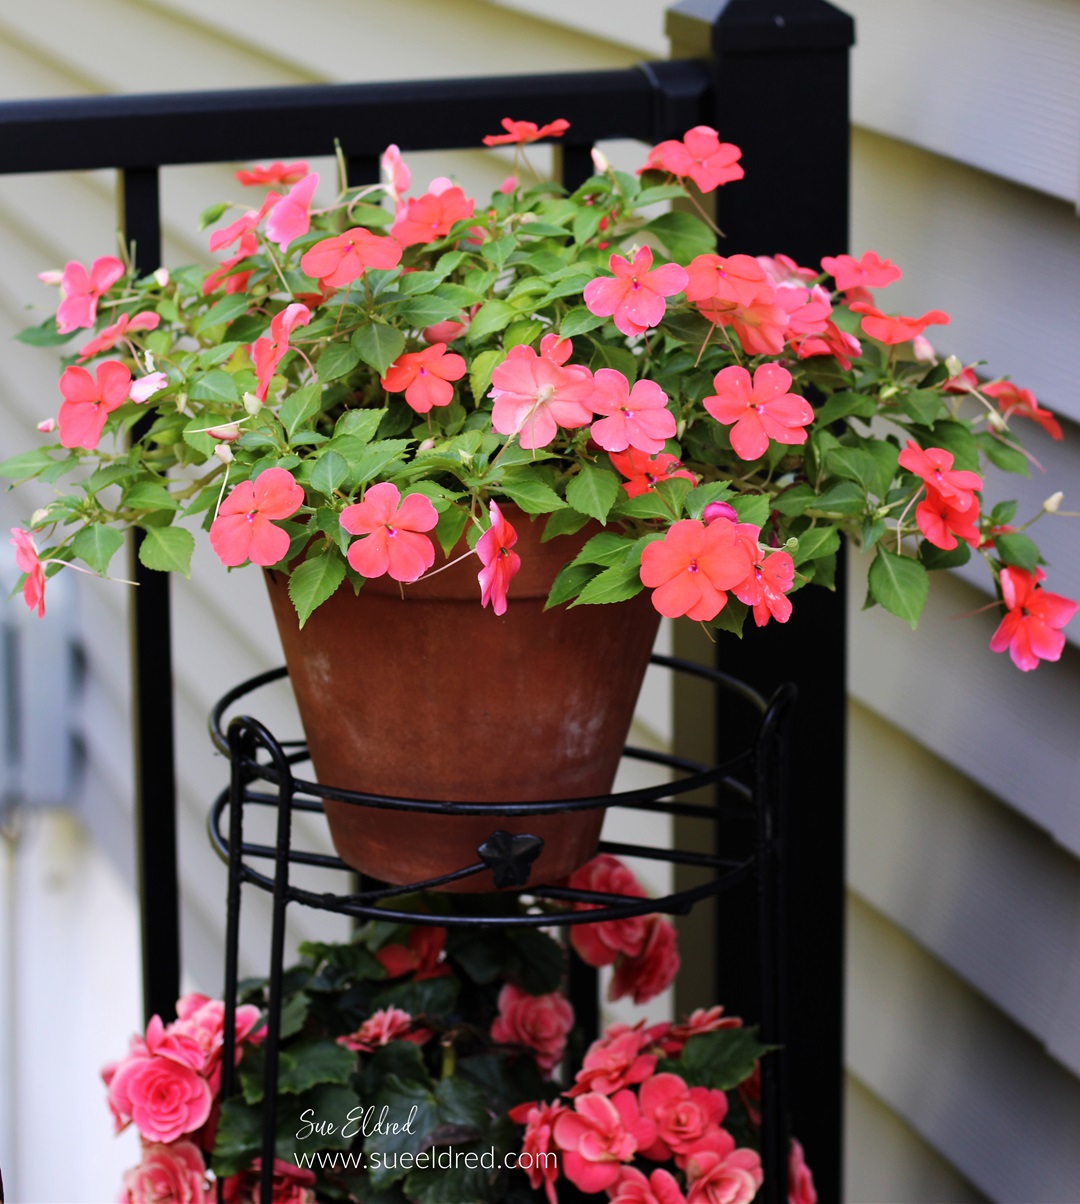
My husband received this planter box five years ago.
It was oddly decorated.
This project was our Ugly Planter Box Makeover.
I have tried several different arrangements through the years.
The pink impatiens filled in nicely.
My son has asked if he can redo it next year.
I guess it’s time to breathe some new life into it.

Of course, I have Red Geraniums on the Front Steps.
It’s classic!
I’ve tried other colors of geraniums, but red is my favorite.

Hydrangeas
Spatial awareness is one of my biggest problems in my flower beds and gardens.
I cut back my Hydrangeas each year and forget how big they get.
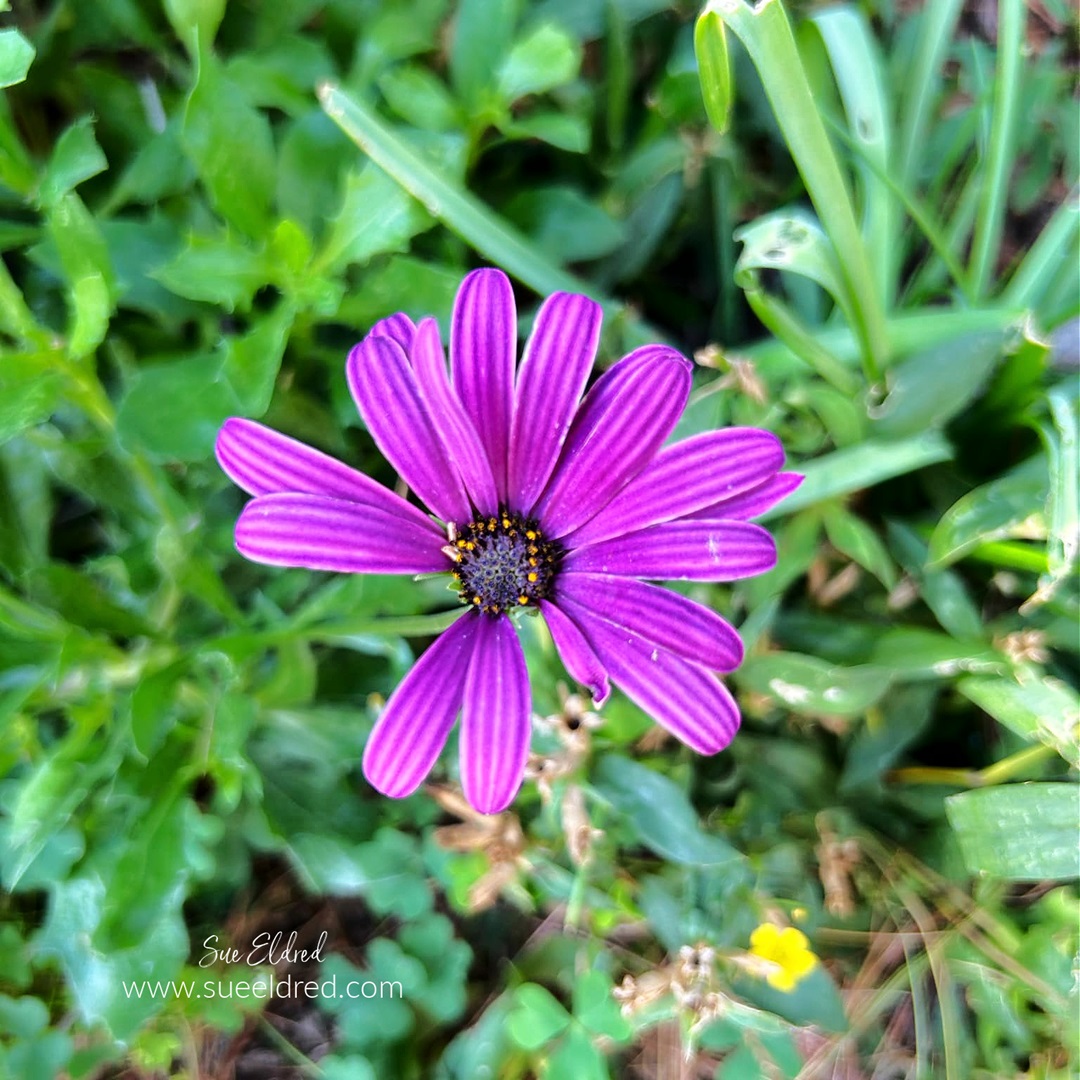
Thinking I had enough room,
I planted my favorite purple flowers (Cape Marguerite)
and the Hydrangeas quickly overtook them.

I combine Marigolds, Zinnias, and Vincas by the Lamppost.
It’s a welcoming sight as you come down the driveway.
Of course, I forget how big the Aster gets.

The side view of the flower bed in front of the porch.
Please don’t judge me too harshly.
I know it needs work.
Several years ago, we planted Black Eyed Susans.
I loved Black Eyed Susans, but they have taken over the bed
and have choked out several other plants.
That will be our Spring project.
I’m thinking of taking everything out and starting completely over.
The new deck in the back of the house faces North.
It is a great place to grow pots of Impatiens.
Impatiens are one of my favorite summer flowers to grow.
I usually buy pink, but I especially enjoyed the Salmon color this year.
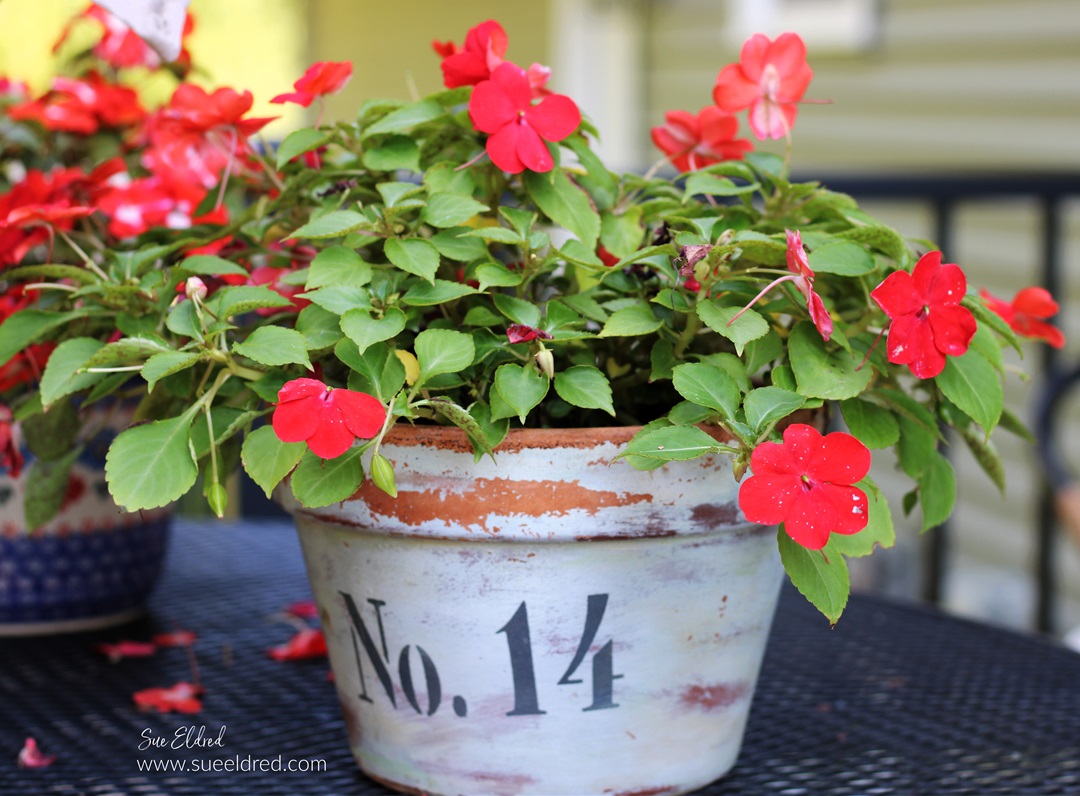
Eight years ago, I aged this terra cotta pot with chalky finish paint.
It’s still only getting better.
You can read how I aged the pot here.

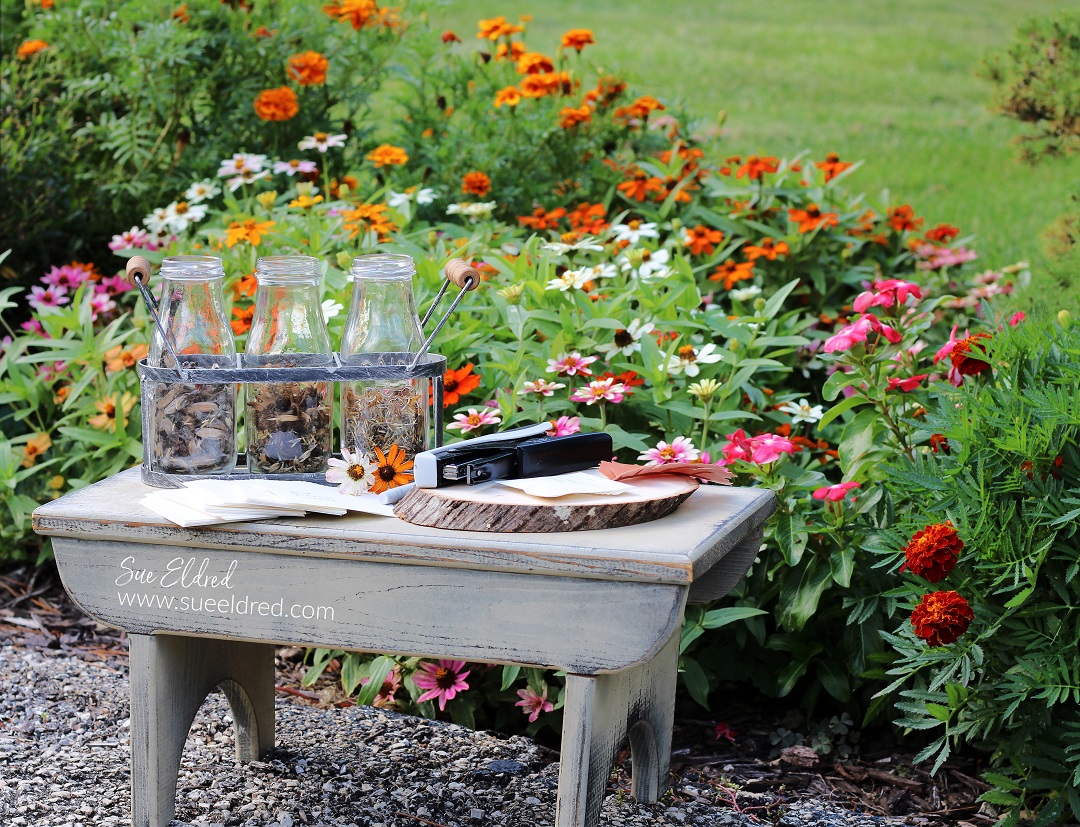
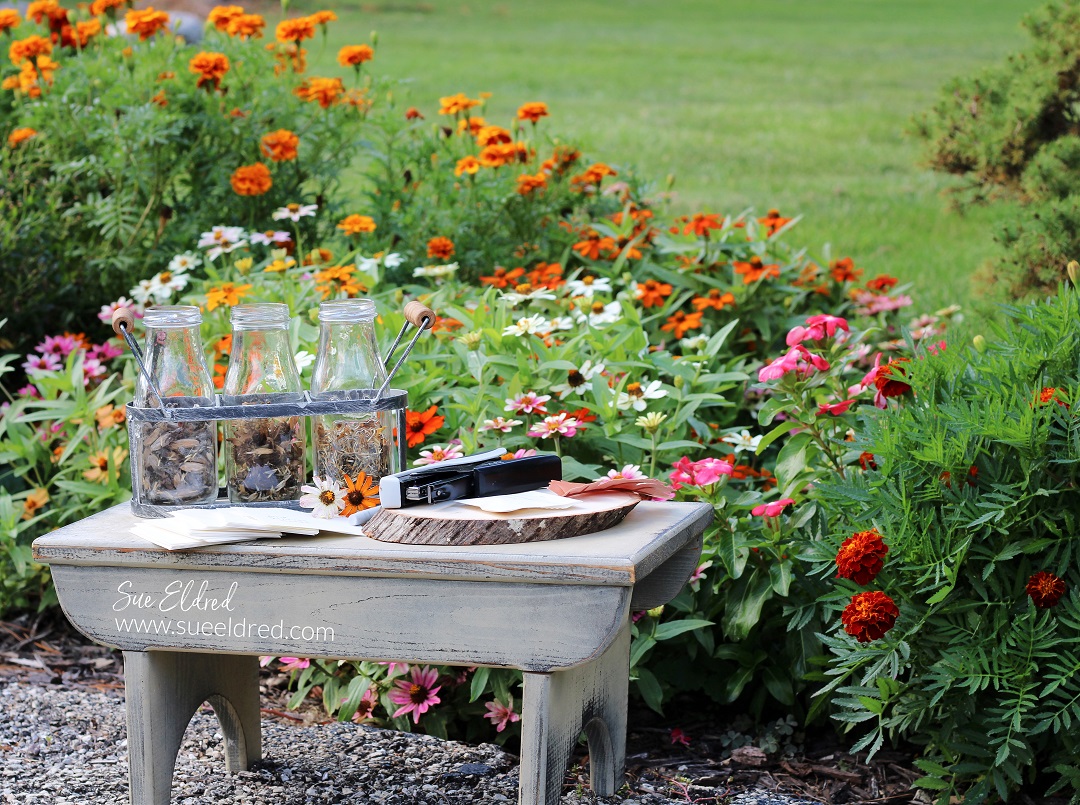
Preserve Flower Seeds in Fall for a Beautiful Garden Next Summer.
And at the end of Summer, I start collecting seeds for the following year.
You can read my original post about preserving seeds here.

Harvested seeds from my marigolds for planting next year.
This way, I will have a lot of blooms next summer.

This year, I added a few herbs to my gardens.
I read how certain herbs help to keep pests away.
It is extremely gratifying to make homemade spaghetti sauce
with tomatoes, onions, peppers, basil, and parsley grown in my garden.
And, oh so yummy!