
Mini Park Bench Makeover
Tucked away beside my porch, next to my hydrangeas, was a wobbly, forgotten little park bench.
It had been left out all winter and hadn’t weathered very well.

I picked up the little bench a few years ago at a yard sale when it was still in good shape.
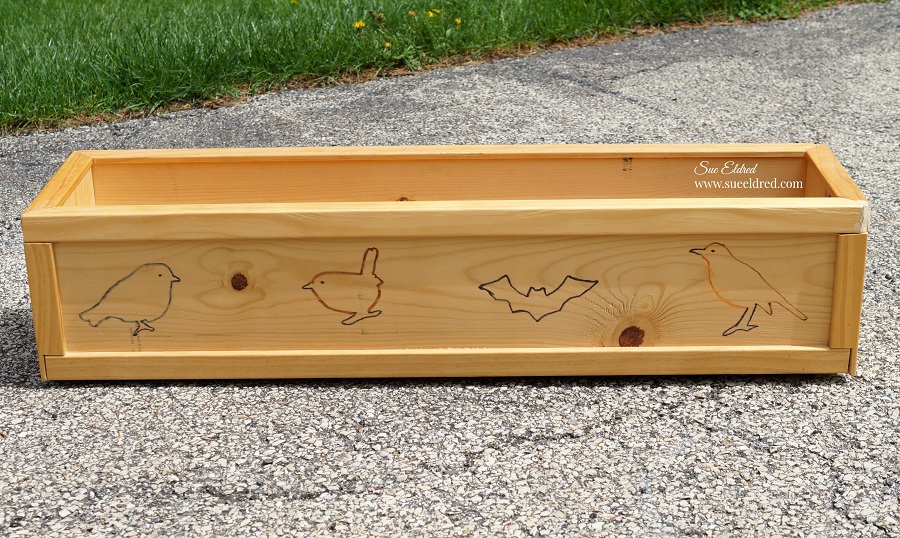
The bench has nice metal frame and a cute jungle theme inset.
I knew with a little tender loving care the bench could be almost as good as new.

I carefully took the bench apart and gave it a light sanding to get rid of the rust and grim.

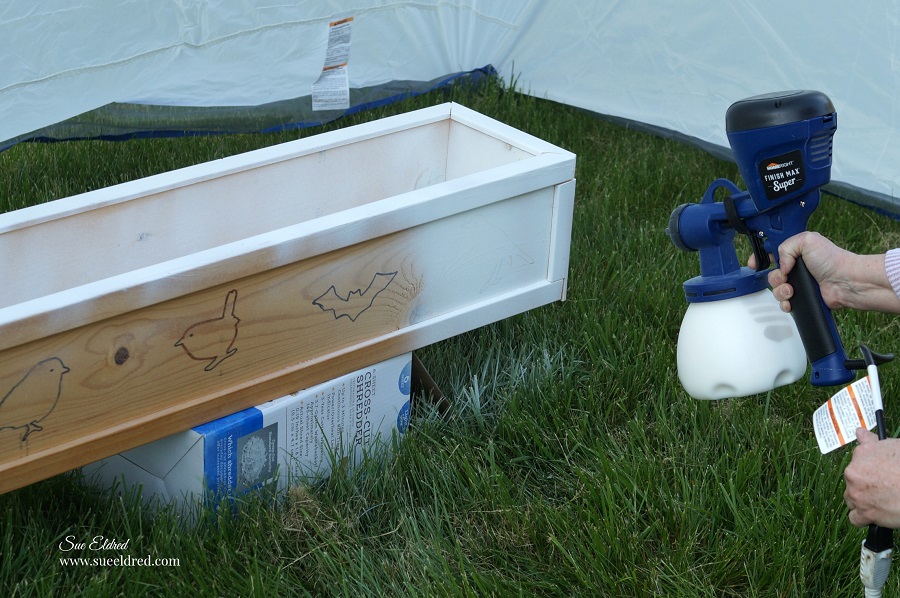
I painted the frame with Rust-Oleum Dark Gray Paint and Primer*.
*Disclosure: “This is a sponsored post. I have been provided product in exchange for my creative ideas. The views and opinions are my own.” This blog uses ads and affiliate links. If you choose to make a purchase using one of the links, I receive a small commission (at no additional cost to you) that helps offset the costs of maintaining this blog. Thanks for your support!
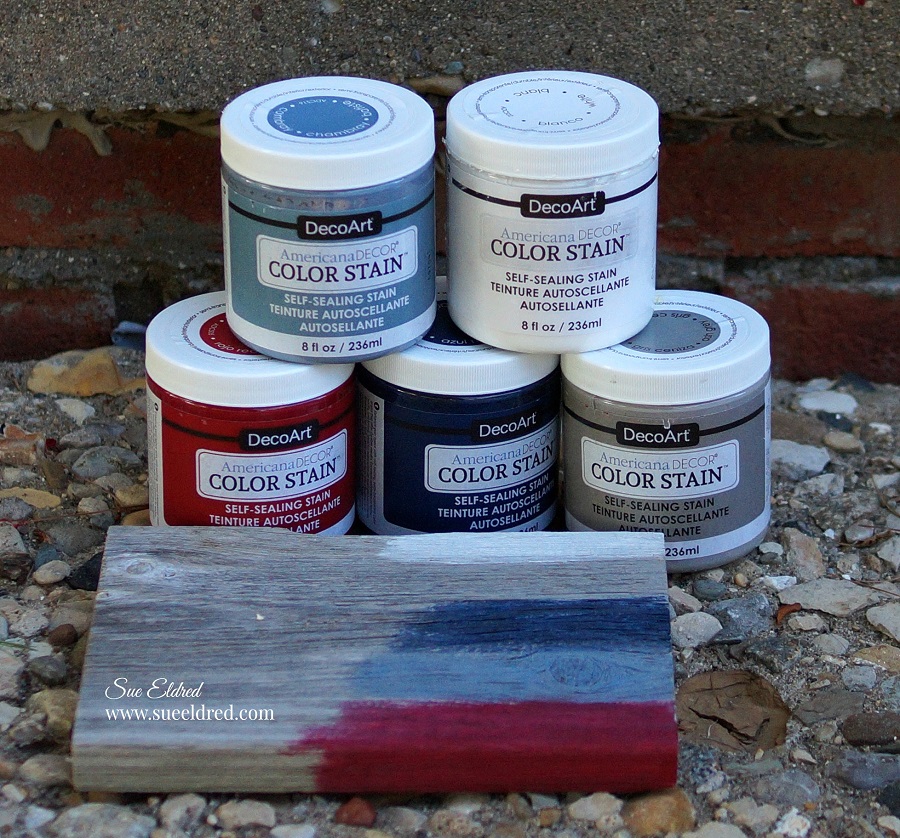
I had a difficult time choosing which color I wanted to use so I created a color sample board.
In the end I went with white. (bird poop doesn’t show up as much on white)

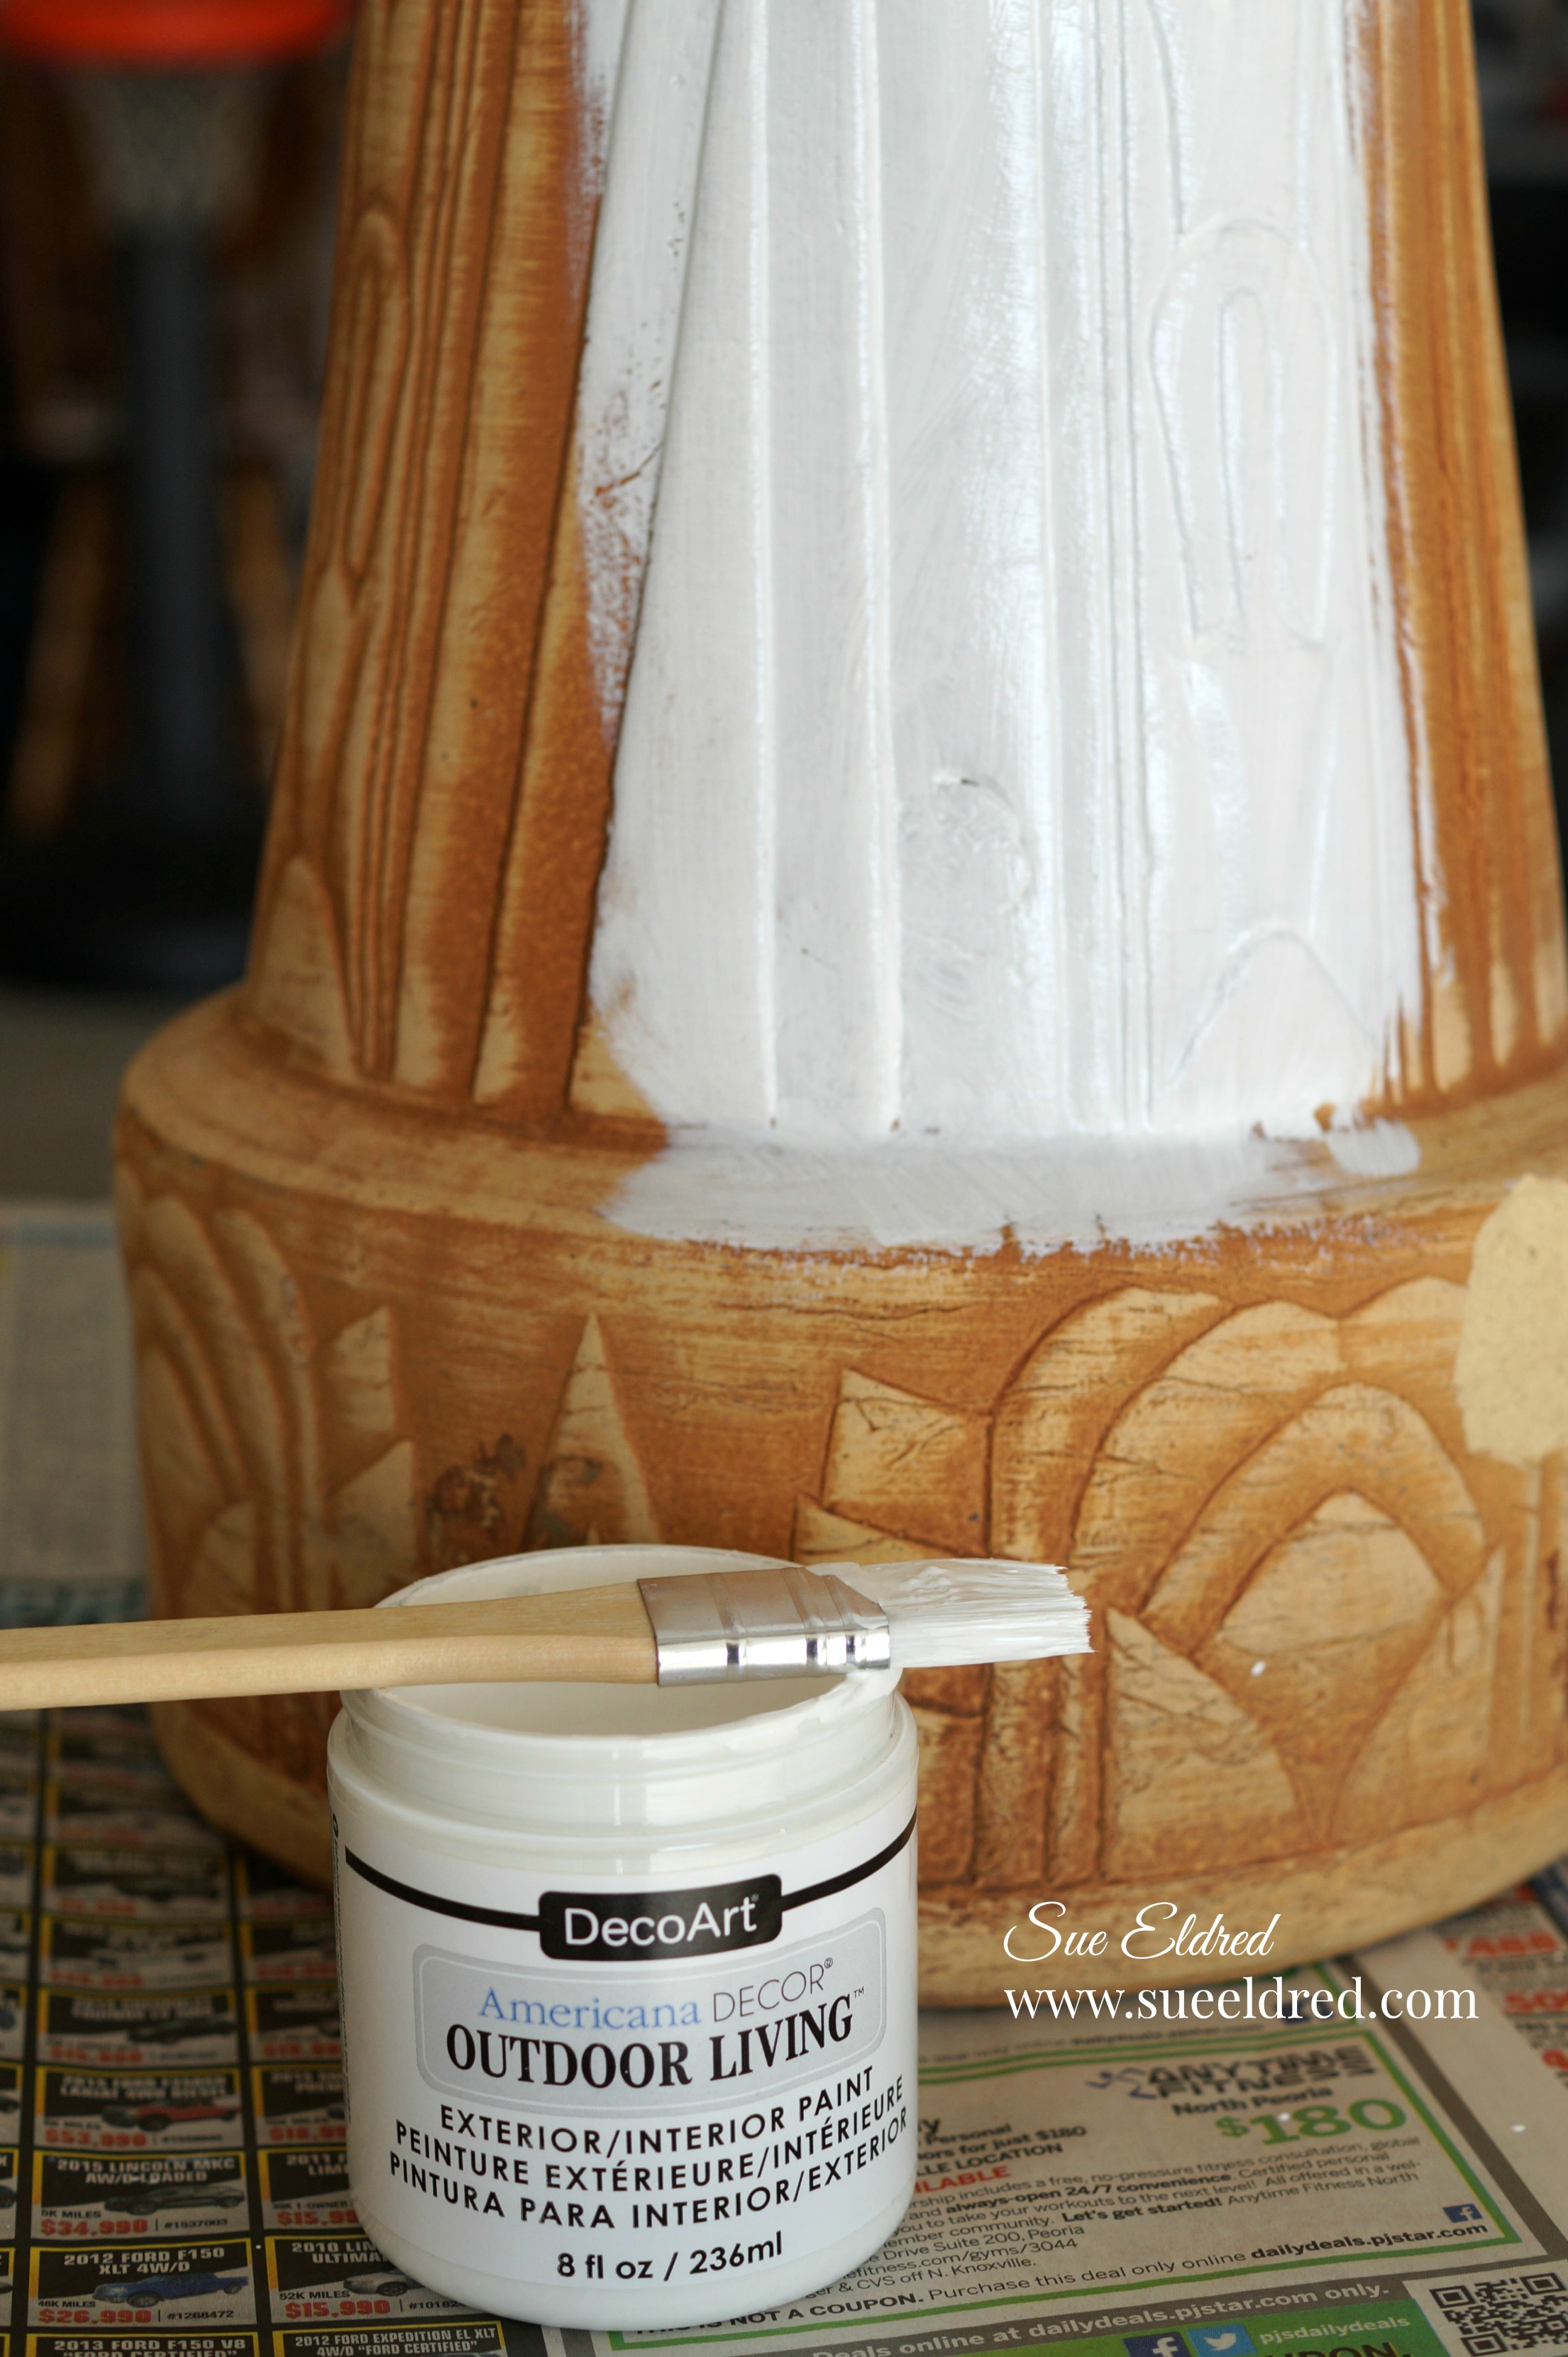
The wood slats were painted with DecoArt White Americana Decor Color Stain*.
DecoArt Color Stain has a semi-transparent, satin sheen for enhancing wood, concrete, terra cotta, and other surfaces that can be displayed indoors or out. Once cured, there is no reason to add an additional polyurethane or other sealant on top. The water-based formula makes cleanup simple while still offering a durable finish.

And because little details count…I also painted the screws.
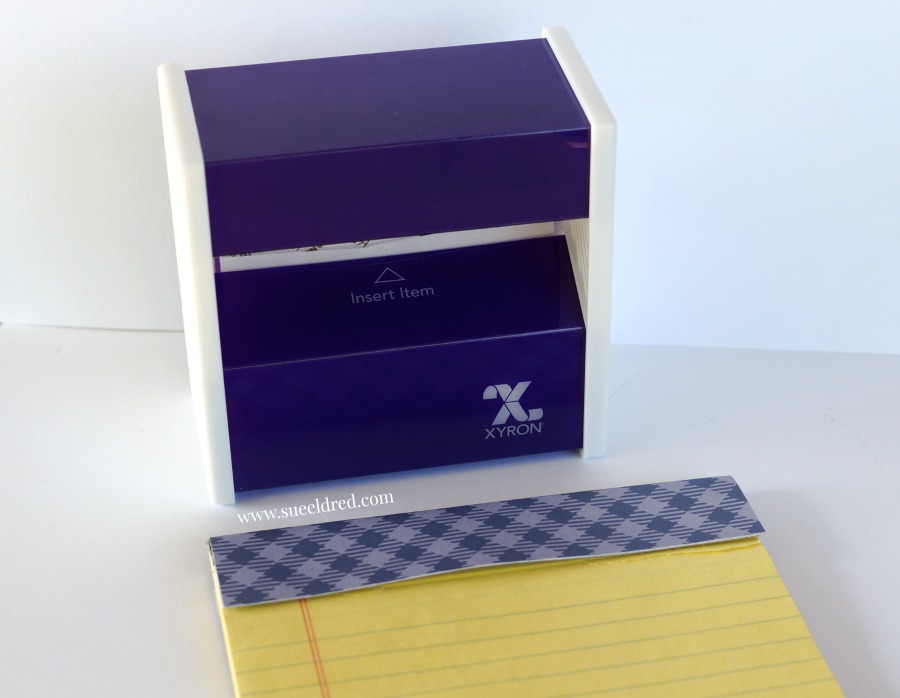
Do you like how I used a long reach hole punch to make holes in my box for the screws to sit?

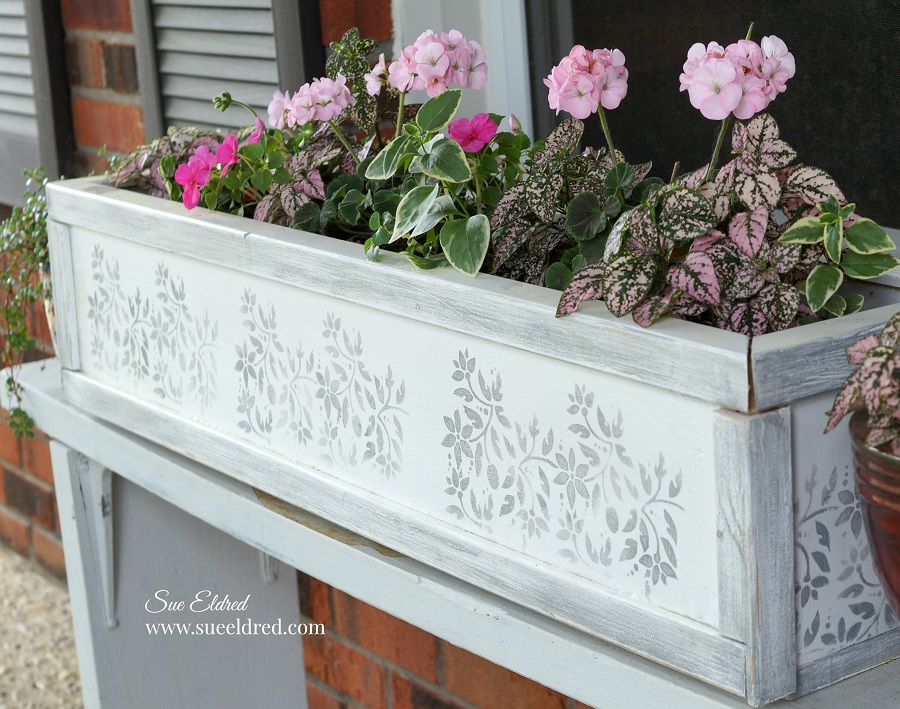
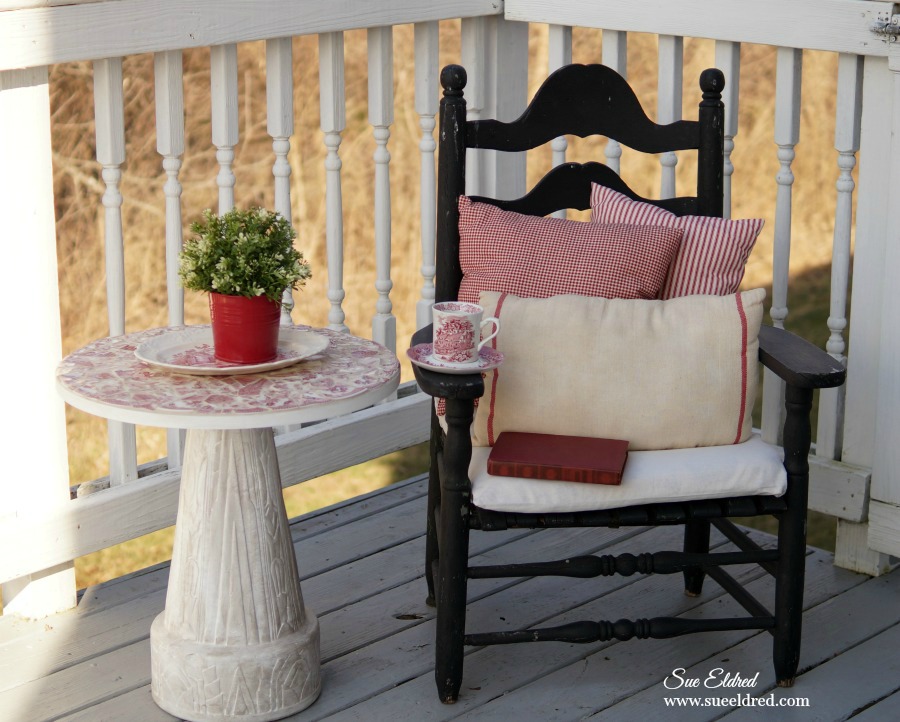
Finished Park Bench (well almost)

The white color stain paint* allows the wood grain to show through giving my bench
a “worn look” with out being worn out. (It’s hard to see by the pictures.)

When my husband got home and looked at the bench he thought the animals looked a little flat.
So…I rubbed DecoArt Champagne Ice Metallic Lustre™ Wax* on the metal to make them stand
out. I added a little metallic lustre™ wax* on the bench frame as well.
DecoArt generally recommends using a Multi-Purpose Spray Sealer* if you plan to keep a piece
with Metallic Lustre outside.


He was right, it really makes a difference.

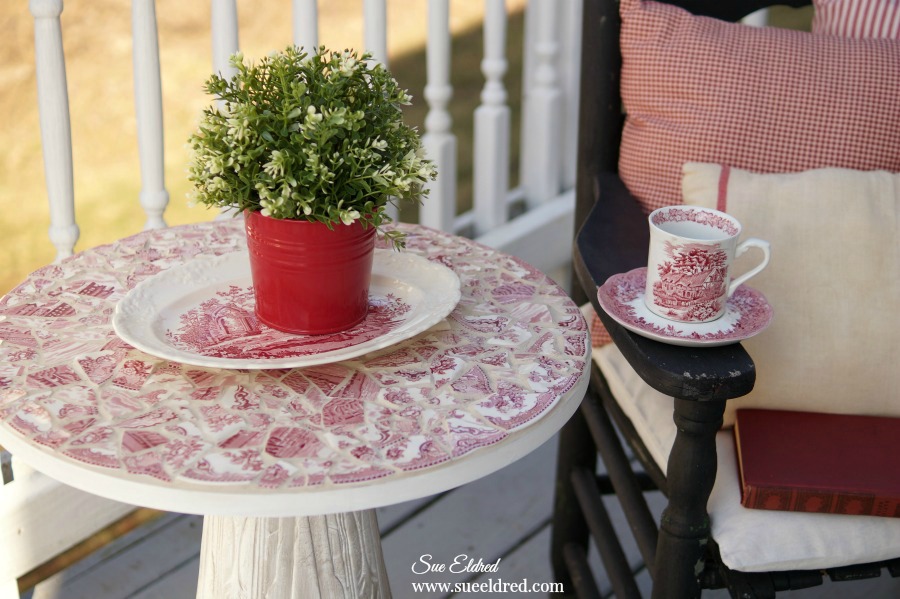
I placed the bench in the shade under the maple tree in the front yard.
All I need is a couple pint sized buddies to come over and enjoy it with me.


Don’t Miss a Thing…Make Sure to Follow me
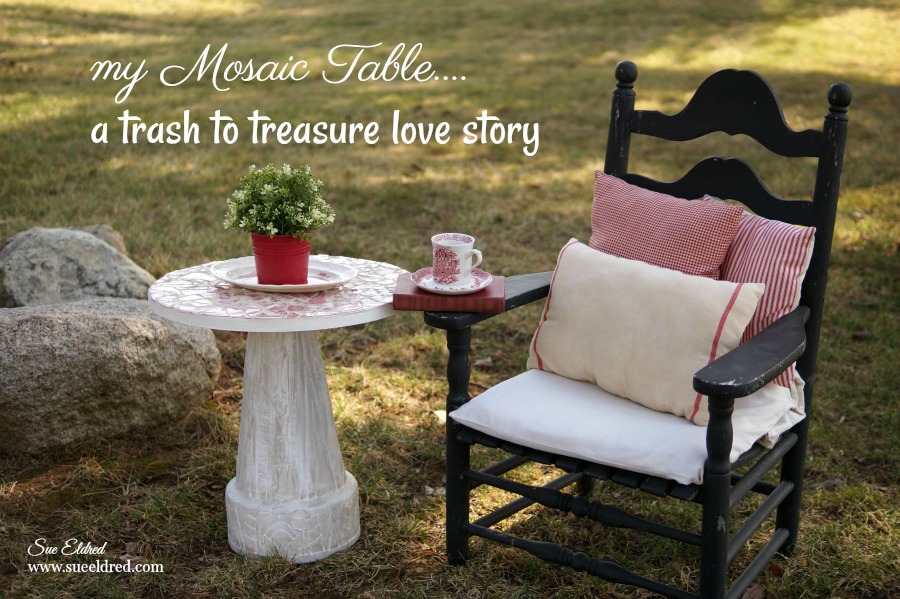
If you liked this post you might like to read A Trash to Treasure Love Story


