Today is Release Day for Eileen Hull’s newest dies for Sizzix,
and I’m excited to share a couple of projects that I’ve made.
As soon as I saw the sneak peek of what was coming,
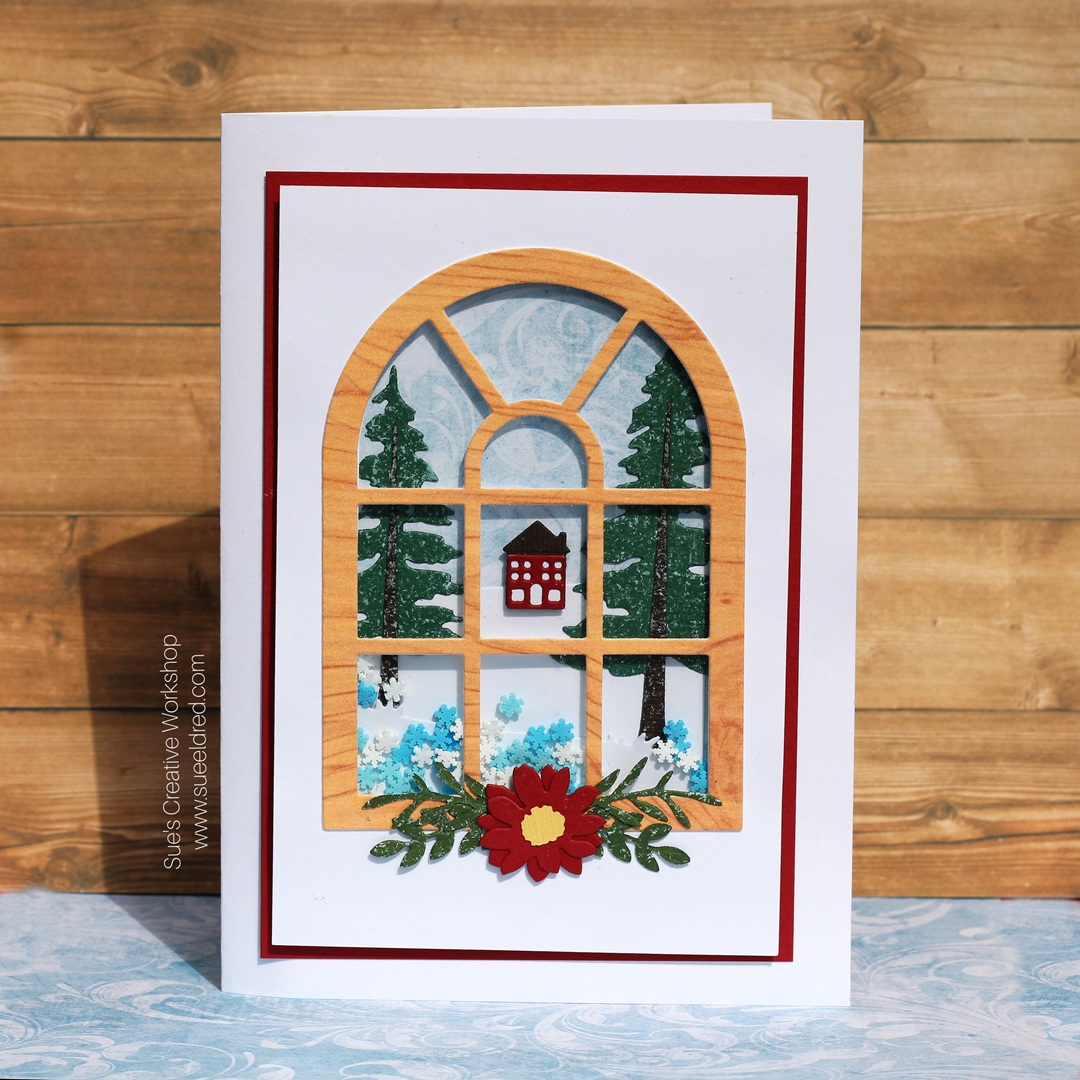
I knew I wanted to make a winter shaker card.
So…even though I am hanging onto Summer as hard as I can,
I still am in the mood to make a few Winter cards.
![]()
Disclosure: This is a sponsored post. As a member of the Eileen Hull Inspiration Team, I have been provided product in exchange for my creative ideas. The view and opinions are my own.
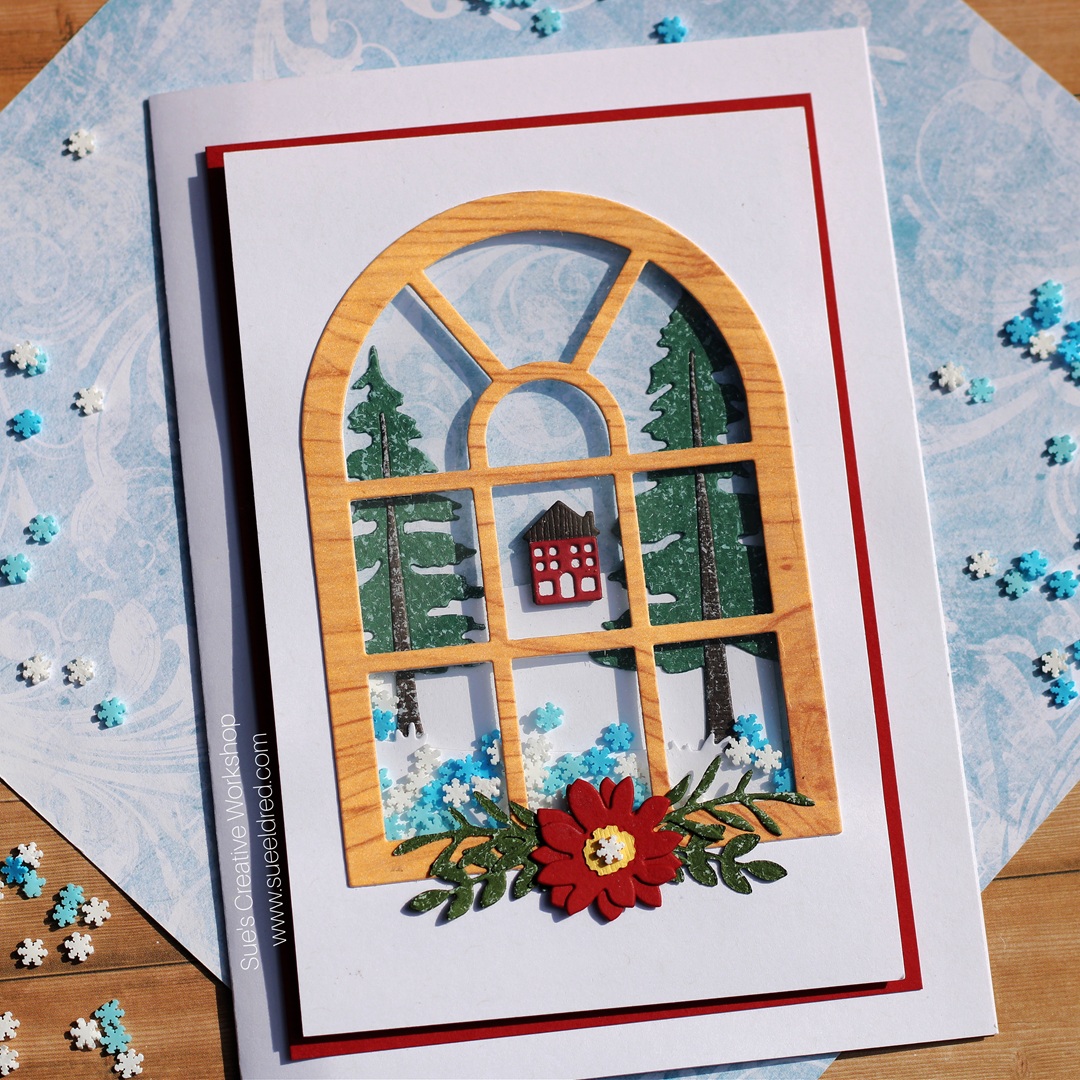
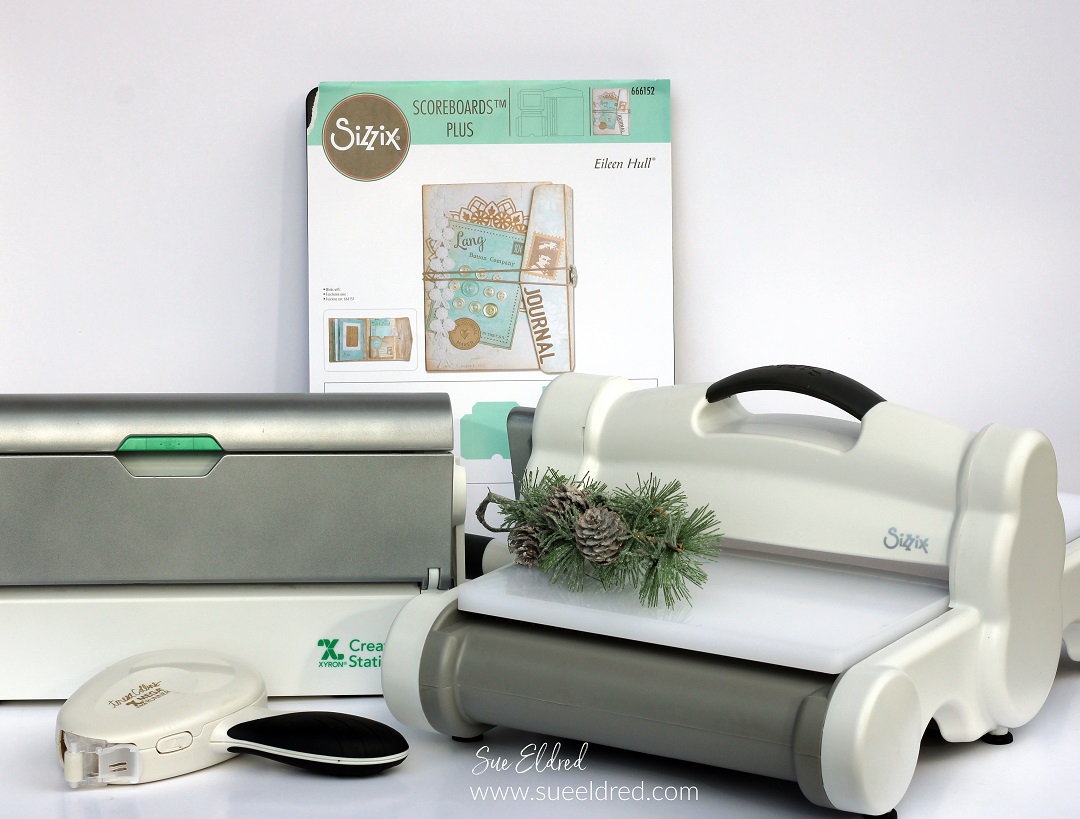
For the Winter Window Shaker Card, I used: (*affiliate links)
- Sizzix Thinlits 24-piece Die Set – Home Sweet Home by Eileen Hull*
- Sizzix Thinlets 13-piece Die Set-Windowsill Flowers and Vase by Eileen Hull*
- Sizzix Framlets 7-piece Die Set-Tunnel Arches by Eileen Hull*

*Disclosure: This blog uses ads and affiliate links. If you choose to make a purchase using one of the links, I receive a small commission (at no additional cost to you) that helps offset the costs of maintaining this blog. Thanks for your support!

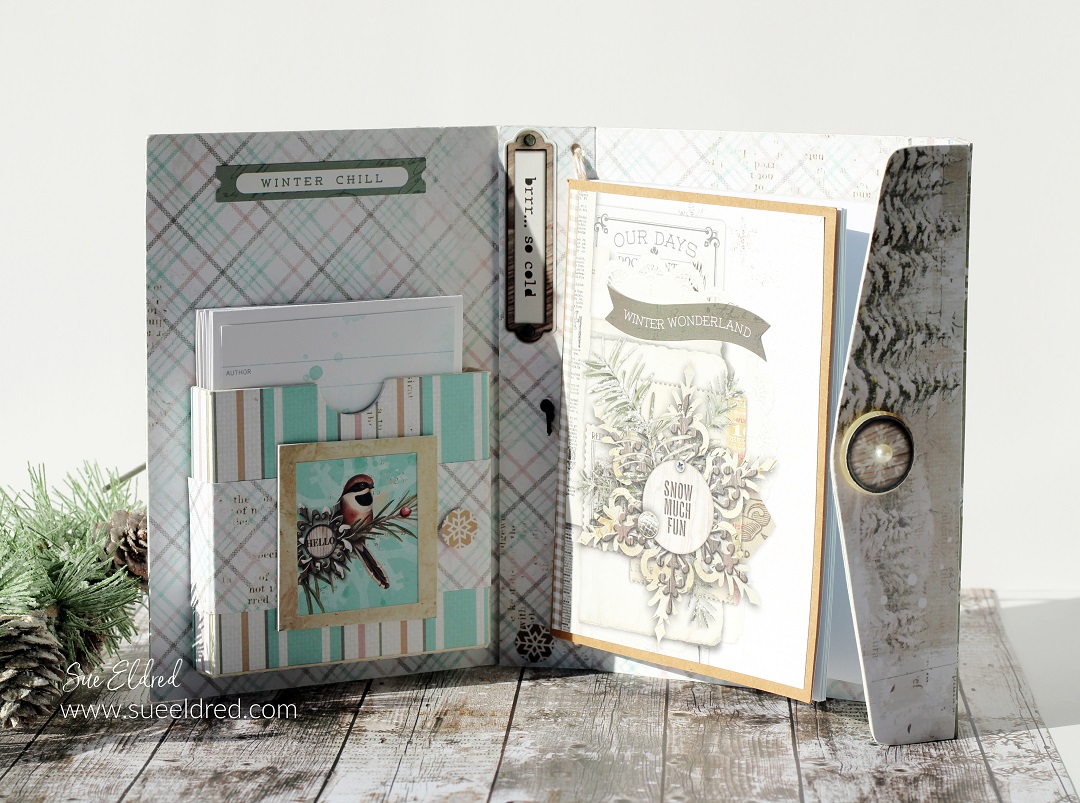
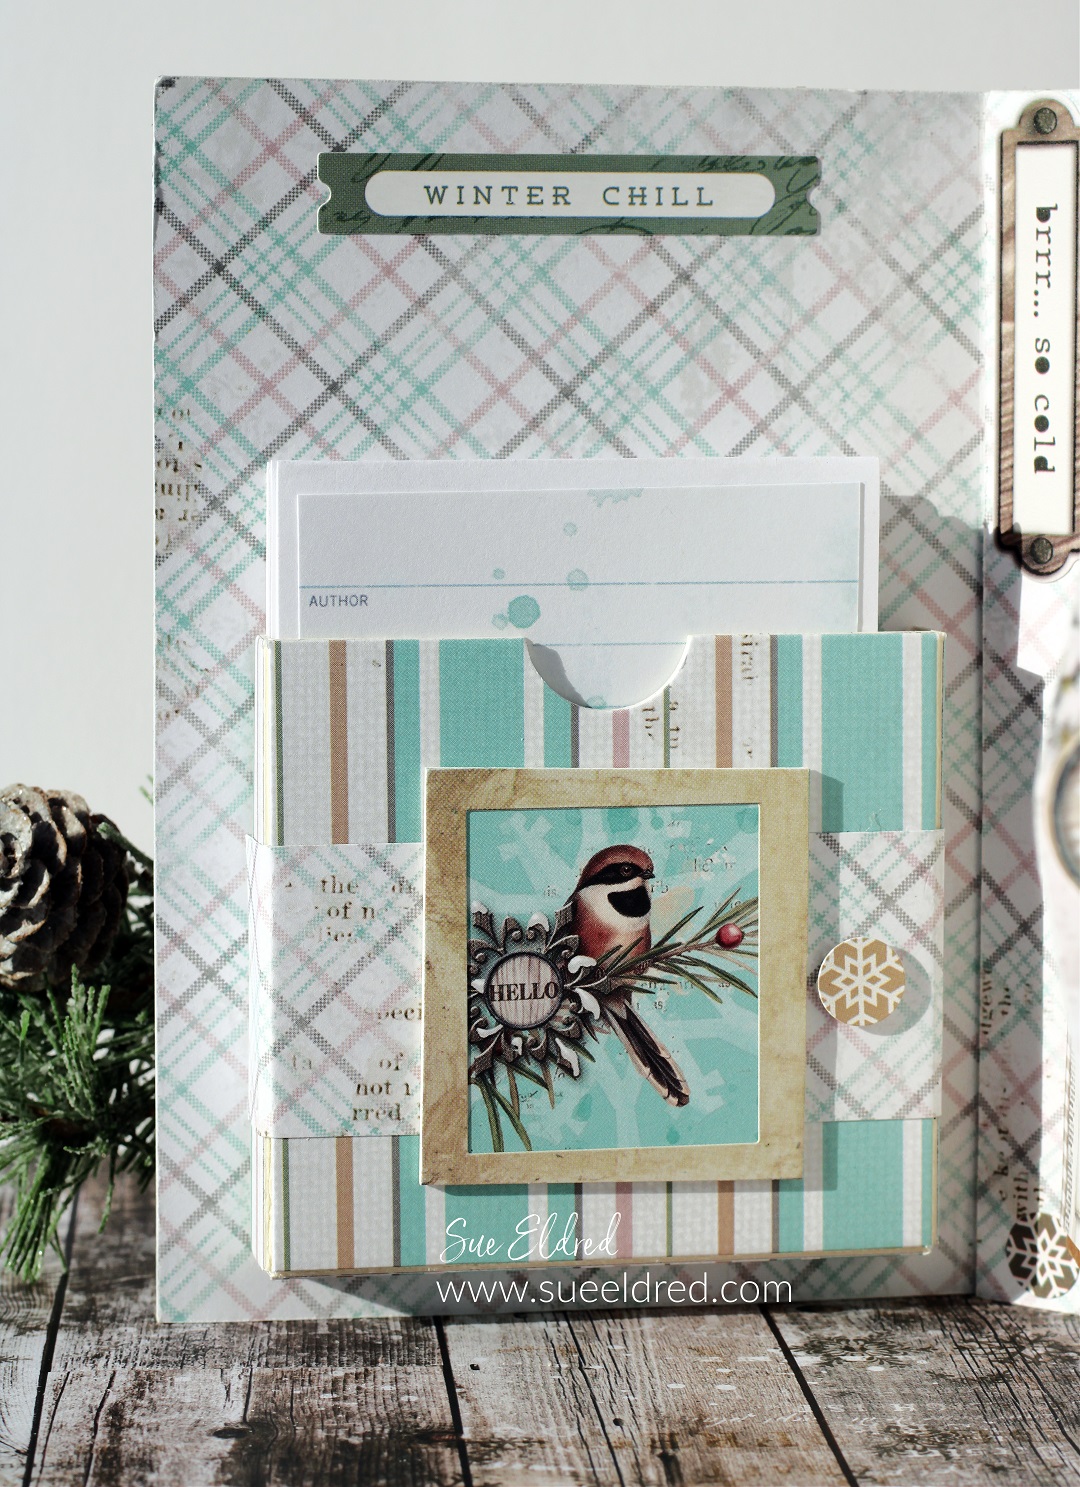
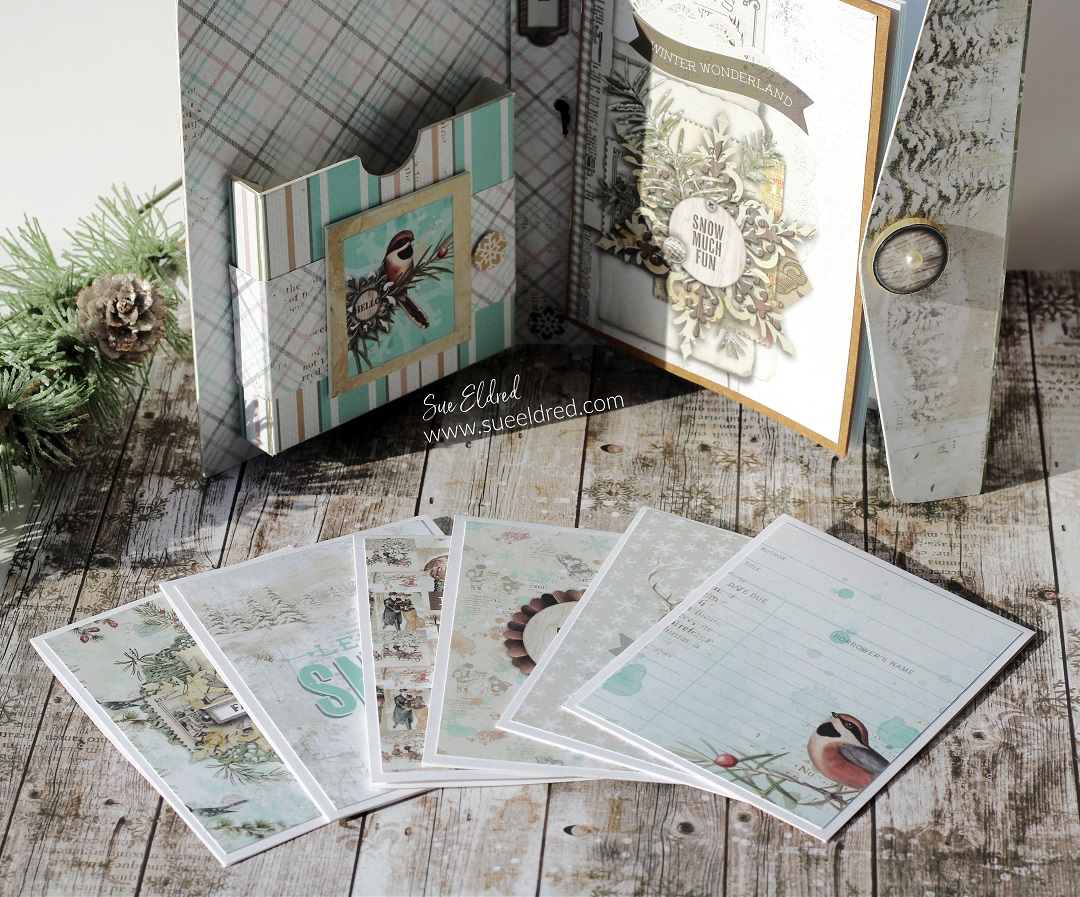
Another project I made was the Winter Deer Tag.
I wanted it to look like a serene winter scene.
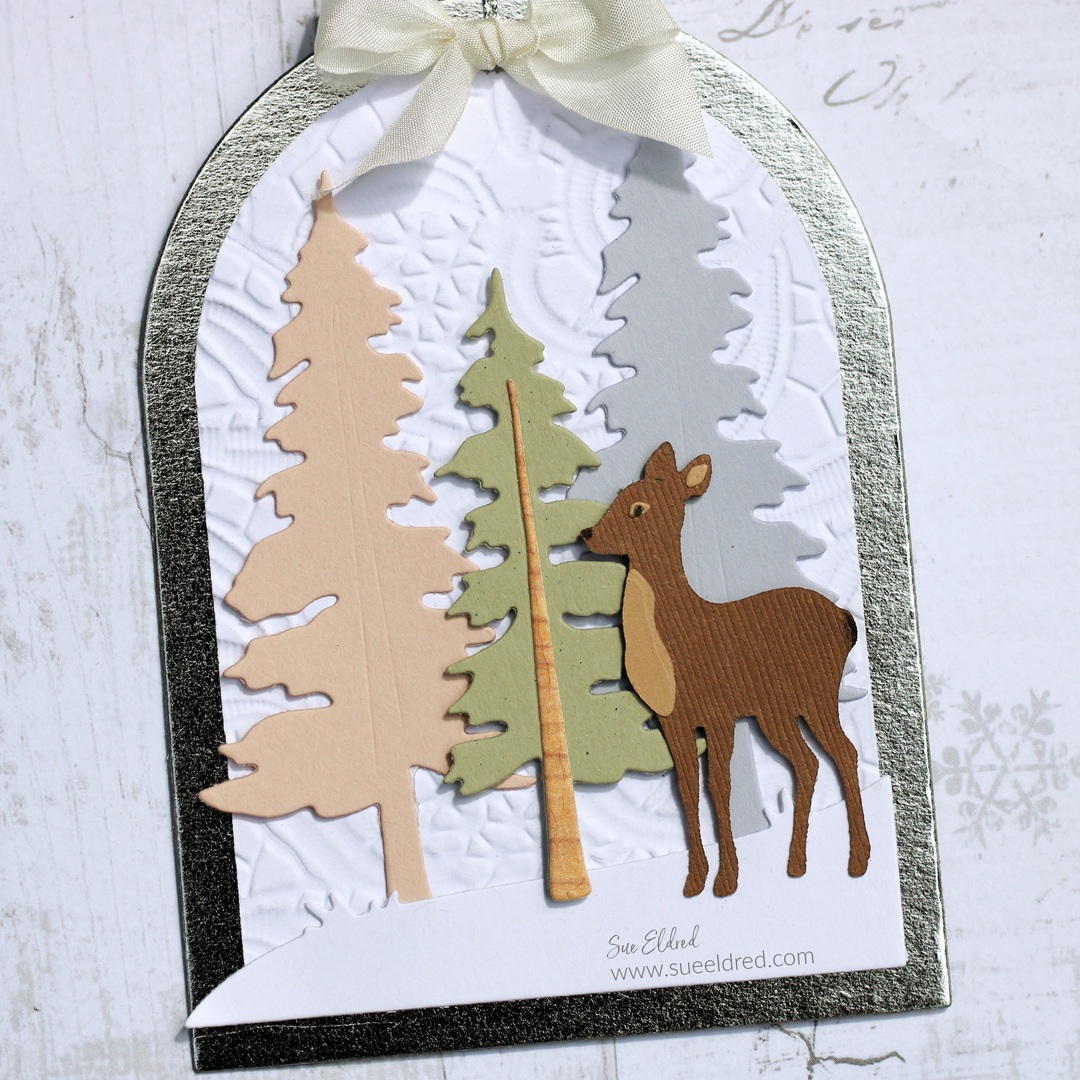
I used the Lacy Leaves Embossing Folder* to emboss the first layer of the tag.
I added thin foam mounting squares* under the deer and
green tree to give the tag dimension.

Enjoy The New Sizzix Collection
This collection was inspired by nature and the cozy feeling of home. It was designed to coordinate with the Handbound Journal* (sold separately) to create a tunnel book, but each die set also stands beautifully on its own and can be used in so many creative ways!

Home Sweet Home Die Set*
This 24-piece set includes layered forest animals (deer, fox, bunny, squirrel, and butterflies), pine trees, grassy hills, greenery, clouds, sun, moon, and a cozy house. The sweet deer alone makes this set worth it! Perfect for holiday projects, baby themes, everyday cards, journals, and tags.
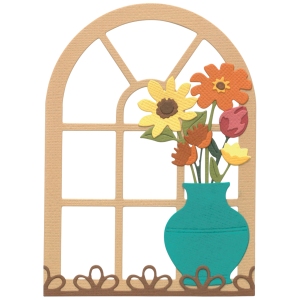
Windowsill Flowers & Vase*
A 13-die set designed to coordinate with the Tunnel Arches. The window die matches the largest arch, letting you build a 3D scene that looks as though you’re peering through a window. The tiny vase and flowers are wonderful for using scraps. The little lacy piece also makes a lovely accent for junk journal pockets and cards.
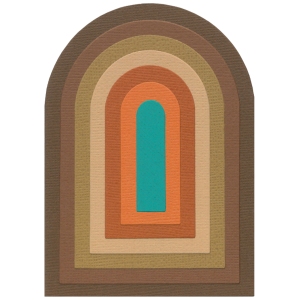
Tunnel Arches*
Who knew arches could be so versatile? Make a rainbow! Use the negative cuts to create graduated windows in journals, cards, and home décor, or the positive pieces as card bases and tags—nothing goes to waste! This 7-die nesting set ranges in size from 4 ½” x 3 ¼” down to teeny-tiny (so cute!). They were designed to fit perfectly inside the Handbound Journal if you’d like to try your hand at a tunnel book.
Watch for upcoming tutorials on Eileen’s YouTube channel!
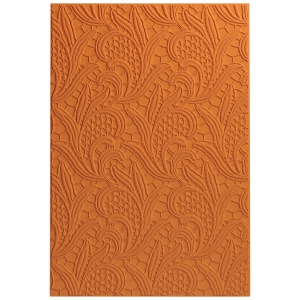
Lacy Leaves Embossing Folder*
A bold, intricate lacy pattern measuring 6” x 8 ½”—perfectly sized for journal covers and cards. This design was inspired by an actual piece of lace from my collection that reminded me of leaves. I love the mix of nature and lace! Whether you emboss or deboss the pattern, the result is simply beautiful.