The Holiday Joy Gift Card/Money Holder is great for sticking a little money
or a Starbucks gift card. Who wouldn’t love getting that for Christmas?
The card uses the Coffee Die Set from The Maker’s Movement.
The sleeve around the coffee cup uses the NEW Eileen Hull Sweater Embossing Plate*.


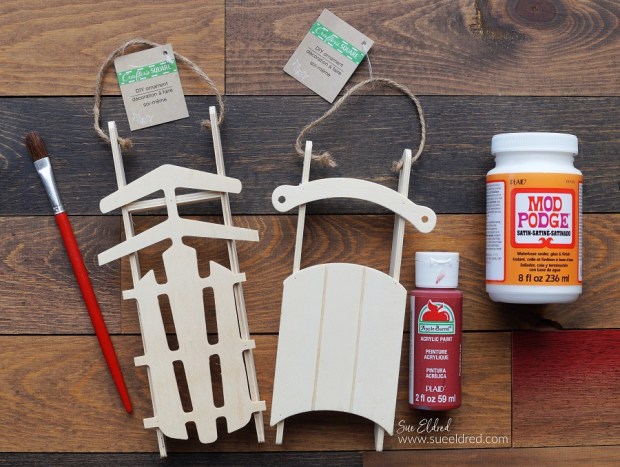
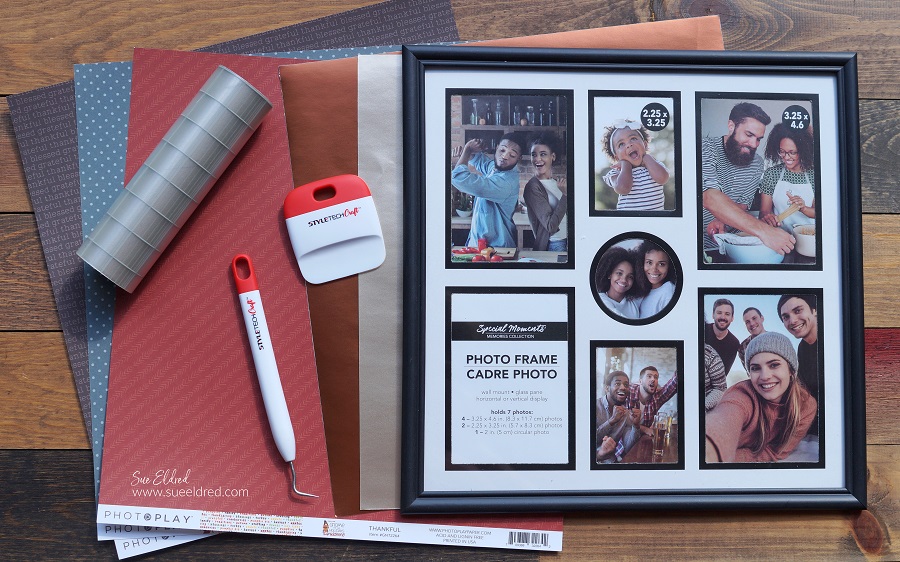
Materials Used:
- M12357 Coffee Die Set (Maker’s Movement)
- M12210 Alphabet Die Set (Maker’s Movement
- Red Plaid Paper (retired Graphic 45) Raining Cats and Dogs
- Green Plaid Paper-Echo Park’s Here Comes Santa Claus Collection: Merry & Bright*
- Cardstock-Kraft, Gold, and Cream
- Eileen Hull/Sizzix Sweater Embossing Folder*
- Vellum Paper*
- StyleTechCraft Champagne Luster Vinyl*
- Hero Hues-Clear Enamel Dots*

*Disclosure: This blog uses ads and affiliate links. If you choose to make a purchase using one of the links, I receive a small commission (at no additional cost to you) that helps offset the costs of maintaining this blog. Thanks for your support!

Directions:
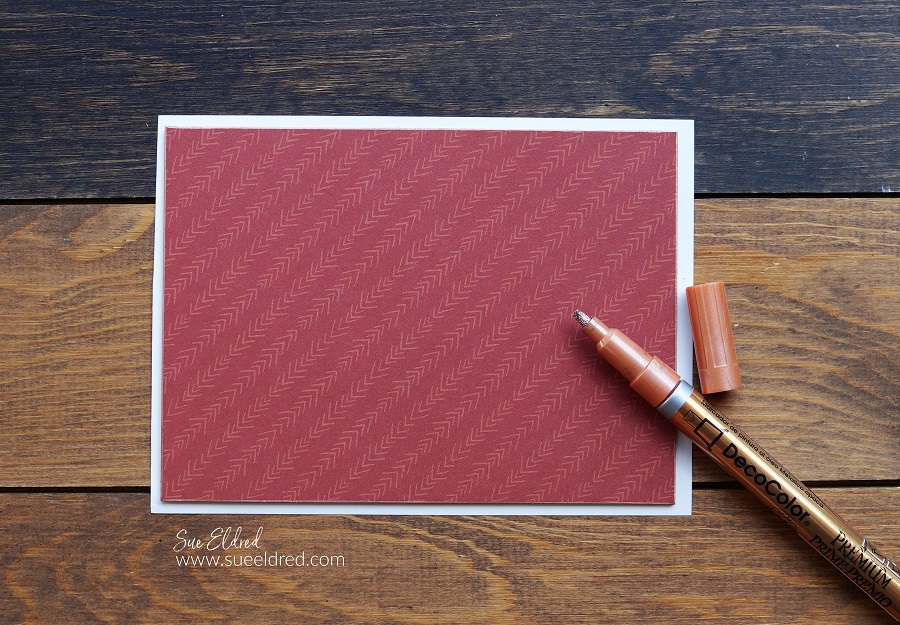
- The tri-fold card was made from a 5 ½” x 9 ¾” piece of Kraft Cardstock. I scored the cardstock on the 3 ¼” and 6 ½” mark.
- Adhere the green plaid layer to the gold cardstock layer. Adhere onto the front of the tri-fold card.
- Assemble and adhere the die-cut pieces of the coffee cup onto the front of the card. The red plaid pieces and vellum coffee lid have been made into stickers using a Xyron Creative Station. The “coffee sleeve” was embossed using the sweater embossing folder.
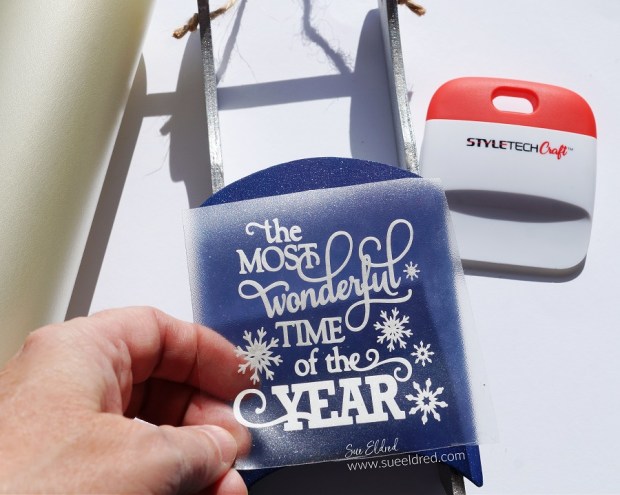
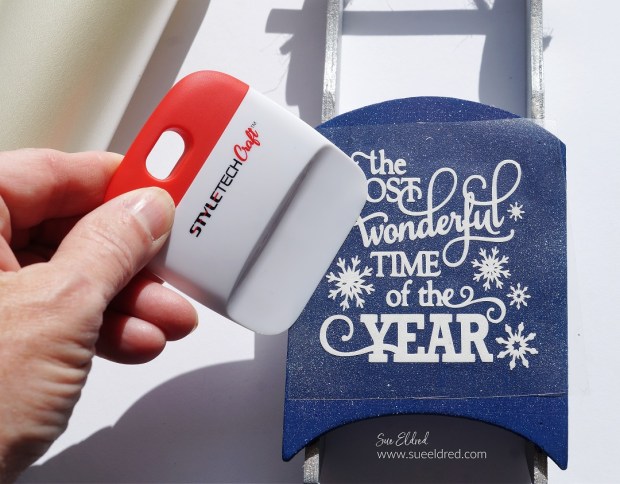
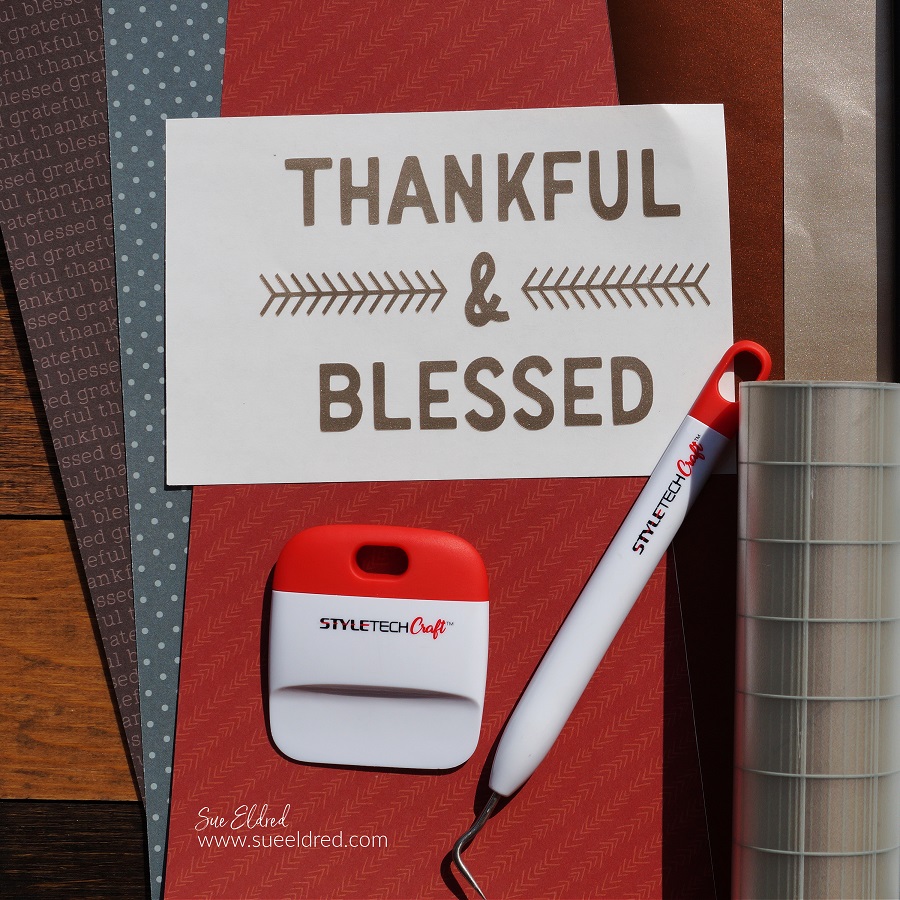
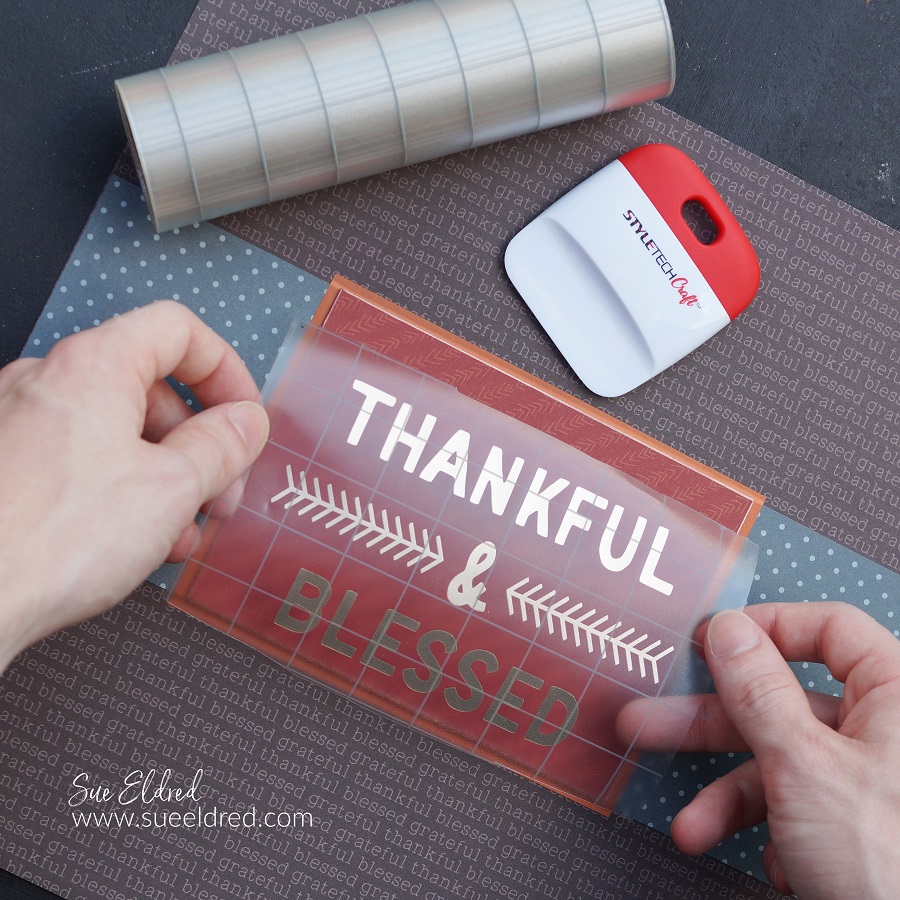
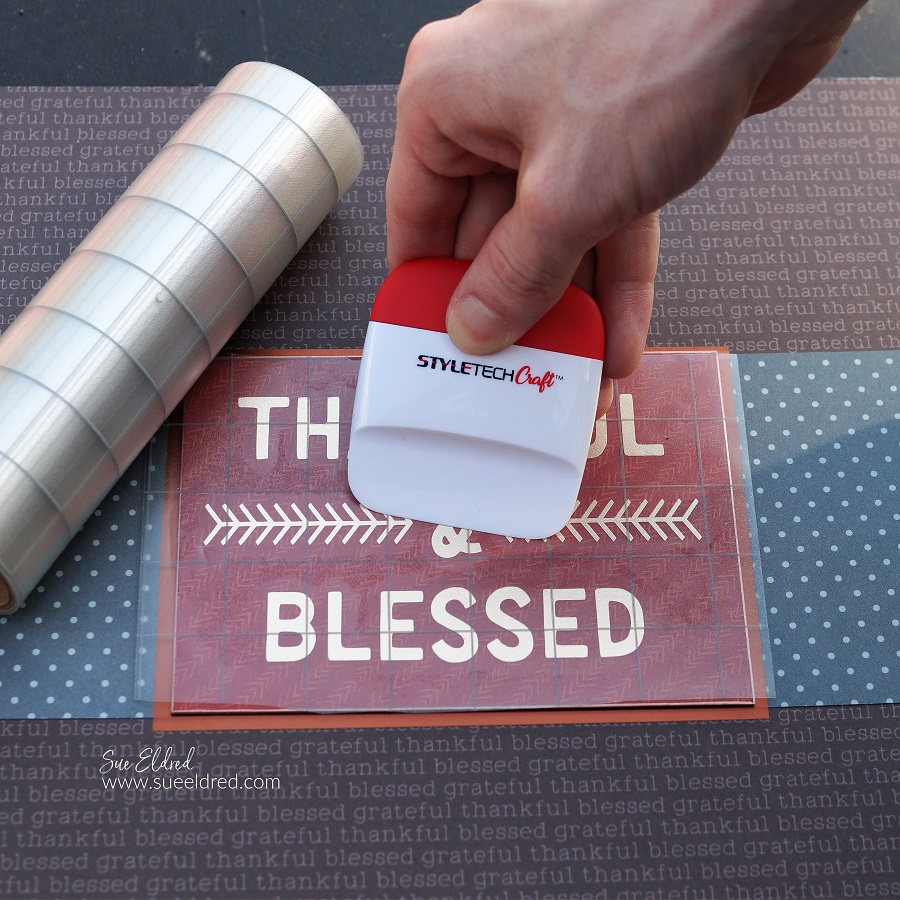
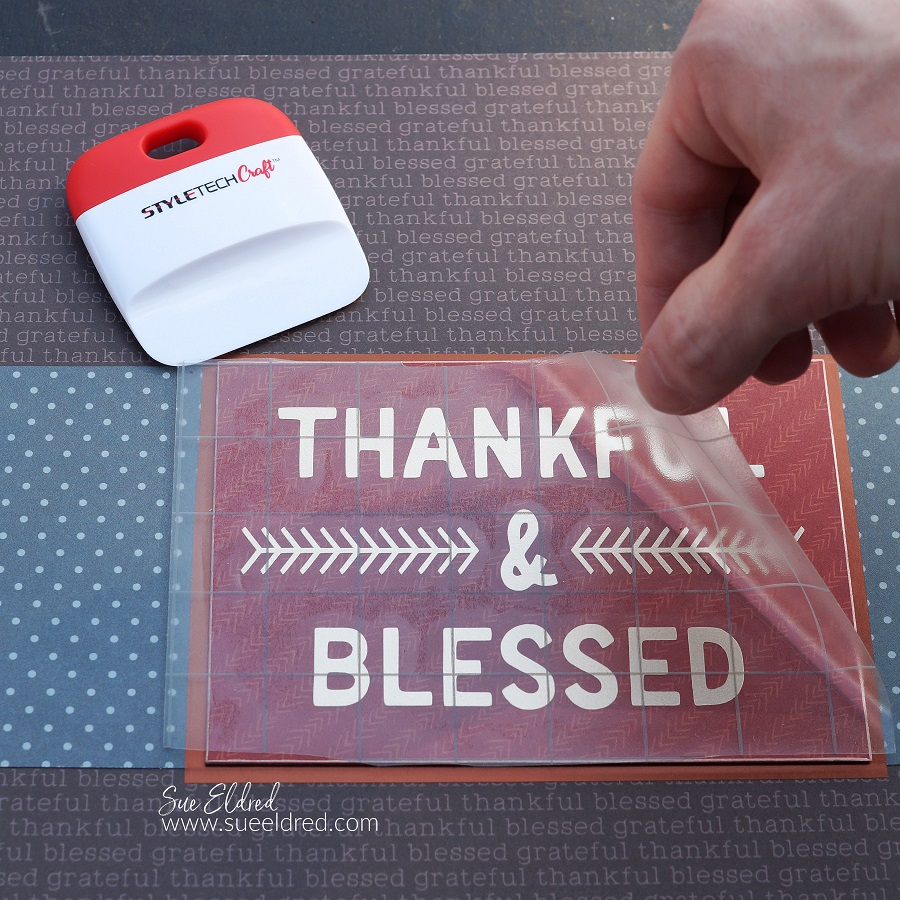
- Remove the backing off the gridded transfer paper. Apply the transfer paper over the word “Holiday”. Gently rub over the transfer paper to make sure the word has transferred. Apply onto the top of the card.
- Add clear adhesive enamel dots to the lid of the coffee cup.
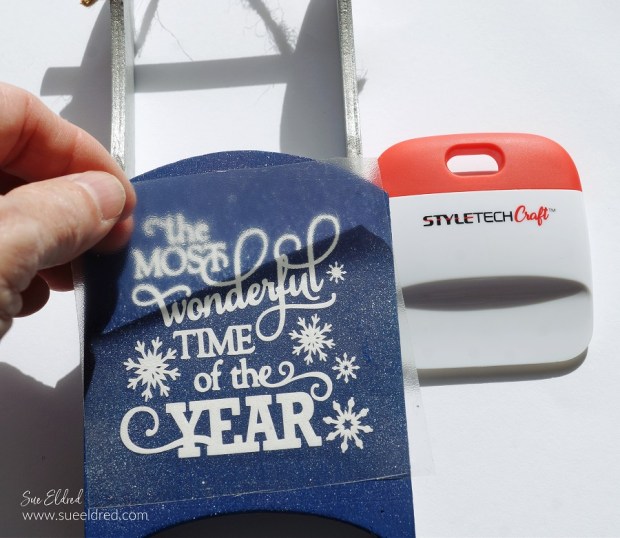
- The transfer paper is reusable. Use the transfer paper to apply the small snowflake onto the cup.
- On the inside of the card… Open the trifold card. Adhere the thin red plaid adhesive strip to the top of the cream cardstock layer. (Leave a 1/8” margin on the top) Trim the excess paper strip. Using the transfer paper, transfer the word “Enjoy” under the red strip.
- On the third-panel measure and mark 1 ½” on the outside edge of the panel. On the inside fold of the third panel, measure and mark 2 ½”. Draw a line from the 2 ½” mark to the 1 ½” mark. Cut along the line and the inside fold to create a diagonal pocket flap. Adhere the thin green strip to the top of the diagonal panel and trim excess.
- Punch a small hole in the center of the green panel and attach the small cream tag with twine. Apply the small red plaid heart to the center of the tag.
- Add adhesive to the bottom and side of the flap. Adhere flap to the center panel.

Disclosure: This is a sponsored post for The Maker’s Movement. I have been provided product and compensation in exchange for my creative ideas. The view and opinions are my own.