Spruce Up an existing Wreath with StyleTechCraft Vinyl and Fall Dollar Tree finds.
I have a simple boxwood wreath* that I purchased a few years ago that I love.
The best thing about the wreath is I can leave it plain (which I do a lot of the year).
Or, I can change it with the seasons.
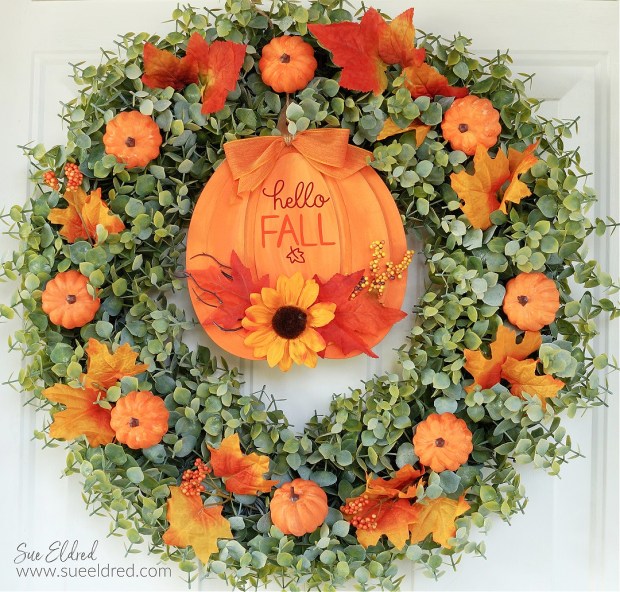
Hello Fall Pumpkin Wreath
Here’s how I changed my wreath for the Fall Season.
Not counting the wreath, acrylic paint, and vinyl that I had on hand,
I spent a total of $7 at Dollar Tree* to Change Up the Wreath for Fall.

Everything always $1 at Dollar Tree – Shop Now
*Disclosure: This blog uses ads and affiliate links. If you choose to make a purchase using one of the links, I receive a small commission (at no additional cost to you) that helps offset the costs of maintaining this blog. Thanks for your support!
I found this cute pumpkin cut-out* at Dollar Tree* and wasn’t sure what I would do with it.
But I knew I better pick it up while I was there. (those things seem to sell out real fast)
It turned out to be the perfect accent for my Hello Fall Pumpkin Wreath.

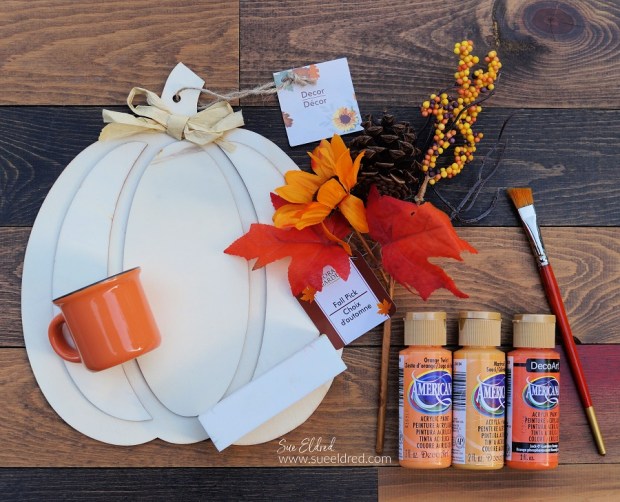
Supplies Used: (*affiliate links)
- Boxwood Wreath* or Grapevine Wreath*
- Wood Pumpkin Cut-Out from Dollar Tree*
- Dollar Tree Fall Picks*
- Dollar Tree Mini Pumpkin Clips*
- DecoArt Paint: Jack-O’-Lantern Orange*, Orange Twist*, and Marigold*
- Sanding Block*
- StyleTechCraft Glossy Craft Vinyl*: #466 Dark Red and #461 Orange
- StyleTechCraft Vinyl Tool Kit*
- StyleTechCraft Vinyl Transfer Tape*.
- Silhouette Cameo Electronic Die Cutting Machine*
- Xyron Multi-Stick Glue Gun*
- Ribbon* and Twine*
- Bamboo Skewers*
![]()
“This is a sponsored post. As a member of the StyleTechCraft Design Team I have been provided product and compensation in exchange for my creative ideas. The views and opinions are my own.

Directions:
- Lightly sand the pumpkin with the sanding block* to smooth out the grains in the wood. Wipe away dust.
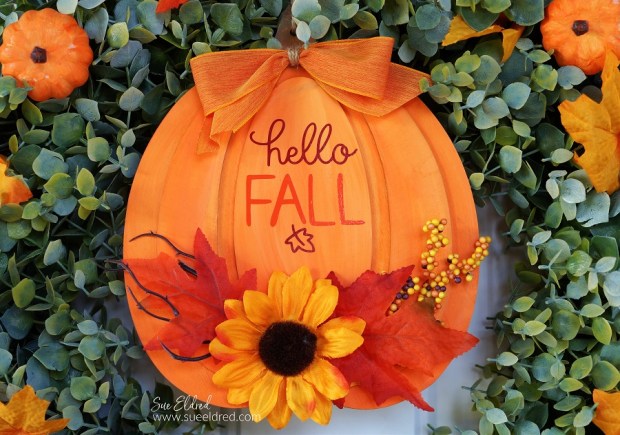
- Paint the pumpkin with Jack-O’-Lantern Orange* acrylic paint. Give the pumpkin highlights using Orange Twist* and Marigold* acrylic paint. Paint the top of the stem with brown acrylic paint.
- Using an SVG File (from the Silhouette Store) and my Silhouette Cameo Electronic Die Cutting Machine*
, cut out the words “hello fall” out of StyleTechCraft orange and red glossy craft vinyl.

Hello Fall SVG Image is available at The Silhouette Design Store.

- Place the words onto the pumpkin using transfer tape*.
- Rub over the words with a vinyl scraper tool to make sure “the words” have transferred.

- To make the Dollar Tree Mini Pumpkin Clips* match the painted wood pumpkin, I decided to paint them using the same acrylic paint colors.
- Remove the stem and the metal clip from the pumpkin.
- Because the mini pumpkins have a slick surface, I needed to prime the pumpkins with multi-media paint first.
- For ease of painting, place a bamboo skewer* in the mini pumpkin. Paint with multi-media paint. After the paint has dried, paint with the same colors used on the wood pumpkin.
- Reinsert the stem. Glue the clip in place using the glue gun*.

- Dollar Tree Mini Pumpkin Clips* Before and After.
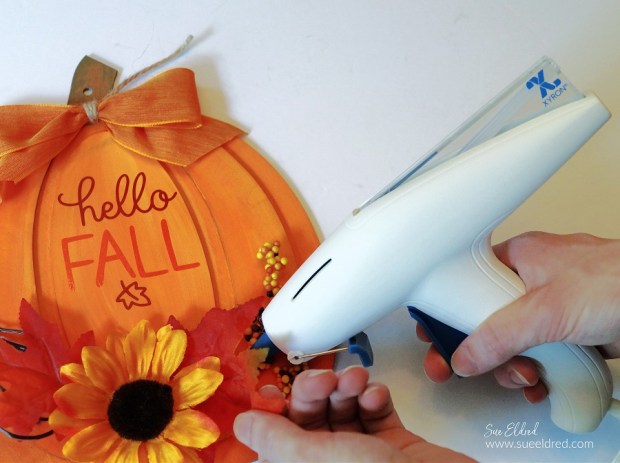
- Cut apart the Fall Floral Pick and glue the pieces onto the bottom of the pumpkin using a Xyron Multi-Stick Glue Gun*.


- Create a simple bow using Ribbon and Twine and glue it onto the pumpkin.

- Tie the finished pumpkin to the top of the wreath with twine.
- Clip-on Mini Pumpkin Clips and insert fall picks.


Fall Crafting with Vinyl…
If you don’t need a new wreath, the finished pumpkin would also look great in a Fall Display.
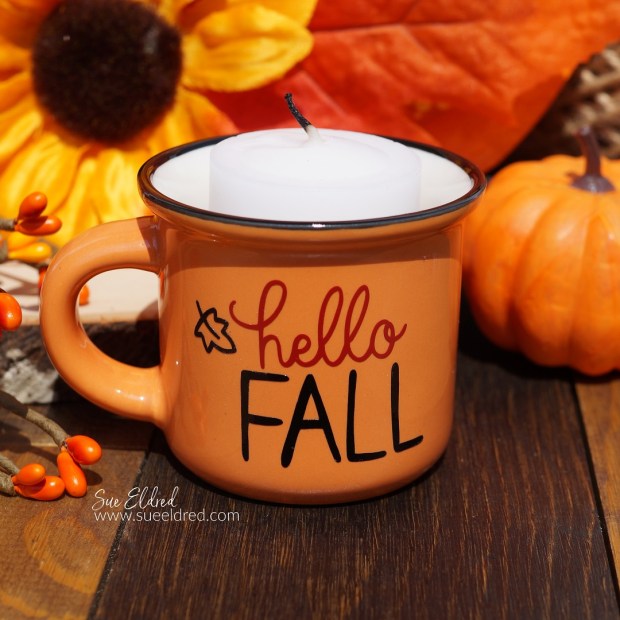
Hello Fall Mini Candle Cup
I found this cute little ceramic cup on a recent trip to Hobby Lobby.
As adorable as it was, it looks even better with StyleTechCraft Vinyl on it.
In my opinion, adding a little vinyl makes most things a little better.


At first, I thought about saving the mini cup for my grandsons.
I knew they’d get a kick out of the tiny cup.
Who wouldn’t love a mini cup of hot chocolate with marshmallows?
Then I figured I’d spend too much time constantly refilling it.
So I thought again. (sometimes, you got to think these things through)

How to make a Buffalo Plaid Wood Slice Pumpkin, another Easy Pumpkin Project.


Don’t Miss a Thing…Make Sure to Follow me!


Check out what’s new at acherryontop.com!

It really is gorgeous! I am going to try to re-create this. Happy Fall!