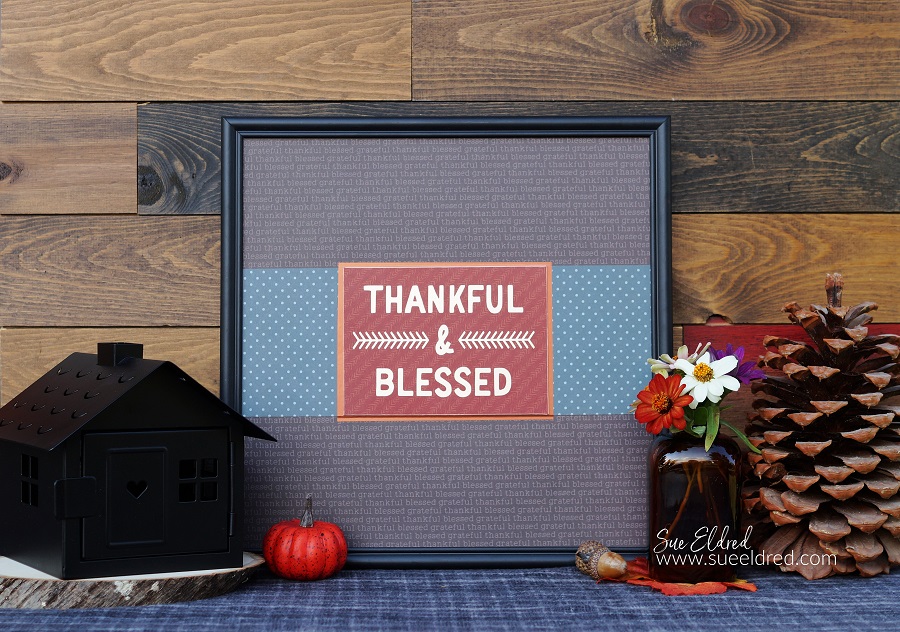
Thankful & Blessed DIY Framed Inspiration…
One of my favorite parts about decorating for the seasons is creating new decorations
to add to the mix. The Thankful & Blessed Framed Inspiration uses an inexpensive
Dollar Tree* frame, a few pieces of scrapbook paper, and StyleTechCraft Luster vinyl.
![]()
“This is a sponsored post. As a member of the StyleTechCraft Design Team I have been provided product and compensation in exchange for my creative ideas. The views and opinions are my own.
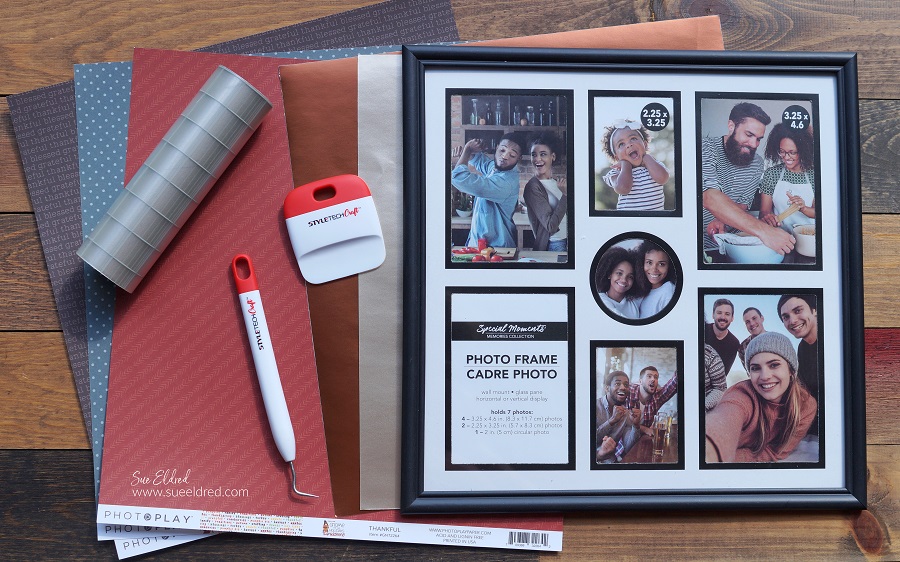
Materials Used: (*affiliate links)
- Thankful & Blessed SVG File from the Silhouette Store
- #886 StyleTechCraft Champagne Luster Adhesive Vinyl*
- #903 StyleTechCraft Bronze Luster Adhesive Vinyl*
- StyleTechCraft Vinyl Tool Kit*
- StyleTechCraft Vinyl Transfer Tape*.
- Silhouette Cameo Electronic Die Cutting Machine*
- 12″ x 12″ Black Square Frame from Dollar Tree*
- Mat Board*
- AGR3031 Pumpkin Spice* (Photo Play Paper)
- AGR3028 Leaves Are Falling* (Photo Play Paper)
- GNT2264 Thankful* (Photo Play Paper)
- Xyron Tape Runner*
- Copper Chisel Point Calligraphy Paint Marker*

Everything always $1 at Dollar Tree – Shop Now
*Disclosure: This blog uses ads and affiliate links. If you choose to make a purchase using one of the links, I receive a small commission (at no additional cost to you) that helps offset the costs of maintaining this blog. Thanks for your support!
Directions:
- Choose three pieces of coordinating 12″ x 12″ scrapbook paper to use in the frame.
- Cut the background paper to fit inside of the frame opening. (mine measured 11 ½” x 11 ½”)
- Cut and adhere a 4″ strip of paper to go horizontally across the center of the background.
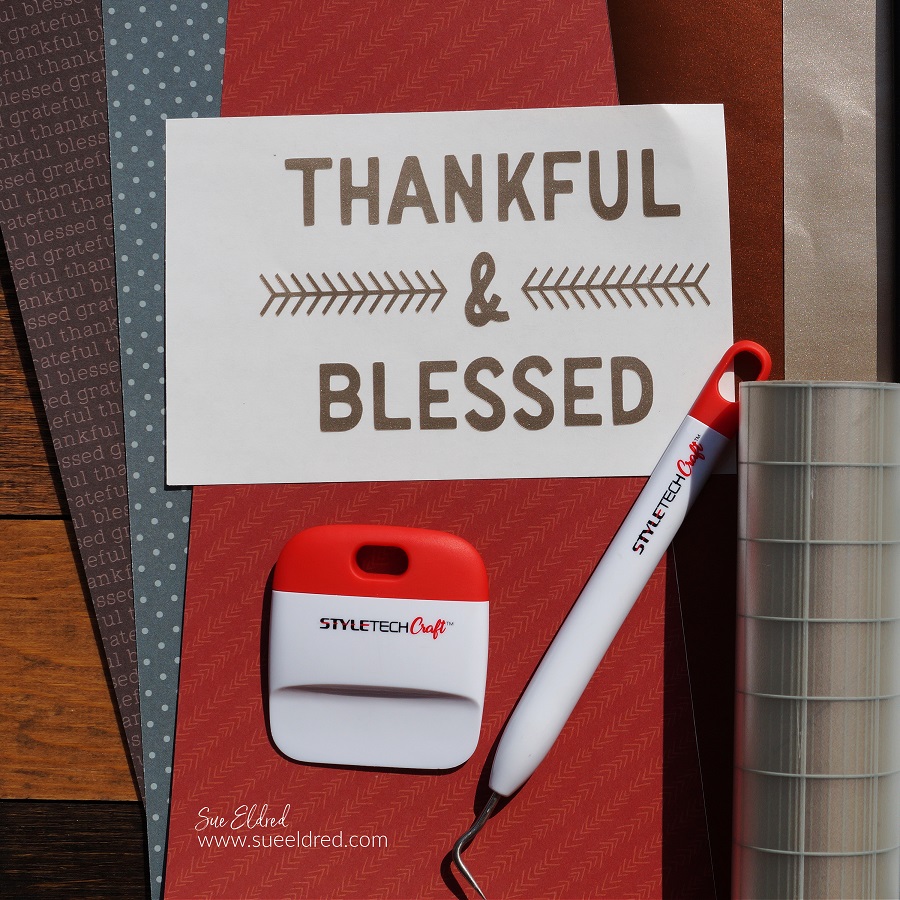
- Using an SVG File (from the Silhouette Store) and my Silhouette Cameo Electronic Die Cutting Machine*
, cut the words “Thankful & Blessed” out of StyleTechCraft Champagne Luster Adhesive Vinyl*. I sized my words to fit on a 4″ x 5 ½” piece of mat board*.
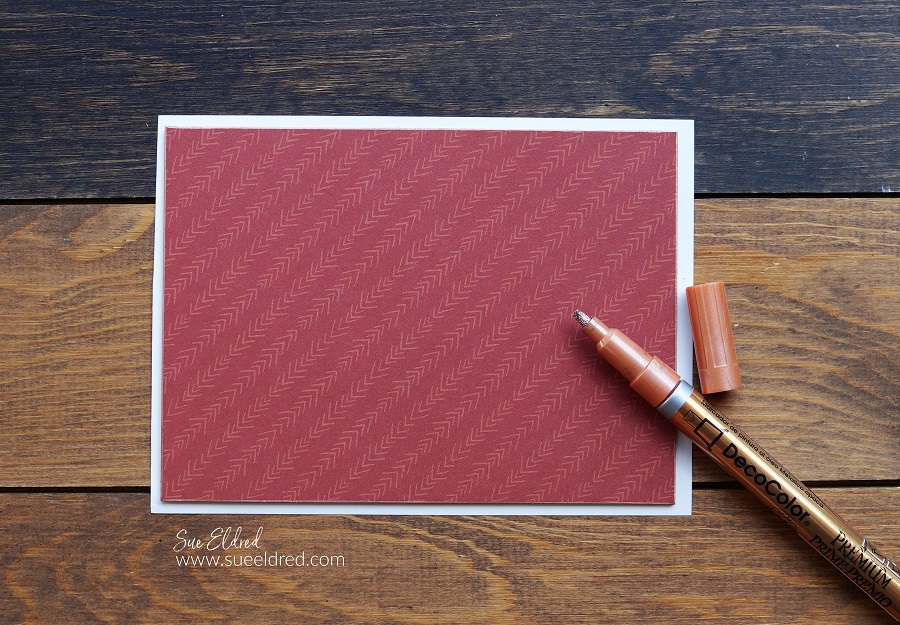
- Cover a 4″ x 5 ½” piece of mat board* with decorative scrapbook paper.
- To cover the white core of the mat board, edge the mat board using a bronze chisel point paint marker.
- Cut a 4 ¼” x 5 ¾” piece of Bronze Luster Vinyl*. Apply the vinyl centered onto the strip
- Adhere the covered mat board* centered over the Bronze Luster Vinyl*.
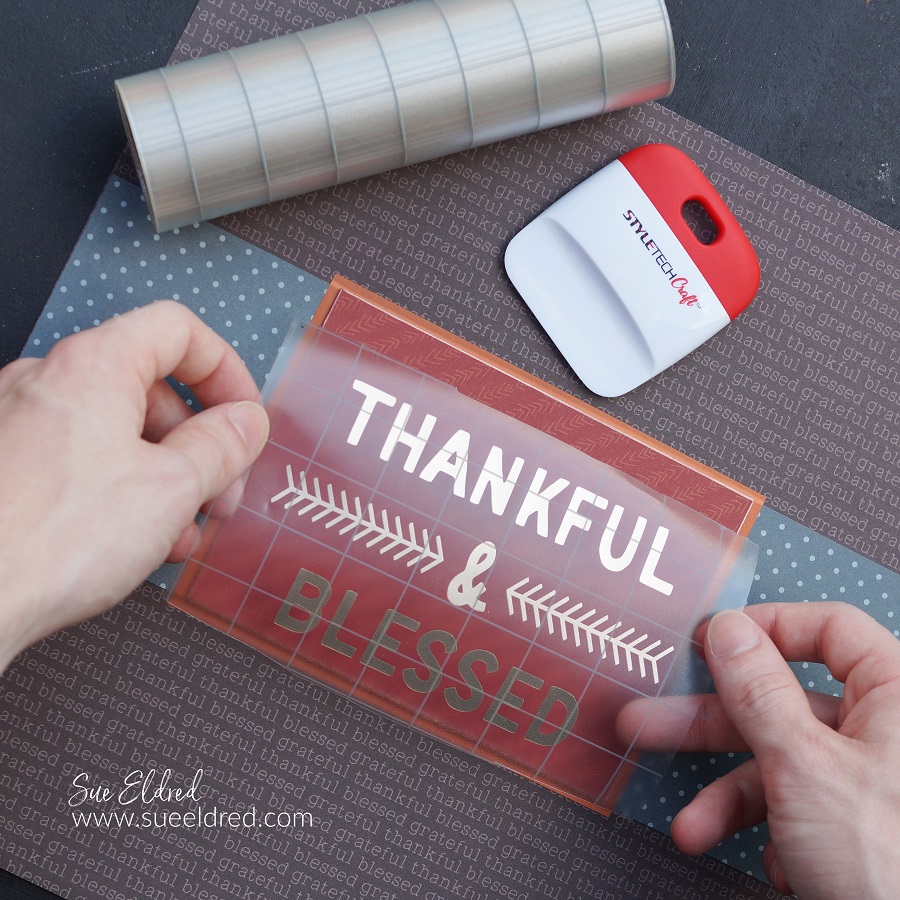
- Place a piece of vinyl transfer tape* over the vinyl words. Rub over the vinyl transfer tape* with a vinyl scraper tool to make sure the words have transferred. Lift and remove from the backing paper.
- Apply words onto the covered mat board*.

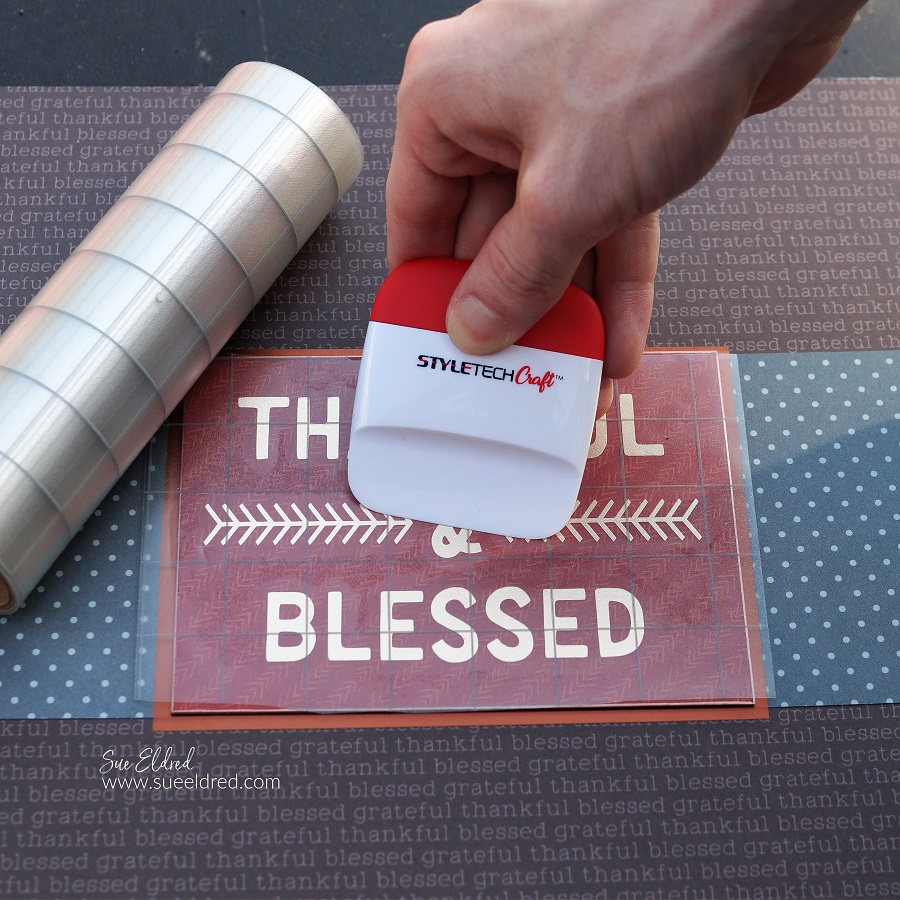
- Rub over the vinyl words with the scraper tool to make sure the words have transferred to the mat board.
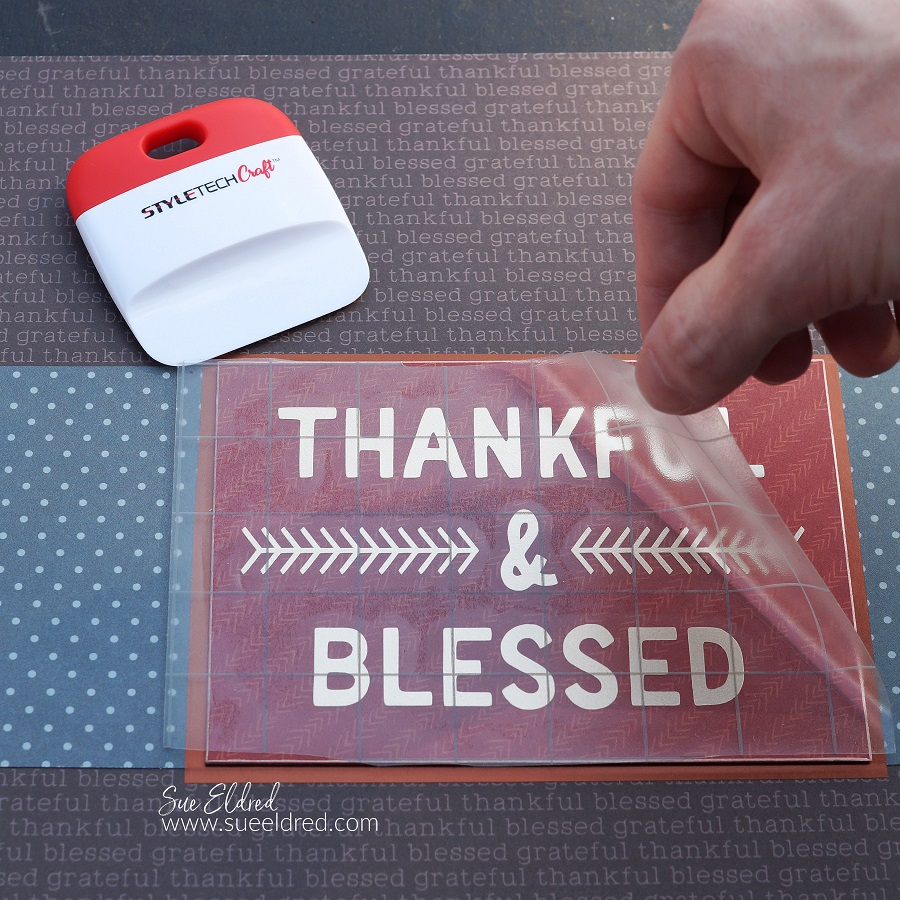
- Gently lift and remove the transfer paper.
- Add to the frame with or without the glass.

A Simple and Inexpensive Framed Fall Inspiration for my mantel.
Another thought…after the Holidays, you could also add photos to the background
for a quick and easy scrapbook page.


Clever idea and so charming!