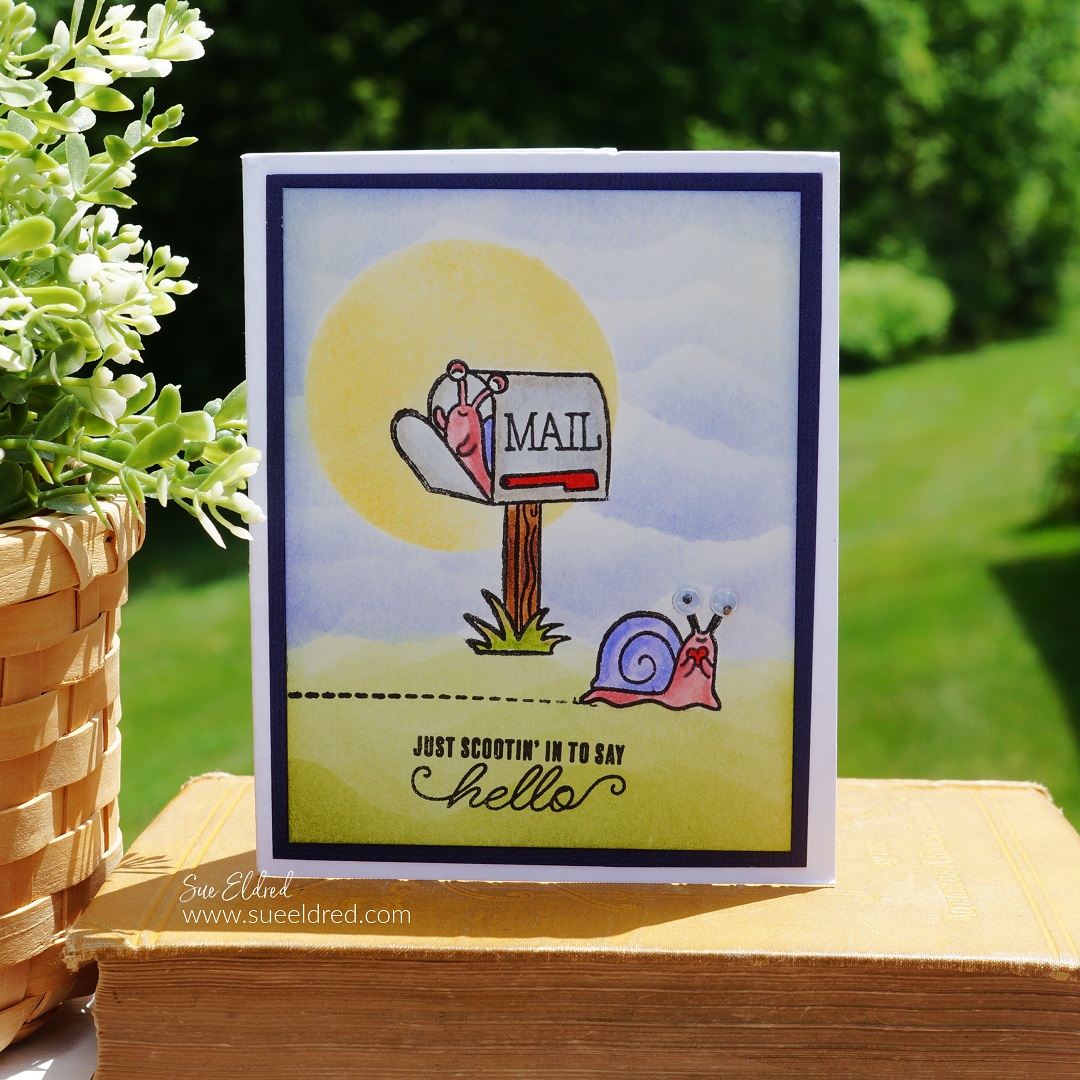
A card to celebrate the perfect Lazy Summer Day.
We just got back from vacation last weekend.
It feels like it’s taken me all week to get back to normal.
If it wasn’t so cool and then rainy this week, I would be that bear on a floatie.
If you asked me to describe the perfect summer day, it would most definitely include
floating in the pool with a drink in my hand.

Disclosure: This is a sponsored post for The Maker’s Movement. I have been provided product and compensation in exchange for my creative ideas. The view and opinions are my own.

Materials Used to make the Lazy Summer Day Card: (*affiliate links)
- M12272 Lazy Days Stamp & Die Set
- M12173 Round Rectangle Die Set
- MOD283 Nested Fishtail Flags Banners Die Set
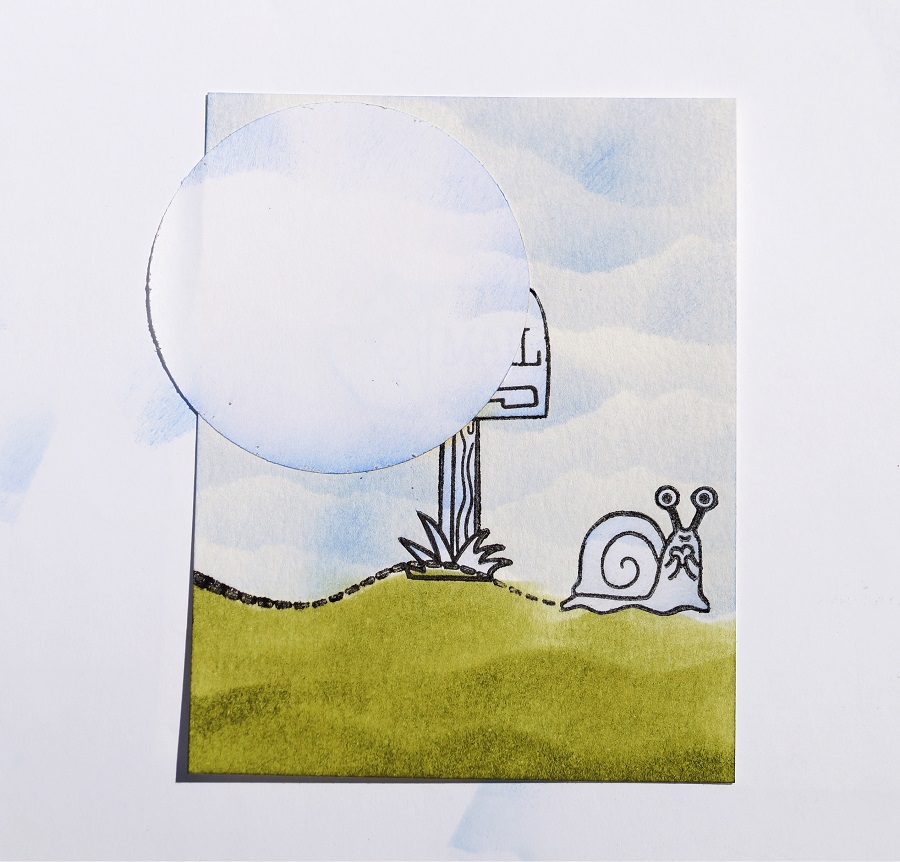
- MSD215 Hello Sunshine (clouds)
- Mini Maker Die Cutting Machine
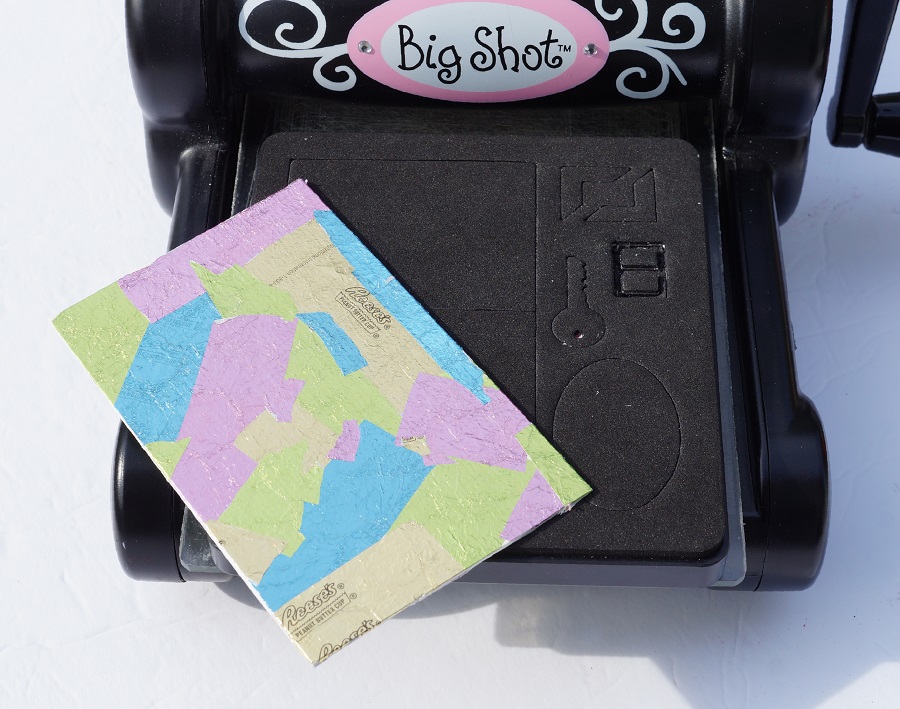
- Crossover II Fabric & Paper Die-Cutting System*
- Double Dot Paper (Bo Bunny)
- Seashore Double Sided Paper (pool) (Paper House Productions)
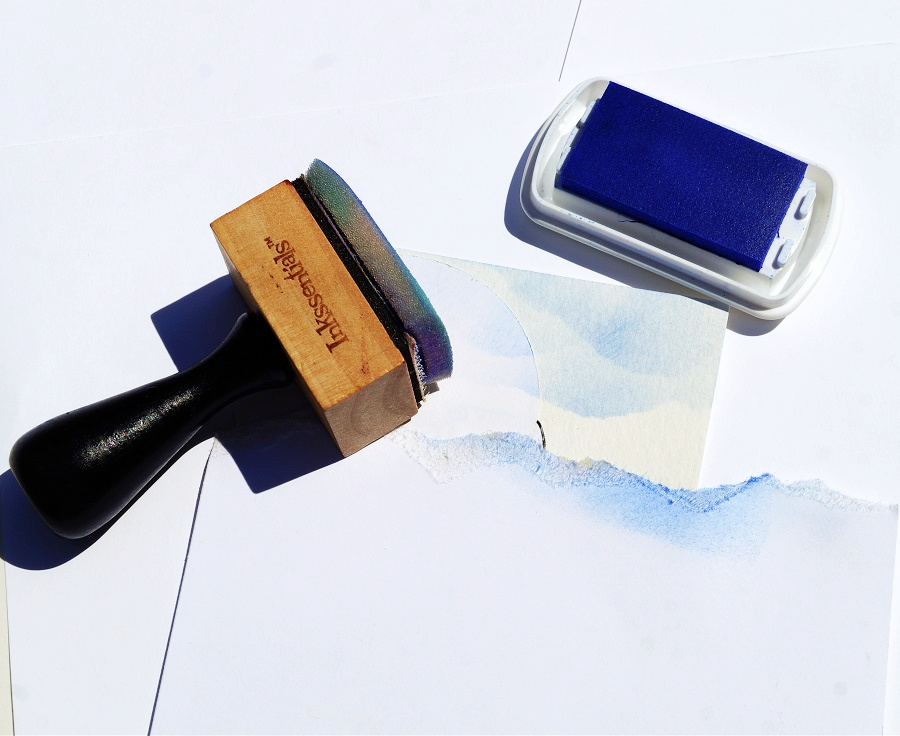
- Versa Fine Black Inkpad*
- Acrylic Stamping Block*
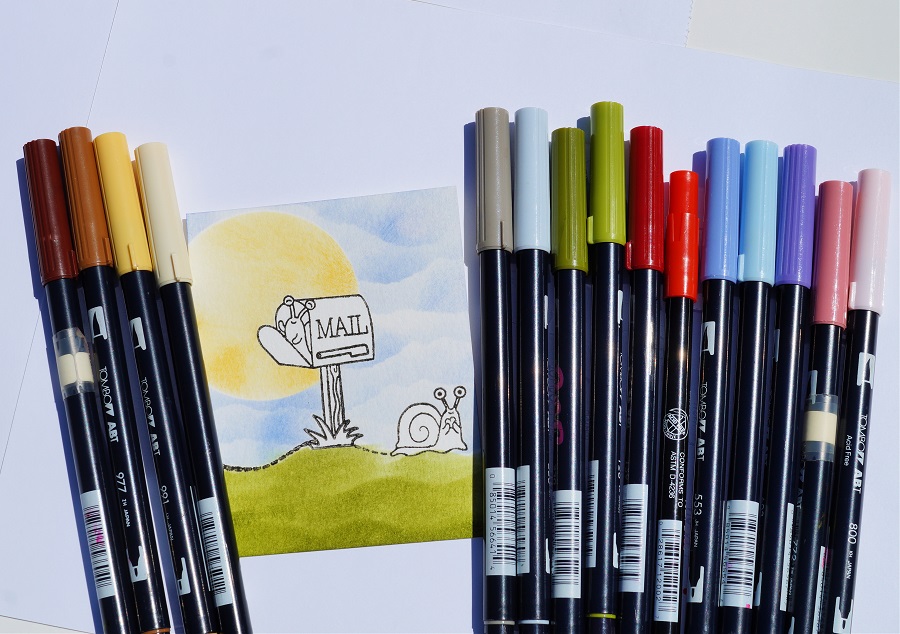
- Tombow Dual Tip Brush Art Markers*
- Small Thin 3D Foam Squares from Scrapbook Adhesives by 3L*
- Rounded Corner Punch*
- Xyron Tape Runner*
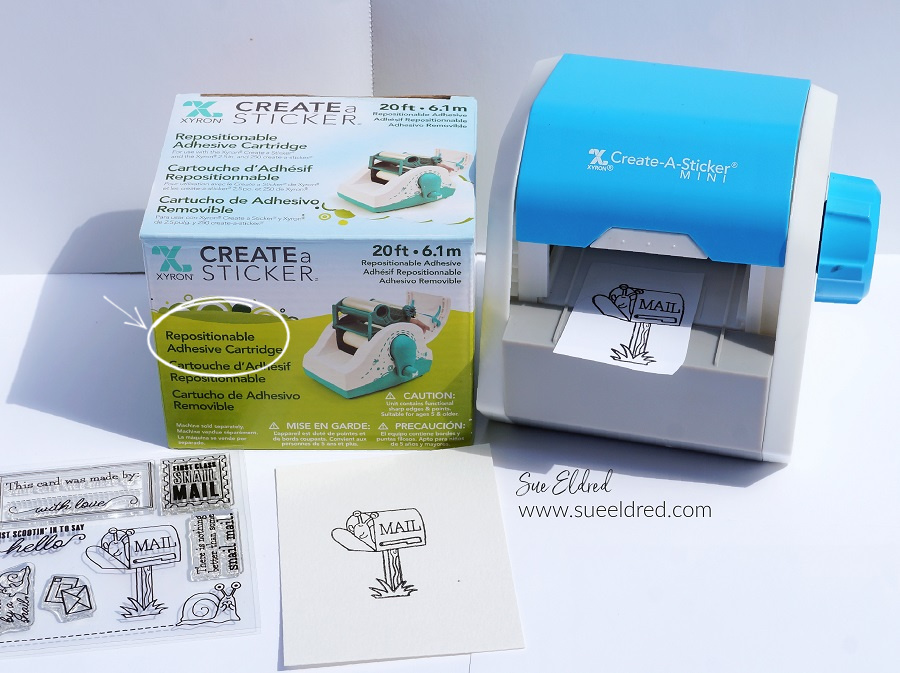
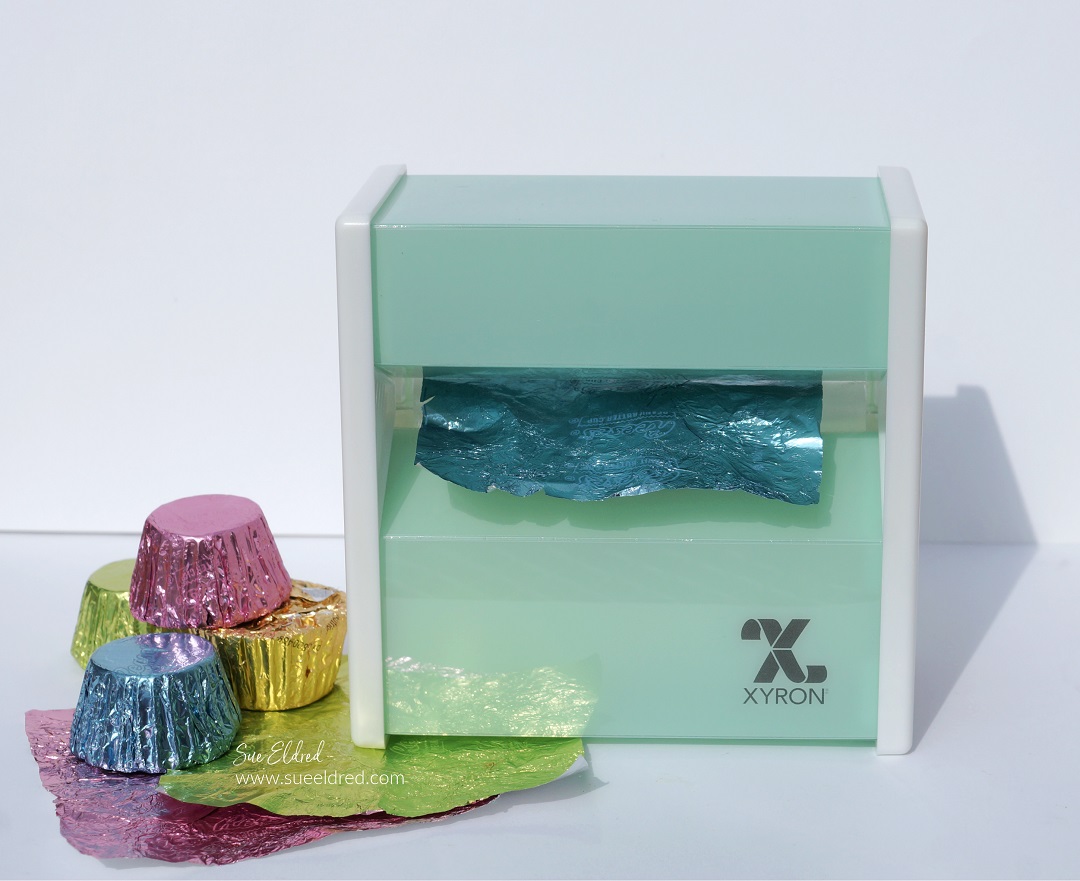
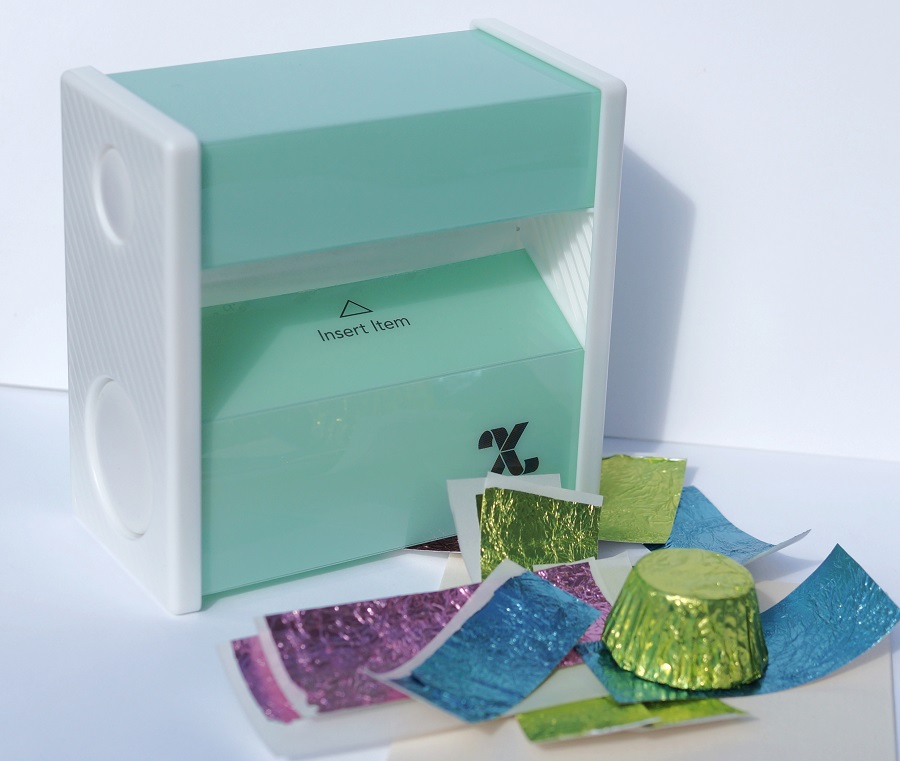
- Xyron Create-A-Sticker Mini*
- Cardstock: White, Tan, Pink, Green and Yellow
*Disclosure: This blog uses ads and affiliate links. If you choose to make a purchase using one of the links, I receive a small commission (at no additional cost to you) that helps offset the costs of maintaining this blog. Thanks for your support!

Directions:
- Stamp the bear image on tan cardstock with the Versa Fine Black Inkpad*.
- .Align the bear die with the stamped image. Place a small piece of washi tape (or a removable tape) to hold the die in place while die-cutting.
- Run the stamped image and die through the Mini Maker Die-Cutting Machine to cut out the bear image.

I thought plaid swim shorts were needed for this “cool” bear.
- Stamp the swim trunks onto a small piece of plaid paper and run it through the Xyron Create-A-Sticker Mini* to add adhesive onto the back.
- Cut the swim trunks out and stick directly onto the die-cut bear. (it’s so easy to add personality)


- Use the Tombow Art Markers to add rosy cheeks, shadows, and definition to the stamped image.


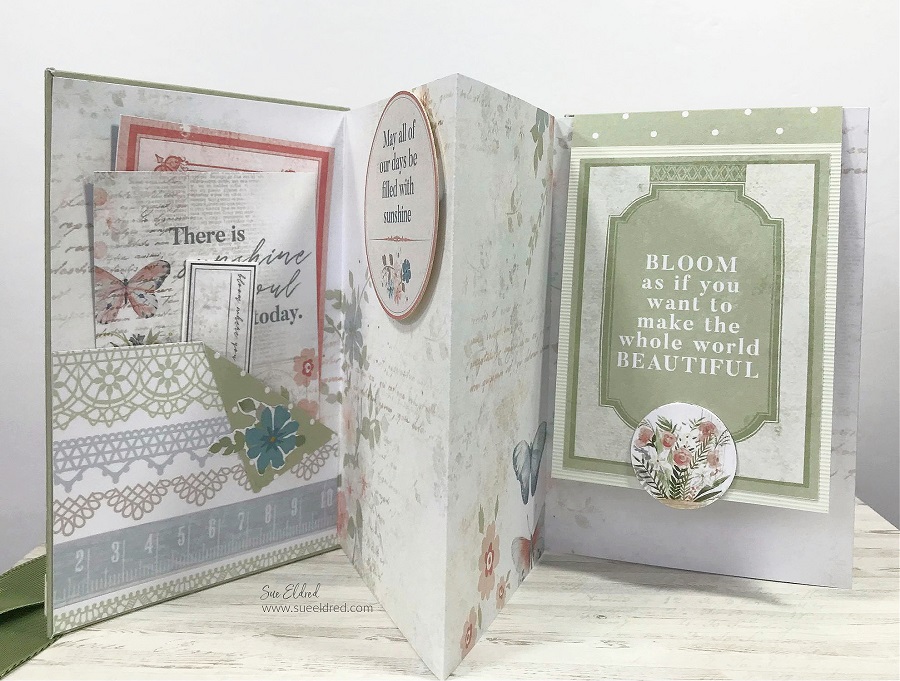
Additional Card Details:
- I thought the “Sea Shore” paper looked like a pool liner, so I added it as the base to my card.
- The white frame on the card was die-cut using the Round Rectangle Die Set.
- The Sun was die-cut using the center of the pool float.
- I stamped the words “feelin’ hot” onto white cardstock and cut it out using the smallest of the nested banner die.
- I used thin foam mounting squares under the clouds, banner, bear, and drink to add dimension to the card.
- The finished card measures 4 ¾” x 6″.