
Summer Crafting with Unconventional Materials
Last year, for the first time, I collected seeds from various flowers in my garden.
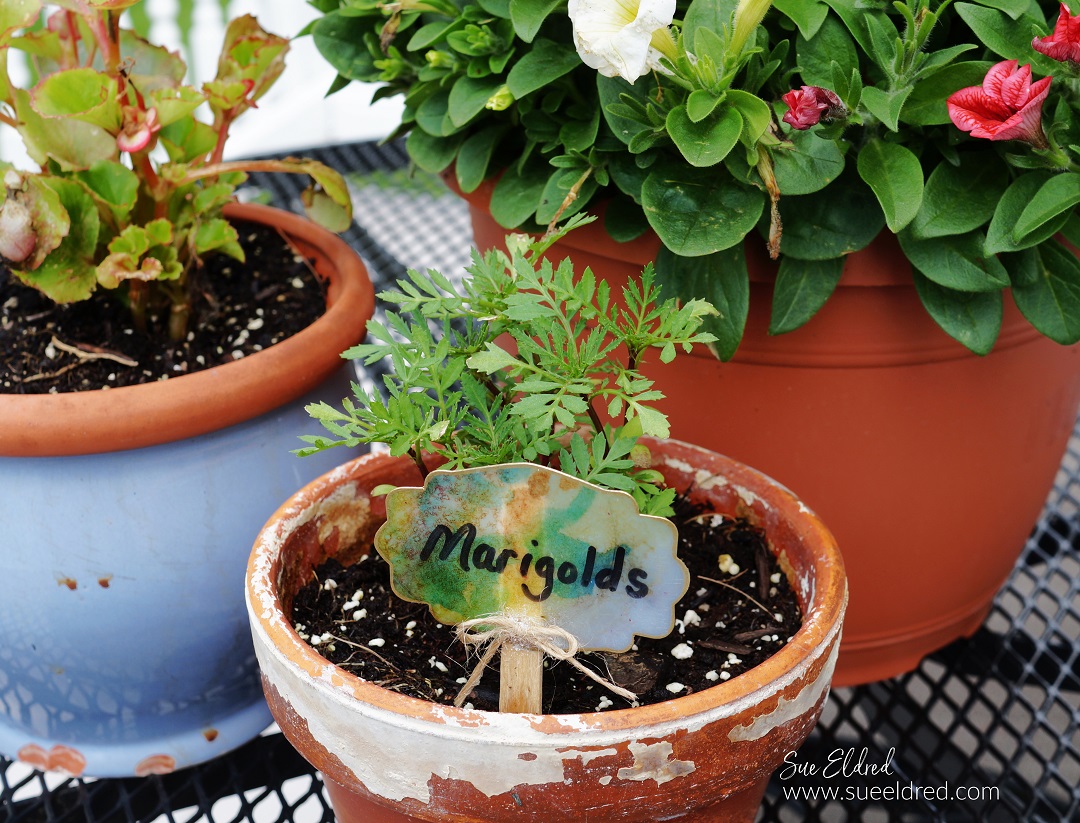
This year, once those seeds were planted, I needed a creative way to identify the flowers.
Using plastic cut from a Milk Jug and Alcohol Ink, I created artsy flower pot labels.

Materials Used: (*affiliate links)
- Milk Jug
- Alcohol Inks*
- 661906 Eileen Hull Journal Die*
- Sizzix Big Shot Die-Cut Machine*
- Isopropyl Rubbing Alcohol*
- Ranger Inkssentials Mini Misters*
- Wood Craft Sticks*
- Deco Art Americana Acrylic Sealer/Finish Aerosol Spray, Matte*
- Marvy Gold Chisel Point Pen Tip Calligraphy Paint Marker*
- Straw
- Twine
- DAP RapidFuse All Purpose Adhesive*

*Disclosure: This blog uses ads and affiliate links. If you choose to make a purchase using one of the links, I receive a small commission (at no additional cost to you) that helps offset the costs of maintaining this blog. Thanks for your support!

Directions:
- Protect your work surface. (this can be a messy project)
- Cut the flat sides of the milk jug into 2 ½” x 3 ½” strips.
- Fill the mini mister* with alcohol*.

- Drop several drops of alcohol ink* onto the plastic.
- Spray the alcohol inks with the alcohol-filled mini mister to make the inks run and spread.
- Use a straw to direct the spread of the inks.

- Once the inks have dried, spray the plastic with a matte acrylic sealer to help weatherproof the label.

- Using the scalloped label from the Eileen Hull Journal Die*, die-cut the plastic using a Big Shot Die-Cut Machine*.
- I used a Gold Paint Marker* to edge around the label.
- Label your seeds using a black paint pen or permanent marker.
- Adhere finished plant label onto the end of a wood craft stick* using Rapid Fuse adhesive*.
- Tie a small bow using a piece of thin twine and glue onto the bottom of the label.
I have several small pots of flowers growing. I will eventually place some of them in the ground.
The others I will leave in the pots. I will harvest the seeds again in the fall.
This was a very cost-effective way to add beautiful blooms to my garden.


Love this idea…..
Thank You.