
How to Make a Sweet Mini Donut Box Gift Card Holder
using the Donut Box Die Set from The Maker’s Movement.
The perfect gift card/money holder for that special someone with a sweet tooth.

Disclosure: This is a sponsored post for the Maker’s Movement. I have been provided product and compensation in exchange for my creative ideas. The view and opinions are my own.

Materials Used: (*affiliate links)
- Donut Box Gift Card Holder Die Set (The Maker’s Movement)
- Crossover II Die-Cutting Machine*
- MMT212 Clear Acetate (The Maker’s Movement)
- MOD275-DO Petite Posies Die Set (The Maker’s Movement)
- Carta Bella Flower Garden Paper Collection: Love You Tags* (pink paper)
- Simple Stories Happily Ever After Paper Collection: Elements* (green polka dots)
- Dare 2B Artzy Ice Cream Social Paper Collection: Sprinkles on Top
- Xyron Create-A-Sticker Mini*
- Tombow Dual Tip Brush Art Markers* #020 Light Tan, and #800 Pale Pink
- White Cardstock
- Small Thin 3D Foam Squares from Scrapbook Adhesives by 3L*
- White Sheer Ribbon
- Twine
- Ultra Bond Adhesive*

*Disclosure: This blog uses ads and affiliate links. If you choose to make a purchase using one of the links, I receive a small commission (at no additional cost to you) that helps offset the costs of maintaining this blog. Thanks for your support!
Directions:
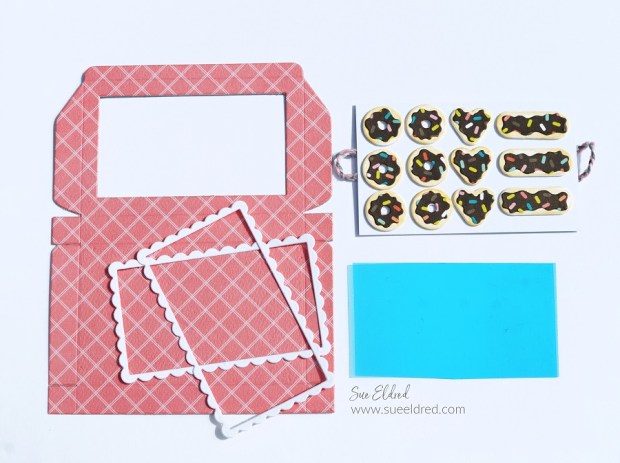
- Cut the Donut Box using the Crossover II Die-Cut Machine and the Donut Box Die Set.
- Cut two scalloped rectangles using the Donut Box Die Set. I like to run the paper through the Xyron Create-A Sticker Mini to add adhesive to the back of it before die-cutting. It makes the scalloped rectangle a sticker which makes it so much easier to adhere to the box.
- Remove the protective coating off of the acetate and adhere to the backside of the box opening.
- Remove the backing off the “rectangle sticker” and place one on the front of the opening and the second onto the back of the opening.
- Cut a small piece of acetate slightly larger than the opening on the Donut Box.
- Gently fold Donut Box on the score lines. Glue the side tabs together to form the box.

- Cut the donuts out of cardstock.
- Use the light tan Tombow Maker* around the edges of the Donuts to give them a “baked” look.
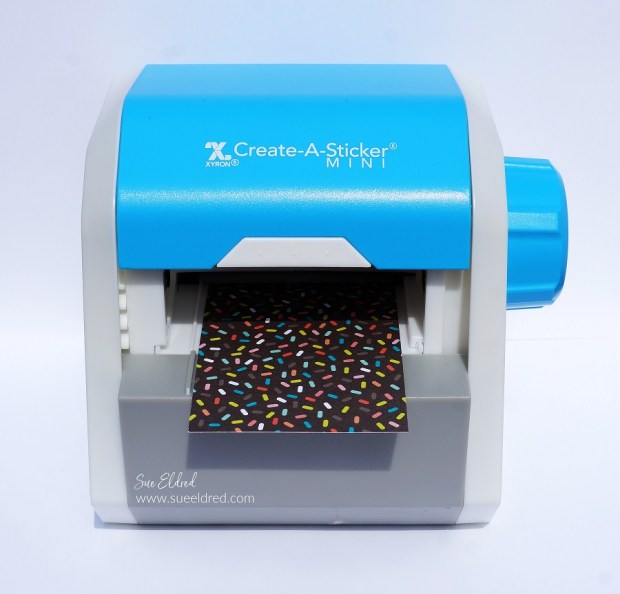
- Place the “sprinkles” paper into the Xyron Create-A-Sticker Mini* design side up.
- Turn the knob of the machine to run the paper through it. As it goes through the machine it adds a layer of adhesive to the paper.

- Cut the “icing for the donuts” out of the “sprinkles” paper and place it onto the cardstock donuts.
- Cut a small 2 1/4″ x 3 1/2″ rectangle tray to fit inside the donut box.
- Add thin 3D foam squares to the back of the donuts and stick them onto the tray.
- I added two braided loops and taped them under the tray with regular tape. I cut a second 2 1/4″ x 3 1/2″ piece of decorative scrapbook paper and adhered it under the donut box tray with the thin 3D foam squares.
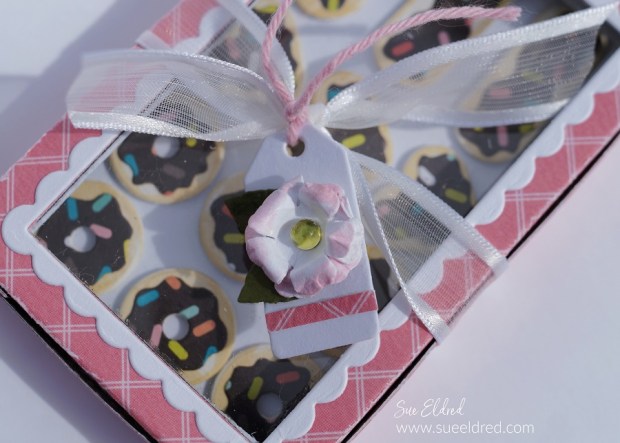
- Cut a small tag using the tag die that comes with the Donut Box Die Set.
- Cut two small flowers and two leaves using the Petite Flowers Die Set. Add pink to the edges of the flowers using the #800 Pink Tombow Marker.
- Carefully scrunch the flower with your fingers to give the flower shape.
- Glue the flowers and leaves together onto the tag.

The Donuts look good enough to eat.

Hide a gift card to your favorite donut shop or money under the donut tray for a sweet little surprise.


Love this!!