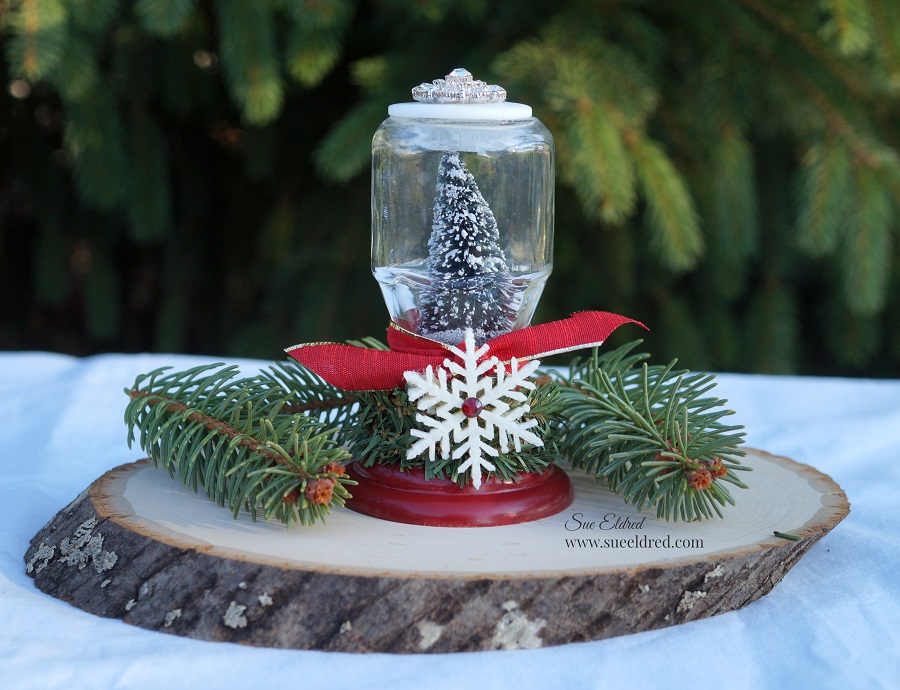
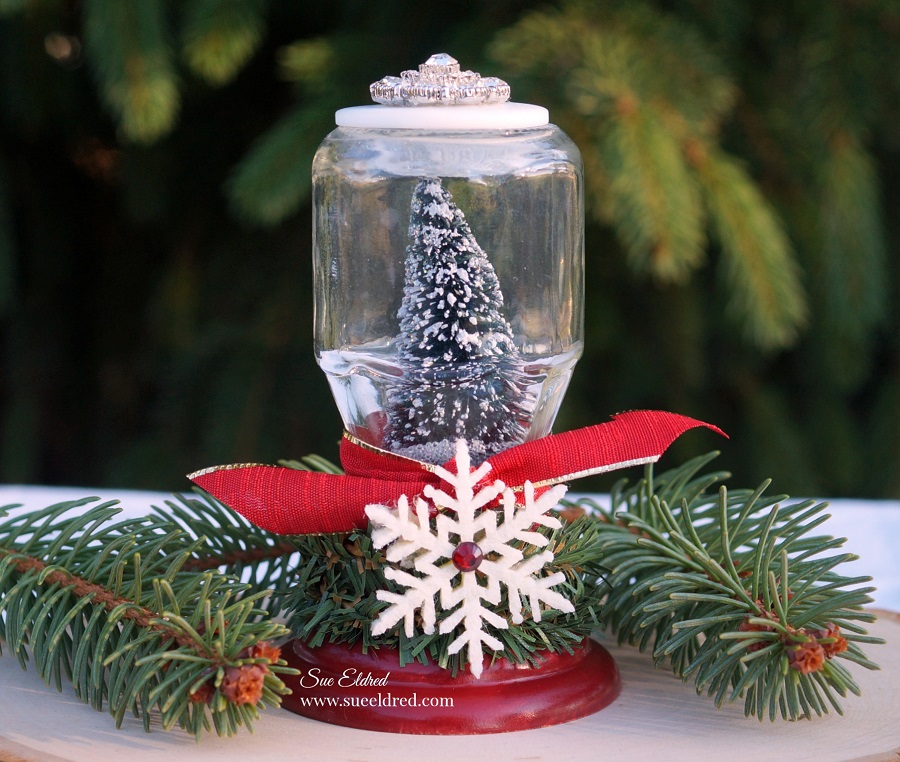
Creating a Snow Globe from a Mini Ketchup Bottle
A little Holiday up-cycling project for my fellow collectors (aka savers).
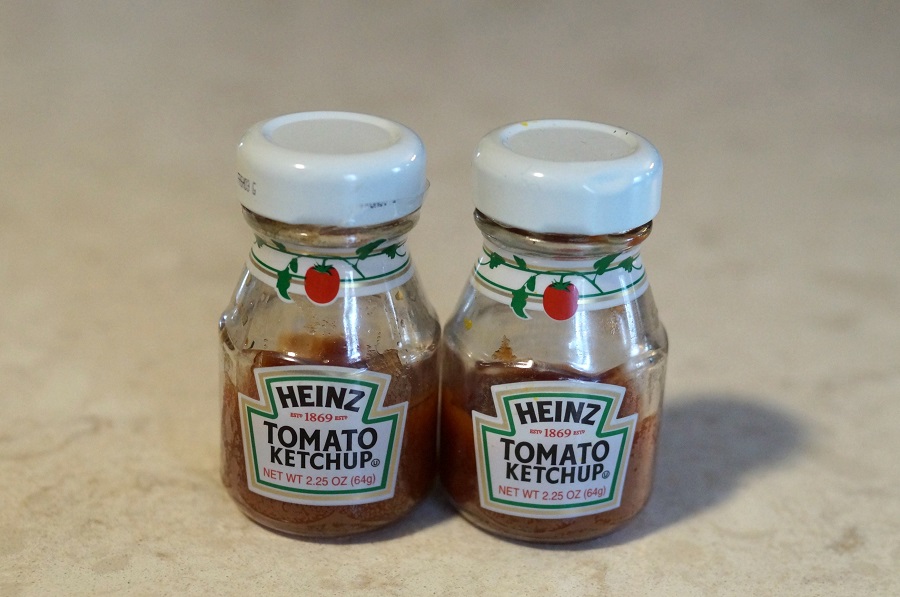
When you order room service at some hotels you get these little glass condiment jars.
When my husband used to travel he’d occasional bring them home. (I’ve trained him well.)
Add in a few miscellaneous supplies and I had the start of a cute little snow globe.
There are several options to use as a base. Old hardware pieces, vintage Jello molds.
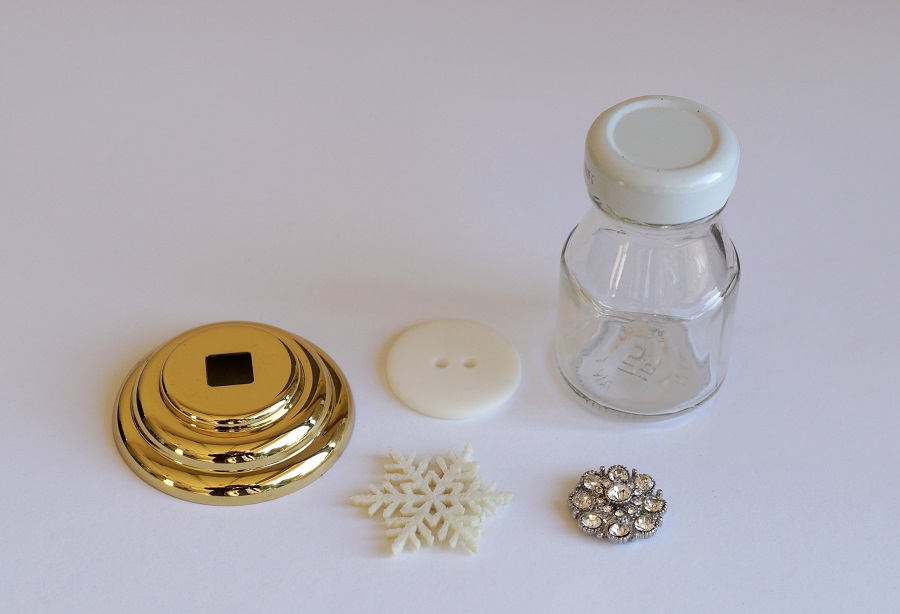
Materials Used:
- Mini Glass Condiment Bottle
- Old Hardware Piece (mine is a escutcheon plate)
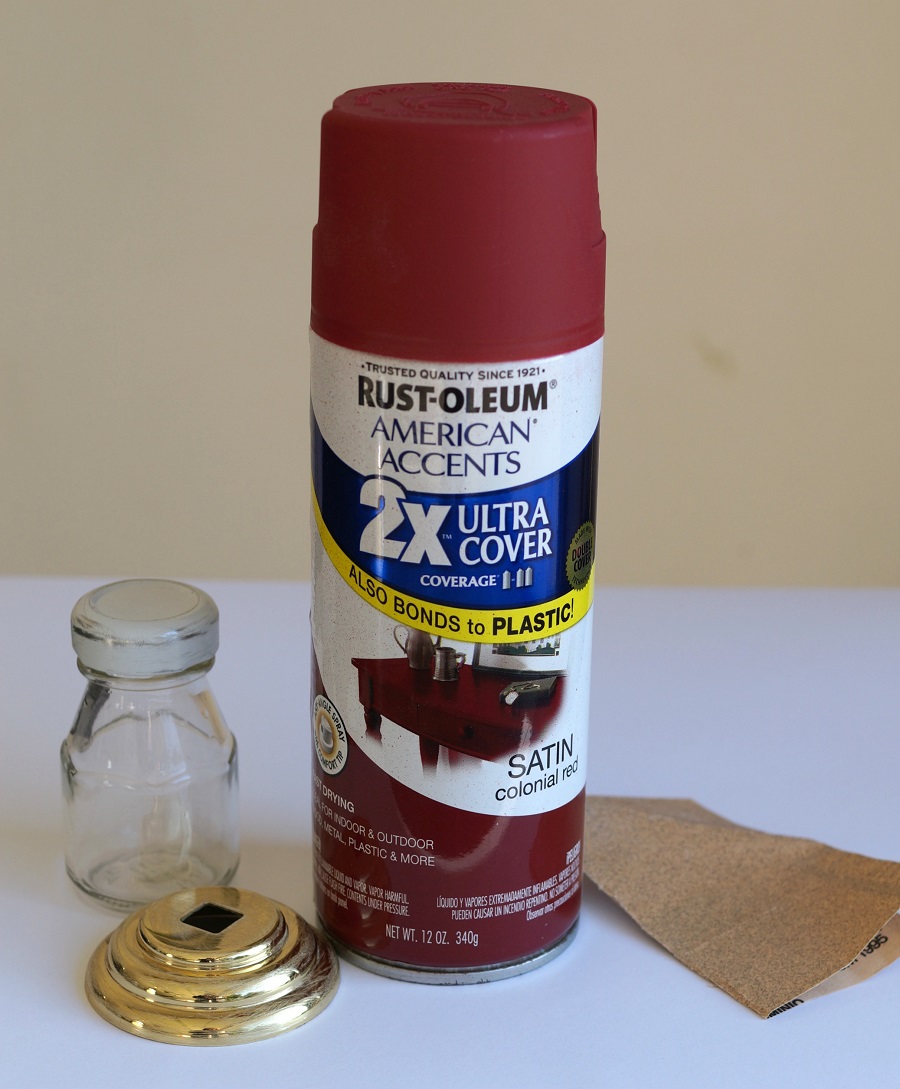
- Rust-Oleum Spray Paint in Colonial Red*
- Super Glue*
- Craft Pine Stem*
- Fine Grit Sandpaper*
- Buttons
- Snowflake
- Extra Fine Crystal Diamond Glitter*
or Clear Micro Beads*
Disclosure: This blog uses affiliate links. If you choose to make a purchase using one of the links, I receive a small commission (at no additional cost to you) that helps offset the costs of maintaining this blog. Thanks for your support!
To Make the Mini Ketchup Bottle Snow Globe:
- I gave the brass piece and the lid of the ketchup bottle a light sanding and sprayed it with Rust-Oleum Spray Paint in Colonial Red*
. (my favorite red) It might take a couple coats.
- This was the hard part for me. Allow the paint to fully dry before handling. (trust me)
- Using Super Glue*
, glue a small bottle brush Christmas tree (found at most craft stores) on the inside of the ketchup bottle lid. Make sure that the base of the tree is not larger than the opening of the bottle.
- Glue large flat button to the bottom of the jar. (or is it the top of the snow globe) Glue a decorative button to the white button to add height and extra prettiness.
- Add a small amount of white glitter or fake snow to your bottle and screw on the lid with Christmas tree.
- Glue ketchup bottle lid to painted brass base using Super Glue*
- Wrap a Craft Pine Stem*
around the neck of the bottle and glue in place.
- Tie a ribbon around neck of bottle.
- Glue small snowflake embellishment.

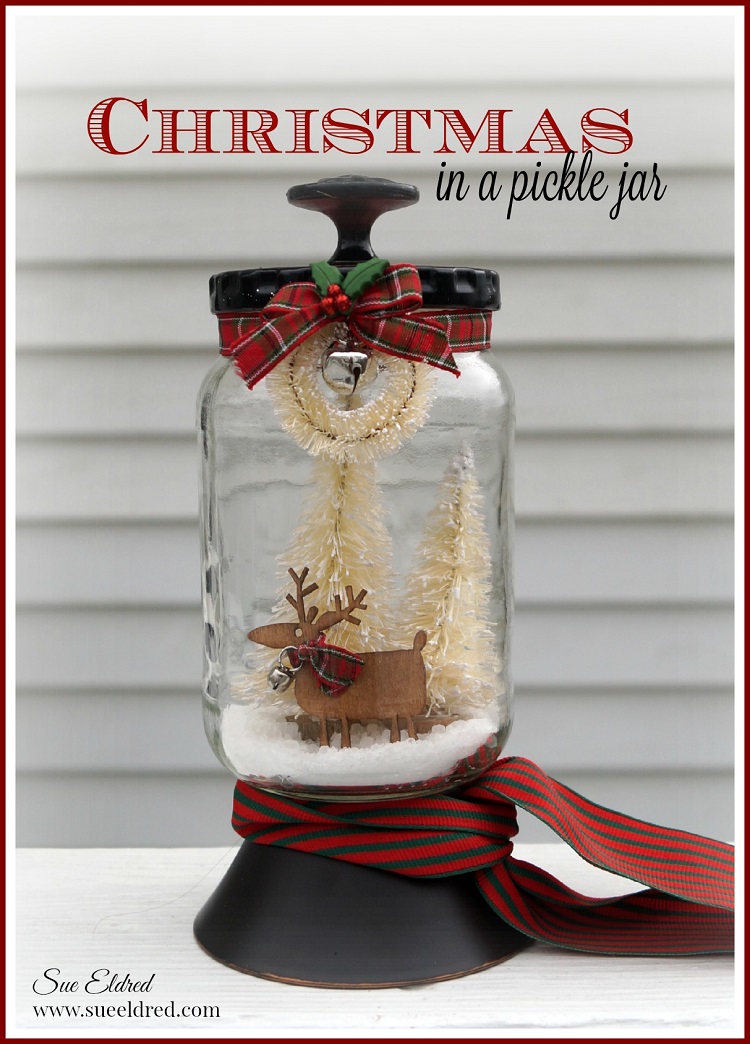
If you liked my Mini Ketchup Bottle Snow Globe check out my Christmas in a Pickle Jar.


Don’t Miss a Thing…Make Sure to Follow me
This Christmas Give the Gift of Amazon Prime*