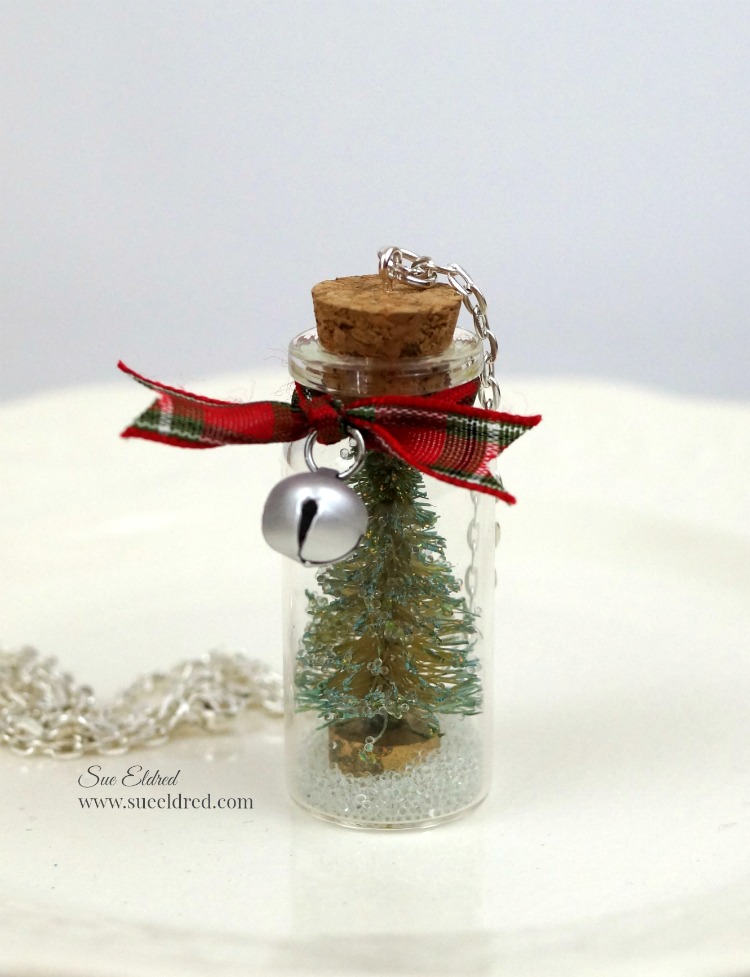
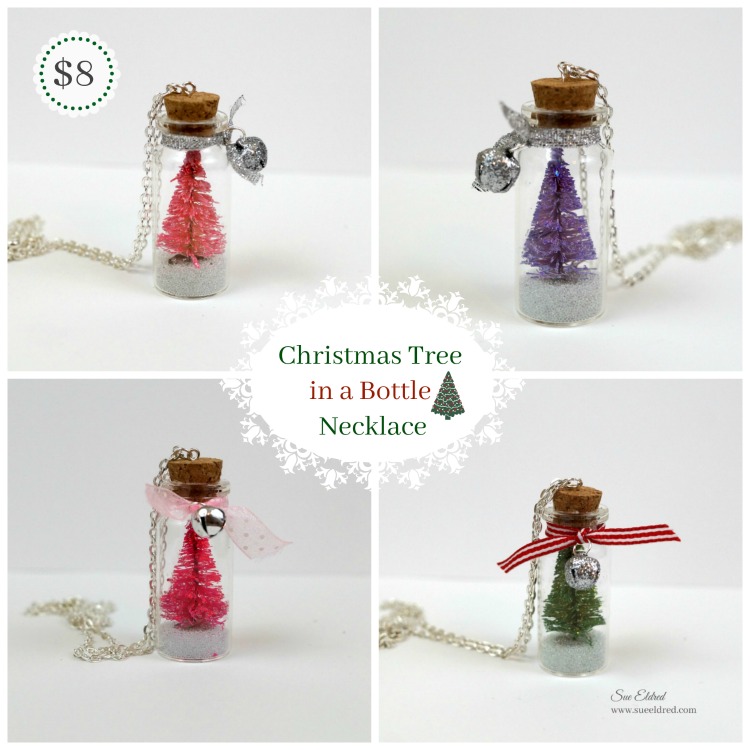
How to make a Christmas Tree in a Bottle Necklace
I got this idea from a project I’d seen made by Tim Holtz. Of course, I had to find a cheaper way to make it. I’ve seen small bottles like these at Hobby Lobby with the jewelry supplies. (I got mine online.)
Very Important…Make sure the base of the tree is small enough to fit in the top of the bottle.
Materials Used: (*affiliate link)
- Mini Glass Bottles with Cork Top*
- Small Loop Screw
- Necklace
- Miniature Bleached Bottle Brush Trees
- Distress Ink Reinker, Peeled Paint*
- Ranger Inkssentials Mini Misters*
- Ranger Stickles Glitter Glue, Diamond
- Quick Grip All Purpose Permanent Adhesive
- Reverse Grip Tweezers*
- Clear Micro Beads*
or Glitter
- Q-tips Cotton Swab*
- Plastic Disposable Gloves*

Dollar Tree-Everything always $1 – Shop Now*
*Disclaimer: This post uses ads and affiliate links. If you choose to make a purchase using one of the links, I receive a small commission (at no additional cost to you) that helps offset the costs of maintaining this blog. Thanks for your support!
Directions:
- Squirt several drops of peeled paint ink* into the mini mister* and dilute it with water.
- Place a bleached bottle brush tree onto a protective surface. Generously spray the tree with the diluted ink. (You may want to wear rubber gloves. I took 3 days until the ink came entirely off my fingers.)
- After the tree is dry, rub glitter glue* onto the tree. Allow glitter glue to fully dry before continuing.
- Apply a small bit of all-purpose adhesive* onto the end of the Q-tip. Insert the Q-tip into the bottle and add the glue to the bottom center of the bottle.
- Using the reverse grip tweezers, insert the tree into the bottle, and stick onto the glue.
- Pour glitter or micro beads into the bottle.
- Add a thin layer of adhesive around the side of the cork and place it back into the bottle.
- Screw a loop screw onto the top of the cork and add a necklace.
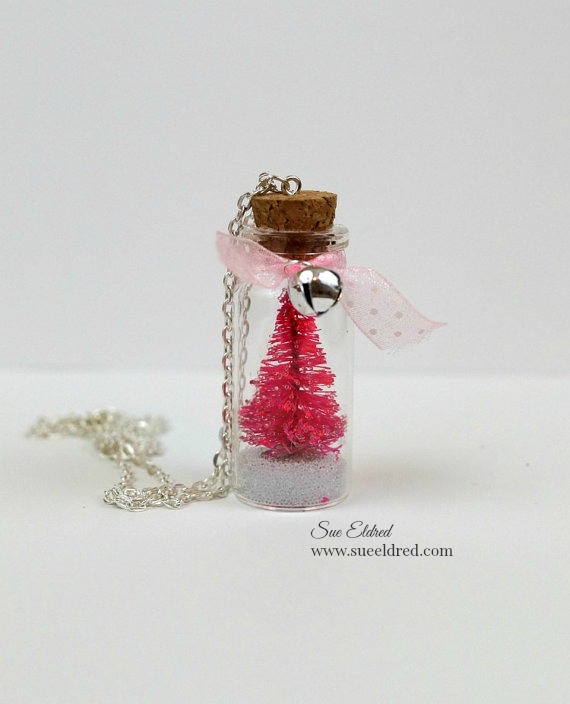
If you’re feeling a little funky…how about making your tree pink or purple?

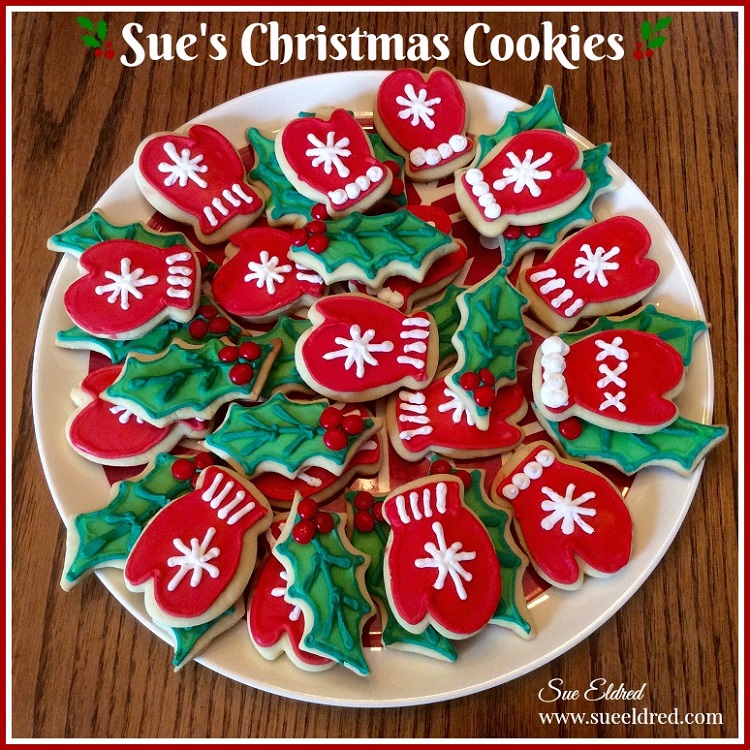
If you liked the Christmas Tree in a Bottle here’s another project you might like.
Click here for the Mini Ketchup Bottle Snow Globe Instructions. ↓


