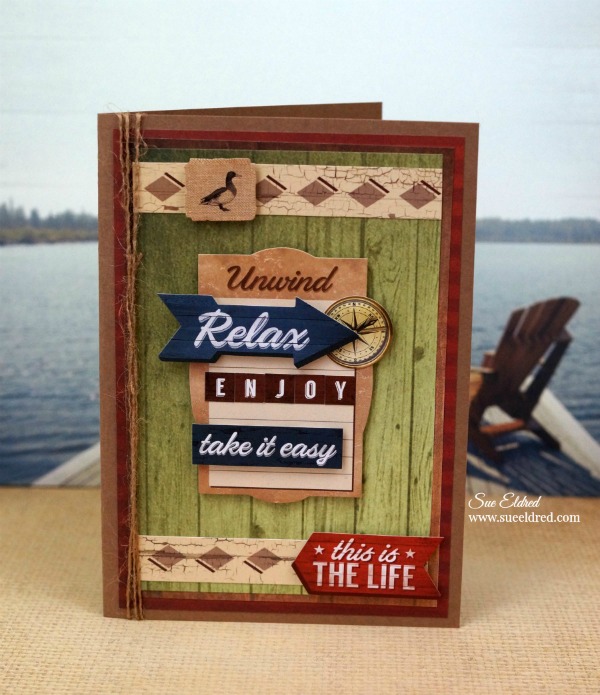
How to make a Relaxing Guy Card

I’ve always found making cards for a guy  to be tricky. 

Making feminine cards come easy to me.

For the upcoming summer season, I decided to make a “guy” card

that would make a perfect birthday, Father’s Day and even  Retirement.

To make the Relaxing Guy Card…

TIP:  Before removing the back off the 3D foam mounting squares.  Brush baby powder to the back of the stickers to remove the tackiness.  The stickers become like die cuts and will only stick where you want them too.


Materials Used:                                                                   (*affiliate link)

 
Directions:
  1. Cut a 4″ x 6″ piece of green scrapbook (dock on the lake) layer.  Add border sticker strip onto the top and bottom of the layer leaving approx. 1/8″ border.
  2. Adhere the green layer onto a 4 1/4″ x 6 1/4″ piece of brown scrapbook paper (day at the lake) and then onto a 4 1/2″ x 6 1/2″ piece of red (lake time) scrapbook paper.
  3. Create a 5″ x 7″ side fold card from the kraft cardstock.
  4. Adhere scrapbook layers onto kraft card.
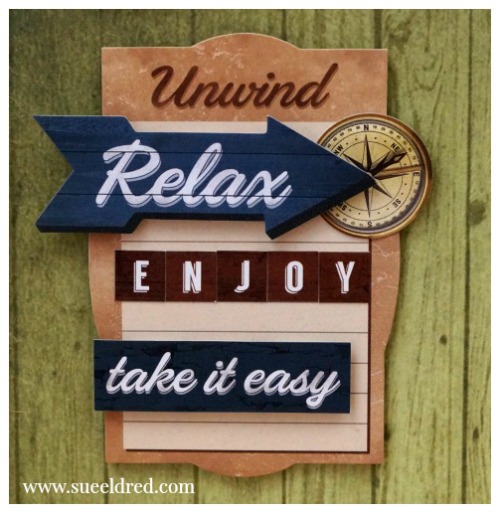
5.  Create dimensional stickers by adding and layers stickers with 3D foam mounting squares.  Add stickers to the front of the card.

6.  Wrap twine around the left side of the card and tie with a knot.

Mini Tape Runners

*Disclaimer:  This blog uses ads and affiliate links.  If you choose to make a purchase using one of the links, I receive a small commission (at no additional cost to you) that helps offset the costs of maintaining this blog.  Thanks for your support!
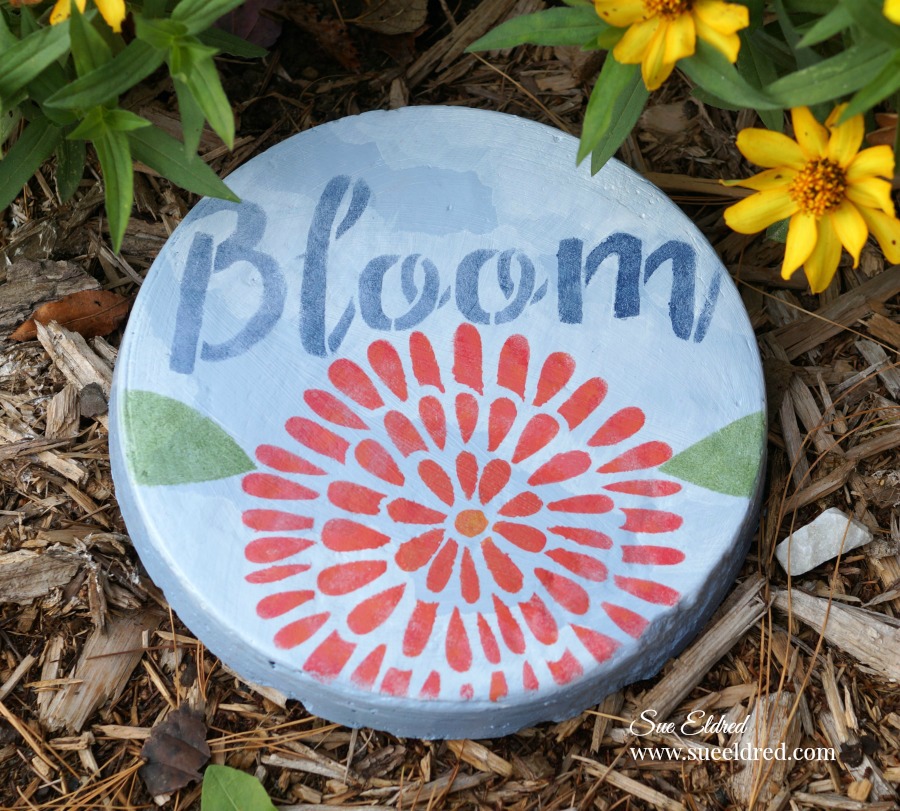
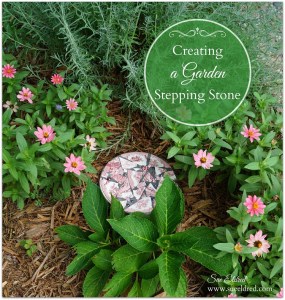
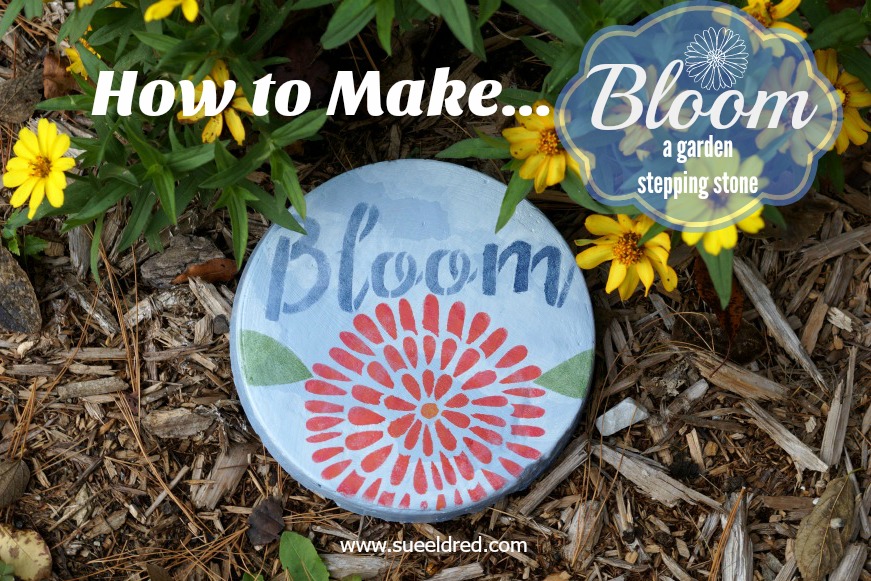
DIY…Bloom Garden Stepping Stone

Create a little fun and whimsy in your Garden with a Bloom Garden Stepping Stone.

(The links and instructions to make the Garden stone are included down below.)

I just got the Garden Issue of Craft Ideas Magazine and I’m so excited that I can finally share

with you my “Bloom Garden Stone”.   (you can find it on page #24)

Make sure to check out the entire Garden issue of Craft Ideas,

the issue is full of great garden themed ideas and inspiration.

Materials and Supplies:                                                                                    (*affiliate links)

Directions:

  1. Cover the sides and bottom of an old cake pan with Petroleum Jelly for easy removal.
  2. Mix Rapid Set Concrete Mix according to manufacturer’s instructions.  Fill pan with cement approx. 1″ thick. Shake pan a little to fill in the gaps and smooth.  Allow a couple hours for cement to set before removing from the pan.  Let the cement stone dry for a day or two before painting.

3.  To create a better surface for painting and stenciling, paint cement stone first with DecoArt DS17-9 Americana Multi-Purpose Sealer*

4.  Mix together Night Sky and Cotton Ball acrylic paint and basecoat entire stone.

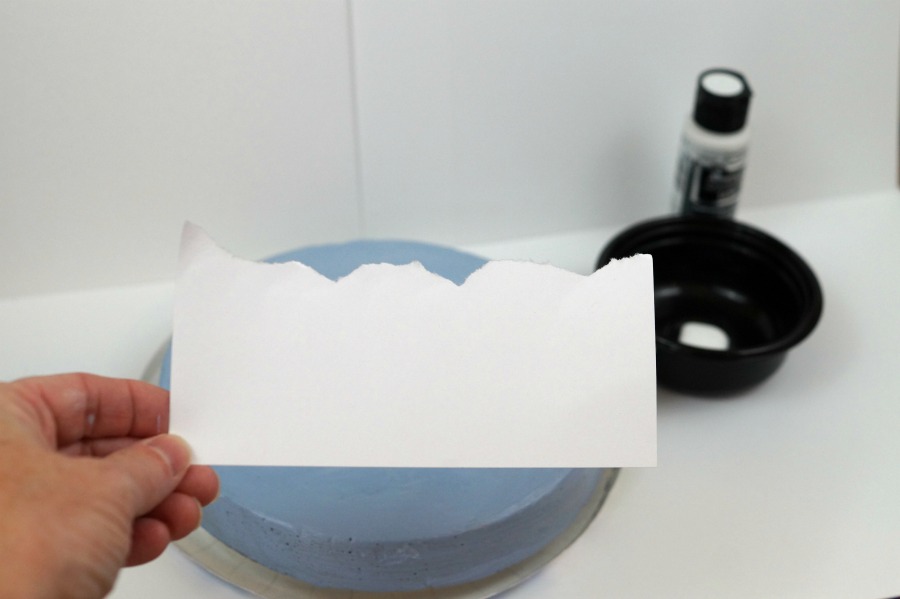
5.  Tear a piece of white cardstock with an irregular edge as shown to create a mask stencil for  cloud background.

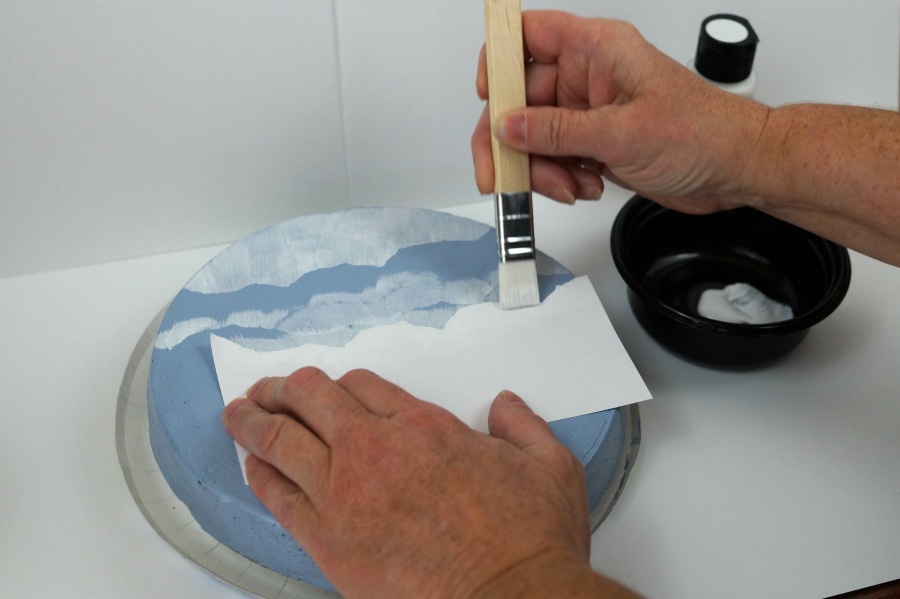
6.  Place cloud mask stencil onto stone and paint with an upward motion. Move mask stencil around stone to paint additional clouds and let dry.

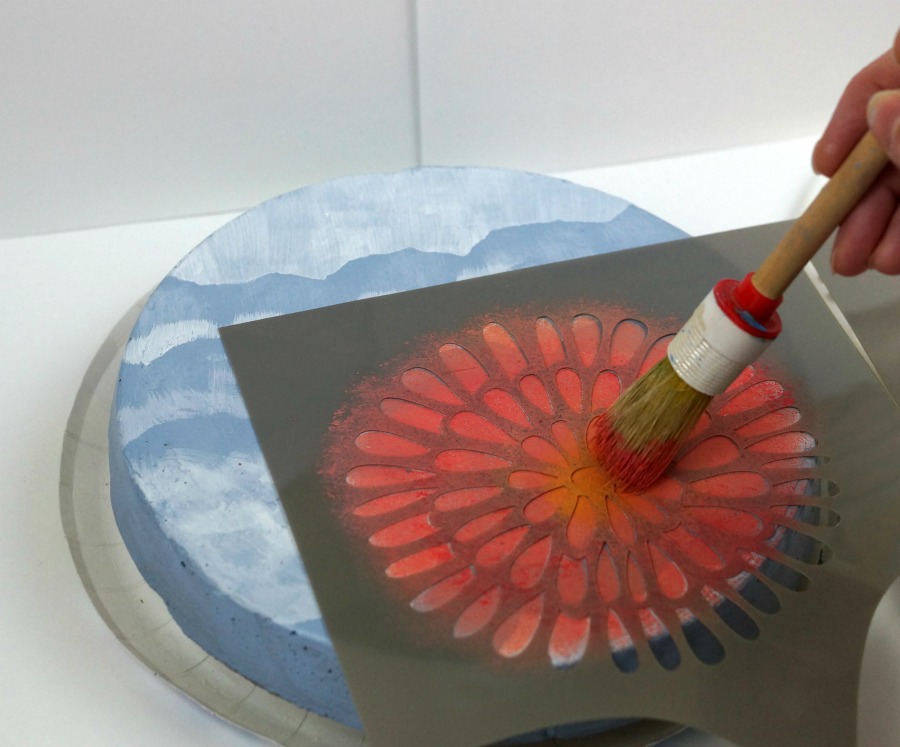
7.  Stencil bloom flower using a mixture of Watermelon Slice and Marigold and stencil “bloom” with Night Sky as shown.  Paint leaves Woodland Green and let dry.

8.  Apply DecoArt Americana DuraClear Varnishes* using paintbrush over stone to help protect the stone from the outdoor elements.

You also might like this stepping stone project I created with my grandson Nick.

The Bloom Garden Stone was created for and sponsored by Craft Ideas Magazine.  Craft Ideas for Every Occasion, Every Skill Level.

Join Amazon Kindle Unlimited 30-Day Free Trial

*Disclaimer:  This blog uses ads and affiliate links.  If you choose to make a purchase using one of the links, I receive a small commission (at no additional cost to you) that helps offset the costs of maintaining this blog.  Thanks for your support!

Sue’s ADORNit Unboxing Video

You may remember last month when I mentioned that I’d been given the opportunity

to be a ADORNit Brand Ambassador.

I patiently waited for my Happy Mail to arrive.  They said it’d be worth the wait.

They weren’t kidding.

For the next three months…

I will be sharing with you a variety of fun projects using their products.

I thought it might be fun to show in a video you what was inside.

I’m not the best at making video’s and this one gave me quite a few unexpected challenges.

But being fully determined, I finally got it done.  (Thanks in to my son Justin.)

To see all that ADORNit has to offer make sure to visit them at http://www.adornit.com.

Berry Boxes and Bunny Bubbles

Berry Baskets for my Grandsons…

This year, I decided to get a little creative with the boys Easter present.

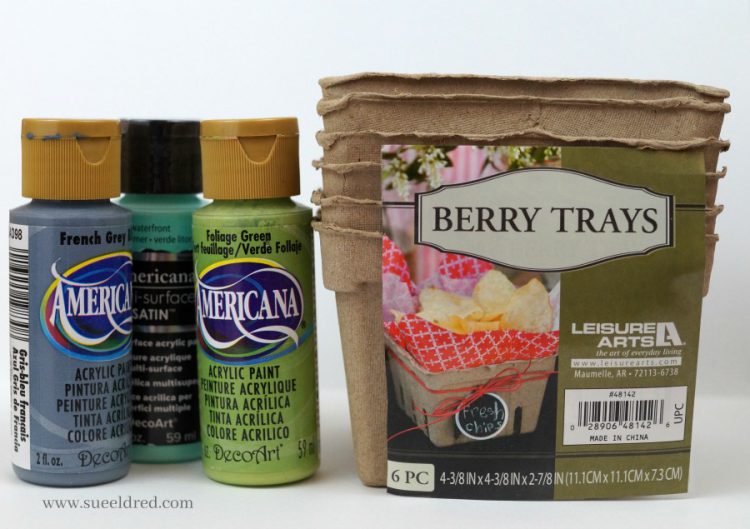
I recently received these cute little berry baskets from Leisure Arts and decided to use them

for the boys instead of traditional Easter baskets.  (see Leisure Arts Ad below)

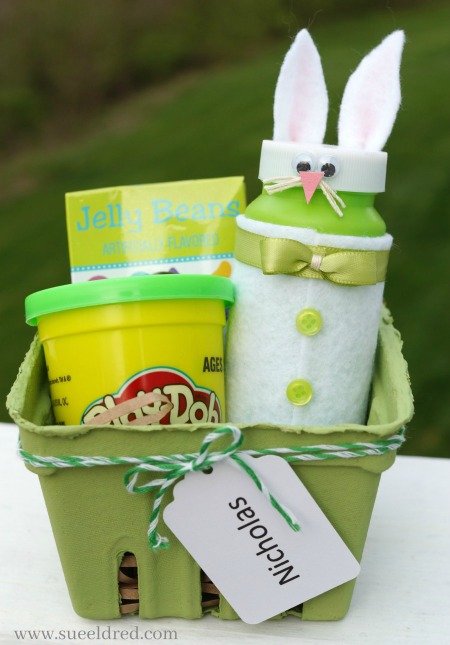
I painted the berry boxes with acrylic paint.  I made tags with each of the boys names and

tied the tags on to the boxes with color coordinated twine.  (simple, simple, simple)

My daughter recently told me…

she never forgot the year I made their Playdoh containers into Easter Bunnies.

I had forgotten all about it.   (sounds like something I’d do)

Apparently it had made an impression on her.

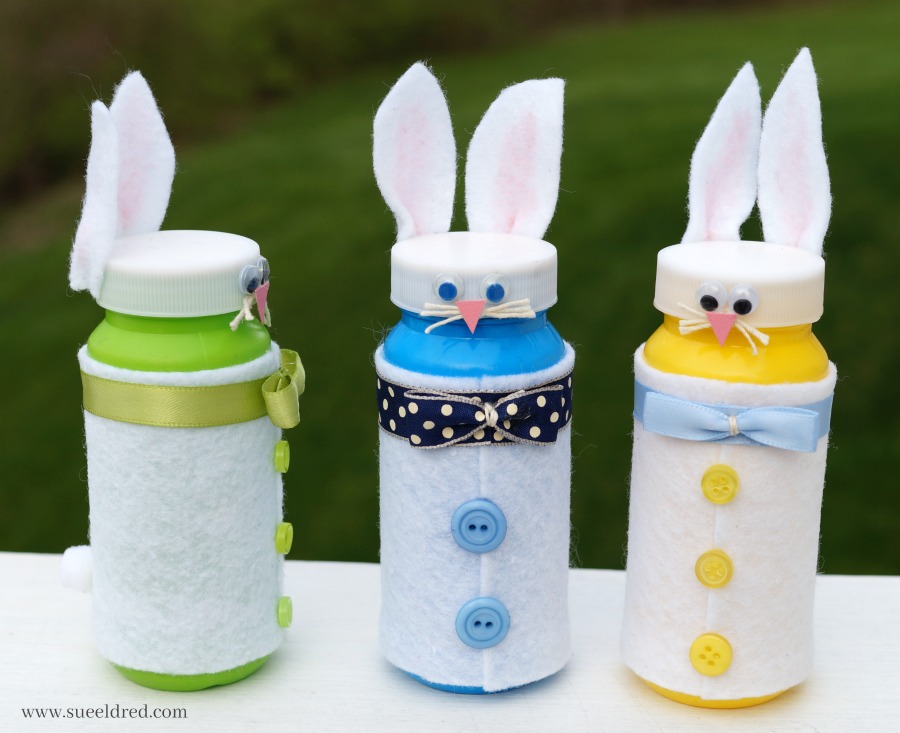
So inspired by the memory… I made plain old bubble containers into “Bunny Bubbles”.

To make the Bubble Bunnies…

  • Remove the label that came onto the bottle.
  • Measure and cut a piece of white felt to go around the side of the bottle.
  • Use a craft glue and apply glue around the area on the bottle where the felt will go.  (It’s easier to apply the glue to the bottle than the felt.)  Wrap felt around bottle and secure into place.
  • For the bowtie…Wrap and glue ribbon around the top of the felt.  Create a little bow from additional ribbon and glue to cover  the ribbon seam.
  • Glue small buttons on the seam of the felt.
  • Cut two ears out of white felt.  Color the center of the ears with a light pink marker.  Glue ears onto the top of the lid.
  • Glue googly eyes and a small pink triangle nose onto the side of the lid.  (Add whiskers under the nose if you like.)
  • Glue a small white pom pom on the back for a bunny butt.

A fun little addition to the berry box.

And…Maybe, just maybe, they’ll remember the year grandma made  bunny bubbles.

"Painting

*Disclaimer:  This post uses ads and affiliate links.  If you choose to make a purchase using one of the links, I receive a small commission (at no additional cost to you) that helps offset the costs of maintaining this blog.  Thanks for your support!
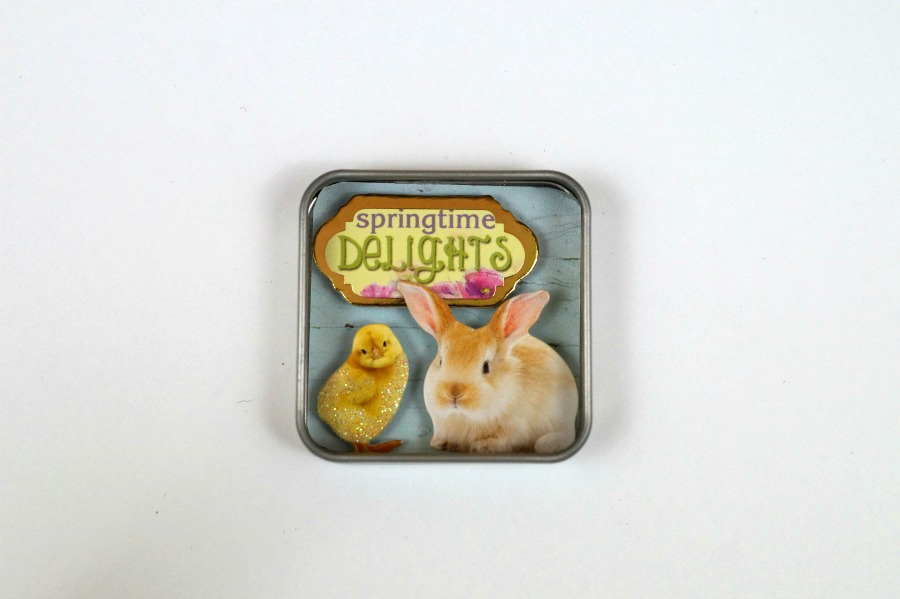
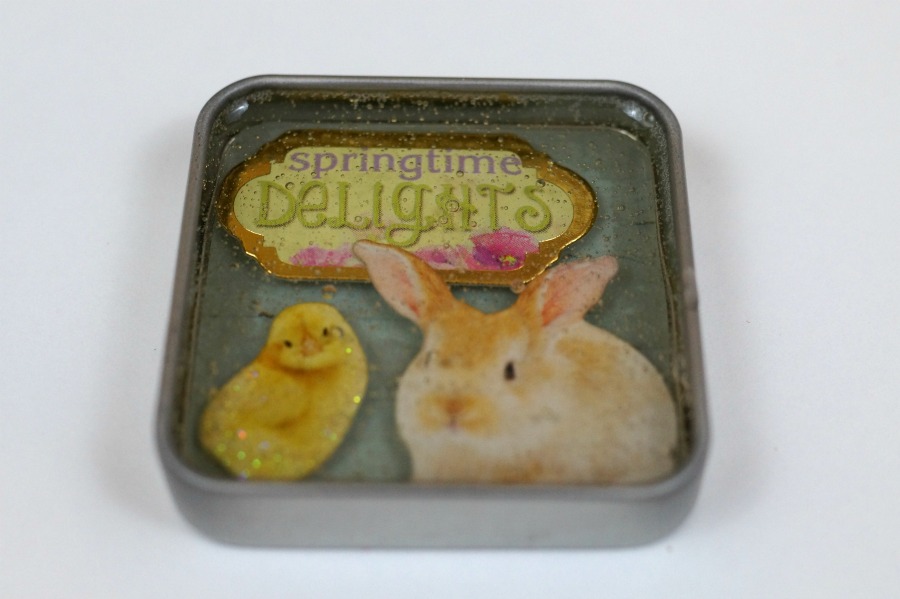
How to make a Springtime Delights Resin Magnet

I have to admit, working with Resin intimidated me at first.

With a little practice, I found that it’s really not hard and you can get some amazing results.

Especially when you start small.    (Just make sure to read the package instructions)

My Springtime Delights magnet measures only 2″ x 2.

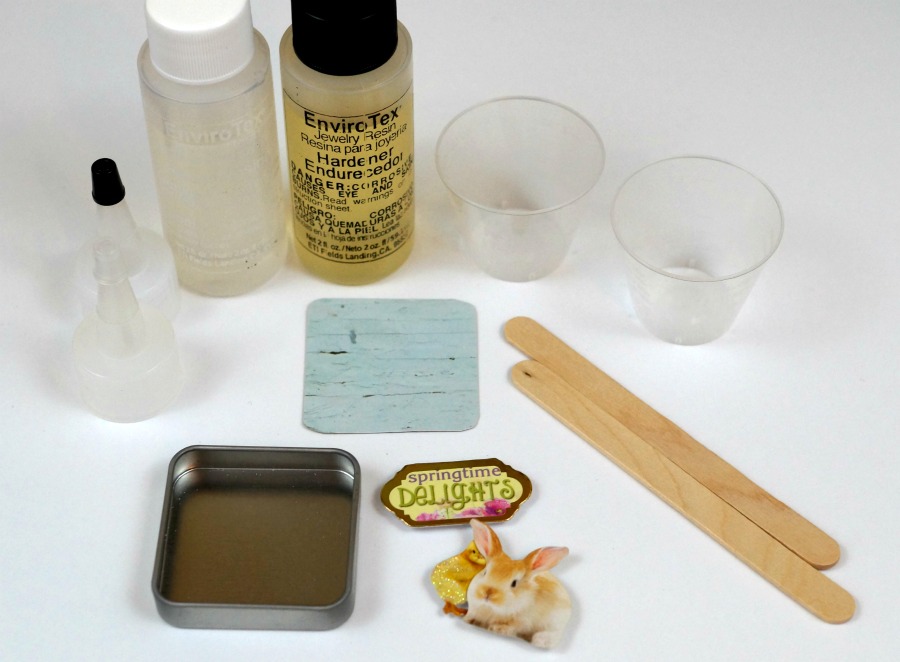
Materials:            (*affiliate link)

Directions:

Cut and glue a small piece of scrapbook paper to fit inside of tin.

Arrange 3D stickers inside of tin.  You may need to add extra glue under each sticker to make sure they stay in place.

Measure, Mix and pour the resin as directed in the product packaging.

Blow air onto the resin using a thin straw to help remove bubbles.

Allow plenty of drying time for the resin to cure before gluing magnet onto the back of the tin.

CreateForLess.com - Create More, Spend Less

*Disclaimer:  This post uses ads and affiliate links.  If you choose to make a purchase using one of the links, I receive a small commission (at no additional cost to you) that helps offset the costs of maintaining this blog.  Thanks for your support!

Stamping in White Embossing Powder


Good Old Embossing Powder…                             

When I was introduced to stamping in 1996, do you know what hooked me?

It was the Gold Embossing Powder.

The first time I watched them melt that gold embossing powder.  WOW!

At the time, I had a gift store and was looking for something new.

I can’t tell you how many people I hooked with that gold embossing powder.

Here’s a little throwback to where I started.

Back to embossing powder.  (this time with a twist)

For this project, I started with a oval that was cut from chipboard.

I rubbed Colorbox White Embossing Pad*  onto the surface of the oval.

Next, I poured White Embossing Powder* over the entire oval.

After pouring the excess powder off, heat the oval with a

Multi-Purpose Embossing Heat Tool*.

Make sure all the embossing powder is melted.

Repeat that step 3 or 4 times, building up a thick layer of embossing powder.

After it was thick enough, I added a little red ink to the edge of the oval and

inked up the “Windmill” stamp.

I heated up the oval again, making sure the powder was really hot and melted.

I pressed the inked stamp into the hot, melted powder.  Success!

I love the way it looks like red toile.  (which is something I collect)

*Disclaimer:  This post uses ads and affiliate links.  If you choose to make a purchase using one of the links, I receive a small commission (at no additional cost to you) that helps offset the costs of maintaining this blog.  Thanks for your support!

Holiday DIY with Old Kitchen Hardware

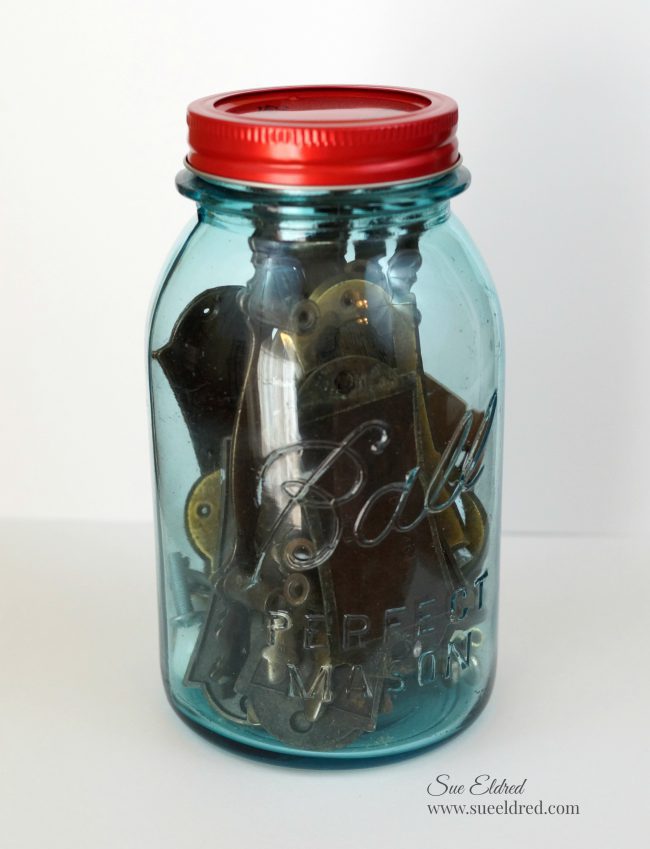
old-jar-of-hardware-sues-creative-workshop-3257

I have this old jar of assorted hardware on my shelf in my workshop.

I keep it just in case.  (Why you ask?)

Because I’m a “you never know” type of crafter.

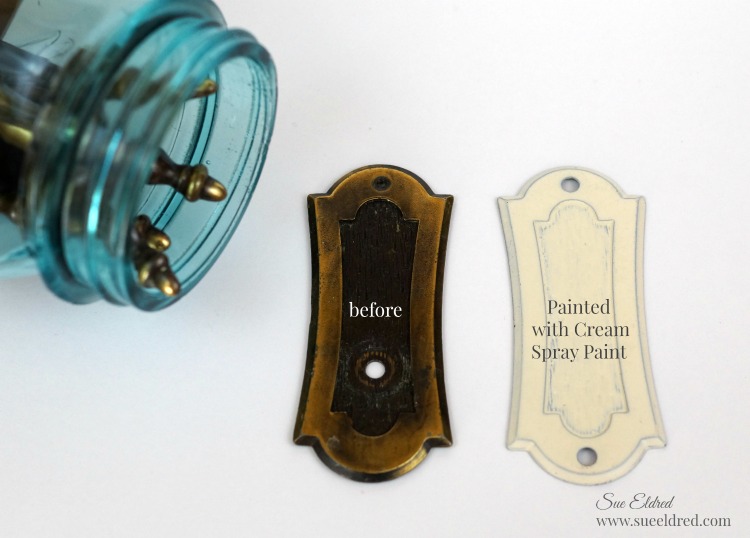
old-hardware-before-sues-creative-workshop-3261

I had picked up a bag of old kitchen hardware at a garage sale a couple years ago

for fifty cents and used it on a few projects and even made a couple of ornaments.

(you can see them here)


While it may be too late for you to make this year…

it’s an idea that you can put away on the shelf, so to speak, for next year.

old-kitchen-hardware-spray-painted-cream-sues-creative-workshop-3263

Here’s how I made my ornament…

After disassembling the hardware, I spray painted the base plate cream.

What a difference spray paint makes.

go-around-edge-of-the-hardware-with-silver-leaf-paint-pen-sues-creative-workshop-3266

I added silver around the edge using a  Chisel Point Calligraphy Paint Marker, Silver*    (*affiliate link)

embellish-the-top-of-the-ornament-with-pine-stem-and-glitter-berry-sues-creative-workshop-3267

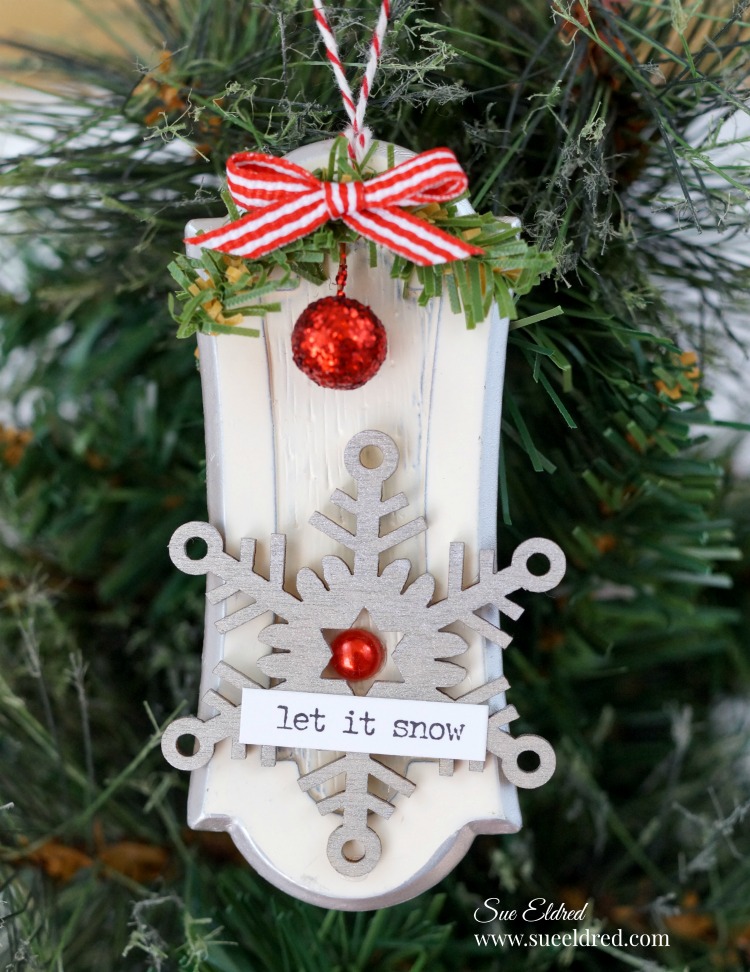
I used the small hole at the top of the hardware plate to string red and white twine.

I embellished it with a glitter berry cut from a glitter berry sprig (see previous picture)

wrapped around a small craft pine stem to form a small swag.

I glued the pine swag and small red and white bow to the hardware with

Beacon Adhesives Zip Dry.*

painted-snowflake-sues-creative-workshop-3271   let-it-snow-christmas-ornament-made-from-old-kitchen-hardware-close-up-sues-creative-workshop

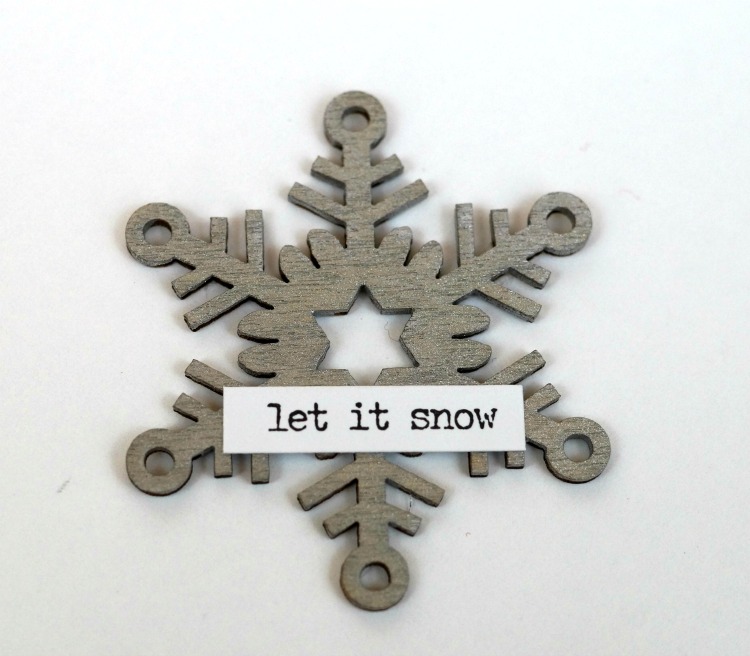
I painted a small wood snowflake, found at the craft store, with silver acrylic paint and added

the “let it snow” sticker from Small Talk Stickers by Tim Holtz Idea-ology*.

I added a small red pearl to cover the bottom hole in the hardware and glued the

snowflake on top.

let-it-snow-ornament-made-from-old-kitchen-hardware-sues-creative-workshop-3290

A quick and easy upcycled ornament for the Christmas Tree.

Join Amazon Kindle Unlimited 30-Day Free Trial

Disclaimer:  This blog uses ads and affiliate links.  If you choose to make a purchase using one of the links, I receive a small commission (at no additional cost to you) that helps offset the costs of maintaining this blog.  Thanks for your support!

How to make a Christmas Tree in a Bottle Necklace

mini-tree-in-a-bottle-necklace-sues-creative-workshop-1161

How to make a Christmas Tree in a Bottle Necklace

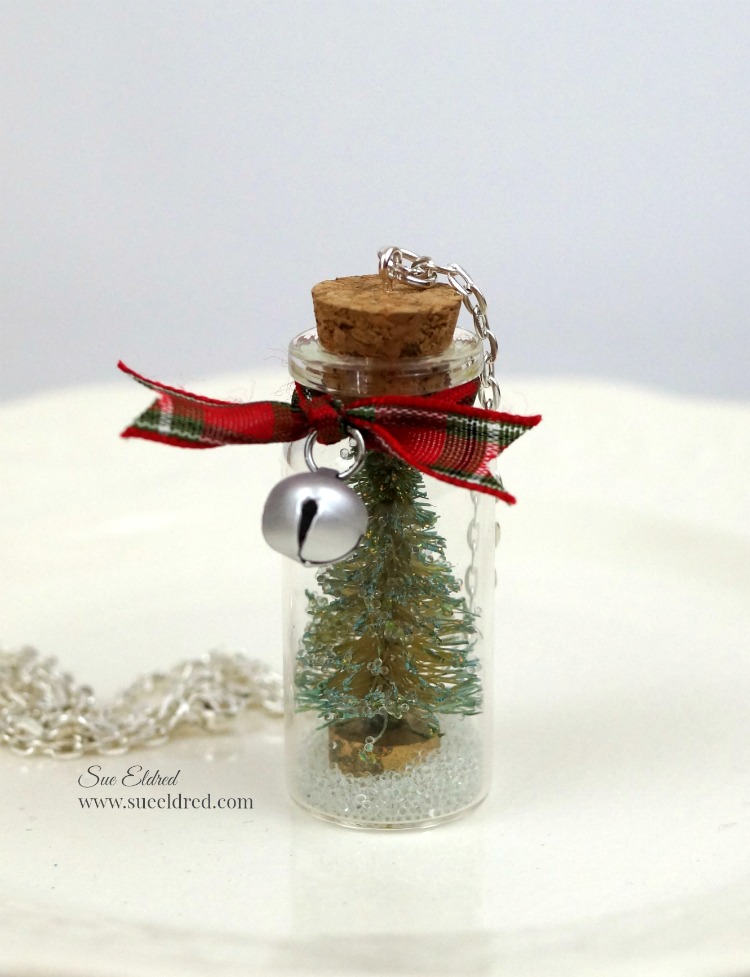
I got this idea from a project I’d seen made by Tim Holtz.  Of course, I had to find a cheaper way to make it.  I’ve seen small bottles like these at Hobby Lobby with the jewelry supplies.  (I got mine online.)

Very Important…Make sure the base of the tree is small enough to fit in the top of the bottle.

Materials Used:  (*affiliate link)

 Dollar Tree-Everything always $1 – Shop Now*

*Disclaimer:  This post uses ads and affiliate links.  If you choose to make a purchase using one of the links, I receive a small commission (at no additional cost to you) that helps offset the costs of maintaining this blog.  Thanks for your support!

Directions:

  1. Squirt several drops of peeled paint ink* into the mini mister* and dilute it with water.
  2. Place a bleached bottle brush tree onto a protective surface.  Generously spray the tree with the diluted ink.  (You may want to wear rubber gloves.  I took 3 days until the ink came entirely off my fingers.)
  3. After the tree is dry, rub glitter glue* onto the tree.  Allow glitter glue to fully dry before continuing.
  4. Apply a small bit of all-purpose adhesive* onto the end of the Q-tip.  Insert the Q-tip into the bottle and add the glue to the bottom center of the bottle.
  5. Using the reverse grip tweezers, insert the tree into the bottle, and stick onto the glue.
  6. Pour glitter or micro beads into the bottle.
  7. Add a thin layer of adhesive around the side of the cork and place it back into the bottle.
  8. Screw a loop screw onto the top of the cork and add a necklace.

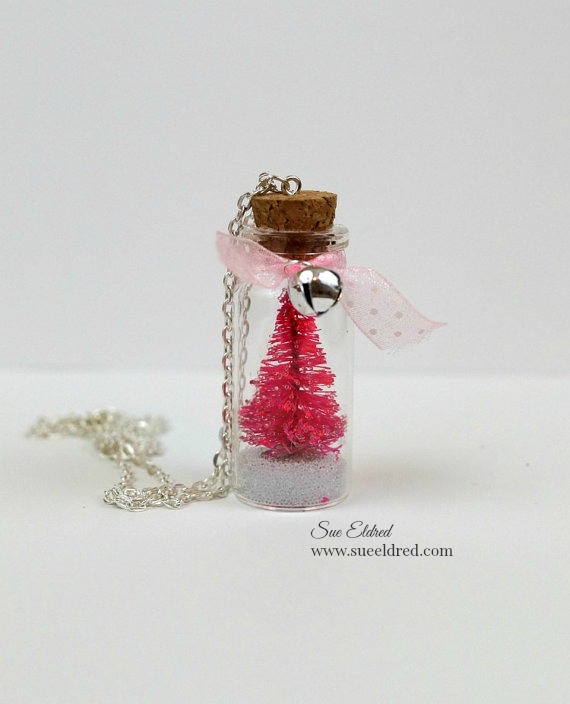
If you’re feeling a little funky…how about making your tree pink or purple? 

If you liked the Christmas Tree in a Bottle here’s another project you might like.

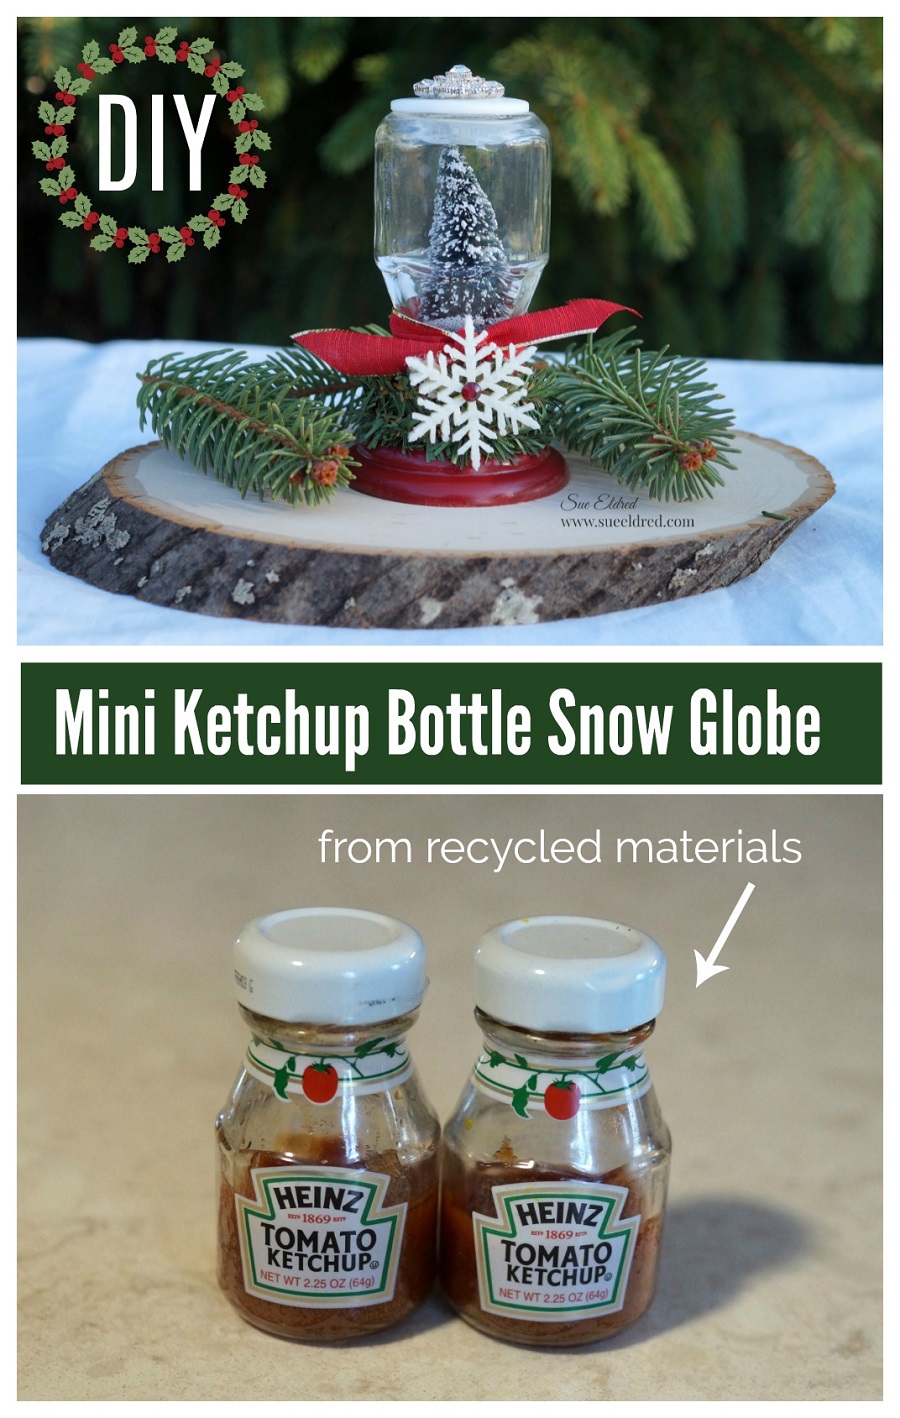
Click here for the Mini Ketchup Bottle Snow Globe Instructions. ↓

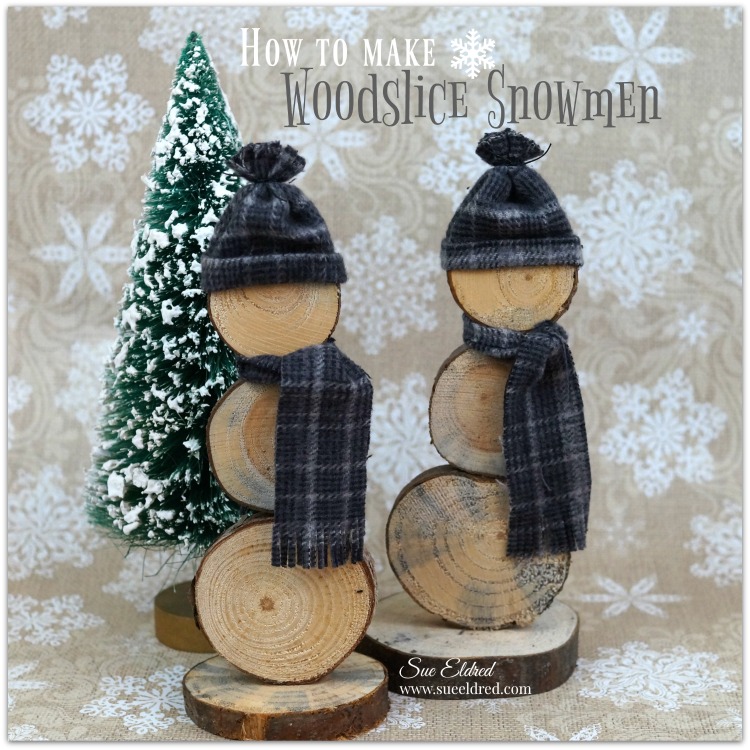
How to Make Wood Slice Snowmen

how-to-make-woodslice-snowmen-sues-creative-workshop-2854

What to do with a basket of Wood Slices*…

This past summer, when my husband was trimming the old pine tree,

I asked him to save a few logs from the branches.

I wasn’t sure then what I was planning to make but I knew I wanted

to save some just in case.

Disclaimer:  This blog uses ads and affiliate links.  If you choose to make a purchase using one of the links, I receive a small commission (at no additional cost to you) that helps offset the costs of maintaining this blog.  Thank You.

basket-of-wood-slices-sues-creative-workshop-1773

I asked my husband to cut wood slices out of the smaller logs using a circular saw.

If you don’t have access to a pine log or don’t feel like cutting Wood Slices*

you can also purchase them online.

woodslices-sues-creative-workshop-1767

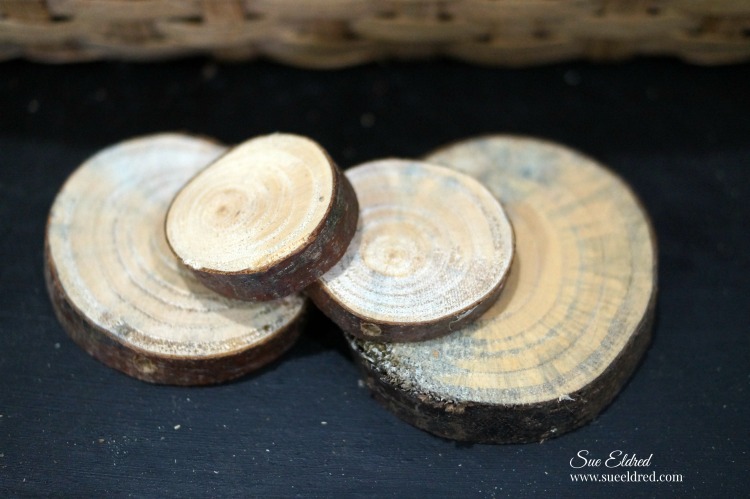
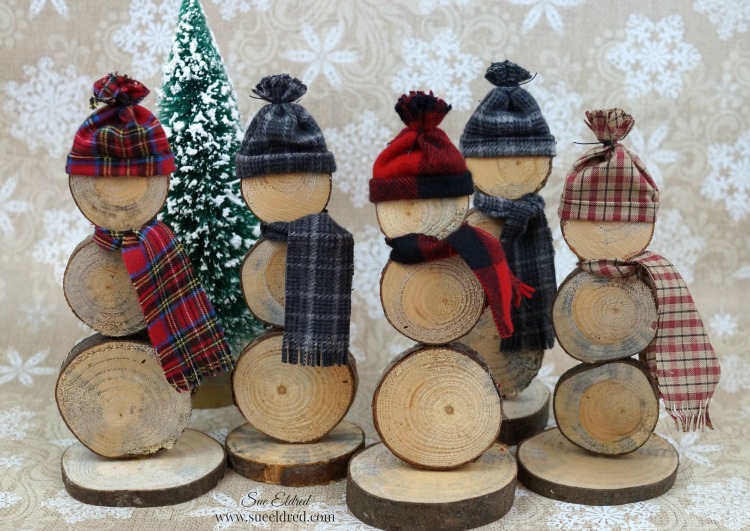
I picked out four wood slices of varying sizes.

drilling-the-hole-in-the-woodslice-sues-creative-workshop

I laid out the wood slices to determine placement of how I wanted them to go together.

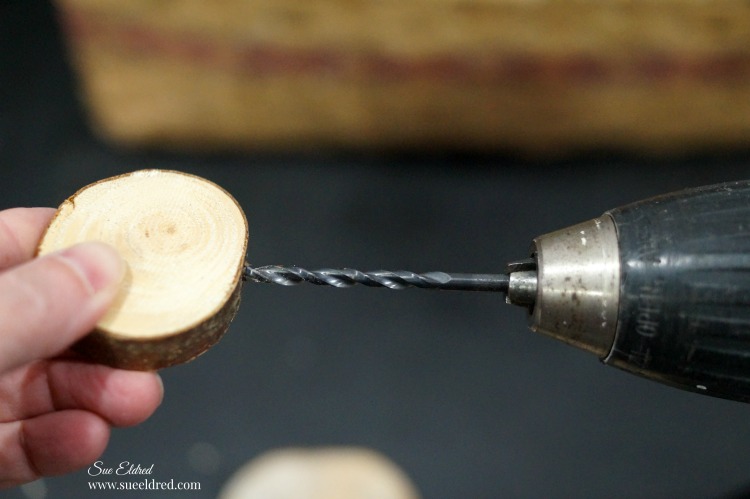
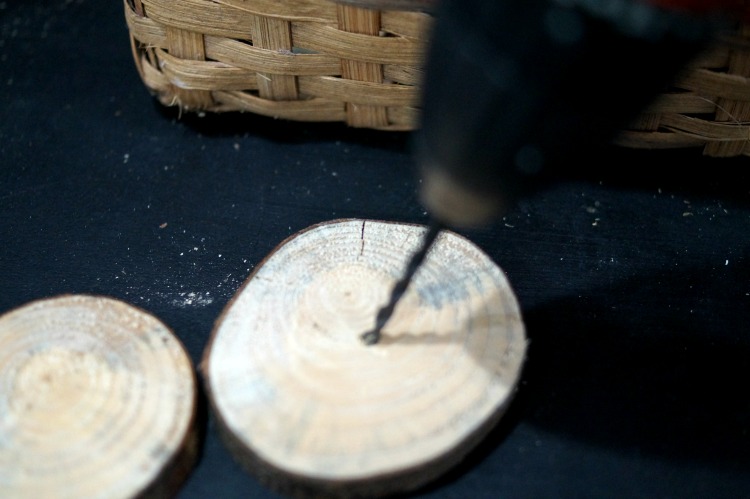
I drilled small holes on the end of the wood slices with a fine drill bit approx. 1/4-1/2″ into the

end of the wood.

putting-the-woodslice-snowman-together-sues-creative-workshop-2710

Using small dowel rods or bamboo skewers for reinforcement,

I inserted the rods into the holes with a squirt of Wood Glue*. 

Each wood slice has a small wood dowel piece in between to

hold the snowman together.

drilling-a-hole-in-the-base-sues-creative-workshop

Once the wood slice snowman was completely dry and stable,

I drilled a hole in the center of the largest wood slice to use as my base.

The Snowman is attached to the base using a small dowel and wood glue*.

how-to-make-woodslice-snowmen-2855

To decorate the snowman…

  • Cut a piece of flannel slightly larger than the area around the head.
  • Fold and glue a small cuff using Fabri-Tac Permanent Adhesive*.
  • Glue the ends of the flannel together to create a tall “tube”.
  • Glue tube onto the top of the Wood Slice Snowman’s head,
  • Tie the top of the tube with a piece of string or thread.
  • Trim and fringe the excess fabric on the top of the tube to make it look like a hat tassel.
  • Cut a longer 1″ wide piece of flannel to tie around the neck of the snowman.  Don’t forget to fringe the ends.

wood-slice-reindeer-ornament-sues-creative-workshop-1186

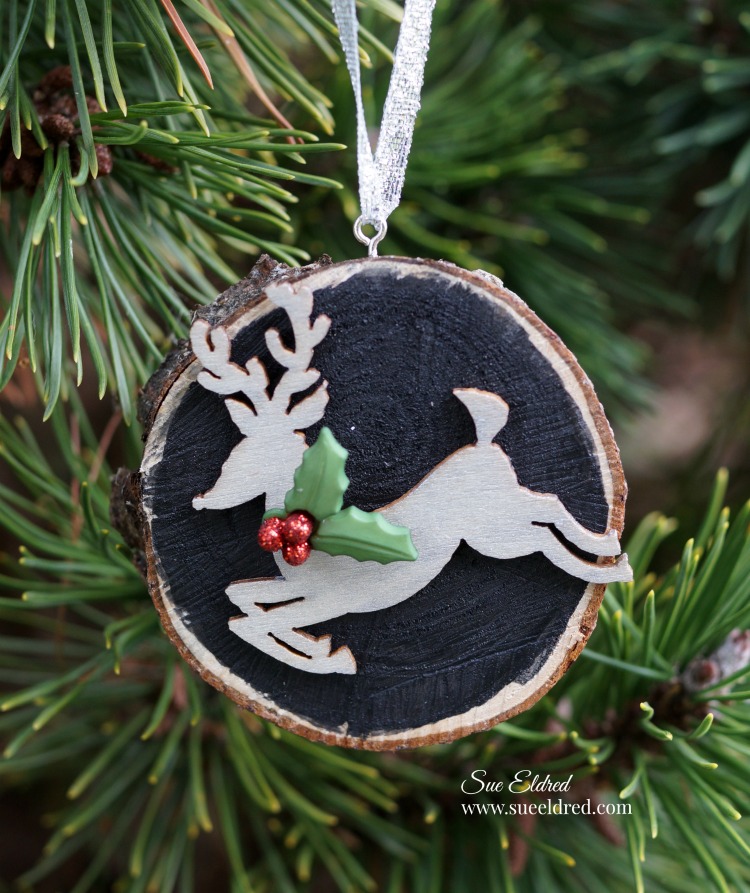
To make a Reindeer Wood Slice Ornament…

  1. Paint the center of the wood slice with black chalkboard paint.
  2. Paint the reindeer cut out with silver acrylic paint.
  3. Glue reindeer onto wood slice with quick dry glue.
  4. Glue glitter holly berries embellishment onto reindeer.
  5. I used a push pin to start a small hole on the end of the wood slice.
  6. Screw a loop screw into the hole and add a ribbon to hang.

For more Wood Slice Projects Click on the Pictures below.


Don’t Miss a Thing…Make Sure to Follow me

Give the Gift of Amazon Prime*

Save