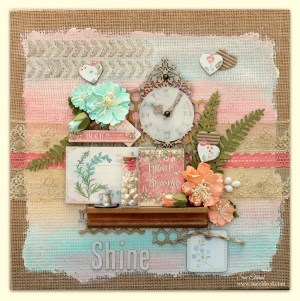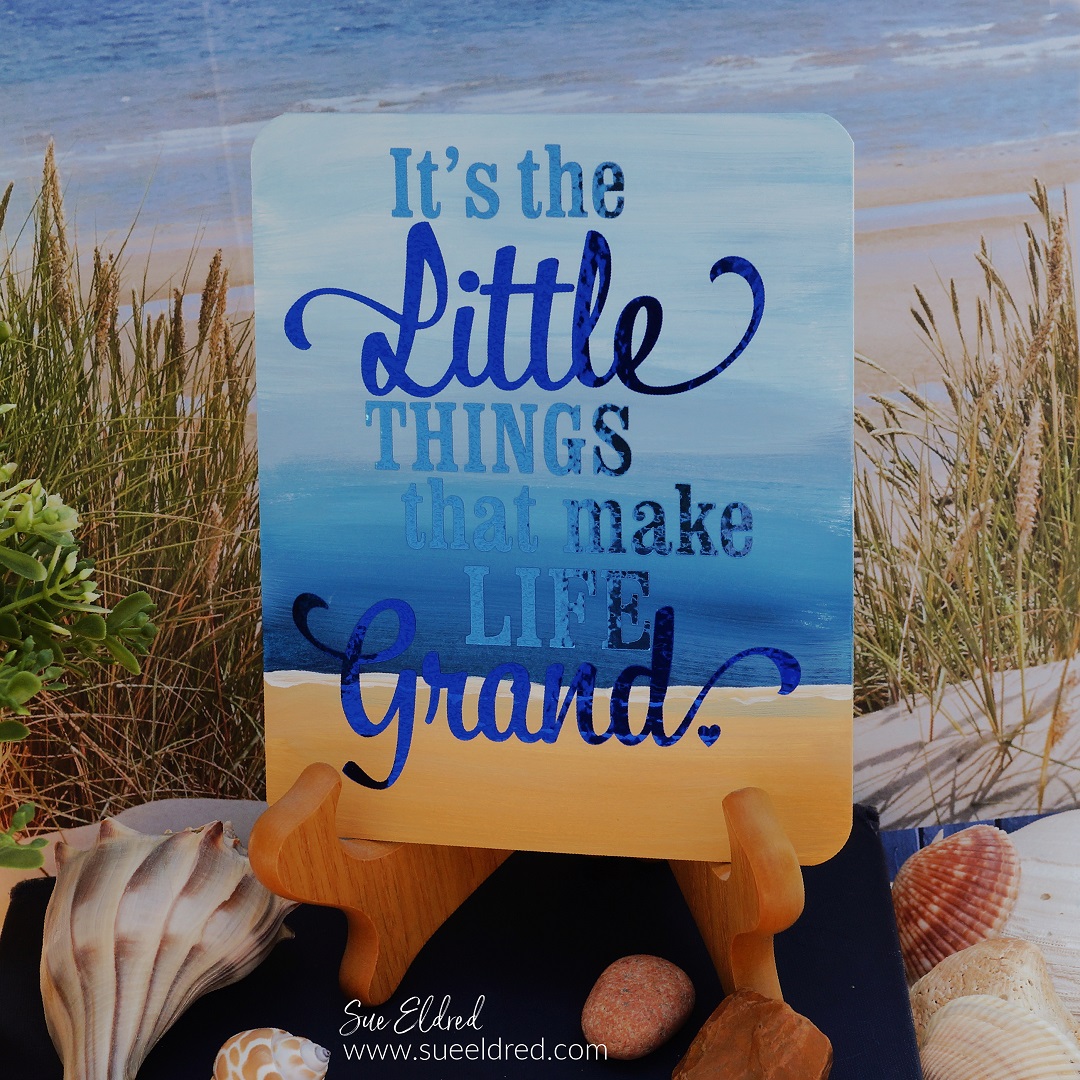
It’s the Little Things that Make Life Grand.
Inspired by my recent trip to the ocean, I decided to create a simple mini painting
to add to the shell collection on my mantel.
![]()
“This is a sponsored post. As a member of the StyleTechCraft Design Team I have been provided product and compensation in exchange for my creative ideas. The views and opinions are my own.
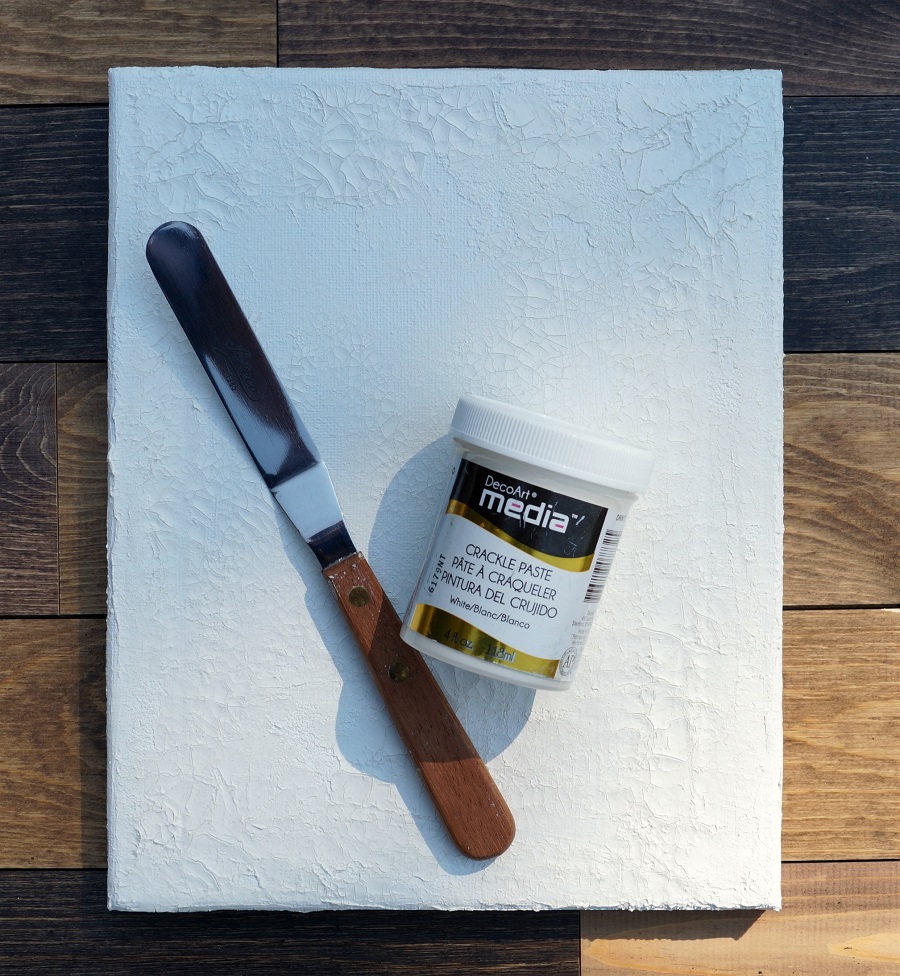
Directions:
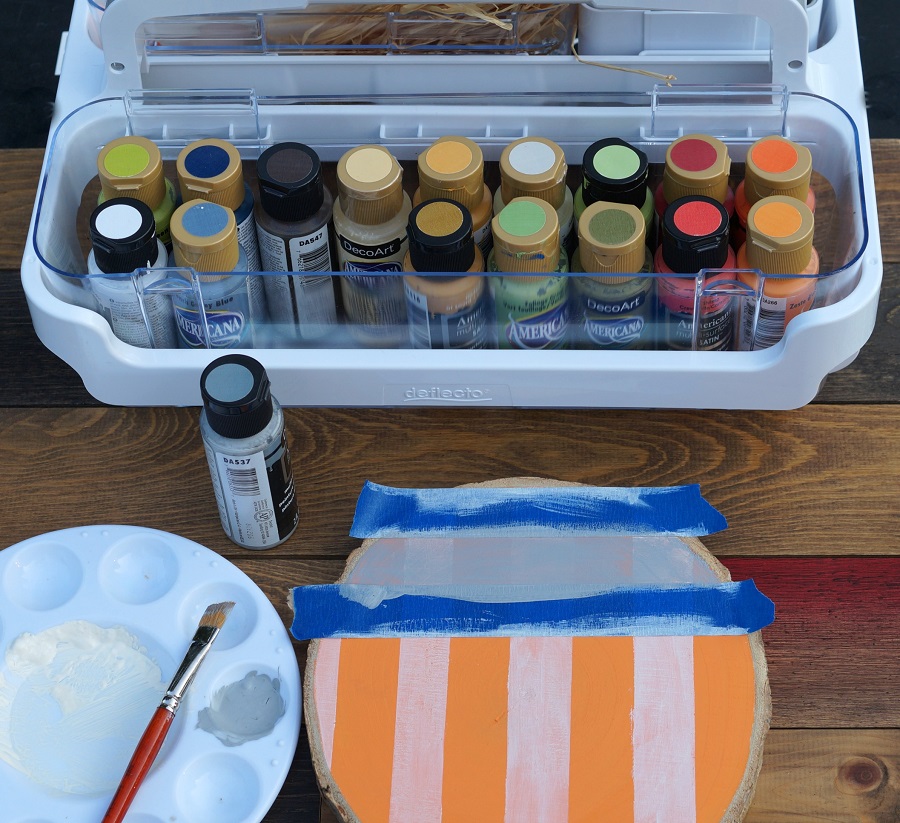
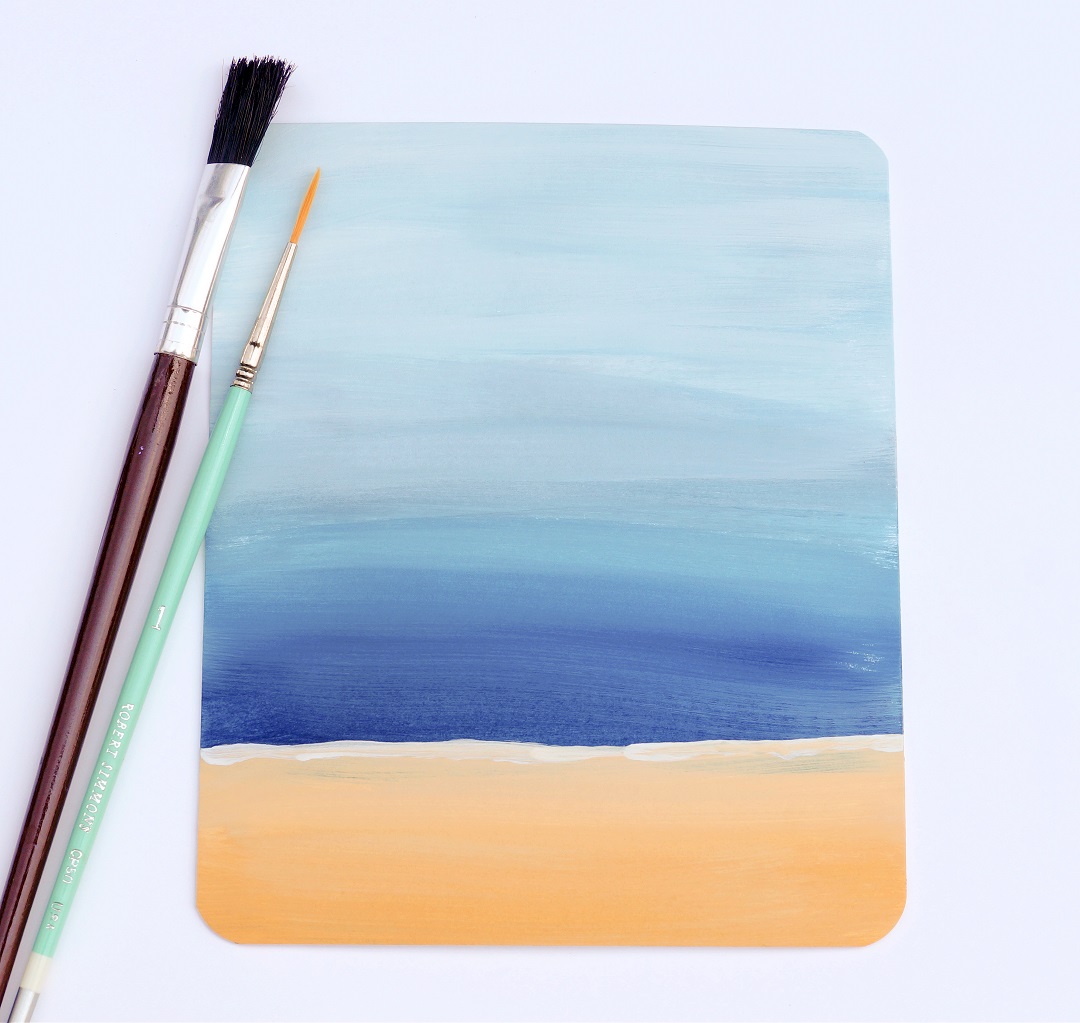
- Start two-thirds down on your mat board and start blending shades of blue and white acrylic paint.
- Leaving the bottom third for painting the sand.
- Add a thin layer of white paint between the blue and the sand.
- Allow the paint to dry. You can speed up the process using a hairdryer.

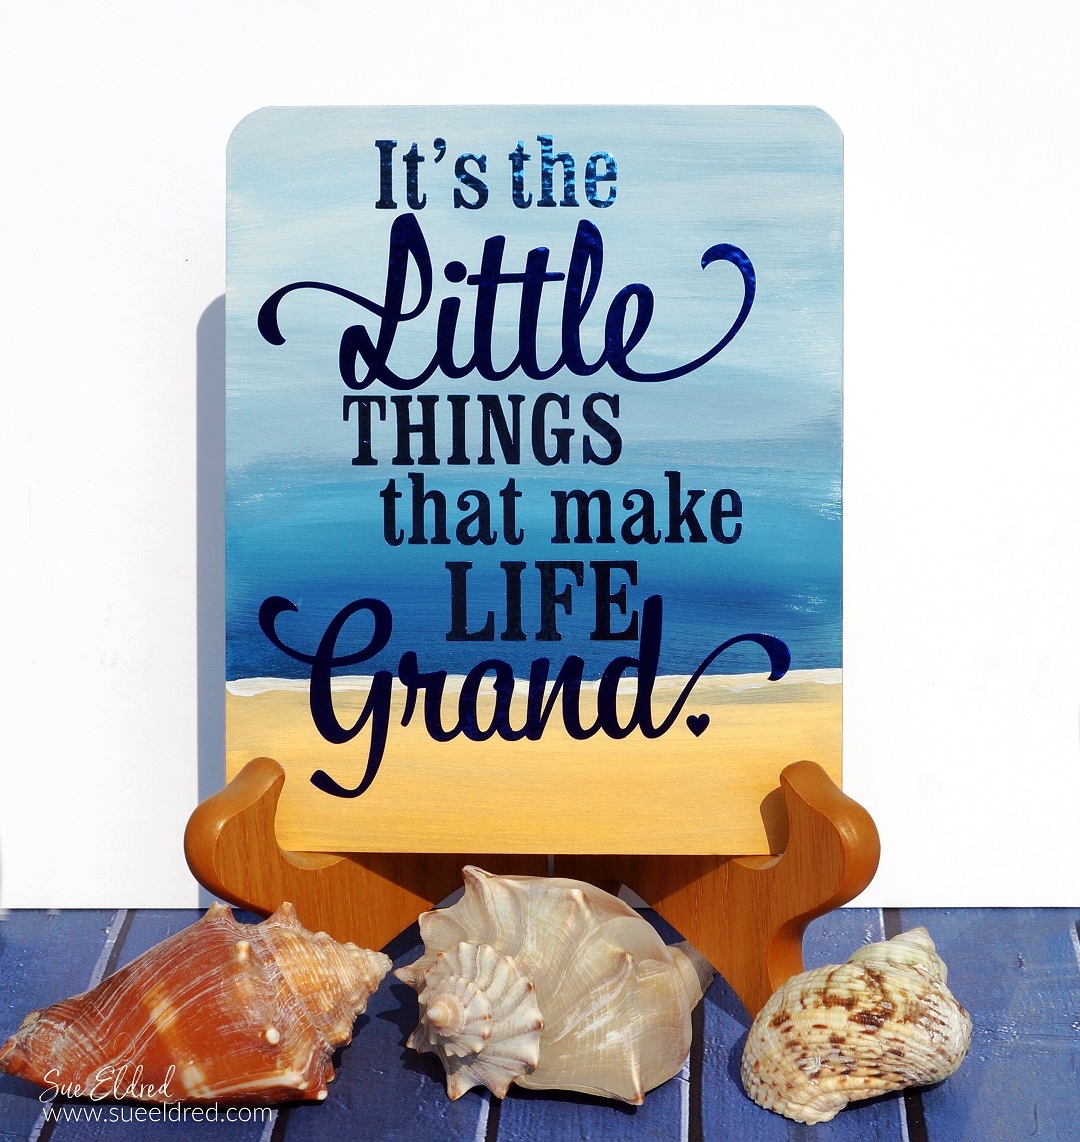
- Using an SVG File (from the Silhouette Store) and my Silhouette Cameo Electronic Die Cutting Machine*
, I cut out the words “It’s the Little Things…” out of Blue and Light Blue Chrome Adhesive Vinyl.
- Place the words onto the mat board using transfer tape*.
- Rub over the words with a vinyl scraper tool to make sure “the words” have transferred.
Materials Used: (*affiliate links)
- 5″ x 6″ White Mat Board
- DecoArt Acrylic Paint: White, Navy Blue, Midnight Blue and Marigold
- Paintbrushes
- StyleTechCraft 00BL Blue Chrome Vinyl*
- StyleTechCraft 00LBL Light Blue Chrome Vinyl*
- StyleTechCraft Vinyl Tool Kit*
- StyleTechCraft Vinyl Transfer Tape*.
- Silhouette Cameo Electronic Die Cutting Machine*
- “It’s the Little Things” SVG File (Silhouette Store)

*Disclosure: This blog uses ads and affiliate links. If you choose to make a purchase using one of the links, I receive a small commission (at no additional cost to you) that helps offset the costs of maintaining this blog. Thanks for your support!

- The smaller words were cut out of Light Blue Chrome Vinyl* and placed on the mat board first.
- The larger cursive words were cut out of Blue Chrome Vinyl*.
- I used the spacing provided with the SVG file to determine where to place the larger words.

- Using a vinyl scraper tool, rub over transfer paper to make sure the words have transferred to the mat board.
- Gently pull the transfer paper away from the mat board.
It was so fast and easy to make.
Of course, for you more talented people, feel free to add more details.

A little different look…
For this one, instead of painting sand, I went with a blue Ombre look.
Instead of using two tones of blue, I used Brushed Gold Chrome Vinyl*.

If you’re into Scrapbooking…
I think this mini matboard painting would also make the perfect cover for a mini scrapbook.
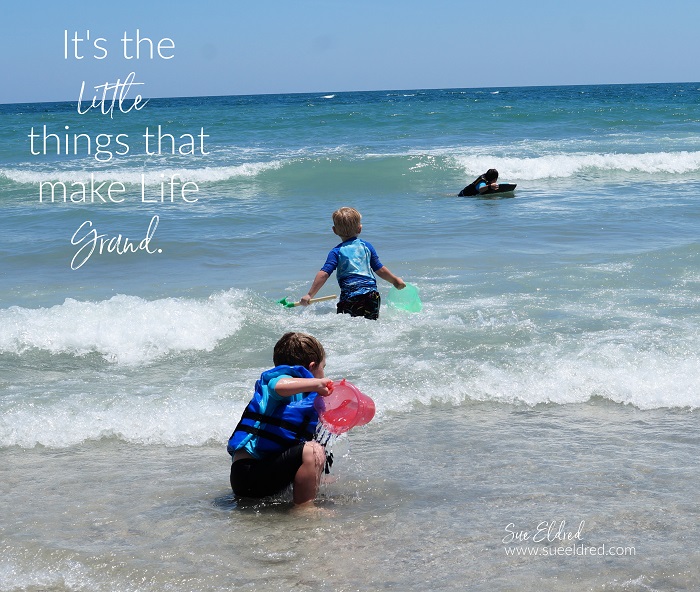
Our Family Vacation.
My son and his family joined us on our vacation this year.
I loved being together with them.
It was so much fun watching the boys play in the sand and learn how to boogie board.
Even the four-year-old became a “Boogey Board Pro”!