“I only have Pies for You” happy day tag

"I Only Have Pies for You" tag.

My sister-in-law loves to bake pies.

When it comes to Thanksgiving, there is almost a pie-per-person ratio.

It’s not just pumpkin, but peanut butter (my favorite),

cherry, and chocolate pies. (To name a few.)

So, when I saw the new “I only have pies for you” soap from Bath and Body,

I knew I needed to pick it up for her.

It’s not only perfect, but it smells wonderful too.

"I Only Have Pies for You" tag.

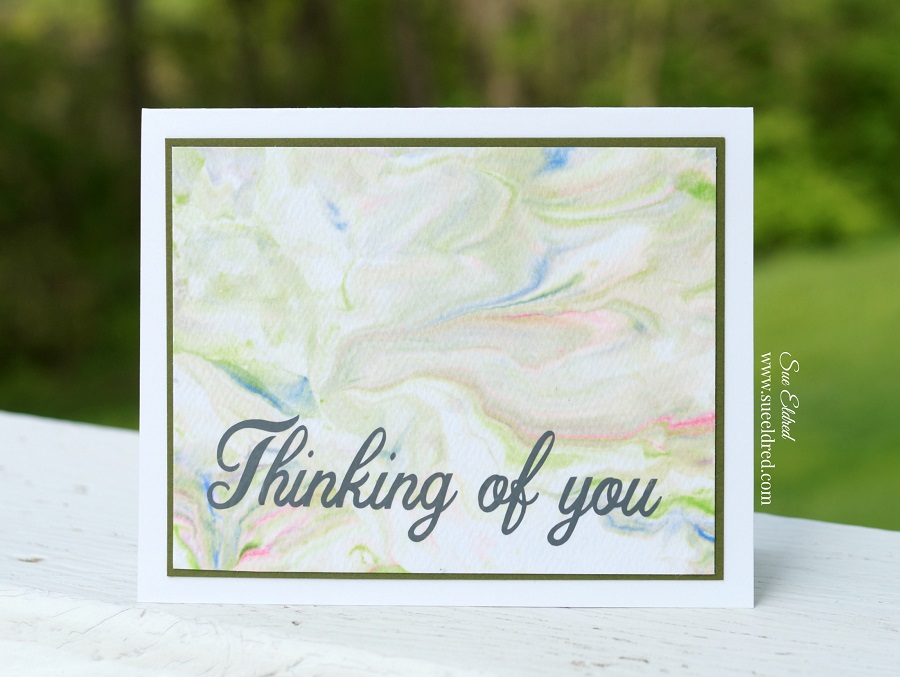
Since her birthday is right around the corner,

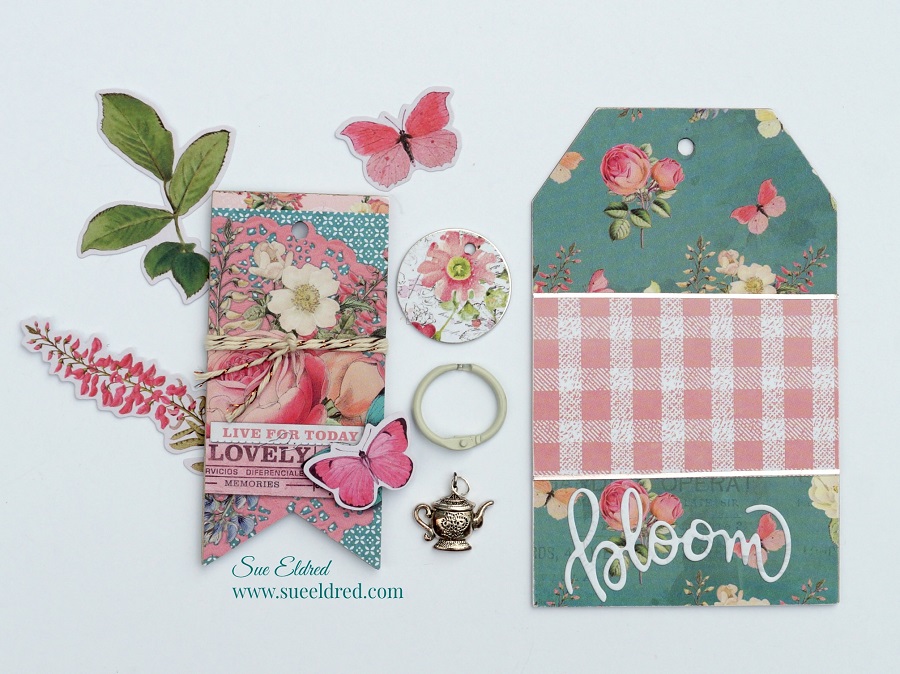
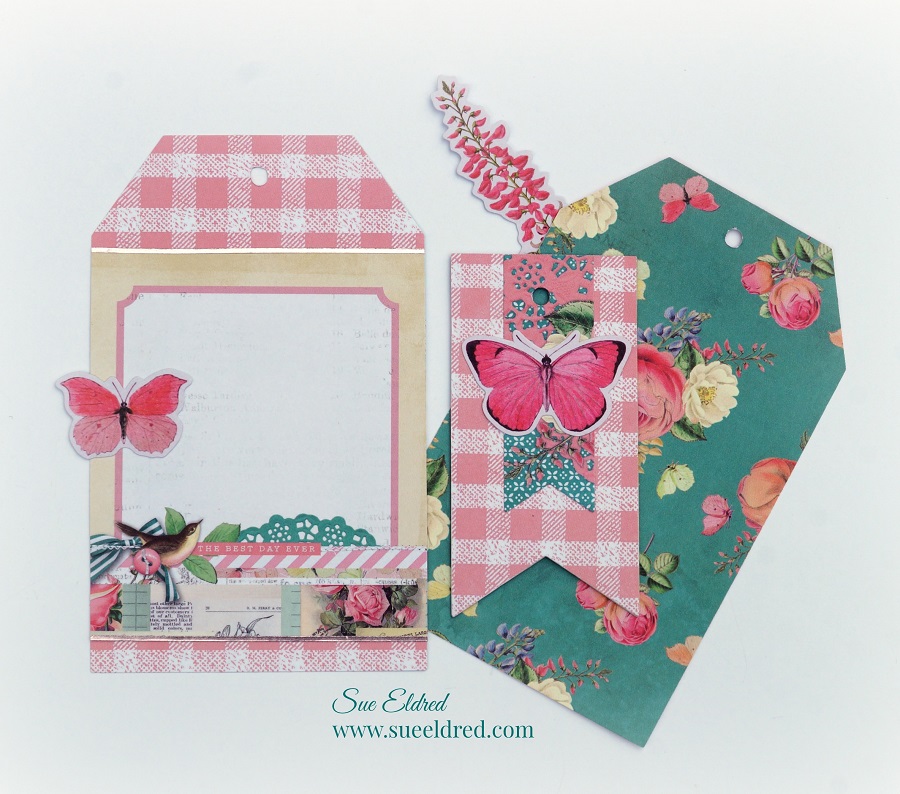
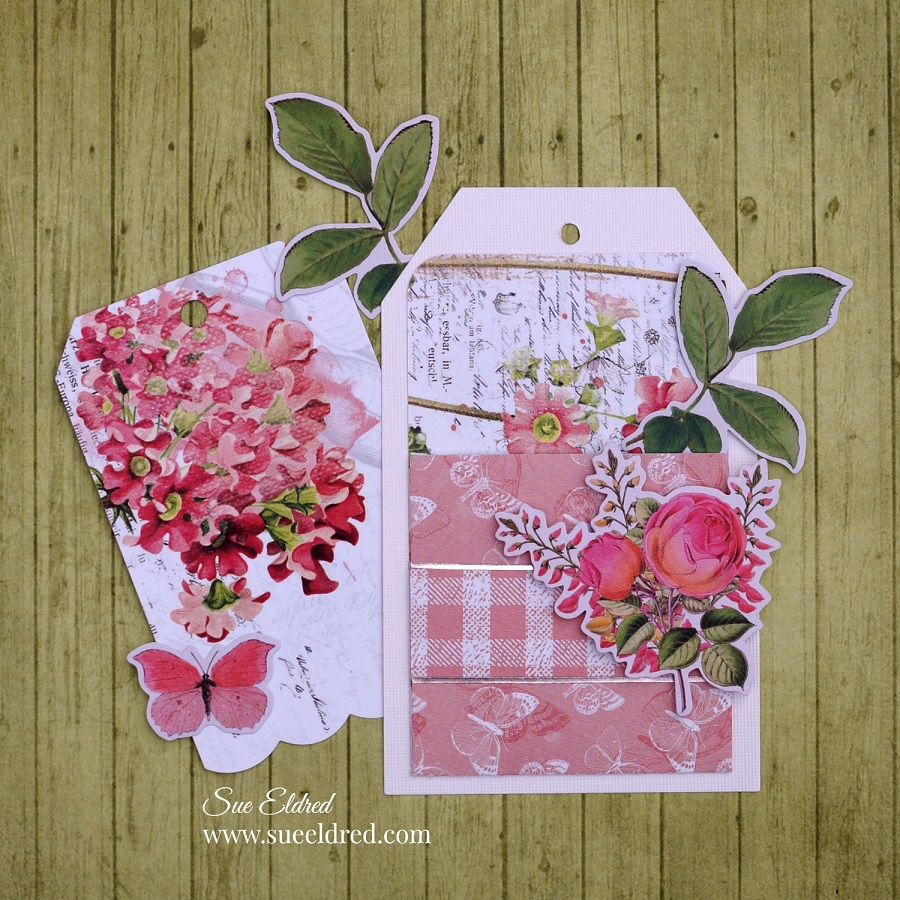
I thought I’d make her a special pie tag to go with it.
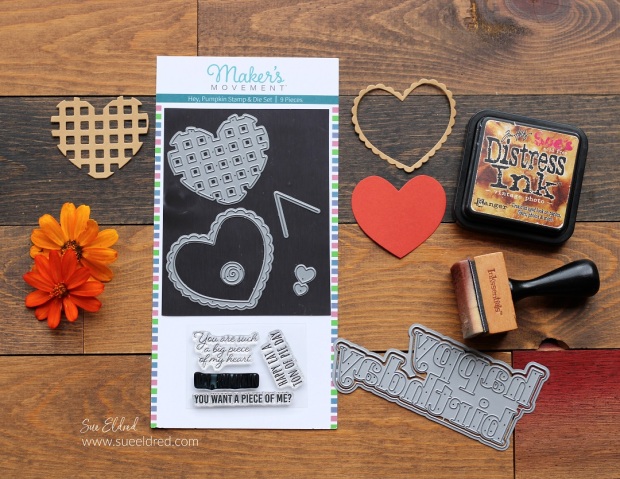
The Hey, Pumpkin Stamp & Die Set* from

The Maker’s Movement was just the die to make the tag.

Maker's Movement

Disclosure:  This is a sponsored post for The Maker’s Movement*.  I have been provided product and compensation in exchange for my creative ideas.  The view and opinions are my own. 

"I Only Have Pies for You" tag.

Materials Used:      (*Affiliate Links)

*Disclosure:  This blog uses ads and affiliate links.  If you choose to make a purchase using one of the links, I receive a small commission (at no additional cost to you) that helps offset the costs of maintaining this blog.  Thanks for your support!

"I Only Have Pies for You" tag.

Two of my favorite hardworking little machines.

  • Before I die-cut all the small pieces, I ran the cardstock through the Xyron Create a Sticker Mini*.  It makes all the die-cuts into stickers and that makes assembling the card easy.
  • The 
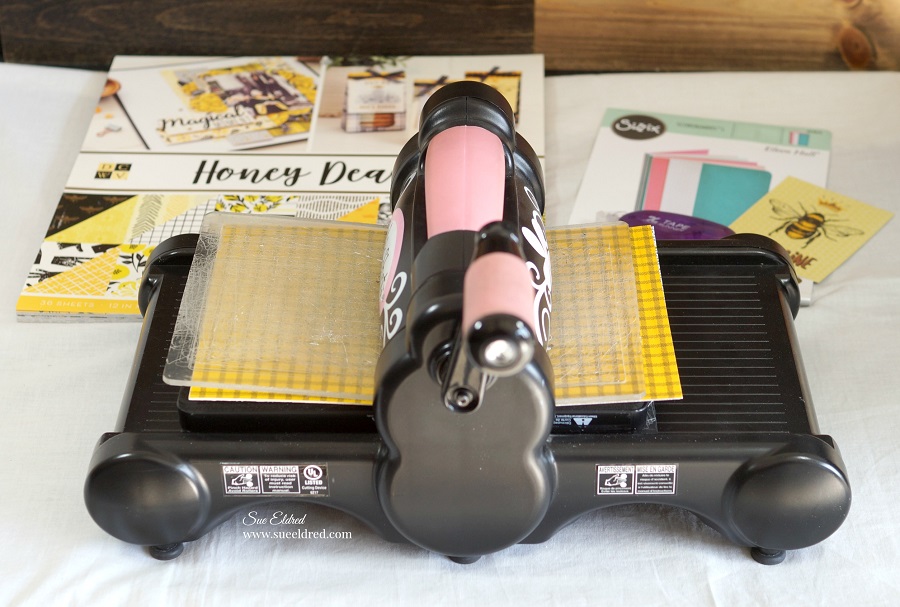
Mini Maker Die Cutting Machine
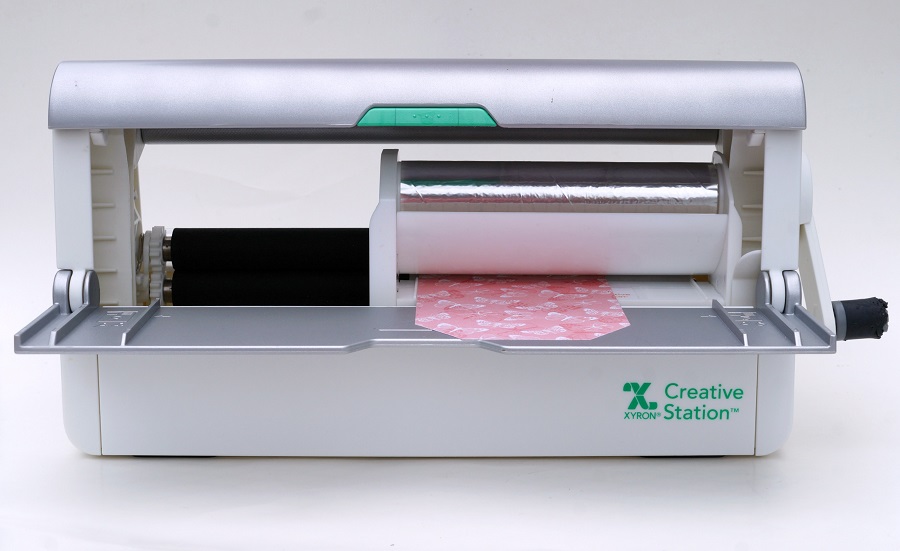
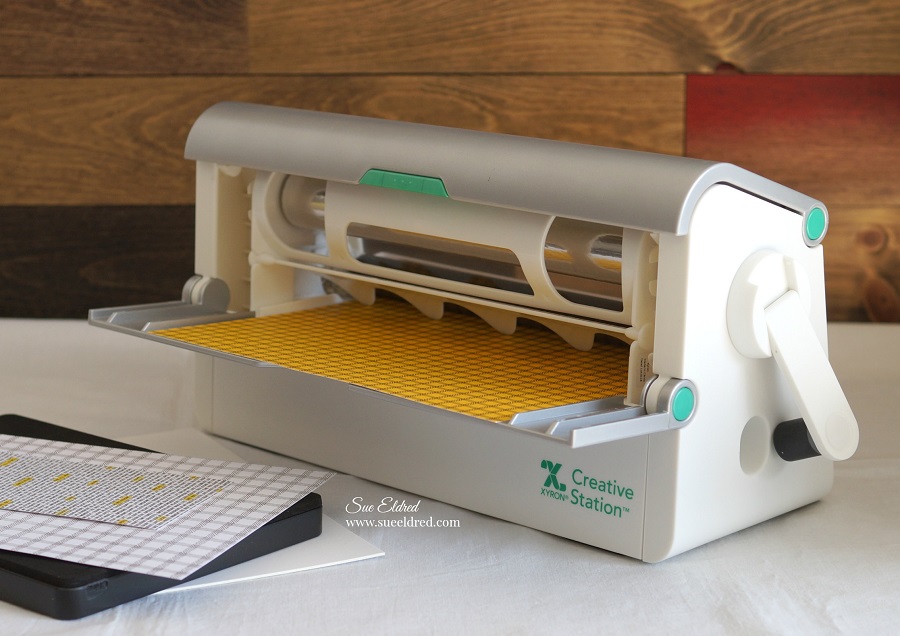
* makes quick work of die cutting.  And it doesn’t take up a lot of space.

"I Only Have Pies for You" tag.

A special tag for my favorite pie maker.

Sue’s “Dress My Crafts” Giveaway!!!

Dress My Crafts Giveaway

Calling All Paper Crafters…

How would you like to WIN a fun selection of Crafty Swag?

The great people at Dress My Crafts have generously given me a

fantastic assortment of Crafty Goodness to give away to one lucky person.

Rub-On Transfers, Embossing Folder, Border Die, Tweezers, Funnel Tray,

and a great selection of embellishments. (A Retail value of over $50)

Dress My Craft Logo

There are several ways to enter:

  • Leave a comment on this post telling me you’d like to win.
  • Follow, Like and Comment on my Facebook Page
  • Follow, Like and Comment on my Instagram Page
  • US Entries Only
  • Enter by Midnight Wednesday CT, May 4, 2022

*Disclosure:  This blog uses ads and affiliate links.  If you choose to make a purchase using one of the links, I receive a small commission (at no additional cost to you) that helps offset the costs of maintaining this blog.  Thanks for your support!

Thankful & Blessed Fall Inspiration

Thankful and Blessed Framed Decoration

Thankful & Blessed DIY Framed Inspiration…

One of my favorite parts about decorating for the seasons is creating new decorations

to add to the mix. The Thankful & Blessed Framed Inspiration uses an inexpensive

Dollar Tree* frame, a few pieces of scrapbook paper, and StyleTechCraft Luster vinyl.

“This is a sponsored post.  As a member of the StyleTechCraft Design Team I have been provided product and compensation in exchange for my creative ideas.  The views and opinions are my own.

Thankful & Blessed DIY Framed Inspiration

Materials Used:     (*affiliate links)


Everything always $1 at Dollar Tree – Shop Now

*Disclosure:  This blog uses ads and affiliate links.  If you choose to make a purchase using one of the links, I receive a small commission (at no additional cost to you) that helps offset the costs of maintaining this blog.  Thanks for your support!

Thankful & Blessed DIY Framed Inspiration

Directions:

  • Choose three pieces of coordinating 12″ x 12″ scrapbook paper to use in the frame.  
  • Cut the background paper to fit inside of the frame opening.  (mine measured 11 ½” x 11 ½”)
  • Cut and adhere a 4″ strip of paper to go horizontally across the center of the background. 
  • Using an SVG File (from the Silhouette Store) and my Silhouette Cameo Electronic Die Cutting Machine*, cut the words “Thankful & Blessed” out of StyleTechCraft Champagne Luster Adhesive Vinyl*.  I sized my words to fit on a 4″ x 5 ½” piece of mat board*.

Thankful & Blessed DIY Framed Inspiration

  • Cover a 4″ x 5 ½” piece of mat board* with decorative scrapbook paper.
  • To cover the white core of the mat board, edge the mat board using a bronze chisel point paint marker.
  • Cut a 4 ¼” x 5 ¾” piece of Bronze Luster Vinyl*.  Apply the vinyl centered onto the strip
  • Adhere the covered mat board* centered over the Bronze Luster Vinyl*.

Thankful & Blessed DIY Framed Inspiration

Thankful & Blessed DIY Framed Inspiration

  • Rub over the vinyl words with the scraper tool to make sure the words have transferred to the mat board.

Thankful & Blessed DIY Framed Inspiration

  • Gently lift and remove the transfer paper.
  • Add to the frame with or without the glass.

Thankful & Blessed DIY Framed Inspiration

A Simple and Inexpensive Framed Fall Inspiration for my mantel.  

Another thought…after the Holidays, you could also add photos to the background

for a quick and easy scrapbook page.

Simple Easter Slimline Card

A Sweet Little Easter Slimline Card.

My favorite time of the year is Spring.  I love celebrating Easter and the new flowers popping out

of the ground and sweet little bunnies and chicks that fill Easter Baskets.

My Simple Easter Slimline Card was made using dies and stamps from The Maker’s Movement.

Disclosure:  This is a sponsored post  for the Maker’s Movement.  I have been provided product and compensation in exchange for my creative ideas.  The view and opinions are my own.

Here’s what I used to make the card:       (*affiliate link)

Shop Tombow

*Disclosure:  This blog uses affiliate links.  If you choose to make a purchase using one of the links, I receive a small commission (at no additional cost to you) that helps offset the costs of maintaining this blog.  Thanks for your support!


Making Slimline Cards are so easy with the Slimline Essentials Die Set
from The Maker’s Movement.  Perfect for layering and adding windows.

Just enough space for a simple stamped greeting in the center of the card.

Add a couple stamped and colored images to your slimline layers and you have a simple and quick card.

Simple Vintage Garden Tag Album

How to make a Simple Vintage Garden Tag Album.

In keeping with the pretty in pink theme, I created

a sweet little tag album made with the Simple Vintage Garden District Collection

from Simple Stories and several tag dies from The Maker’s Movement.

(To say I love this collection would be an understatement.)

*FTC Disclosure… “This is a sponsored post for The Maker’s Movement.  I have been provided product and compensation in exchange for my creative ideas.  The views and opinions are my own.”

Here’s what I used:                        (*affiliate link)


*Disclosure:  This blog uses ads and affiliate links.  If you choose to make a purchase using one of the links, I receive a small commission (at no additional cost to you) that helps offset the costs of maintaining this blog.  Thanks for your support!

Directions:

  • Cut two large tags out of thin chipboard using the Crossover II Die Cut Machine for the front and back cover of the tag album.
  • You may need to run it through the roller twice before picking it up the tag to make sure it cut all the way through.
  • Cut additional tags using decorative scrapbook paper for the inside pages.

The Crossover II Fabric & Paper Cutting System* has adjustable rollers and pressure settings.  It adjusts for multiple layers and allows you to be able to cut a variety of thicknesses.  It can cut fabric, faux leather, craft foam, chipboard, felt and, several other materials.

  • You will need to use four tags for the front and back of the tag album cover.
  • Place the tag design side up on the  Xyron Creative Station* crank the handle to run the tag through the machine.  As it moves through the Xyron Creative Station it adds adhesive to the back of the tag.
  • Remove tag from the protective liners and adhere to the front and back of each chipboard tag.

(FYI…I used the 5″ Permanent Adhesive Refill Cartridge*  in the Xyron Creative Station.)

I used a lot of dimensions to create the front cover.

  • Cut a small banner from thin chipboard, cover it with decorative scrapbook paper the same way as the front and back covers.
  • Cover the small metal rimmed tag with circles cut from scrapbook paper.
  • Use twine to tie around the banner and a small teapot charm to hang from the book ring.
  • Create a “bloom” word sticker using the Xyron Creative Station and a small piece of off white scrapbook paper.  Use the bloom word die from the “In Full Bloom” stamp and die set and cut it using the adhesive paper.

  • Decorate and embellish the inside pages using pieces from the ephemera set, and banners.

  • This page was created using the Library Pocket Die Set and the Nested Square Tags Die Set.

Fill your tag album full of fun memories and use it as a sweet gift for someone special.

Save

Sweet Summer Flower Stand Card

Sweet Summer Flower Stand Card

It’s always a good day when I get to buy flowers.  

I stopped by the Garden Center this morning to pick up a few more.  (can you have too many?)

I LOVE FLOWERS!

I was so excited when I got the opportunity to make a sample for Maker’s Movement using

the new Lemonade Stand Stamp and Die Set.  It is so versatile. 

It makes a cute little Lemonade Stand, Flower Stand, and Fall Cider Stand.  

*FTC Disclosure… “This is a sponsored post for The Maker’s Movement.  I have been provided product and compensation in exchange for my creative ideas.  The views and opinions are my own.”

Here’s what I used to make the Sweet Summer Flower Stand:            (*affiliate link)


*Disclosure:  This blog uses ads and affiliate links.  If you choose to make a purchase using one of the links, I receive a small commission (at no additional cost to you) that helps offset the costs of maintaining this blog.  Thanks for your support!

Building the Flower Stand

  • When clearing out my mom’s paper collection, I found this woodgrain cardstock.  I never knew what to use it for until I made this card.  Now I wish I could tell you where to find it.
  • The flower stand die has three sizes of dies to use as the board to build the stand.
  • I adhered two pieces of paper together to create thickness.  Run paper and dies through the Crossover II die-cutting machine to cut the shape.
  • I used basic building construction to make my stand.
  • For the awning, I die-cut two pieces.  (one striped, one blue floral)  Cut two sections from the blue floral and adhere to the striped awning piece.

Super Simple Watercolor Background

  • The key to the background is to use watercolor paper.
  • A simple swish with a wet brush and blue watercolor paint to create the background.

Lots of Dimension and Details

  • What makes this card special is all the little details.
  • I used a lot of foam dots behind the various pieces to create a lot of dimension.
  • I doubled up the foam dots under the awning and sign.

I loved the way the card turned out.   I will be making a Cider Stand for fall soon.

Shop Now!

Shaving Cream Art

Create Unique One of a Kind Art with Shaving Cream.

Shaving Cream Art is a fun project that the whole family can participate in.

How to Create Shaving Cream Art

Materials Needed:

I use the Deflecto Stackable Caddy Organizer* to hold my ink refills and other crafty supplies.

*Disclosure:  This blog uses ads and affiliate links.  If you choose to make a purchase using one of the links, I receive a small commission (at no additional cost to you) that helps offset the costs of maintaining this blog.  Thanks for your support!

Shaving Cream Art can get a little messy so a little prep work is necessary.

  • For easy clean up…Place a piece of wax paper* over a large baking sheet.
  • Add shaving cream onto wax paper.
  • Add several drops of ink onto the shaving cream.

  • Use a craft stick* to swirl the ink into the shaving cream.
  • Do not over stir or the shaving cream will become muddy.

  • Place card-stock directly onto the shaving cream and lightly Smoosh.

  • Carefully lift the card-stock from the shaving cream.

  • Use the scraper tool* to scrape the excess shaving cream from the card-stock.

  • Without re-stirring the shaving cream, you can repeat the process several more times.
  • The first one will be the most vibrant and will get subtly lighter each time.

Each one will be different and will lighten as they dry.

You can use this process to create even larger pieces of art. 

Shaving Cream Art also makes a great background for card-makers.

Disclosure:  “This is a sponsored post. As a member of the Deflecto Design Team I have been provided product and compensation in exchange for my creative ideas, views and opinions.”


Don’t Miss a Thing…Make Sure to Follow me

If you liked the Shaving Cream Post you might like Gnome Gardening with Boys.

Save

Save

Save

PIN ME↓

Bloom with Grace Card

How to Make Soft and Delicate Looking Paper Roses…

Bloom with Grace…A sweet and simple card using the In Full Bloom Stamp & Die Set

from the Maker’s Movement and the Spring Farmhouse paper from Simple Stories.

A great card for feminine Birthdays or Graduations

or anytime you want to send a little encouragement.

Bloom with Grace Products Used:                                  (*affiliate link)

*Disclosure:  This blog uses ads and affiliate links.  If you choose to make a purchase using one of the links, I receive a small commission (at no additional cost to you) that helps offset the costs of maintaining this blog.  Thanks for your support!

To Create a Soft Realistic Looking Tea Rose…

  • Place the flower cut out on the craft molding mat*.  (approximately the thickness of a computer mouse pad)
  • Using a large ball stylus tool*, press down on the center of the shape until the paper starts to bow.  This helps the paper when you start to manipulate the shape.

  • Start at the outside end of the flower and use the reverse grip tweezers* to start slowly rolling the spiral.

  • When your finished rolling, glue the bottom tab to the rose shape to hold the flower in place.

  • Use the reverse grip tweezers* to grasp the side of the flower and roll it back to form the natural curve of a petal.

It’s really quick and easy to make these delicate looking roses.  

To finish the card…

  • Die-cut a  vase using the Spring Farmhouse scrapbook paper.
  • Assemble a card base using  coordinating decorative scrapbook paper.
  • Glue the small roses over the top of the vase.
  • Add stamped leaves and the die-cut words “bloom” .
  • Finish with a small cream tag with the words “with grace” stamped in green.

Maker's Movement

*FTC Disclosure… “This is a sponsored post.  I have been provided product and compensation in exchange for my creative ideas.  The views and opinions are my own.”

Save

Save

Some Bunny Loves You Spring Card

How to make a “Some Bunny Loves You” Spring Card

Send a little Love and Encouragement to someone special using the Some Bunny Loves You

Stamp and Die Set from The Maker’s Movement.

*FTC Disclosure… “This is a sponsored post.  I have been provided product and compensation in exchange for my creative ideas.  The views and opinions are my own.”

Supplies used to make the card:                                     (*affiliate links)

Disclosure:  This blog uses affiliate links.  If you choose to make a purchase using one of the links, I receive a small commission (at no additional cost to you) that helps offset the costs of maintaining this blog.  Thanks for your support!

Directions:

  • Stamp the bunny image onto a 2″ x 3″ piece of white heavyweight acrylic paper.
  • Start coloring the edges of the bunny with the saddle brown marker and blend the colors together using the light sand marker.  ( Stamping on non-porous white card-stock helps the markers blend easier.)
  • Highlight the bunny cheeks and inside of the ears with the baby pink marker.

  • Stamp a “heart balloon” and “small banner” onto a piece of  “Sunday dress” (purple) scrapbook paper.  Stamp the word “hugs” in the center of the balloon.  Stamp the words “hopping you all the best” centered inside the banner.
  • Align stamped heart image with the heart die and cut using the Crossover II*.
  • Cut the banner image using scissors.
  • Cut a 2 ½” x 3 ½” piece of “baby bunnies” (small flowers) scrapbook paper.  Cut the top of the paper with the wavy die and the Crossover II*
  • Adhere the small flowers layer onto  a 3 ½” x 4 ¾” piece of “blue skies” scrapbook paper.

  • Cut a 2 ¾” x 3 ¾”striped layer and round the corners of the layer using a rounded corner punch*.  Adhere onto the small layer onto the previous layers.
  • Add 3-D foam mounting squares onto the back of the bunny and balloon and adhere to the front of the striped layer.  Adhere the small banner using the tape runner to the lower right section of the striped layer (overhanging the edge).
  • Glue small hearts onto the front of the card using craft glue.

  • Adhere the layers onto a thin turquoise layer and then onto a 4″ x 5 ¼” piece of “Sunday dress” (purple gingham) scrapbook paper.  Adhere onto a 4 ¼” x 5 ½” white card-stock card folded vertically.  Tie a sheer ribbon around the top of the card.


Sweet as Honey Pocket Notebook

How to Create a Pocket Notebook Album…

If you love yellow and black your going to love the bee inspired paper pack from DCWV.

Once I looked through the paper pack and  saw the gold embossed patterned papers I knew

it needed to be made into a mini album.

I used the Eileen Hull Notebook die along with the 12″ x 12″ paper pad to create my album.

You can find the DCWV Honey Dear Premium Paper Stack exclusively at JoAnn Fabrics.

To Create the Sweet as Honey Pocket Notebook I Used:                (*affiliate link)

*Disclosure:  This blog uses affiliate links.  If you choose to make a purchase using one of the links, I receive a small commission (at no additional cost to you) that helps offset the costs of maintaining this blog.  Thanks for your support!

Directions:

  • Cut two 6″ x 8-1/2″pieces of decorative scrapbook paper for the front and inside of the cover.
  • Lay decorative scrapbook paper (design side up) on the  Xyron Creative Station* crank the handle to run the paper through the machine.  As it moves through the Xyron Creative Station it adds adhesive to the back side of the paper.
  • Easy to use and it doesn’t need any electricity.
  • I like using the Xyron Creative Station* when making mini books because you get complete coverage, no wrinkling, no bubbles!

  • Cut a piece of mat board 6″ x 8-1/2″.
  • Adhere the decorative paper on each side of the mat board.
  • Lay the covered mat board over the notebook die* sandwiched between two cutting plates.
  • Crank the handle of the Sizzix Big Shot Die Cutting Machine*and run the die through the machine.  The Big Shot will cut and score the mat board.

  • The notebook die creases the center of mat board as it goes through the Big Shot Die Cutting Machine* making it easy to fold the cover for your mini album.

  • Cut a 2 1/4″ x 5″ strip of decorative paper to use for the spine and run it through the Xyron Creative Station*.  Adhere to spine.
  • Included in the Honey Dear Premium Stack is a two pages with twelve 3″ x 4″ journaling cards.  Choose one of the journaling cards from the page to embellish the front cover of the notebook.

  • Choose 5 coordinating patterns from the Honey Dear Premium Paper Stack.  Cut the pages using the notebook die.
  • Crease on the center score lines.
  • Using gold and white twine, wrap the twine around the inside creases and around the outside of the book cover to secure the pages.

  • After I had all my pages together, I tied all the piece of twine together in one knot on the spine and tucked in the ends.

A cute little pocket notebook for taking notes or adding pictures.

After making the pocket notebook… 

I decided to make a gift card holder with tag using the Gift Card Folder & Label Die*.

To make the Gift Card Holder:

  • Cut a piece of 6″ x 9″ paper from the Honey Décor Premium Paper Stack.
  • Lay the paper over the Gift Card Folder Die* sandwiched between two cutting plates.
  • Crank the handle of the Sizzix Big Shot Die Cutting Machine*and run the die through the machine.  The die cuts and scores the gift card folder.
  •  Fold along the score lines on the three sides to create a little pocket.
  • Adhere bottom three flaps together using a xyron tape runner*.
  • Cut a 1″ strip of coordinating paper to create a band.  Adhere the band to the holder using the xyron tape runner*.
  • The Gift Card Folder Die* also comes with card insert and tab to use for holding gift cards.

“This is a sponsored post.  As a member of the Xyron Makers Program I have been provided product in exchange for my creative ideas.  The views and opinions are my own.