
How to make a Fall Woodland Friends Card.
I have another fun fall card to share with you today with warm fall colors
and sweet furry friends.
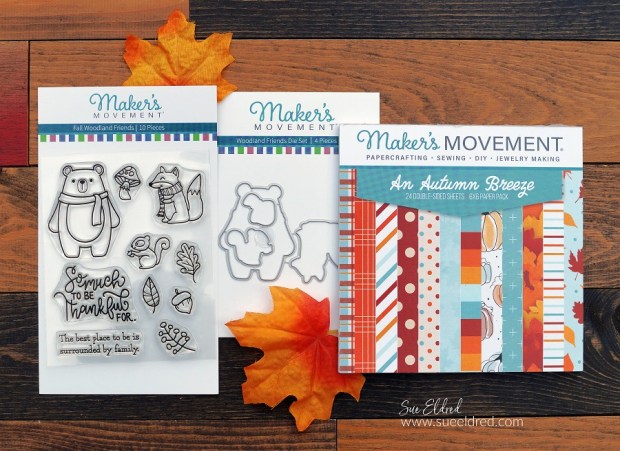
I know I say this all the time, but I think the Fall Woodland Friends Stamp Set and the
coordinating die set from The Maker’s Movement are just about the cutest sets ever.
Mix it with the Autumn Breeze paper for a great combination. (I love the colors in this pad.)

Disclosure: This is a sponsored post for The Maker’s Movement. I have been provided product and compensation in exchange for my creative ideas. The view and opinions are my own.
Materials Used: (*affiliate links)
- M12708 Fall Woodland Friends Stamp Set
- M12685 Woodland Friends Die Set
- M12715 An Autumn Breeze 6″ x 6″ Paper Pad
- MMT213 Mini Maker Die-Cutting Machine
- Watercolor Paper*
- VersaFine Instant Dry Pigment Ink, Onyx Black*
- Acrylic Stamp Block*
- Xyron Tape Runner*
- Scrapbook Adhesives by 3L White, Thin Pre-Cut 3D Foam Squares, Mixed Variety*
- Washi Tape*
- Detail Scissors*
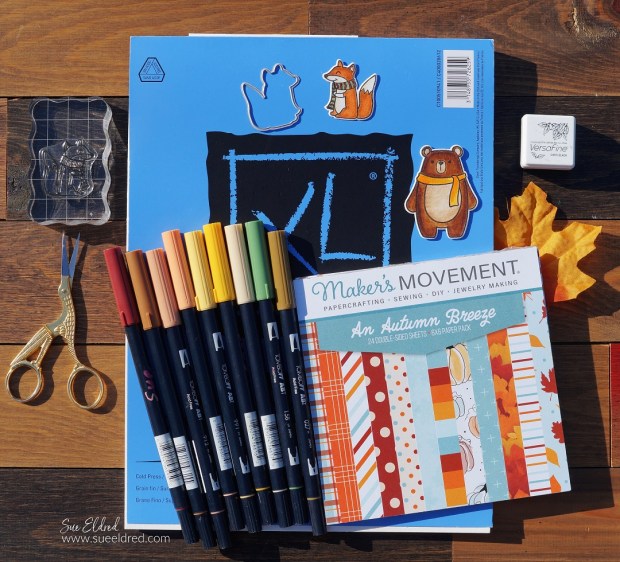
- Tombow Markers*: #020, #027, #N79, #158, #837, #899, #912, #913, #977, #985, #990, #991
- Ribbon
- Cardstock: Turquoise, Pumpkin
- Scoreboard and Folding Tool*

*Disclosure: This blog uses ads and affiliate links. If you choose to make a purchase using one of the links, I receive a small commission (at no additional cost to you) that helps offset the costs of maintaining this blog. Thanks for your support!
Details and Helpful Tips for making the Fall Woodland Friends Card…
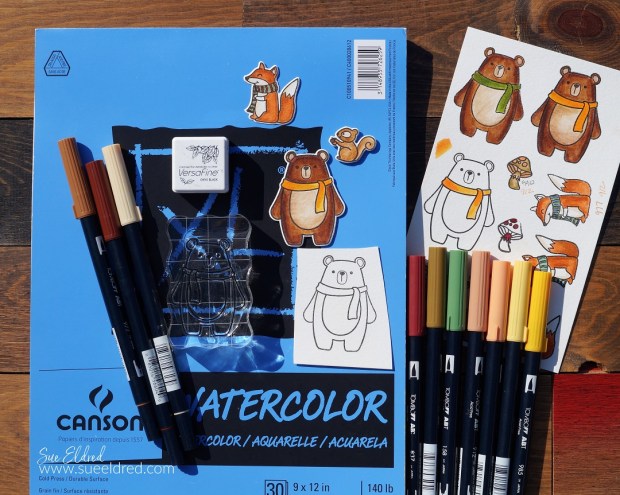
- When coloring stamped images with markers, I like to stamp my image on watercolor paper first. The watercolor paper helps when blending the inks.
- It’s best to use a fast-drying permanent ink, like VersaFine Black Instant Dry Pigment Ink*. The Versafine ink keeps your stamped outline from bleeding when coloring the image.
- I like to stamp the images that I will be working with several times on watercolor paper to experiment with different color combinations.
- Start with a darker marker and color and bring shades to the outside edge of the image, do not fully color the stamped image.
- Choose a second lighter marker to blend the darker colors.
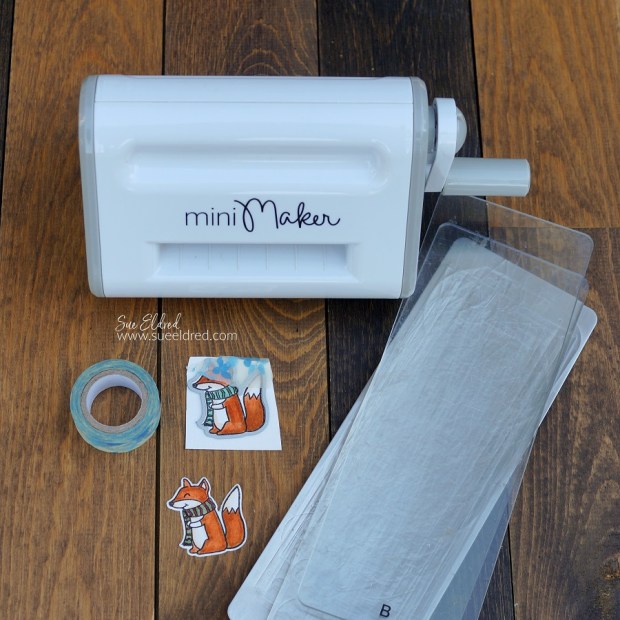
- Align the coordinating die with the stamped image. Place a small piece of washi tape (or a removable tape) to hold the die in place while die-cutting.
- Run the stamped image and die through the Mini Maker Die-Cutting Machine to cut out the image.

- “Fussy cut” a 1 1/2″ border using the “fall leaves” paper from the Autumn Breeze paper pad.
- It helps when fussy cutting to use detail scissors.
- To cover up the white core of the paper, I use a light gray marker to color the edges of the paper.

- Layer a strip of striped paper onto a 2″ plaid strip of paper. (both from the paper pad)
- Adhere the “fall leaves” border and the “striped” layer onto the 6″ x 6″ turquoise leaves paper.
- Cut the card front to 4″ x 6″.
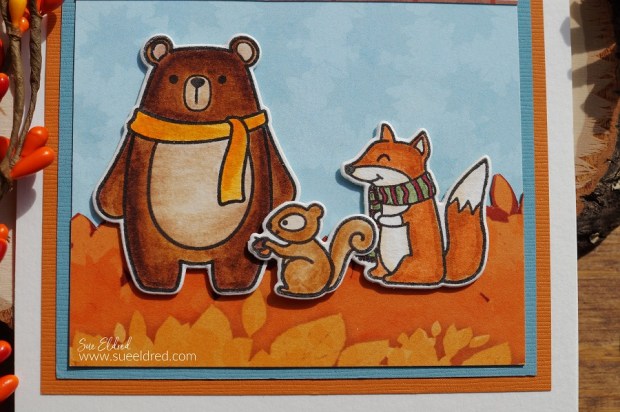
- I used 3D Foam Squares* to adhere the Woodland Friends to the front of the card.
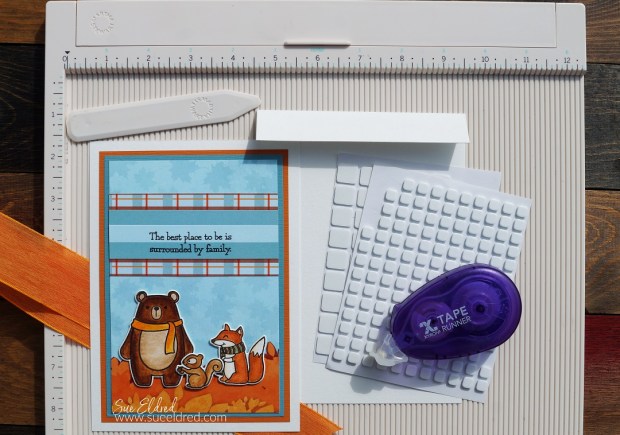
- Adhere the card front onto a 4 1/4″ x 6 1/4″ turquoise cardstock layer and then onto a 4 1/2″ x 6 1/2″ pumpkin-colored cardstock layer.
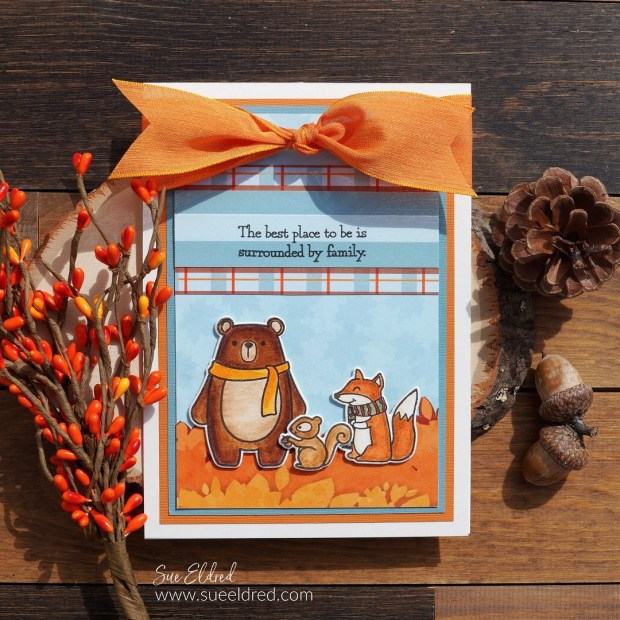
- My finished card is 5″ x 7″.
- I didn’t have a top folding 5″ x 7″ card, so I made one. I used watercolor paper as my card base.
- Adhere the card front to a 5″ x 7″ piece of watercolor paper.
- Cut a second piece of watercolor paper 5″ x 8″. Score the paper at 1″ from the top and fold over.
- Adhere the card front onto the folded tab.
- Tie a piece of orange ribbon onto the front of the card. The ribbon hides the folded tab.

The Fall Woodland Friends would look cut on tags, on a scrapbook layout, or in a pop-up card.

