Next Stop…Creativation 2018

I’m heading West today to Phoenix for warmer weather and the Creativation Trade Show.

While there, I will get to see the latest and the greatest in the Hobby and Craft Industry.

Can you say Creative Overload?

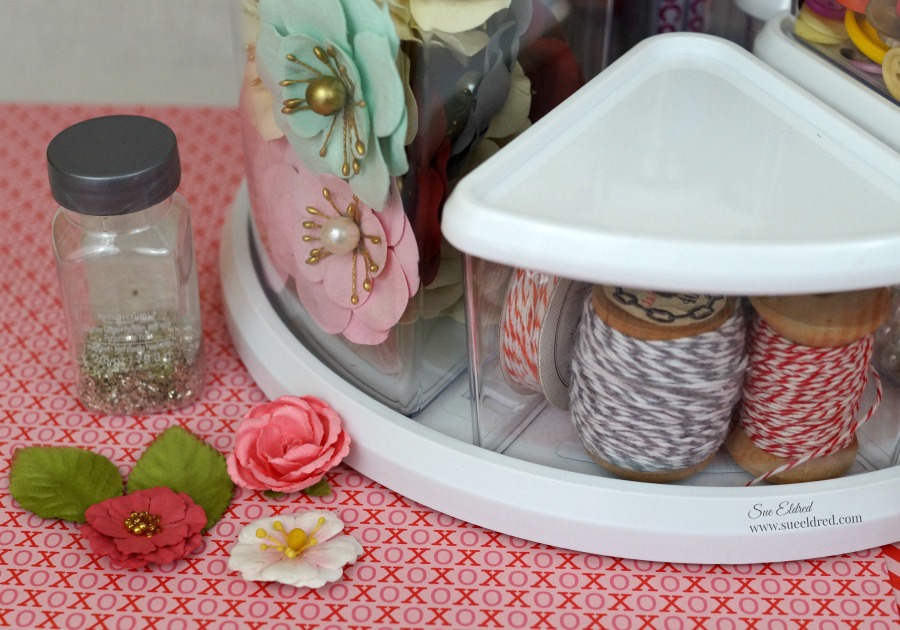
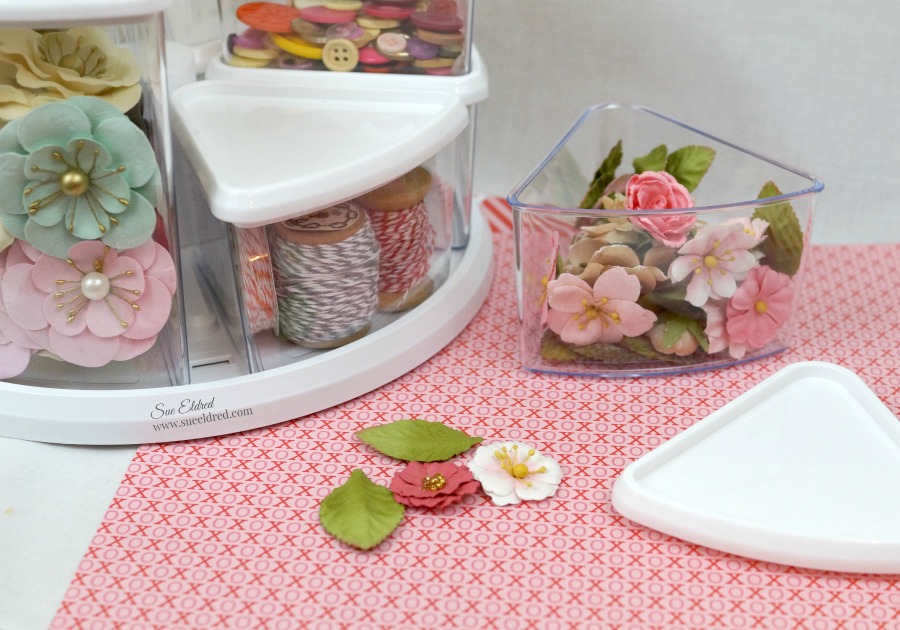
I will be doing make and takes in the Deflecto Booth first thing Saturday morning and again

in the afternoon.  I will be demoing in the Tape Technologies Booth on Monday afternoon.

In between working…I will be walking the show, networking, meeting up with old friends

and hopefully taking lots of pictures to share with you.

After the show is over, I’ll be heading to Sedona, AZ for a little rest and relaxation.

I can’t wait to get out of this cold and snow.    Stay tuned….more to come.

Try Amazon Prime 30-Day Free Trial

*Disclaimer:  This post uses ads and affiliate links.  If you choose to make a purchase using one of the links, I receive a small commission (at no additional cost to you) that helps offset the costs of maintaining this blog.  Thanks for your support!

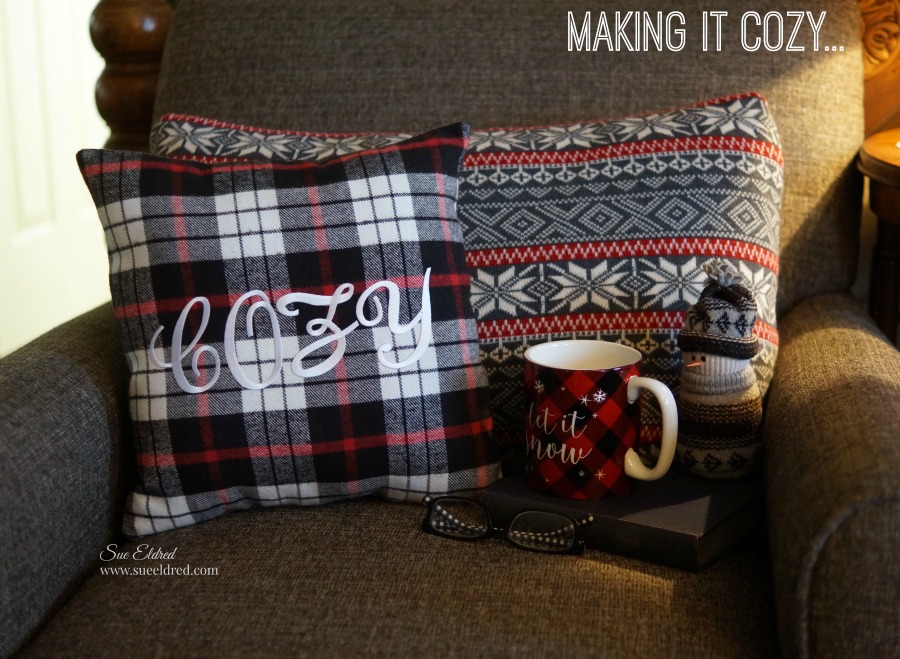
Making it Cozy…

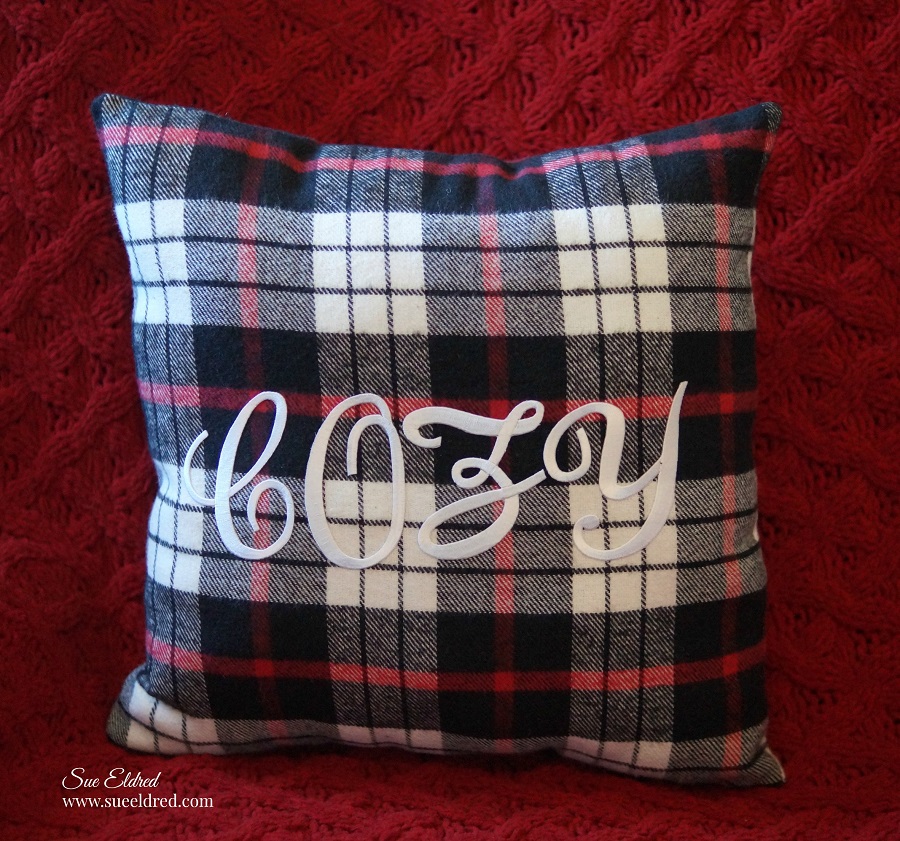
Cozy up the house this Winter with a personalized flannel pillow!

When the holidays are “really” over and everything is finally packed away…

it’s time for me to relax, cozy up with a comfy pillow, warm blanket and a good book.

I love to hibernate in the winter.  (I really don’t like the cold)   

That’s when I start layering up the house (and me) with blankets and pillows.

I like it warm and “cozy”.

To make my Cozy pillow you’ll need:

Directions:

  1. With right sides together, sew three sides of the flannel pieces together to create the pillow cover. Turn so the right side is facing out.
  2. Position the letters on the front then, following directions on the back of the package, iron in place using a pressing cloth.  Let cool then turn the pillow cover inside out and iron again from the back.  Let cool for at least one minute, then turn again with the right sides out.
  3. Insert the pillow form then stitch then the pillow cover closed.

My cozy pillow was created for and sponsored by Joy SA.

Joy® iron-on numbers and letters are available in different sizes, colors and fonts at your favorite craft stores…

Try Amazon Prime 30-Day Free Trial

*Disclaimer:  This post uses ads and affiliate links.  If you choose to make a purchase using one of the links, I receive a small commission (at no additional cost to you) that helps offset the costs of maintaining this blog.  Thanks for your support!

Organizing… the Kids Craft Cabinet

Organizing the kids craft cabinet-Sue's Creative Workshop-www.sueeldred.com 1282

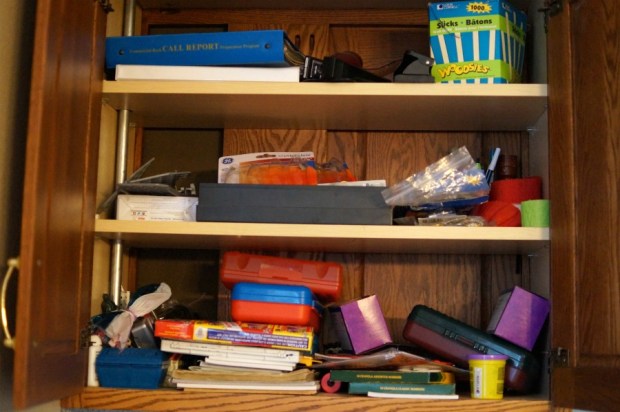
I have this awkward wall cabinet between my kitchen and dining room.

It opens fully on the dining  room side and only partially on the kitchen side.

Not completely functional, it doesn’t get used all that much.

Organizing the Kids Craft Cabinet Before-Sue's Creative Workshop-www.sueeldred.com 1275

It’s been the dumping spot of misc. household and kid crafts for the past two decades.

My very active grandsons are always wanting to make something, do something.

I thought a more organized easily accessed spot would be a good idea.

Organizing a kids craft cabinet-Sue's Creative Workshop-www.sueeldred.com 1292

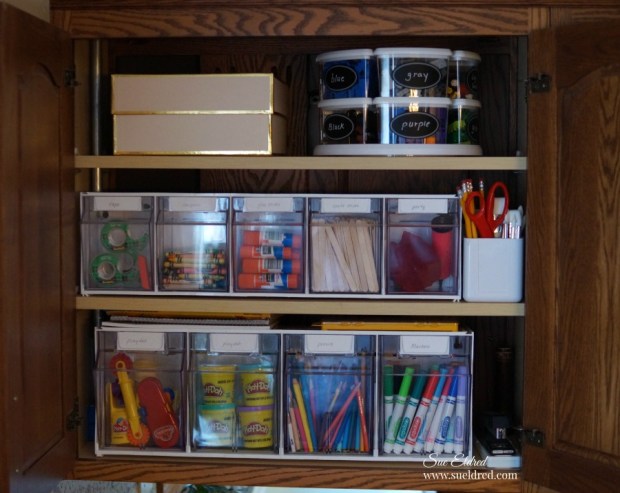
After a little sorting and purging, it’s nice and neat.

Organizing the kids craft cabinet-Sue's Creative Workshop-www.sueeldred.com 1287

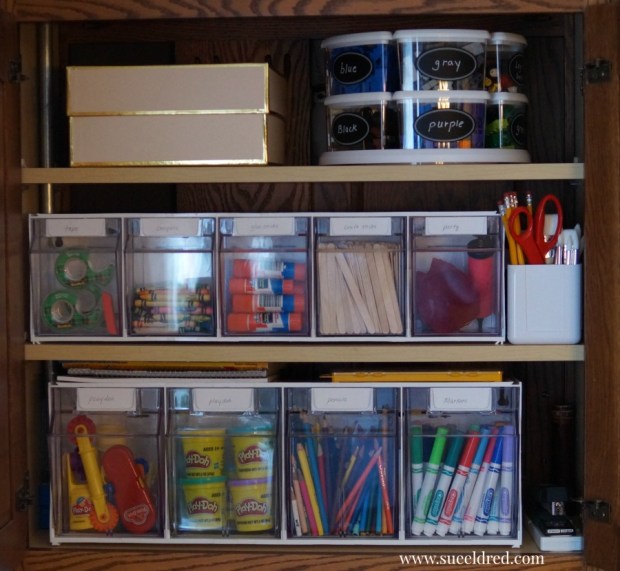
Everything’s labeled.  It’s easy to find everything they’ll need.

Organizing a Kids Craft Cabinet-Sue's Creative Workshop-www.sueeldred.com 1294

Here’s the products I used to organize my Kid’s Craft Cabinet from Deflecto Craft:

“This is a sponsored post. As a member of the Deflecto Design Team I have been provided product in exchange for my creative ideas, views and opinions.”

Shop Your Fav Brands at Scrapbook.com

*Disclaimer:  This blog uses ads and affiliate links.  If you choose to make a purchase using one of the links, I receive a small commission (at no additional cost to you) that helps offset the costs of maintaining this blog.  Thanks for your support!

Happy New Year 2018

Happy New Year 1249

By the time we get through all the Christmas Festivities and Parties….

I’m ready to stay in and eat pizza by the time New Year’s Eve comes along.

Relaxing and low key is the answer.

We may even toast the New Year, that is if he’s still awake.

Happy New Years-Sue's Creative Workshop-www.sueeldred.com 1198

Even though we’re not having a big party, Party Hats are always fun.

I must have been really good this year…

because Santa brought me a new Silhouette CAMEO 3 Wireless Cutting Machine*

I used my new present to whip up some simple party hats

Happy New Years-Sue's Creative Workshop-www.sueeldred.com 1203

I used two strips of Ultra FX Glitter Vinyl from Styletech and laid them side by side.

I made sure my fonts lined up so that I could cut both colors at the same time.

Happy New Years-Sue's Creative Workshop-www.sueeldred.com 1208

  • I also cut a large mat shape from black cardstock and a slightly smaller mat shape using silver metallic vinyl.
  • I used the transfer paper to remove all the letters at once and laid them onto my shiny mat to create my hat.
  • I cut the bottom section of the mat shape and added a small strip of vinyl for extra decoration.  I created a band for my hat from two strips of cardstock and stuck the “happy new year” mat on the front.  (pretty simple)

Happy New Years Hat-Sue's Creative Workshop-www.sueeldred.com 1241

Now it’s a party.  (well sort of)

Shop Amazon Scrapbooking Supplies*

*Disclaimer:  This post is sponsored by Tape Technologies and uses ads and affiliate links.  If you choose to make a purchase using one of the links, I receive a small commission (at no additional cost to you) that helps offset the costs of maintaining this blog.  Thanks for your support!

Top Ten Blog Posts of 2017

As 2017 winds to an end…

It’s fun to look back through the year and pick which posts were your favorite (and mine too).

As a special treat, this year, I’m joining along in with a group of 40 awesome

Creative Bloggers in a Blog Hop sharing their top 10 favorite posts.

Prepare yourself for Creative Goodness Overload.


Shop Your Fav Brands at Scrapbook.com

If you’ve come from Tifany DeGough  your next stop would be  Melissa Elsner.

As promised here is the full list of the Top Ten Blog Hop…. (enjoy!)

Shop Amazon Scrapbooking Supplies*

*Disclaimer:  This post uses ads and affiliate links.  If you choose to make a purchase using one of the links, I receive a small commission (at no additional cost to you) that helps offset the costs of maintaining this blog.  Thanks for your support!

Sprucing Up with Holiday Greens

It doesn’t have to cost a lot to spruce up your home for the Holidays.

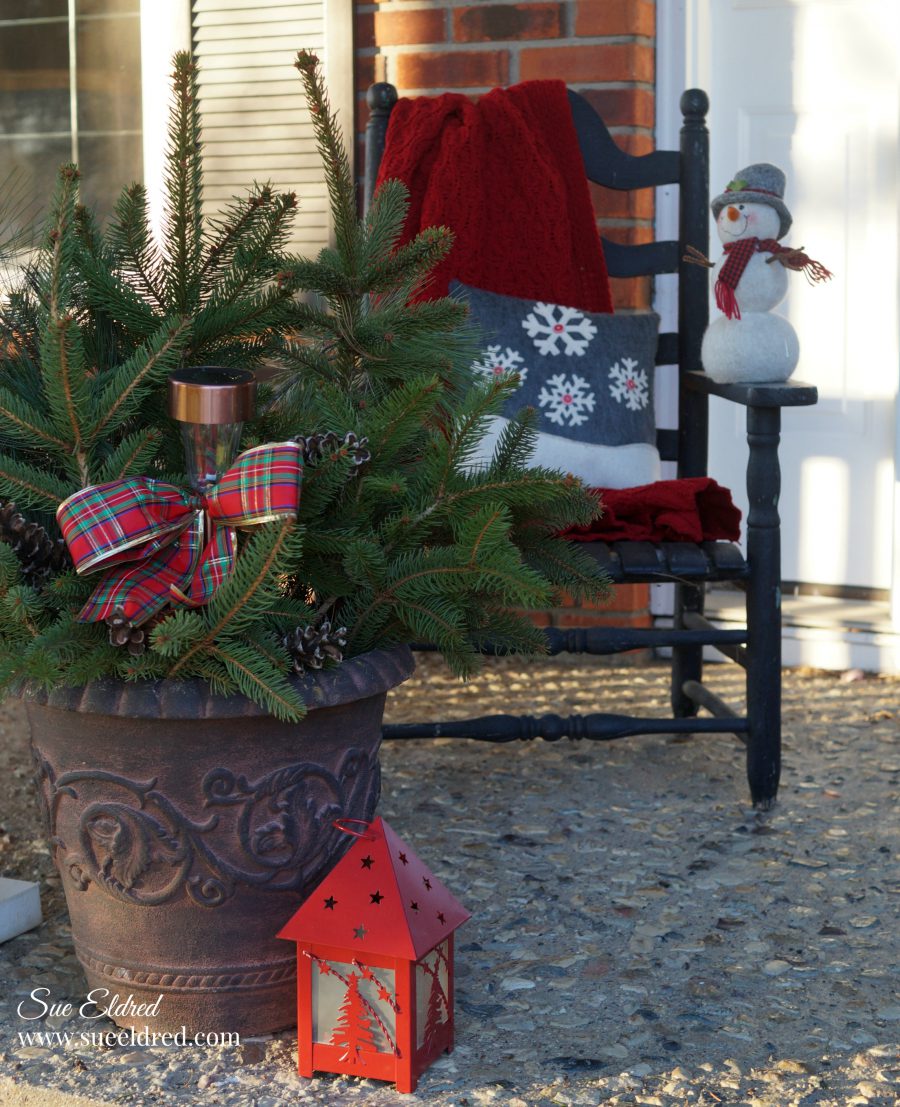
I took advantage of the beautiful warm December Day we had yesterday to spend time outside

sprucing up the front porch with some Holiday greenery.

This year…October and November was an extremely busy and stressful time for me.

And, even though I winterized and cleaned up most of the flowers in the flower beds.

The big pots on the front porch were ignored.

A little Holiday Love was needed.

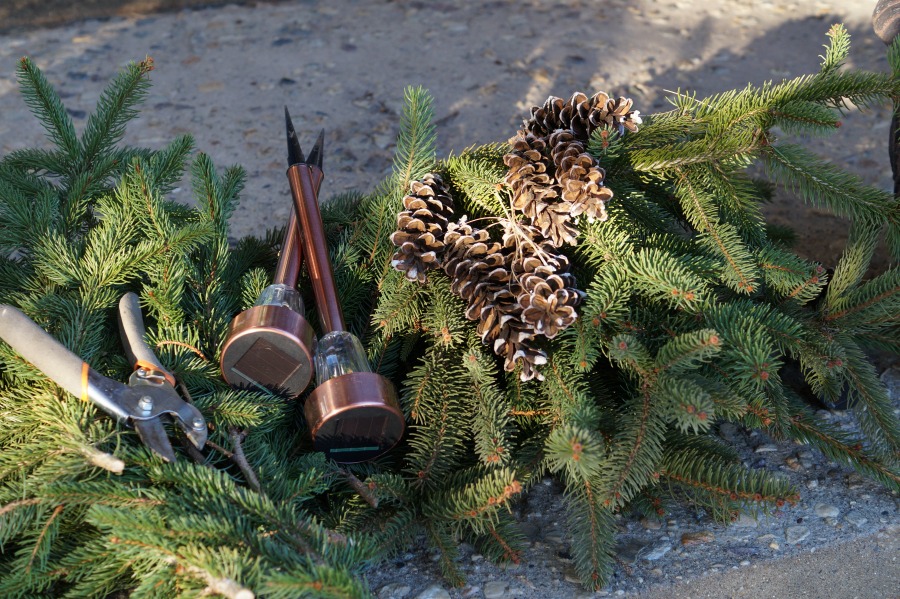
I used my Fiskars Pruning Shears* and went around the yard and cutting sprigs of pine

branches from the large pine trees in my yard.  (lucky for me I have several)

I have a friend who buys an extra Christmas tree to chop up the branches to use for greenery.

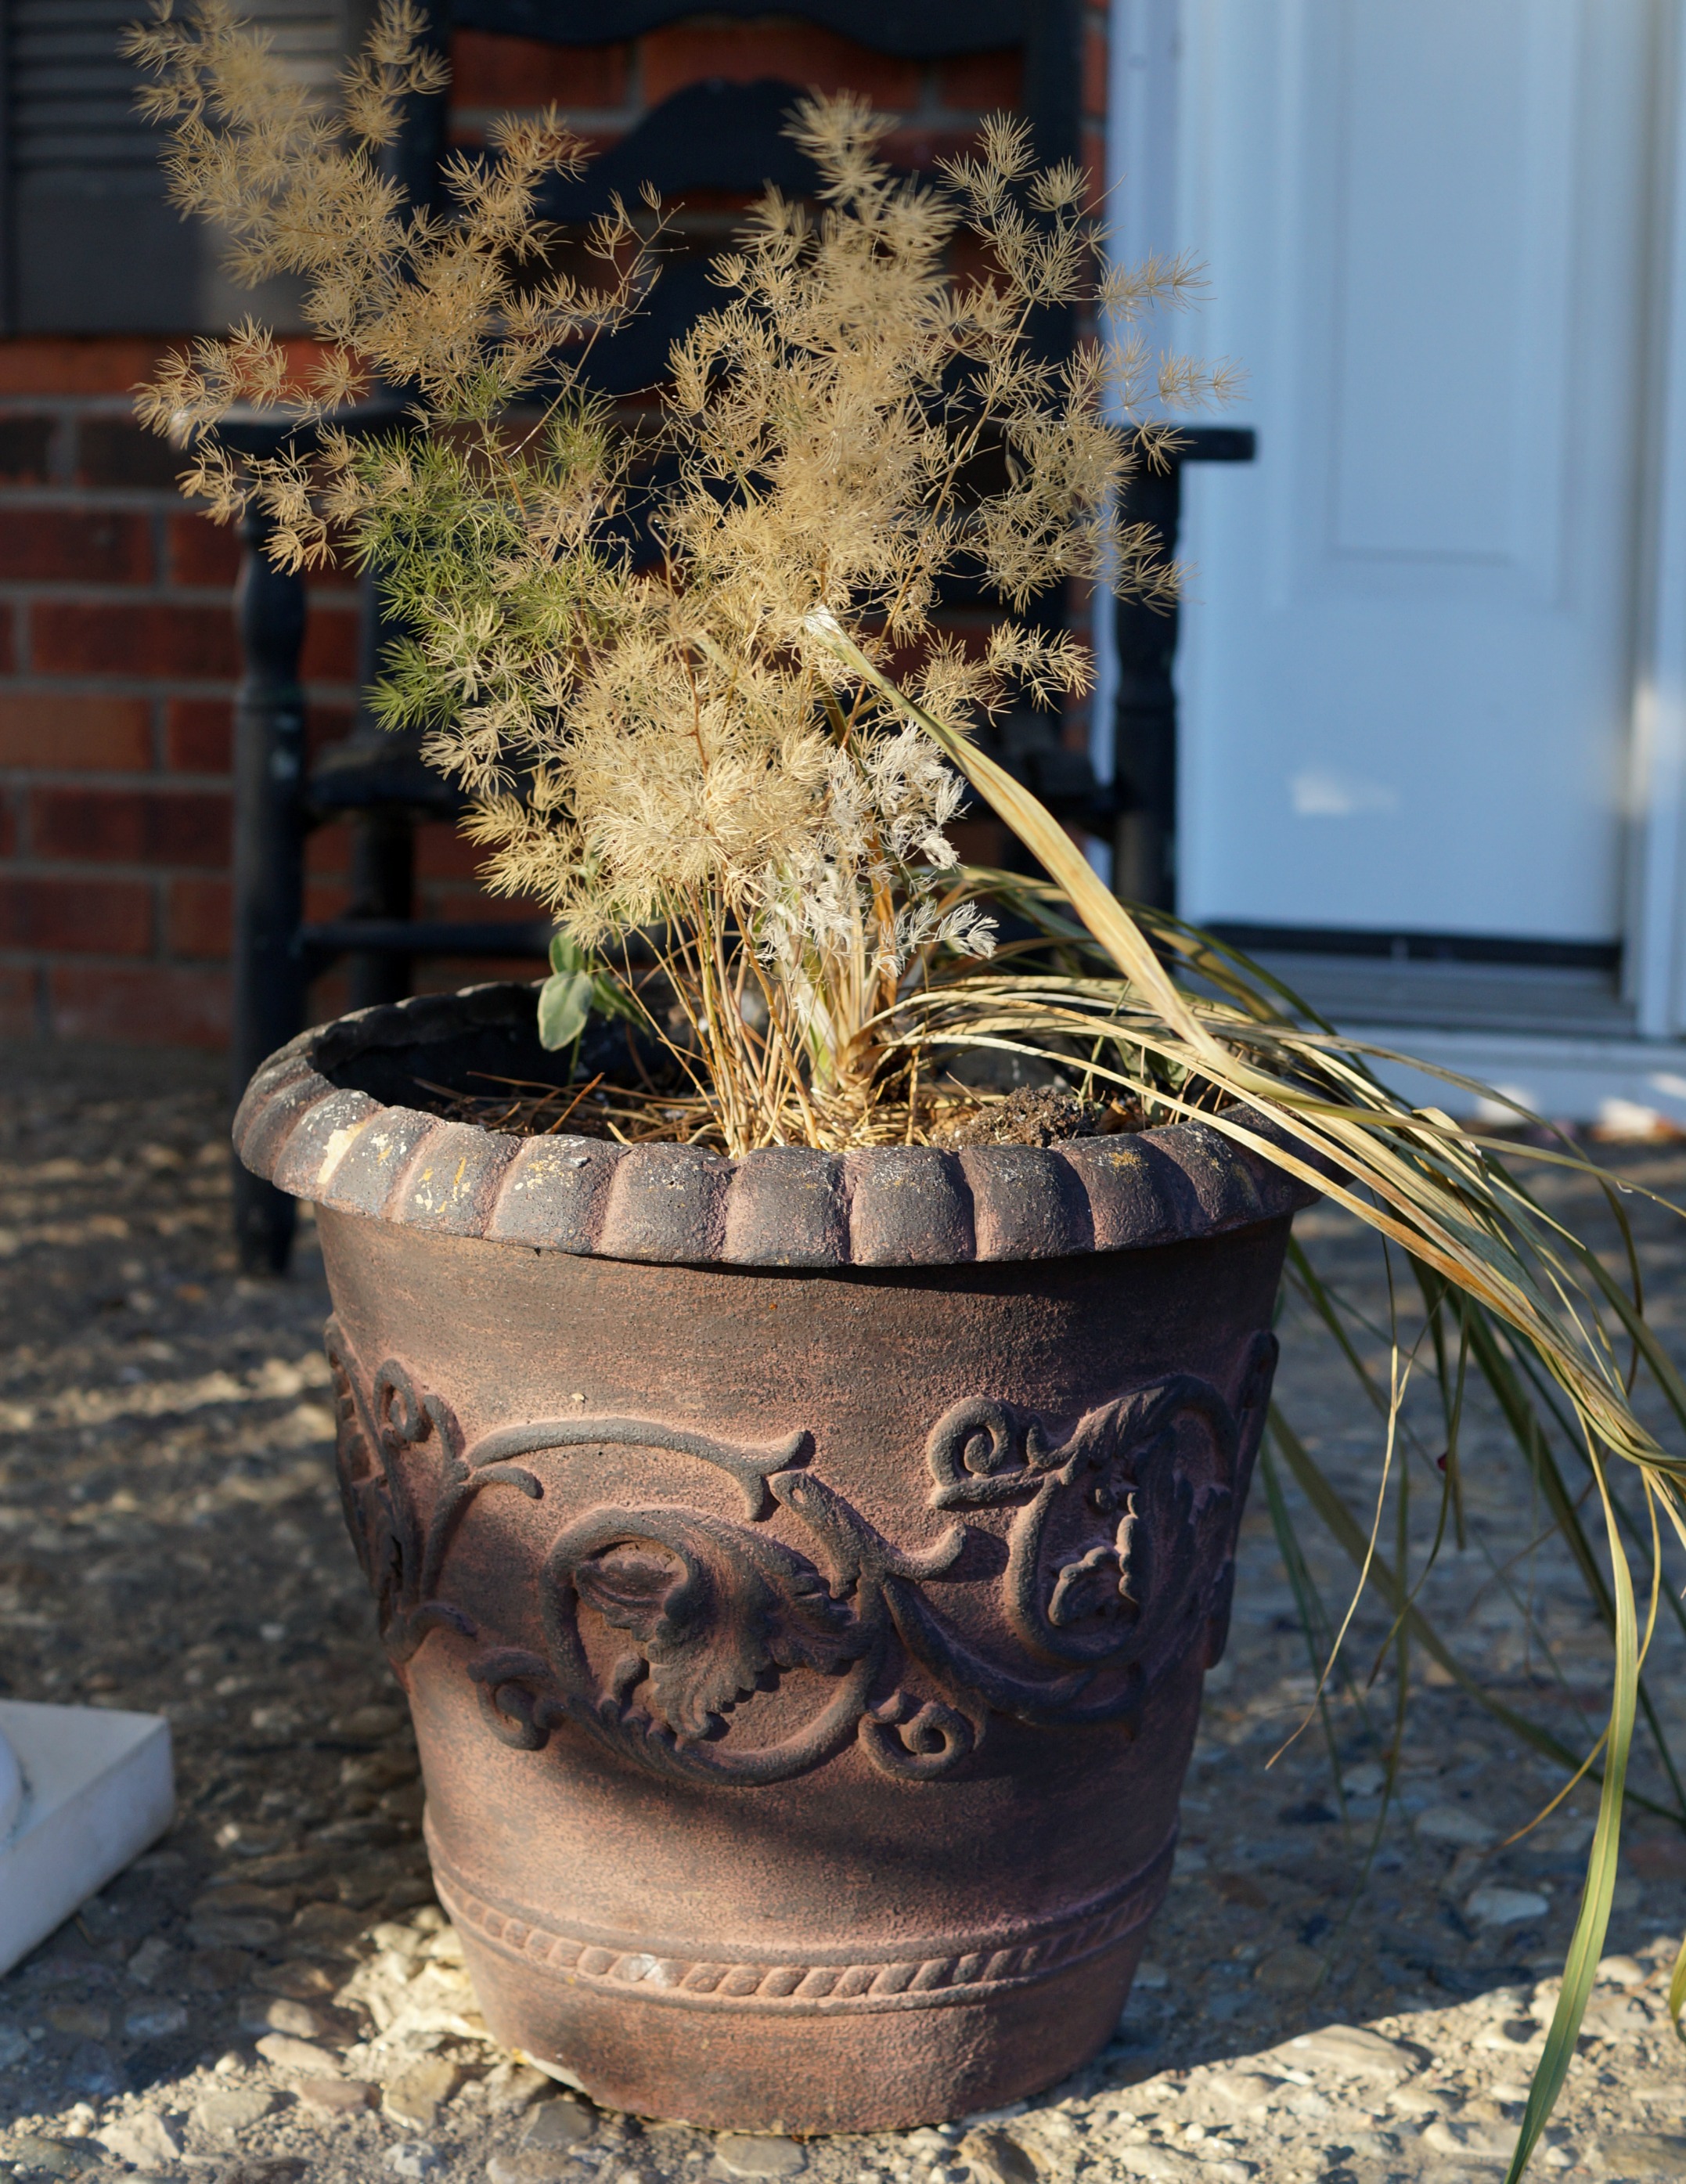
After finishing cleaning out the pot…

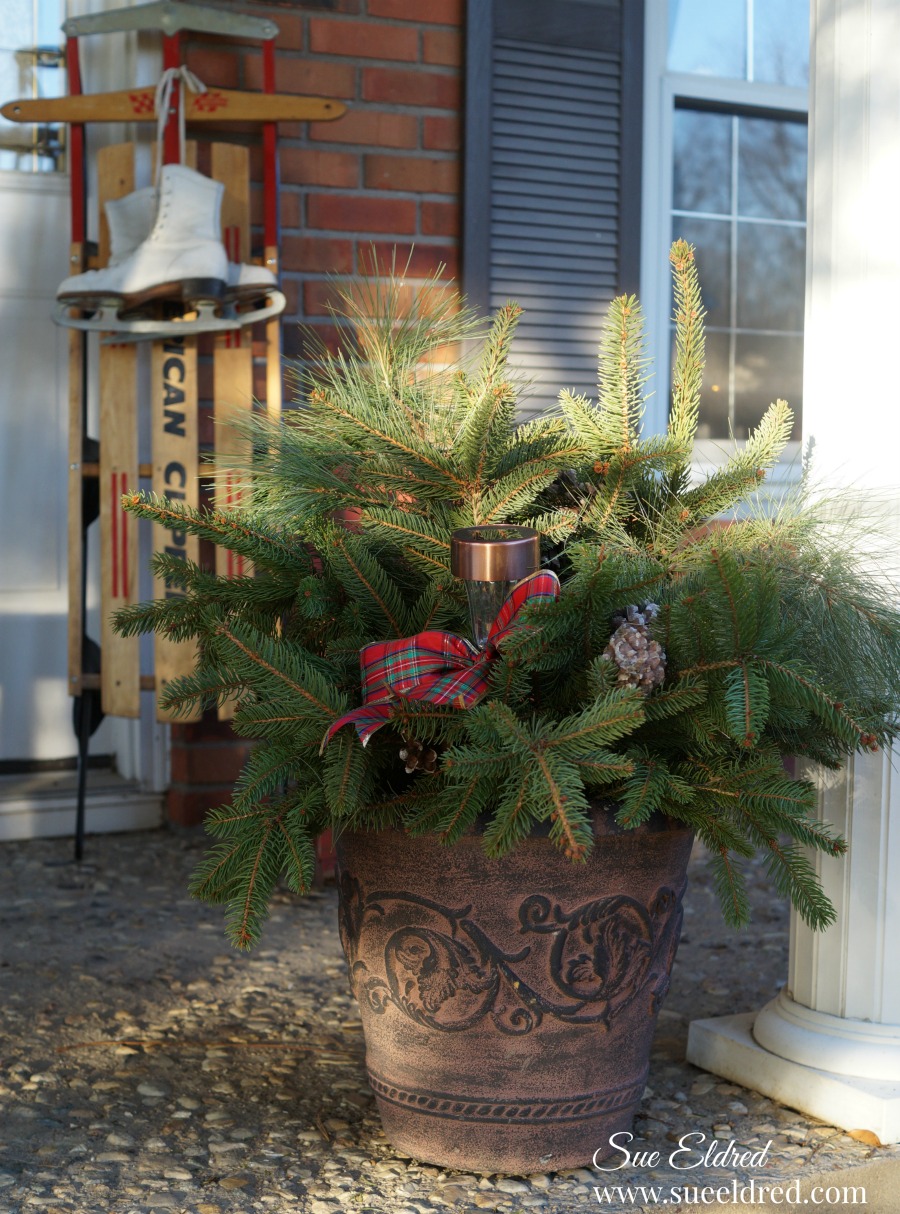
I stuck the ends of the branches into the dirt filling up the pot making it look like a little tree.

I added a few pinecones for fun.

I tied a simple bow around the neck of a Solar Lamp* and added that to the pot.

So simple and easy.  But, what a difference it makes.

One for the other side of the stairs as well.
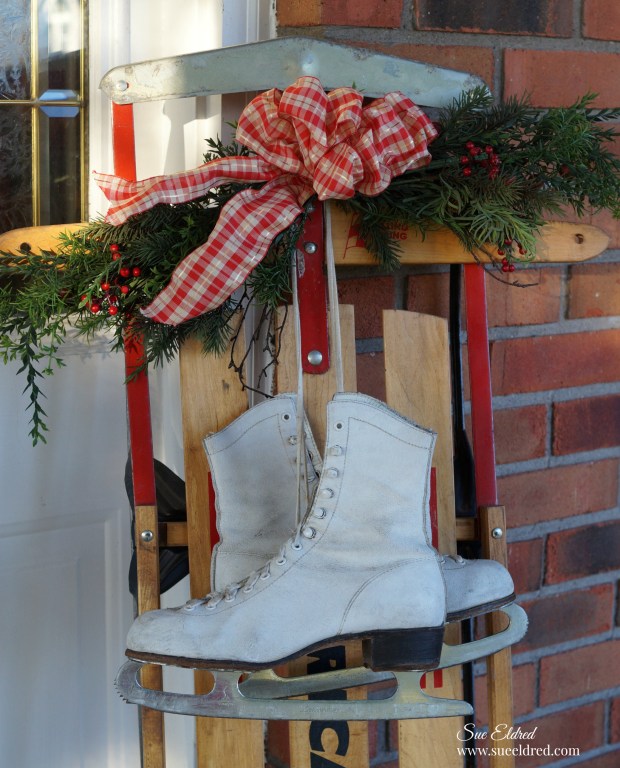
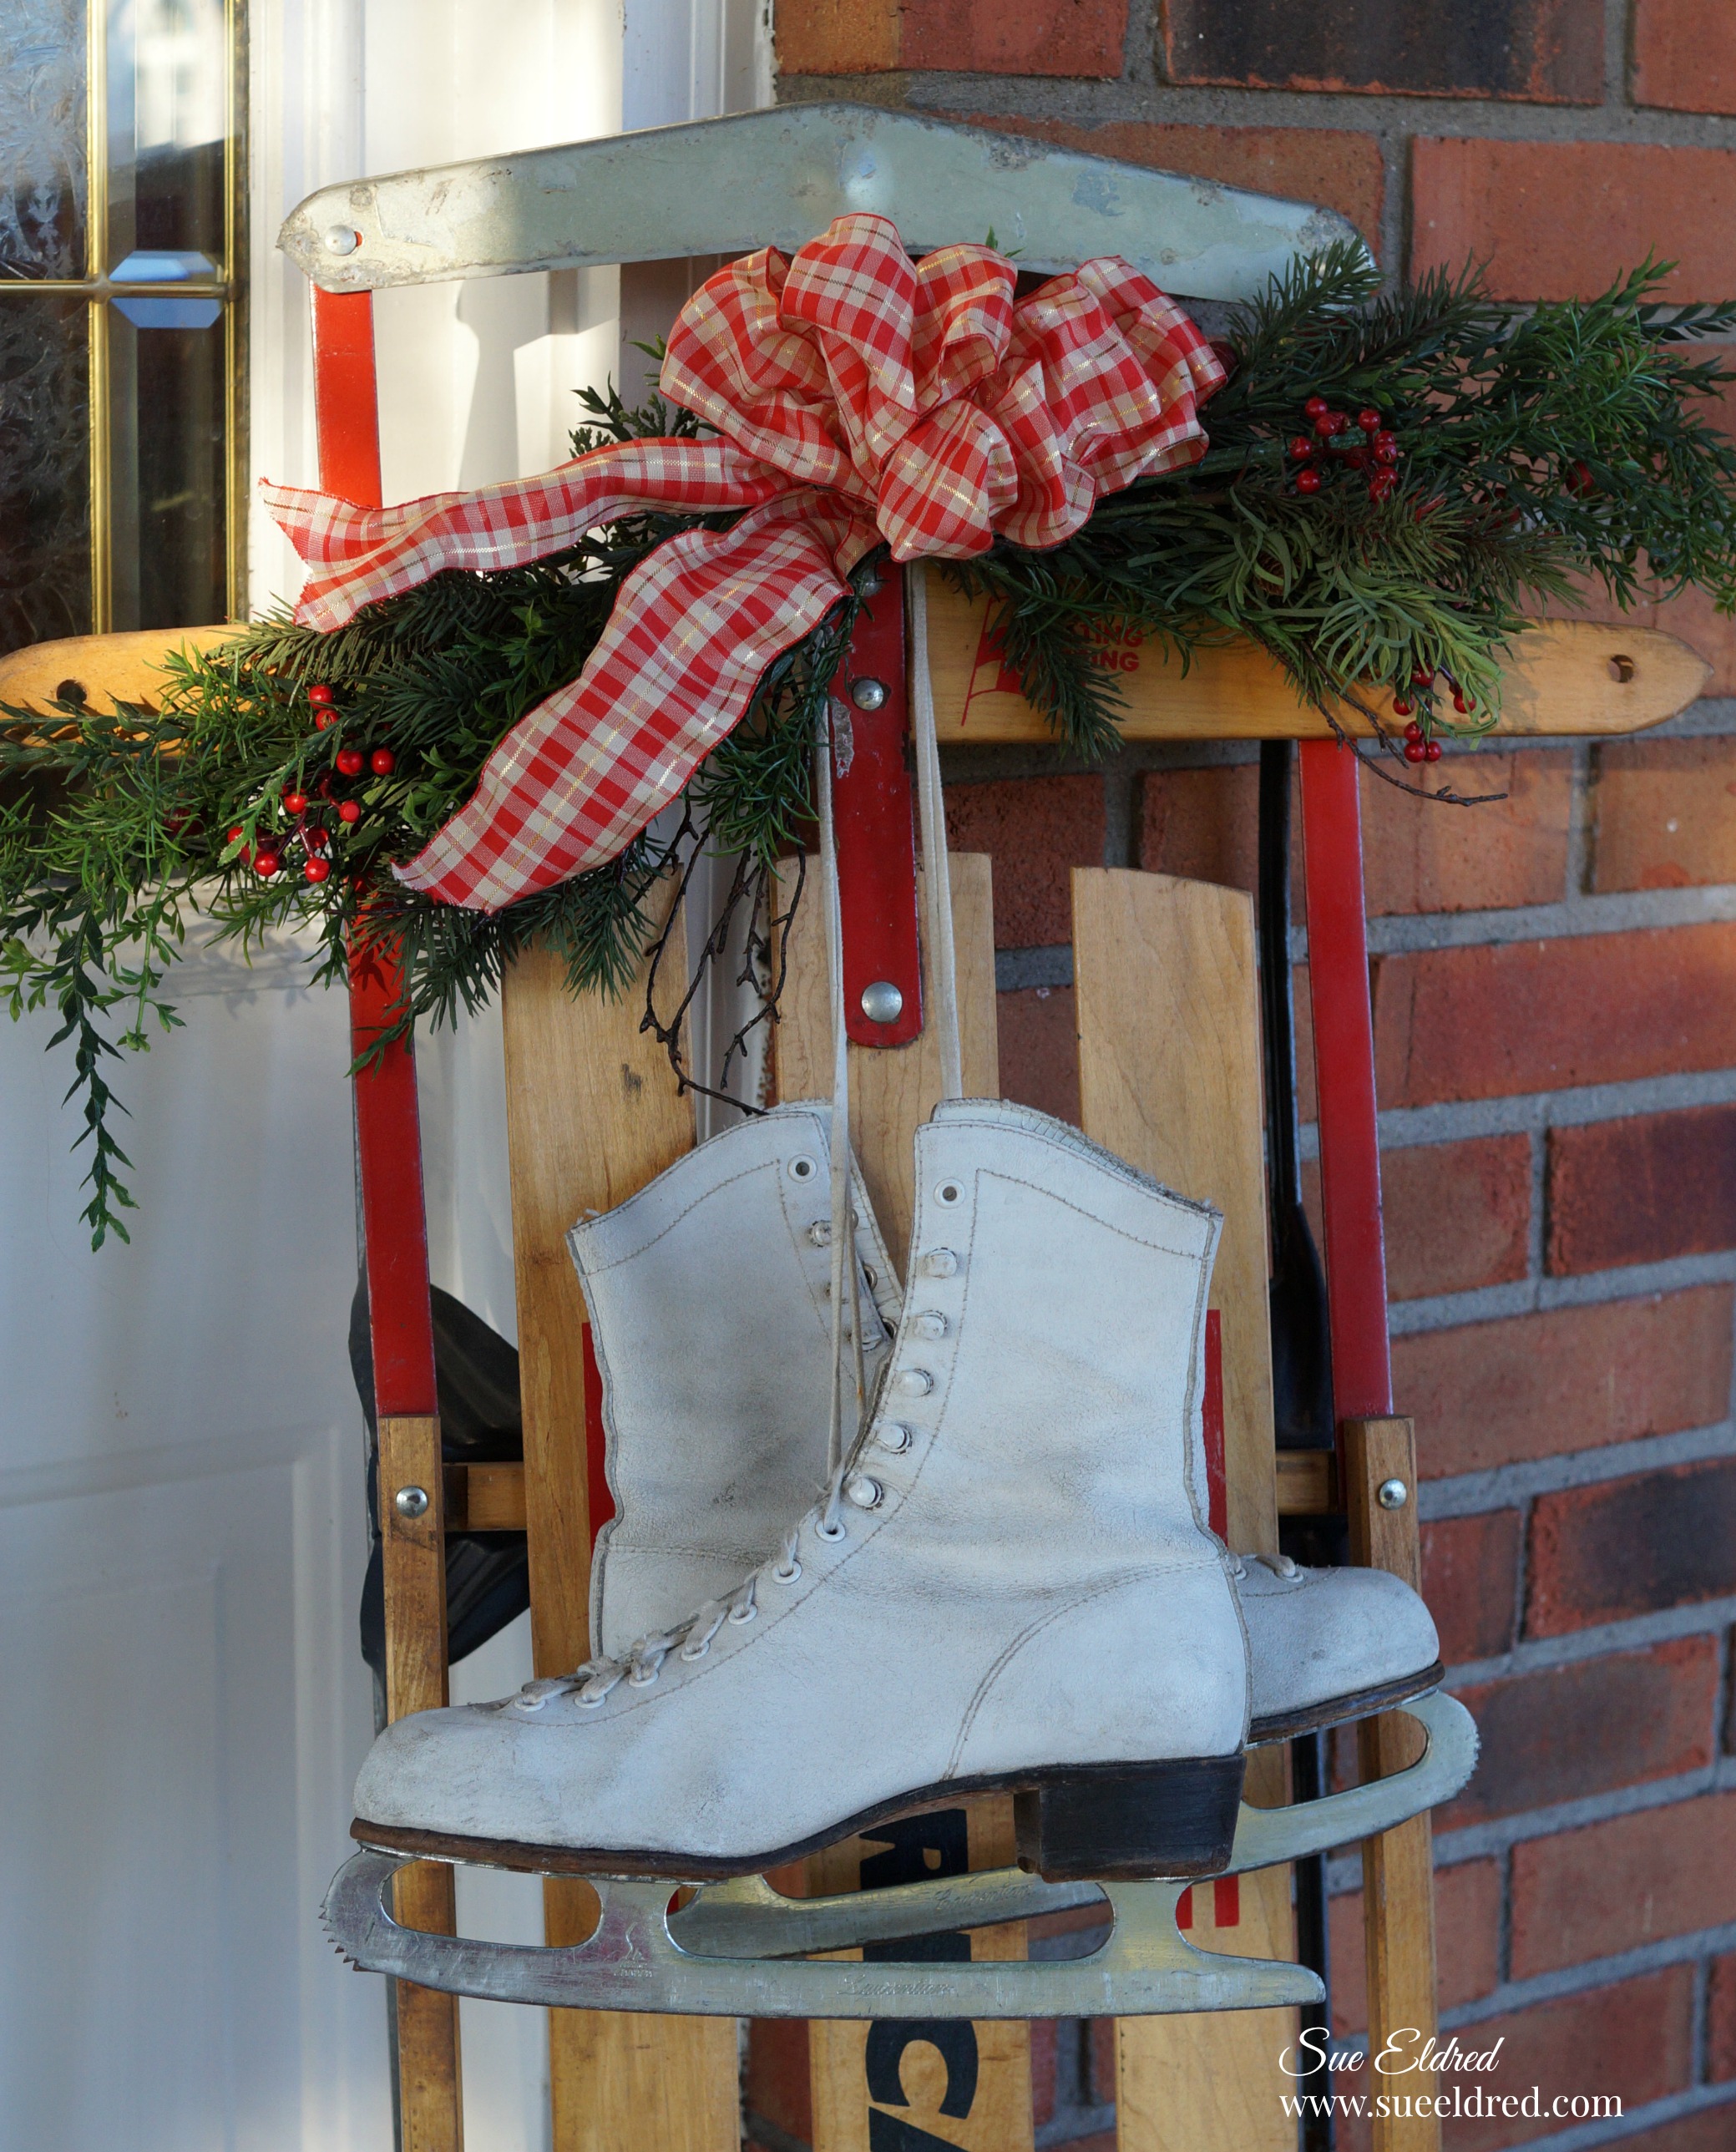
A little Holiday swag for the sled.

I love this vintage sled I picked up at a flea market last year for only $15… skates included.
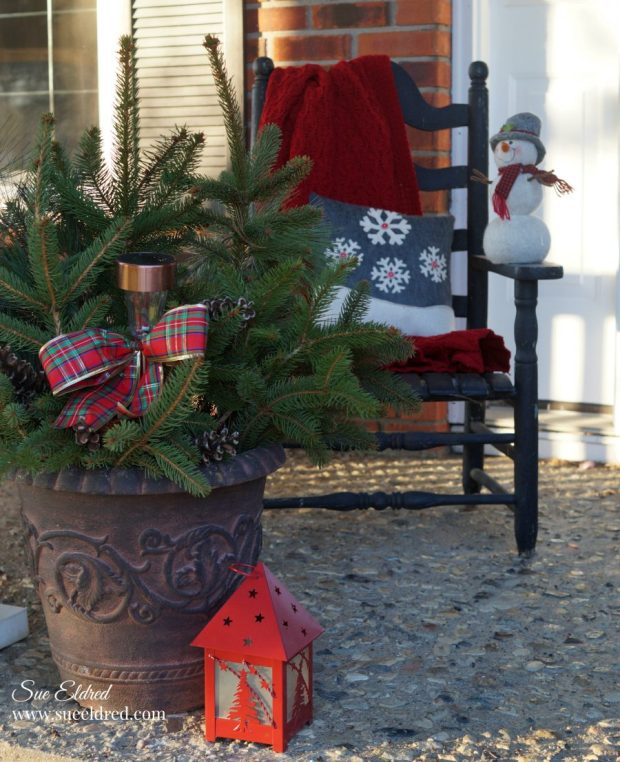
I’m keeping it fairly simple again this year.

I’ll be honest, with losing my Dad last month, I’ve had a hard time decorating this year.

I’m giving myself grace to keep it simple.  Family is really all that matters.

Happy Holidays…from my house to yours
 

Holiday Gift Guide!

*Disclaimer:  This post uses ads and affiliate links.  If you choose to make a purchase using one of the links, I receive a small commission (at no additional cost to you) that helps offset the costs of maintaining this blog.  Thanks for your support!

Try Amazon Prime 30-Day Free Trial

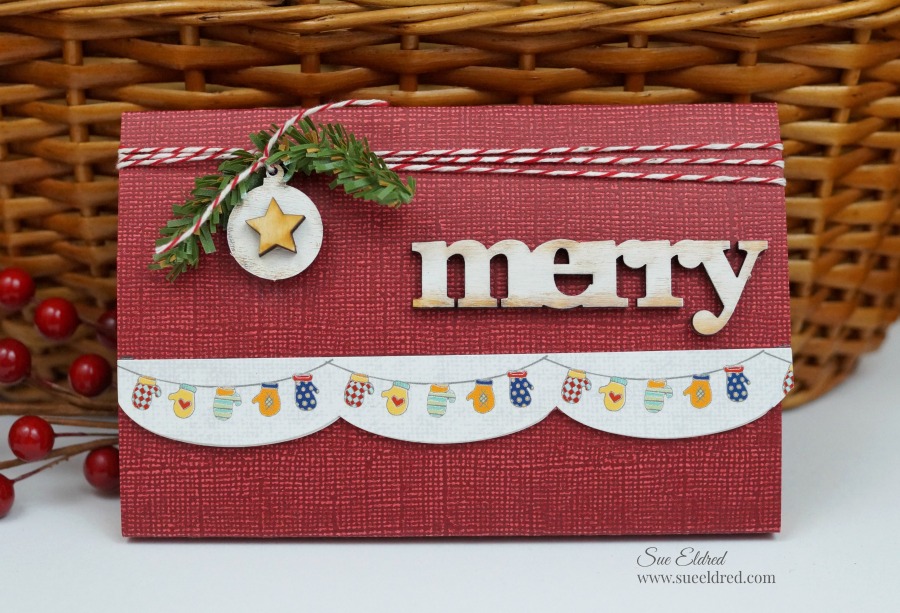
Merry Little Sticky Note Holder

Need a inexpensive gift idea to give a teacher or co-worker?
The Merry Little Sticky Note Holder is a quick and easy project that you can make

in just minutes.

How to make a Merry Little Sticky Note Holder

Supplies Needed:                 (*affiliate link)

*Disclaimer:  This post uses ads and affiliate links.  If you choose to make a purchase using one of the links, I receive a small commission (at no additional cost to you) that helps offset the costs of maintaining this blog.  Thanks for your support!

Directions:

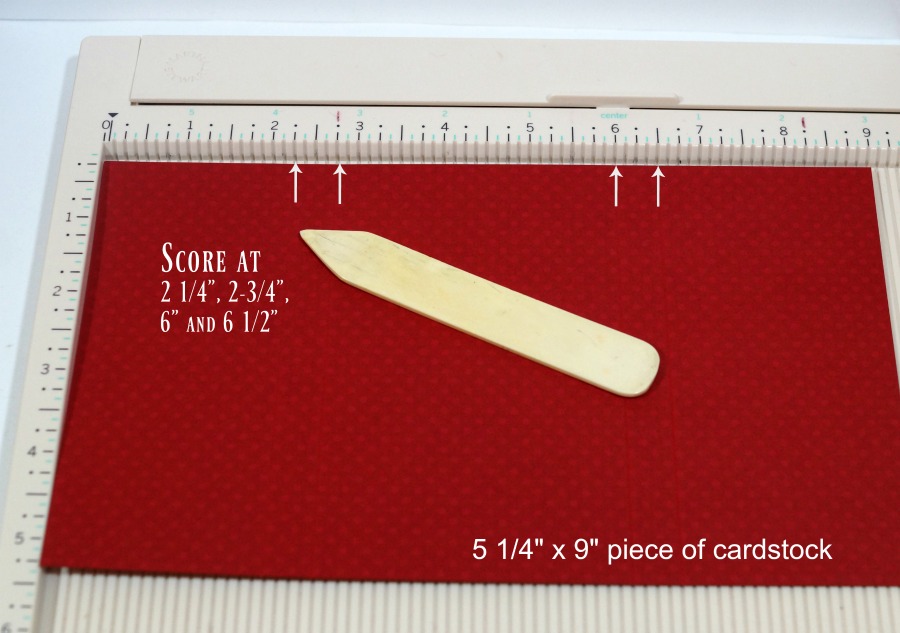
  1. Score a 5 ¼” x 9” piece of cardstock at the 2 ¼”, 2 ¾”, 6” and 6 ½” mark.
  2. Fold along scored lines.
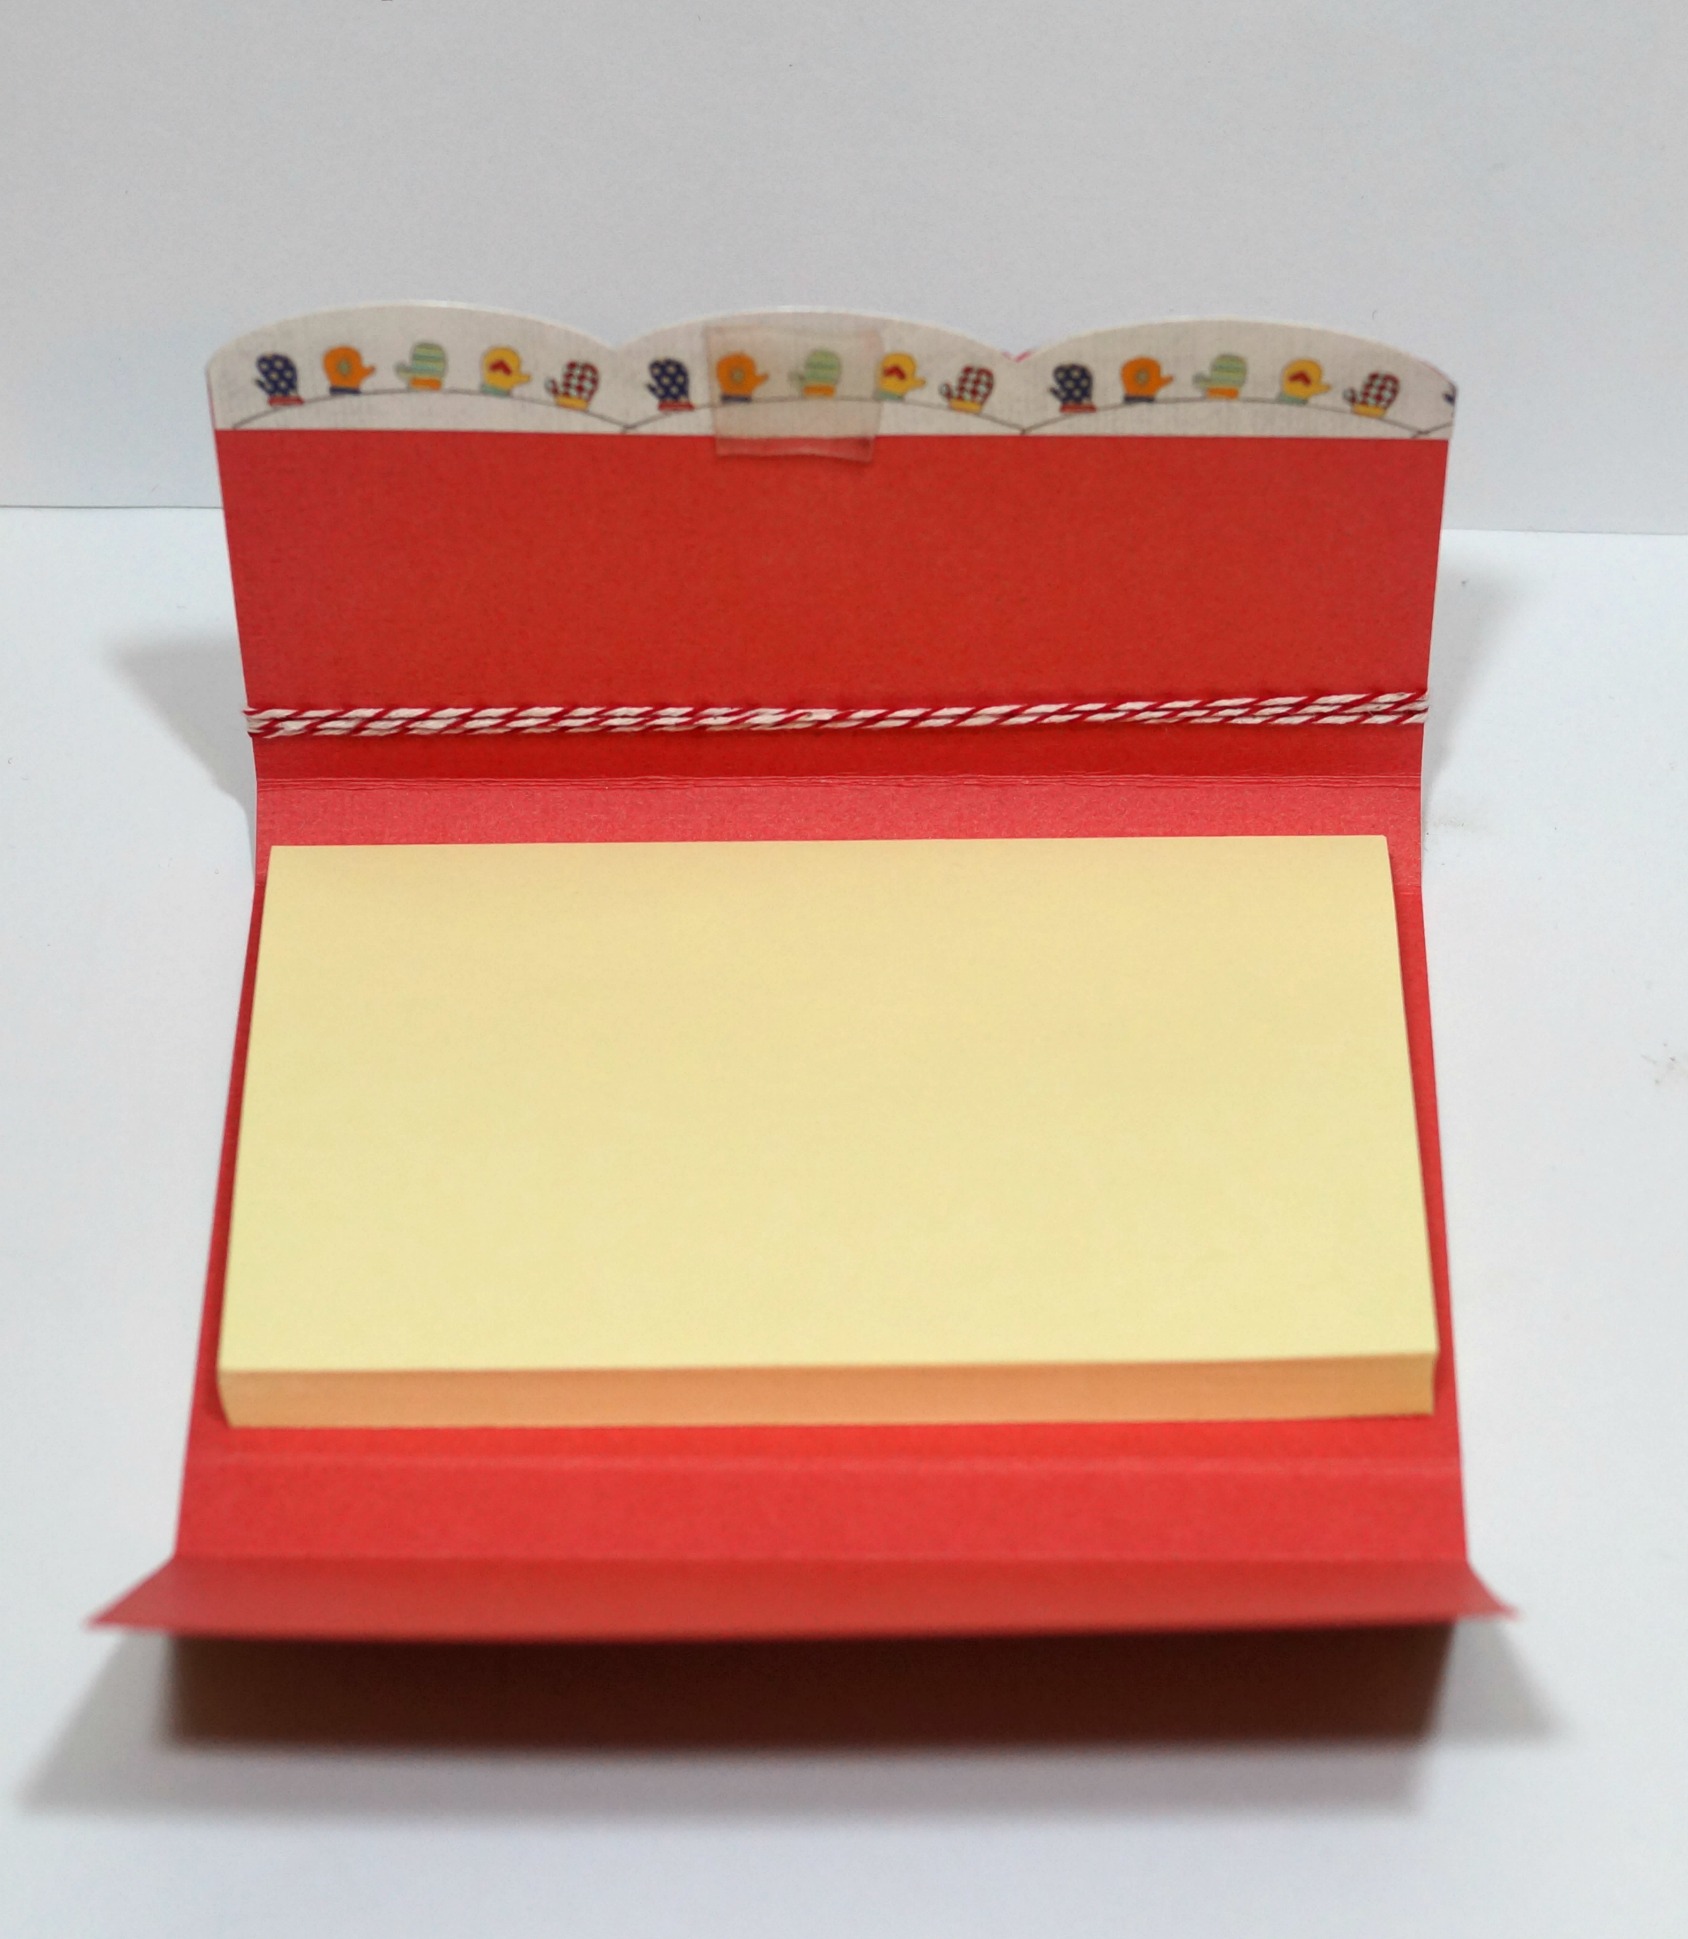
  3. Make a ½” guide line on end of the scored cardstock for applying sticker border. Apply a small border on the guide line. Add a second border to the back of the first.
  4. Paint “merry” and “small ornament” from wood cut outs with white acrylic paint.
  5. Wrap red and white twine around top flap and tie ornament and greenery. Glue merry onto front flap.
  6. Add restickable mini tab to the inside of the flap and add sticky notes.

You can purchase the Warm My Heart Sticker Sheet and Christmas Wood Shapes from Adornit.com.

Shop Amazon Scrapbooking Supplies*

A Very Merry Christmas Frame

Everyone in my family thinks of me whenever they see red buffalo plaid…

I’m not sure why?

But seriously… what’s not to love?

To make my Very Merry Christmas Frame…

I picked up a few sheets of the Simple Stories Very Merry line of scrapbook paper

from my local Scrapbook Store.   Along with a few embellishments and a

Deflecto Clear Frame, 8″ x 10″ (597901CR)*     (*affiliate link)

I made a cute and simple Very Merry Christmas frame.

If I decide to change the look next year, I have a great start to an awesome scrapbook layout.

“This is a sponsored post. As a member of the Deflecto Design Team I have been provided product in exchange for my creative ideas, views and opinions.”

Shop Amazon Scrapbooking Supplies*

*Disclaimer:  This post uses ads and affiliate links.  If you choose to make a purchase using one of the links, I receive a small commission (at no additional cost to you) that helps offset the costs of maintaining this blog.  Thanks for your support!

Glittered Snowflake Ornament

How to Create a Glittered Snowflake Ornament 

Glittered Snowflake Ornament Supplies:                         (*affiliate link)

*Disclosure:  This blog uses ads and affiliate links.  If you choose to make a purchase using one of the links, I receive a small commission (at no additional cost to you) that helps offset the costs of maintaining this blog.  Thanks for your support!

StyleTechCraft Christmas Colors Bundle on Amazon*


How to make a Glittered Snowflake Ornament

  1. Pour Mod Podge* in small bowl and mix in glitter.
  2. If needed…You can add a few drops of water to the mixture to thin it out.
  3. Create a funnel from a piece of cardstock.  Pour glitter mixture into ornament.
  4. Swirl the mixture around the ornament until all the sides are covered.
  5. Turn ornament over and allow excess mixture to drain out.
  6. Allow overnight to let the inside of your ornament to fully dry.
  7. Die-cut a snowflake from the polished metal vinyl.
  8. Apply transfer tape to the front of the snowflake die and removed protective backing.
  9. Lay transfer onto the ornament and smooth from the center out.
  10. Decorate ornament with greenery, berries and bow.


“This is a sponsored post.  As a member of the StyleTechCraft Design Team I have been provided product and compensation in exchange for my creative ideas.  The views and opinions are my own. 

You can now find the full line of StyletechCraft online at ATSM.

A Plate Full of Thanks

This month I started working with a company called Tape Technologies, the maker of

Styletch Vinyl, as their New Design Team Coordinator.

Being that it’s November…

I decided my first project should be something that I could use for Thanksgiving.

I perused my new collection of 12″ x 12″ adhesive vinyl and decided on the Sunflower

Transparent Glitter Vinyl sheet.  (fyi…Styletech has a great selection of vinyl to work with.)

You can find a 10 assorted pack of 12×12 Glitter Self Adhesive Vinyl Sheets* on Amazon.

Some of you may gasp…

when I tell you that I still don’t have one of those fancy electronic die cutting machines.

(although it may be on this year’s Christmas list)

To begin this simple project…  I cut the word “Thanks” using a thin steel die and my

Sizzix Big Shot Die-Cutting/Embossing Machine*.  I cut out 8 for my large plate and

one for my small plate.  Because I only wanted the “thanks” around the edge of the plate

I cut the flourish off the bottom of the “k”.

After figuring out my plate placement, I placed my die-cut “thanks” onto a flat surface and

picked up the die-cut with my Vinyl Transfer Tape*.

Once on the transfer paper I peeled back the protective layer and secured it in place on my

plate.  I burnished the transferred die and removed the transfer paper.

Because I couldn’t help myself I added another die cut “Thanks” with the flourish in tack onto

a cute little thrift store find.

FYI…While I would not place the plates in the dishwasher, I did try to see how it would hold up to hand-washing.   It did fine.

Shop Amazon Scrapbooking Supplies*

*Disclaimer:  This post is sponsored by Tape Technologies and uses ads and affiliate links.  If you choose to make a purchase using one of the links, I receive a small commission (at no additional cost to you) that helps offset the costs of maintaining this blog.  Thanks for your support!