Ring Toss Anyone?

For Nick’s Carnival themed birthday party, earlier this month…

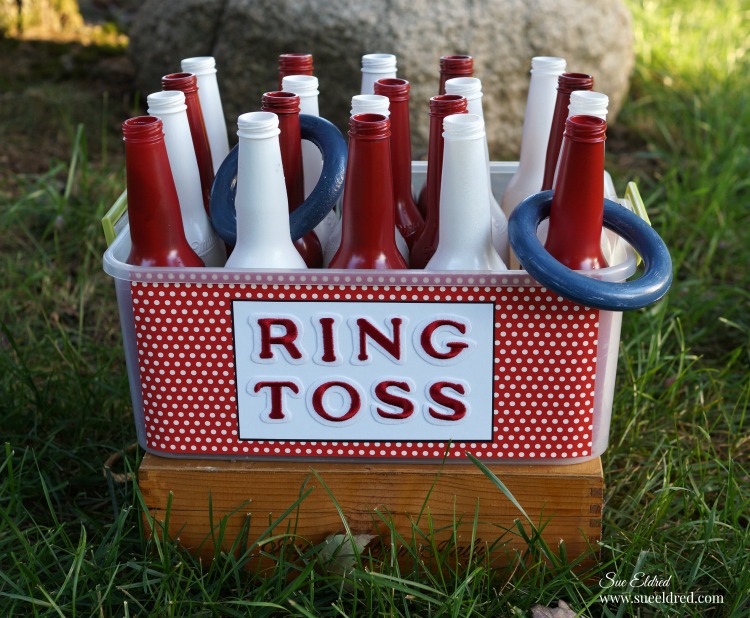
I was given the task to create the Ring Toss Game.

 After washing and spray-painting all the bottles, I needed a cute sign for the game.

Joy letters to the rescue – I just adhered them to scrapbook paper I added to the outside

of the plastic bin that holds the bottles.

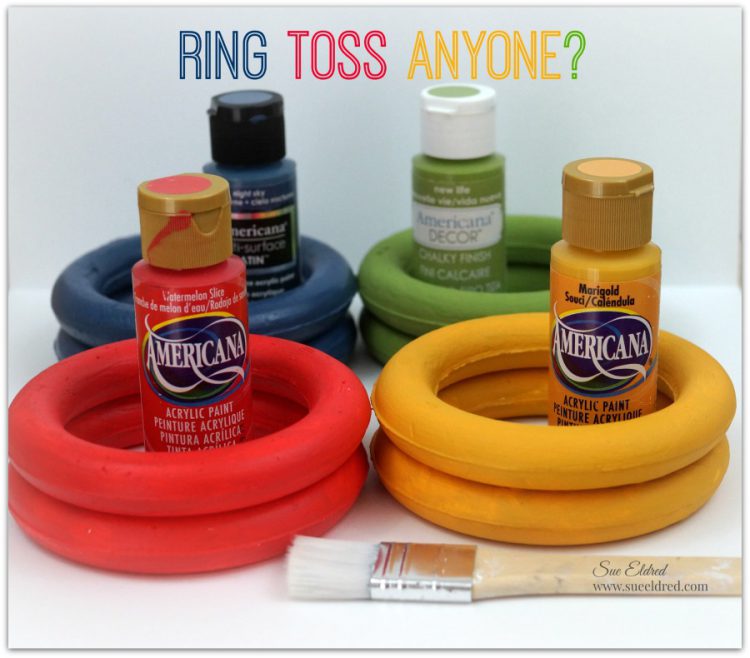
I used lightweight Smoothfoam rings painted with acrylic paint for the kids to toss.

ring-toss-game-sues-creative-workshop

Besides the Ring Toss Game there was a Hit the Can, Frisbee Toss, Fishing Game, Shoot Em Up, Tattoo Parlor, Fortune Teller.

fishing-game

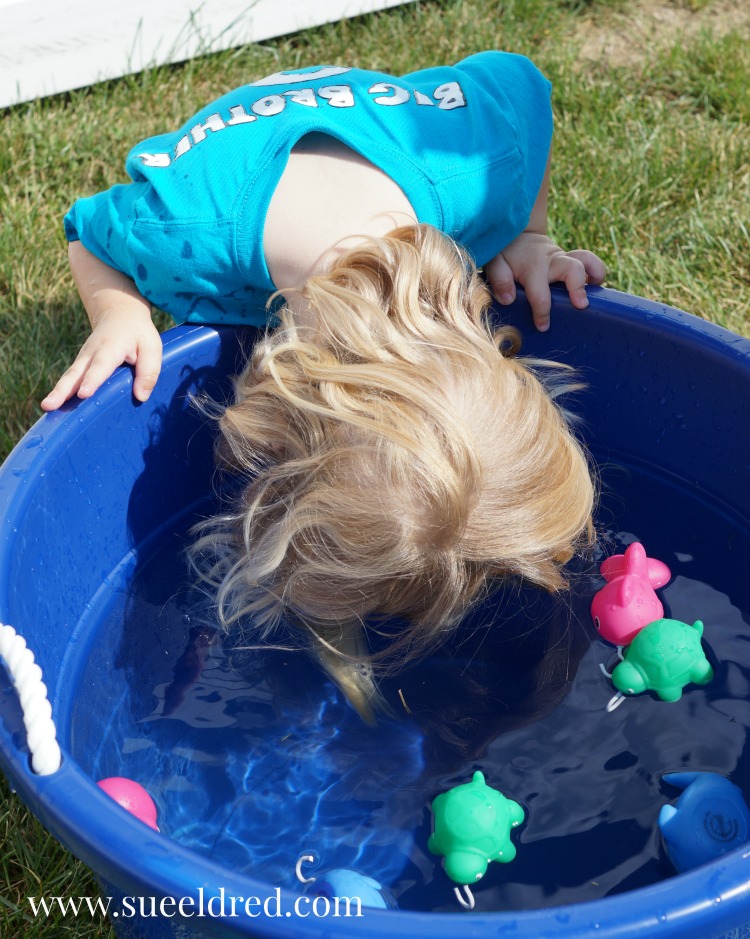
Warren especially love the Fishing Game.

So much, he stuck his head in the tub.  (it was unseasonably HOT that day)

nicks-6th-birthday-party

There was Ice Cream Cone Cupcakes, Corn Dogs, Popcorn, Nacho’s and a ton of prizes.

The kids and adults had a really good time at the party.

This post was sponsored by Joy Sa and DecoArt.

Disclosure:  This blog uses ads and affiliate links.  If you choose to make a purchase using one of the links, I receive a small commission (at no additional cost to you) that helps offset the costs of maintaining this blog.  Thanks for your support!

Join Amazon Kindle Unlimited 30-Day Free Trial

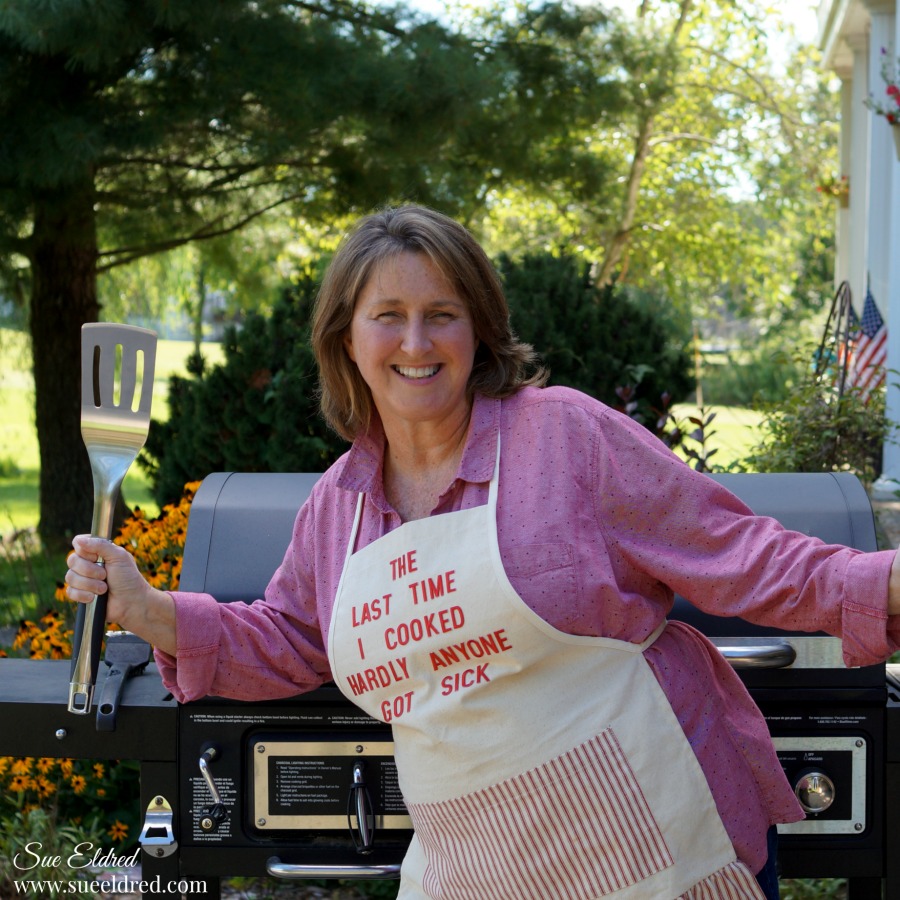
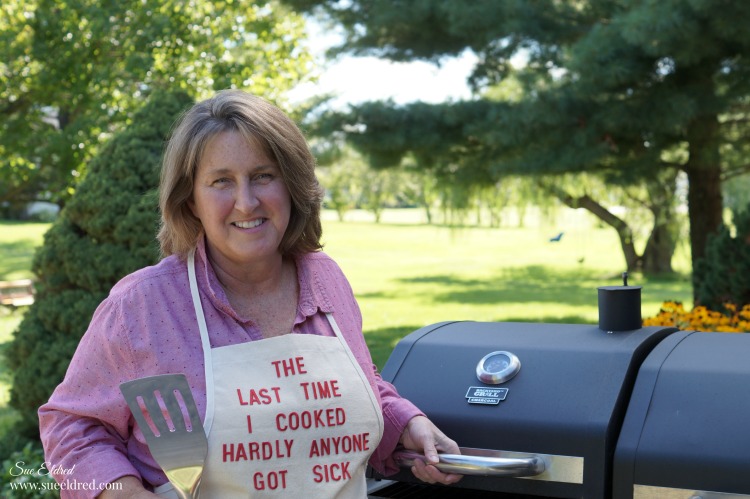
The last time I cooked, hardly anyone got sick.

For some people, cooking defines them.

I AM NOT that person.

Ask me to bring chips and soda to a potluck and I’m totally fine with that.

But… don’t let the apron fool you.

It’s not that I can’t cook.  I just don’t like too.

If I had a personal chef, I’d be one happy girl.

So… If I’ve got to do it, I might as well have a little fun.  (and keep the expectations low)

This apron should do the job.

Red Ticking Apron

Want an apron like mine?

A while back, I asked the good folks at Canvas Corp Brands if they made an

apron with Red Ticking (they only had blue) and they made this apron special just for me.

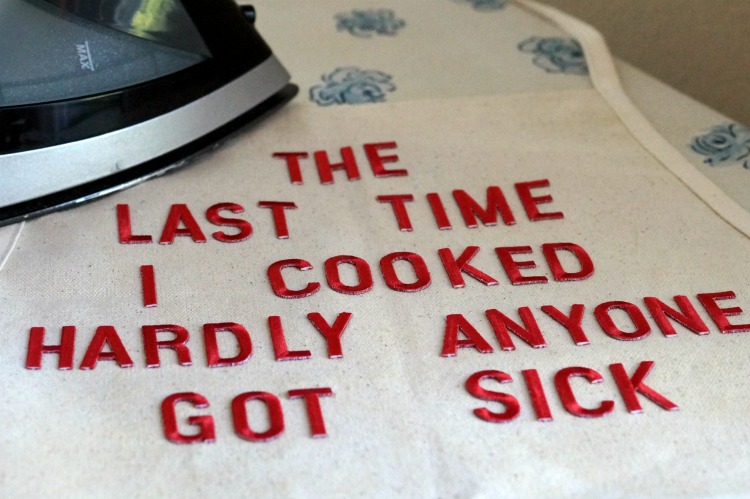
Last Time I Cooked 9942

The lovely lettering is Iron-on Embroidered Letters from Joy SA.

Look for them at your local Hobby Lobby and Michaels craft stores.

“This is a sponsored post.  As a member of the Joy® Design Team I have been provided product and compensation in exchange for my creative ideas.  The views and opinions are my own.

Shop Your Fav Brands at Scrapbook.com

*Disclosure:  This blog uses ads and affiliate links.  If you choose to make a purchase using one of the links, I receive a small commission (at no additional cost to you) that helps offset the costs of maintaining this blog.  Thanks for your support!

Autumn Woods Pop-Up card and Fall Collage

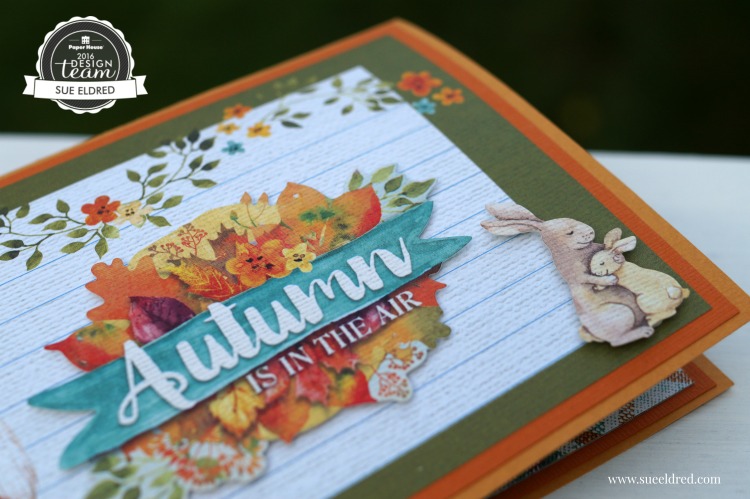
Autumn Woods Pop Up Card 096

One of the best things about being on a design team is the opportunity to work with awesome

products.  When I got my last box of goodies from Paper House Productions I instantly fell

in love with the Autumn Woods Collection.

Autumn Woods Pop Up Card 083

The sweet water colored woodland animals are cute without being to cutesy.

I knew as soon as I saw them that they needed to be made into a pop-up card.

Autumn Woods Pop Up Card 084

Tips…

  • I apply baby powder on the back of my stickers with a small paintbrush to remove the tackiness.  That way I can use my stickers like die-cuts.
  • On the front of the card:  I love adding dimension… so under the “Autumn is in the Air” and the “bunnies” I used 3-D foam mounting squares.
  • Add even more dimension to the inside of your pop up card by adding thin foam mounting squares to the stickers “tree” and  “autumn woods” and strategically placing them on the background.
  • I created a couple of pop-up steps for my forest friends.

Autumn Woods Collage 115

While cleaning up the Autumn Woods scraps laying on my desk, I decided to make a Fall

Collage using a rummage sale frame I picked up last month for next to nothing.

Autumn Woods Pop Up Card 0099

All in all… I would have to say that the Autumn Woods Collection has to be my favorite

Paper House Productions collection so far.  (at least for the time being)

Here’s the list of the Paper House Products I used:

These projects were created for and sponsored by Paper House Productions.

Disclaimer:  This blog uses ads and affiliate links.  If you choose to make a purchase using one of the links, I receive a small commission (at no additional cost to you) that helps offset the costs of maintaining this blog.  Thanks for your support!

Shop Amazon Scrapbooking Supplies*

Patriotic Tie Dyed Shirts for the 4th of July

We’re at it again.

This past week, my daughter in law and I did a little Summer Tie Dying.

(see last year’s shirts here)

Inspired by photo’s she saw on Pinterest,

Bonnie made these cute Patriotic Tie Dyed shirts for the boys.

DSC08616

We used Tie Dye Kits that come with the premeasured squeeze bottles.

She gathered the shirt at one corner and rubber banded it in three sections and squeezed the

dye directly onto the shirt and then covered it with Saran Wrap.

We allowed several hours before rinsing out the dye.

Too Cute!  (don’t you agree?)

For more summer fun… click on ad below.

Slimer

Disclaimer:  This blog uses ads and affiliate links.  If you choose to make a purchase using one of the links, I receive a small commission (at no additional cost to you) that helps offset the costs of maintaining this blog.  Thanks for your support!

Join Amazon Kindle Unlimited 30-Day Free Trial

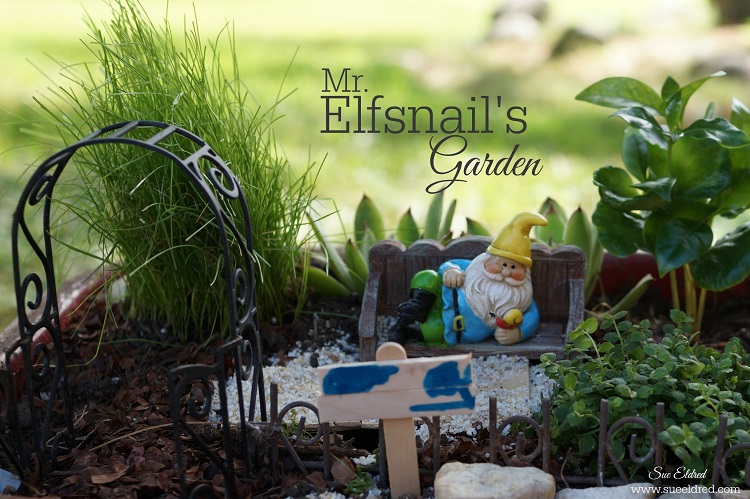
Mr. Elfsnail’s Garden

Mr. Elfsnail's Garden 8202

This marks the third summer since Nicholas and I started the tradition of creating our

Mini Garden.  And…as we exclaim every year…  “this one’s our favorite”.  (it really is!)

Each year we like to add something new and different for our garden.

It has been noted, that at some point, we may have to get a bigger wagon.

Mr. Elfsnail 8140

Our Garden has never had an official occupant.

So, this year we added Mr. Elfsnail.  (named by Nicholas for obvious reasons)

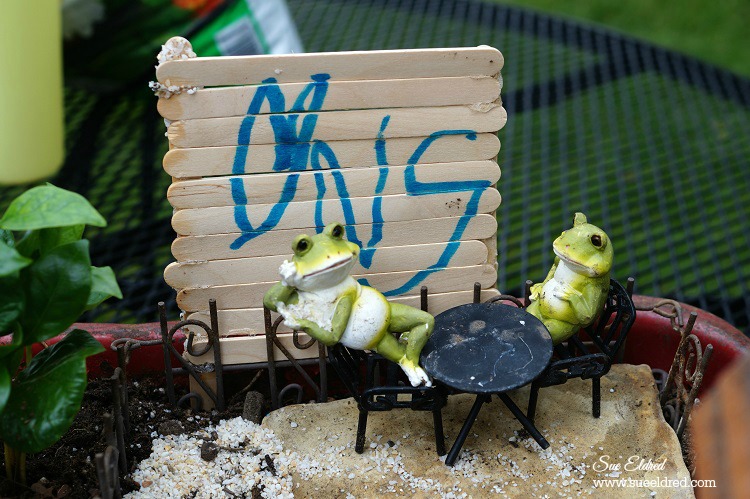
We picked him up along with a wishing well and a pair frogs at our local Hobby Lobby.

Nick and I (mostly Nick) spent the evening before laying out the garden on the kitchen counter.

We like having a plan and being prepared.

Nick had me outside working on the garden by 7:45 a.m. the next morning.

Have I ever mentioned I’m not a morning person?

adding the water feature

For those of you that may not know about our garden, you can read about

the original garden here.

For our garden…we start with an old broken rusty wagon.

After arranging the fence and arbor, Nick quickly set off to work adding a new water feature

using a small, round, black dish (from a microwave desert) into the dirt.

this is how my other grandma told me to get them out

Now that he’s five and a very confident gardener….he didn’t need any help placing the plants.

the path

The “plan” was to add a small path to the new wishing well using crushed shells.

the path now a beach

And because more is always better… MORE CRUSHED SHELLS.

It’s starting to look a little more like a beach.

We added cocoa bean shells around the plants to make it looks nice.  (love the smell)

the frogs

N ♥ S

That just warms my heart.

Even though it should be Nick loves Grandma instead of Nick loves Sue.

(Maybe he named the frogs after us?)

Wishing Well

Nick loved adding water to the wishing well and making sure it worked.

admiring the garden

Our Finished Garden.

Nick and Mr. Elfsnail's Garden with insert

This really is such a fun project to do with kids.

You don’t need anything fancy to use for a container.

And you know what?  I enjoy making it as much as him and maybe even more.

It’s important to take time and do something together.  (Planting the gardening seed.)

Making memories… My buddy and me.

For more summer fun… click on ad below ↓

Slimer

Disclaimer:  This blog uses ads and affiliate links.  If you choose to make a purchase using one of the links, I receive a small commission (at no additional cost to you) that helps offset the costs of maintaining this blog.  Thanks for your support!

Join Amazon Kindle Unlimited 30-Day Free Trial

Craft Sticks… not just for Kids!

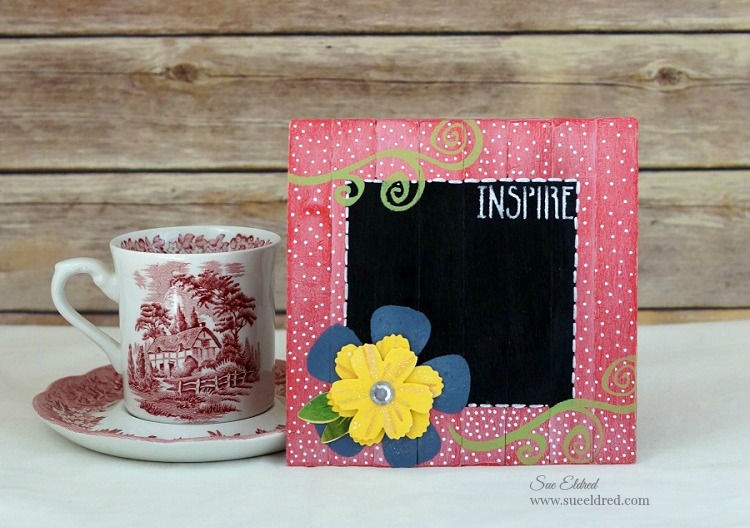
Stenciled Chalkboard Sign

Craft Sticks for Grown-ups?  

Who knew the craft medium we used as kids could produce a grown-up look.

I was messing around one day, looking for something different to stencil on.

Inspired by my favorite “Fixer Upper” show, I decided to create my own mini shiplap.

The projects below are the result of my “playtime”.

Learn More

Americana Sign

This one’s for anyone who loves Americana, old signs, topography and the look of old shiplap.

Or for anyone who loves playing with wood craft sticks.

How to make the Americana Sign:              (*Amazon Affiliate Links)

Finished Size: 6” x 6”

*Disclosure:  This blog uses ads and affiliate links.  If you choose to make a purchase using one of the links, I receive a small commission (at no additional cost to you) that helps offset the costs of maintaining this blog.  Thanks for your support!

Americana Sign Collage

Directions:

  1. Create a sign by gluing together 8 tongue depressors on the front and 4 tongue depressors on the back.
  2. Paint both sides of the sign with blue paint.
  3. Using select sections of the stencil, tape stencil in place using removable painters tape.
  4. Using a stencil brush, dip just the tip of your brush into the paint. Tap off excess paint before applying to prevent the paint from seeping under the edges of the stencil.
  5. Apply paint with stencil brush in a straight up and down motion called stippling.
  6. Drill small hole in the top corners and insert red twine to use as a hanger.
  7. Optional Step: For a distressed look, lightly sand the edges of the sign with extra fine sand paper.

Here’s a project I did a few years ago using a product called sticky sticks. 

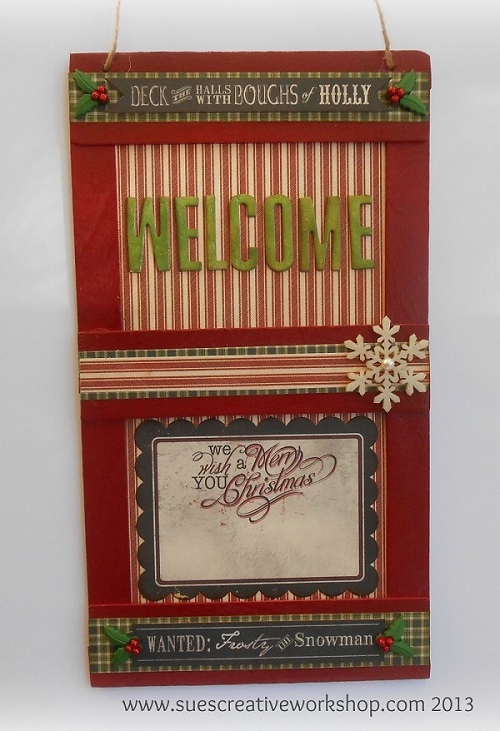
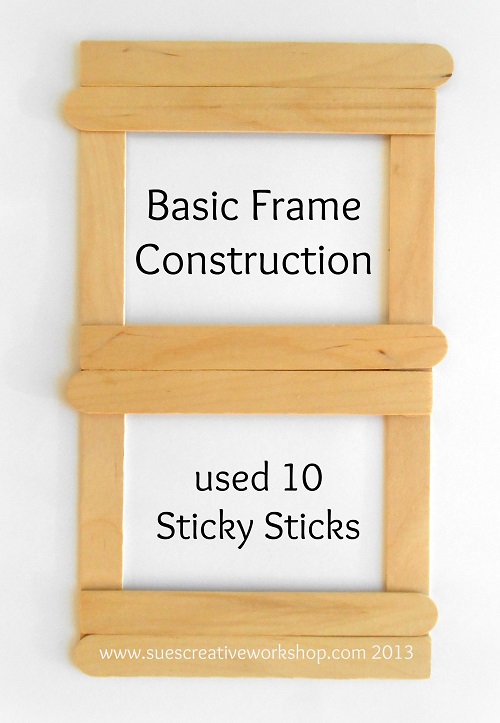
Deck the Halls with Sticky Sticks  Sticky Stick Frame Basic Construction

The paint and stencils used in these projects were sponsored by DecoArts.

Shop Amazon Scrapbooking Supplies*

Americana Ribbon Wreath

How to Create a Americana Ribbon Wreath…

I’ve been concentrating a lot on sprucing up my front porch for Summer.

To complete the look, my front door needed a fresh fun new wreath.

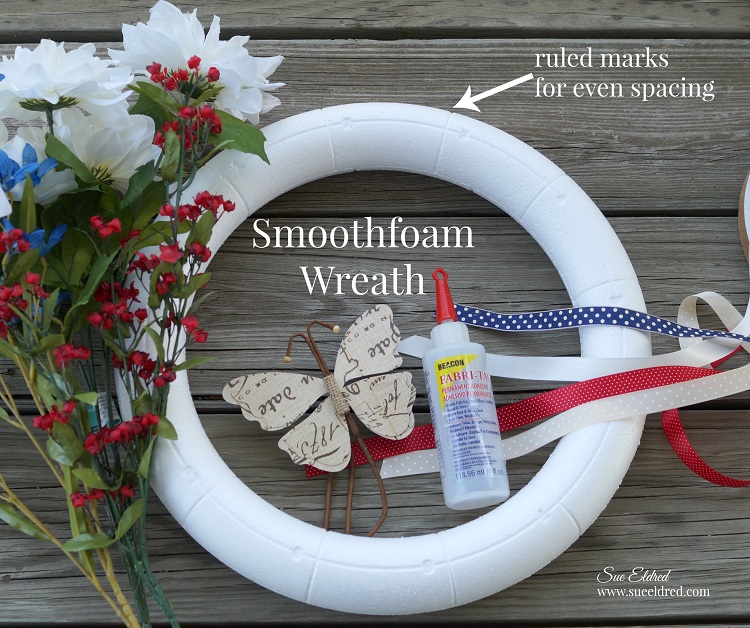
I created a Summer themed Americana Wreath using one of the ruled wreaths* from Smoothfoam.             (*affiliate link)

Smoothfoam Ruled Wreaths make design and layout easy. 

They molded lines and numbers into the foam to make design and layout simple.

Even on one side, odd on the other.

The wreaths come in several sizes… 8″, 10″, 12″, 14″.

Proudly Made in the USA 

wrapped wreath 7502

How to make the Americana Ribbon Wreath

  • I used the 14″ ruled wreath.
  • Glue one end of the ribbon down onto the foam wreath and wrap the ribbon tightly around the first section.  Glue second end of the ribbon in place before starting second color. (I used Beacon Fabri-Tac Permanent Adhesive* to glue my ribbon in place.)
  • Using a thin floral wire, wire the small floral stems onto the base of the wreath.
  • Glue larger flowers and leaves onto the wreath over the wire.
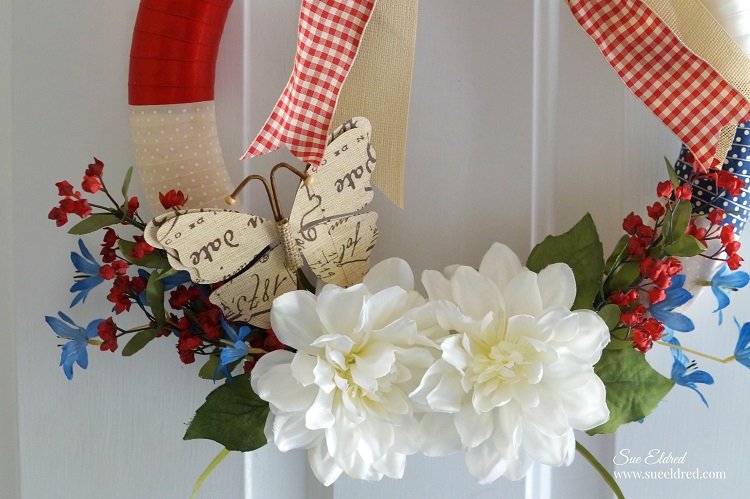
  • Add large stemmed butterfly and ribbon to hang.

So many possibilities.

Close Up 7505

The Americana Wreath was sponsored by Smoothfoam™, the crafter’s foam.

Shop Your Fav Brands at Scrapbook.com

*Disclosure:  This blog uses ads and affiliate links.  If you choose to make a purchase using one of the links, I receive a small commission (at no additional cost to you) that helps offset the costs of maintaining this blog.  Thanks for your support!

Join Amazon Kindle Unlimited 30-Day Free Trial

New Use for an Old Basket

On the Porch 2

Need a quick front porch project…

Got any old baskets lying around the house?

Old Basket Before 7232

I’m a total sucker when it comes to baskets.  (a basket case one might say)

I’ve got quite the collection, I use them all over the house.

During my Spring Cleaning…this basket was headed for the trash when I decided to

repurpose it.  I love the look of flowers in baskets.  I had nothing to lose.

I can always throw it away later if it doesn’t wear well this summer.  (look at how rough it is)

quick fix 7242

I gave the handle of the basket a quick fix with some craft glue held together with a binder clip.

plastic bag and adding potting soil 7244

I used a thin grocery store bag to line the basket and keep the dirt in place.

You might want to poke a few small holes in the bag for drainage.

ready to plant 7251

Once you’ve filled the basket with dirt, tuck the remaining bag neatly around the sides

of the basket.

flowers 7250

My basket will be on a shaded front porch. 

I chose flowers that will grow well in shade.

I started with a couple larger pink geraniums and filled with smaller pink impatiens

and purple violas.

Shop Your Fav Brands at Scrapbook.com

TIP:  Don’t pack the basket so full that the flowers don’t have room to grow.

New Look for an Old Basket

Now that Garage Sale season is upon us.

You may want to keep a look out for a cheap basket or two.

That is… if you don’t have any old baskets lying around waiting to be rescued.

Join Amazon Kindle Unlimited 30-Day Free Trial

*Disclosure:  This blog uses ads and affiliate links.  If you choose to make a purchase using one of the links, I receive a small commission (at no additional cost to you) that helps offset the costs of maintaining this blog.  Thanks for your support!

Vintage French Inspired Keepsake Box

Vintage French Inspired Keepsake Box

I am a guest blogger on the Walnut Hollow Blog sharing my Vintage French Inspired Keepsake Box.  Make to stop by their blog to check out the full tutorial here.

Supplies Used on the Vintage French Inspired Keepsake Box…           (affiliate link)

*The Vintage French Inspired Keepsake Box was created for and sponsored by Walnut Hollow and DecoArts.

Shop Amazon Scrapbooking Supplies*

Disclaimer:  This blog uses ads and affiliate links.  If you choose to make a purchase using one of the links, I receive a small commission (at no additional cost to you) that helps offset the costs of maintaining this blog.  Thanks for your support!

Buy the Planner Value Kit

Making a place for Dad’s coffee

Making a place for Dad's Coffee 5605

Dad comes over every Monday, Wednesday and Thursday evenings for dinner.

It’s our weekly ritual.

He arrives at 5:30, sits in the leather chair closest to the television, in time for the evening news.

While he watches the news, I make dinner.  That’s the routine.

Dad sits in that particular chair so he can read the closed captioning.

Unfortunately, that’s the one chair that doesn’t have an end table.

Occasionally… he’ll give me a hard time telling me I need a table so he can put his coffee

cup down.  Problem is there’s no room to put one there.

old stool 5552

Problem Solved…

I noticed this old stool down in the basement, paint splattered and water stained.  (a little ugly)

A make-over was in order and I knew exactly what I wanted to do.

I wish you could of saw the smile when I told him why I did this.  (I had to sneak the first picture)

He thought it was perfect.

Easily put away when not in use.

*Disclosure:  This blog uses ads and affiliate links.  If you choose to make a purchase using one of the links, I receive a small commission (at no additional cost to you) that helps offset the costs of maintaining this blog.  Thanks for your support!

Finished Stool with coffee cup 5592

Old Stool Make-0ver Products Used:                                                   (*affiliate link)

*FTC Disclosure… “This is a sponsored post.  I have been provided product in exchange for my creative ideas.  The views and opinions are my own.”

Old Stool Make Over Steps

Directions:

  1. I gave the top of the table a quick sanding with my palm sander to smooth out the paint splatters.  (I could of sanded the legs but I was lazy.)
  2. I used Tattered Angels Decor and DIY, Ebony*, I love that you don’t need to do any sanding or priming.  I love the smooth matte finish that it gives.  I gave the table 2 coats of paint and some touch ups.
  3. Allow the paint to fully dry and cure before starting the stenciling.
  4. I custom mixed Americana Décor Chalky Finish paint relic and everlasting for a light contrast to the ebony black finish.
  5. Center the stencil onto the middle of the stool and tape down the edges with removable painter’s tape to keep the stencil from moving.
  6. Use stipple brush to apply Chalky Finish paint inside open stencil areas.
  7. Remove Stencil.
  8. For the time being, I’ve decided to leave the stool as is.  You may want to apply a finishing wax to help protect the paint.


Don’t Miss a Thing…Make Sure to Follow me

Shop Amazon Scrapbooking Supplies*