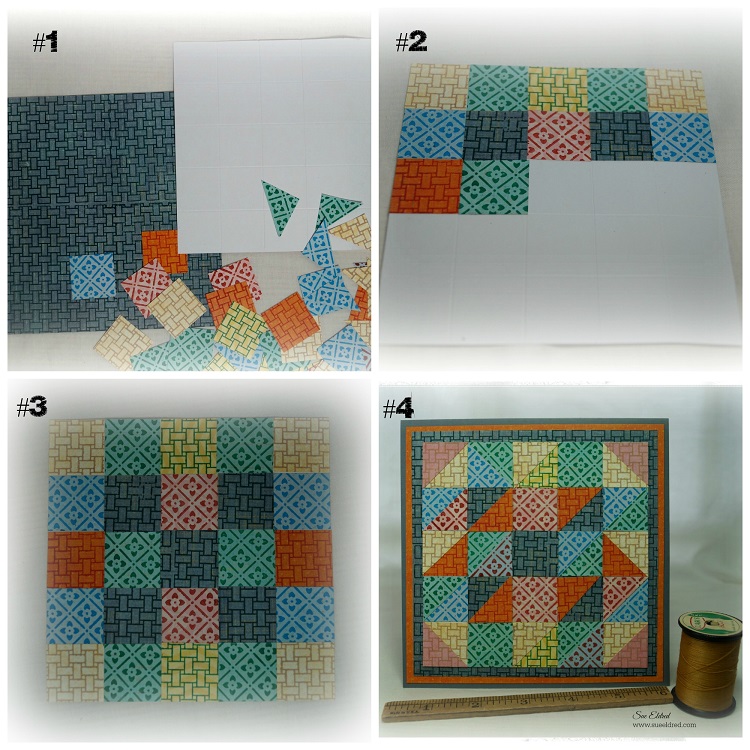
CUTE KID ALERT: I love working on crafts with Nicholas and his Mommy.
Last Sunday, we decided to Tie Dye t-shirts.
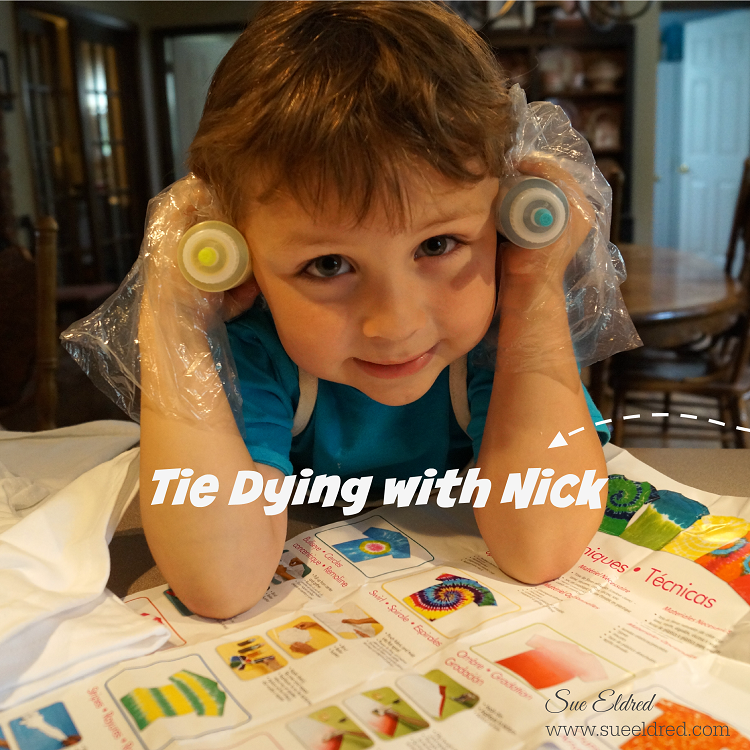
It all started because of a Tulip One-Step Mini Tie-Dye Kit-Neon* (affiliate link) I received
free last February after a CHA Fave Crafts Designer Event from Tulip and I Love to Create.
I had been meaning to use it, but, hadn’t gotten around to it yet.

Using the squeeze bottles made it so much easier and less messy than the old way of tie-dying.
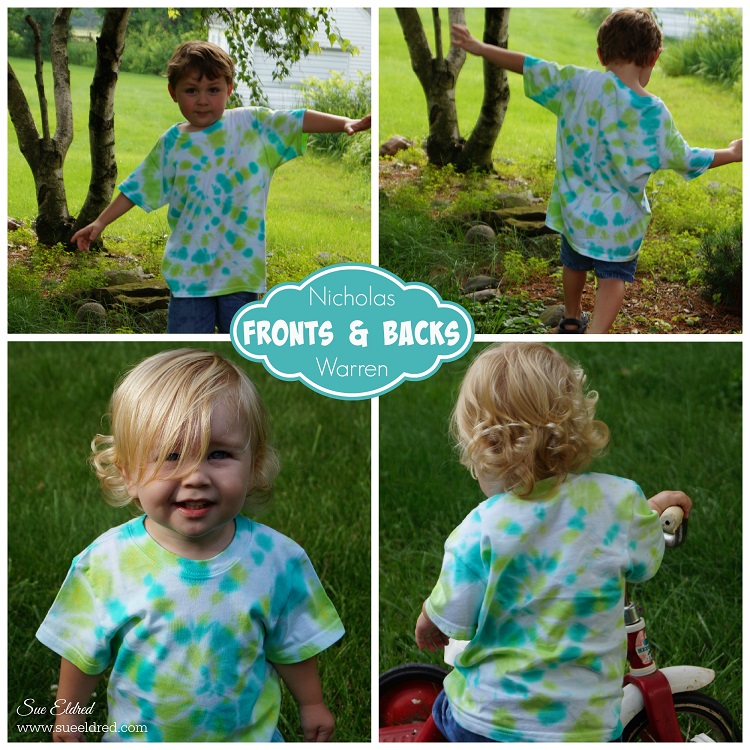
We had so much fun with this project that Bonnie (Nick’s Mommy) went out and bought a
larger kit the next day. This past Sunday, when everyone came over for Father’s Day,
we tie-dyed Red White and Blue t-shirts and socks with the kids.
Just saying “a little addicting”.

The kit came with a large full color sheet of designs, techniques and instructions.
For the boys shirts we did the “swirl” technique.
For Bonnie’s shirts we did the “crumple” and “ombre” techniques. (no pictures, darn)
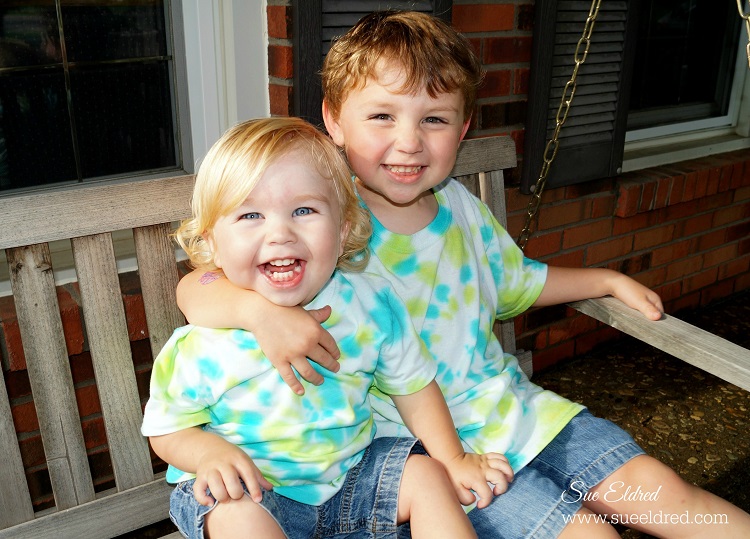
It doesn’t get much cuter than this!
I used this picture in a frame for their Daddy’s Father’s Day gift.
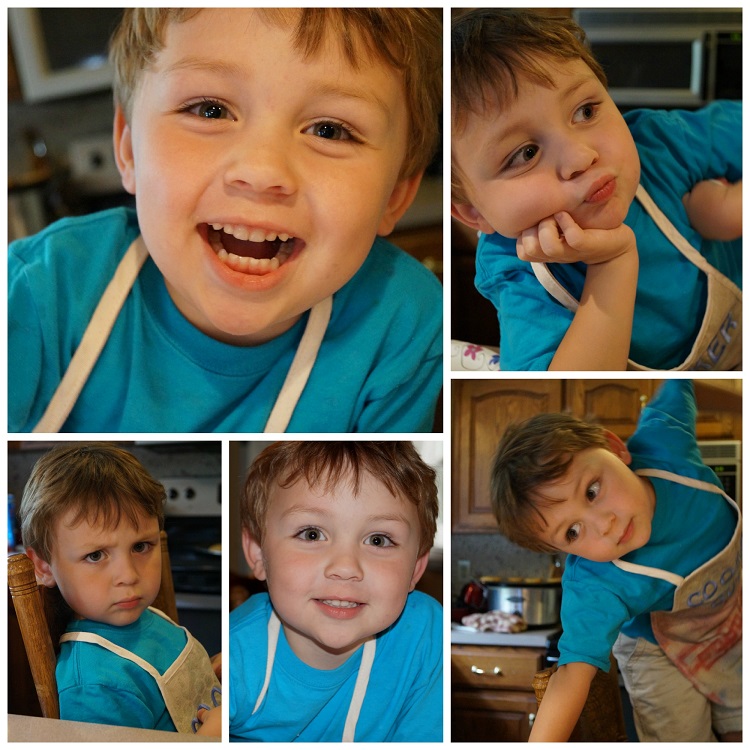
This post would not be complete without including the “Many Faces of Nick“.
Disclaimer: This blog uses ads and affiliate links. If you choose to make a purchase using one of the links, I receive a small commission (at no additional cost to you) that helps offset the costs of maintaining this blog. Thanks for your support!