Joy Tag with a Cool Metal Foil Technique

Impress your friends with an Easy and Elegant Metal Foil Tape project.

I love this technique and thought you might as well.

Start with a small piece of matboard or chipboard approx. 2″ x 2 1/2″ and chipboard letters spelling the word “Joy”.

Joy Tag products used:            (*amazon affiliate link)

*Disclosure:  This blog uses affiliate links.  If you choose to make a purchase using one of the links, I receive a small commission (at no additional cost to you) that helps offset the costs of maintaining this blog.  Thanks for your support!

Shop Your Fav Brands at Scrapbook.com

Directions:

1. Glue letters onto the small chipboard with Beacon Adhesives Zip Dry Paper Glue*.
2. Apply Aluminum Foil Tape* over chipboard. I make the chipboard slightly smaller than the tape so that I don’t have any seams.
3. Using the bone folder, gently go around each letter to bring out the detail.

4. Paint the background with the paint pen. To give it a snowy affect, when
giving a second coat of paint, dot the paint with the tip instead of brushing.
5. Use the pale blue pen to color the letters. Allow both colors to thoroughly
dry.
6. Using a sanding block, lightly sand the letters and edges of the chipboard.
7. For a finishing touch, paint the letters with stickles glitter glue.

The tag also uses:
Prima Flowers (Holiday Celebration Snow Drop)
Vivid Ink: Aqua
Ink Blending Tool*
Scrapbook Paper
Cardstock
Corner Punch, Rounded*
1/8 Inch Round Hole Punch*
Lace, Silver Ribbon and Small Flat Snowflake Ornament
Silver Greenery

Shop Amazon Scrapbooking Supplies*

Christmas Ornaments from Old Kitchen Hardware

Old Kitchen Hardware

I picked up a bag of old kitchen hardware for 50¢ at a Garage Sale.

I can’t resist a good bargain and knew I might even use them someday.

After disassembling and using them on a couple of projects,

I put the rest in a container high on the shelf for another day.


I ran across them again the other day and had an idea…

How would they look with cream spray paint?

I knew I was onto something and let the idea marinate in my head for a day or two.

This is what I came up with and I’m pretty happy with the results.

Shabby Chic Orn 86

For my Ornament:

  • Paint the base plate from old kitchen hardware with cream spray paint.
  • I added silver around the edge using my finger tip and paint from a  Chisel Point Pen Tip Calligraphy Paint Marker, Silver*    (affiliate link)
  • Remove the small wooden base from a small bottle brush tree.  With small pliers bend the remaining wire tip up into the tree.
  • Cut the back of the bottle brush tree to make it flat.
  • Glue tree in place with Beacon Adhesives Zip Dry.*
  • For a little extra sparkle, I rubbed clear glitter glue into the bristles of the tree.  Glue pearl beads and place directly into tree.
  • On the top of the ornament I used a piece cream twill ribbon with an inexpensive plastic star ornament on a silver jump ring.  Tied it in place with a piece of burlap twine and small cream button.
  • I added a silver jingle bell that I painted and distressed with sandpaper and tied on with a satin ribbon.
  • Place the word sticker onto a thin piece of chipboard, trim around sticker, lightly sand the edges for a distressed look and glue into place.

Berry Ornament 91

Here’s a simpler idea.  I love this one too.

I bet your going to start rummaging through that junk drawer in the garage and see what you can find.

Shop Amazon Scrapbooking Supplies*

*Disclaimer:  This post uses ads and affiliate links.  If you choose to make a purchase using one of the links, I receive a small commission (at no additional cost to you) that helps offset the costs of maintaining this blog.  Thanks for your support!

Updated… A New Look for an Old Snowman

Updated Sock Snowman

Last year at my Holiday Workshop we made cute little snowmen out of socks.

They were a big hit.

But… one thing, I noticed when I pulled mine out again this year,

was that they looked a little misshapen.  More like a kidney bean than a snowman.

That was because I used rice for the entire body.  (the rice settled)

My updated snowmen still uses rice in the bottom, it now has fiberfill in the top

so that it doesn’t loose its shape.

I also decided my Snowman was cold, so I re-purposed an old sock for his sweater.

For more Making More Sock Snowmen Ideas you can find them here.

Here’s What You’ll Need:                    (*affiliate Links)

Here’s how I made my Snowman:

  1. Tea dye a new white sock, crew length or bigger.  Or if you have boys you could use one of their dingy ones.  (It’s better not to use a sock with the grey toe and heel.)
  2. Cut the top of the sock off, right around the heel.  (save that for the hat.)
  3. Turn the sock inside out and attach a rubber-band tightly around the top of the sock.  Because rubber bands wear out with time, I added a good squirt of Fabri-Tac Permanent Adhesive* (*affiliate link) in and around the rubber band.  (I left the rubber band on)
  4. Turn the sock right side out and fill sock about 1/2 way with rice.
  5. Fill the remaining portion of the sock with Fairfield Poly-Fil Premium Polyester Fiber*
  6. Use an additional rubber-band to close the sock.  Again, I re-enforced the rubber band with glue.
  7. Tie a piece of twine around sock to create the head.
  8. I used mini black square brads for his eyes, the tip of a bamboo skewer colored orange for his nose and a simple sewn black thread for his mouth.
  9. I used some paper craft sprays to add color to the toe of the sock.  I tied the tip with a piece of red and white twine and finished with a bow.  Roll the edge to create a cuff.  I glued my hat to the top of my snowman with Fabri-Tac Permanent Adhesive*(*affiliate link)
  10. Dress with Snowman with part of an old sock.  Add a couple of buttons for added detail.  A  fringed piece of fabric works great for the scarf.

Shop Your Fav Brands at Scrapbook.com

Disclaimer:  This blog uses ads and affiliate links.  If you choose to make a purchase using one of the links, I receive a small commission (at no additional cost to you) that helps offset the costs of maintaining this blog.  Thanks for your support!

Give the Gift of Amazon Prime*

Grandkids are Blessings

Grandkids are Blessings Layout with Truck

I have two adorable grandsons who are just the sweetest little guys.

I just love being around these two.  So many smiles, hugs and lots and lots of love.

Being a grandma is Wonderful.  (Although I’m sure I don’t look old enough to be a grandma)

My Grandkids are definitely a Blessing.

The “Grandkids are Blessings” Layout was made with:          (*affiliate link)

Tip:  I sprayed the Irresistible Texture sprays fairly thick on the front of the word “blessings” and allowed a couple of hours to dry before adhering to my page with Glaz On.

This project was created for and sponsored by Clear Scraps.

Shop Amazon Scrapbooking Supplies*

Disclaimer:  This blog uses ads and affiliate links.  If you choose to make a purchase using one of the links, I receive a small commission (at no additional cost to you) that helps offset the costs of maintaining this blog.  Thanks for your support!

Fun & Easy Felt Projects to make her smile.

Pretty Little Dress Up Purse

Today I’m sharing a couple of Fun & Easy Felt Projects that is sure to make her smile.

Kunin Challenge

I was recently sent a variety of felt from Kunin along with some great glues from

Beacon Adhesives and buttons from Buttons Galore & More

for a Designer Craft Connection September Blog Hop. Pretty little Purse Collage

My First Project is a cute little dress up purse made with just three pieces of felt.

Directions:

  1. Glue the edges of two pieces of felt together with Fabri Tac glue from Beacon Adhesives.
  2. Fold over in thirds and glue sides together.  (see above picture)  Binder clips works great to keep everything secure while drying.
  3. Glue a piece of lace to the underneath side of the felt flap.
  4. Cut a button-hole and sew on a big black button.
  5. Cut 8 small petal shapes from Black Glitterfelt™.
  6. Simply quick stitch the petals together. (see above picture)
  7. Gather both ends of the thread together and tie with a knot.
  8. Glue a Fancy Button from Buttons Galore & More into the center to finish off the flower.  My button was originally gold.  I used a silver paint pen on my button to make it silver.
  9. Glue finished flower onto flap of purse.
  10. Punch a couple of holes on each side of the purse with a Crop-a-dile punch and string black cording for the handle.

Felt Heart

Did you know that you can easily die-cut felt?

The love heart pillow was made using White Classicfelt™ and Princess Hearts Fancifelt™ with a large heart die and alphabet dies.  One side of the heart has the white felt, the other has the Princess Hearts felt.  I cut one of the small hearts from the Princess Hearts felt to use as my “o”.  The pink flower on top was made the same as the above black glitter flower except that I used 6 petals instead of 8.

Shop Amazon Scrapbooking Supplies*

*Disclaimer:  This post uses ads and affiliate links.  If you choose to make a purchase using one of the links, I receive a small commission (at no additional cost to you) that helps offset the costs of maintaining this blog.  Thanks for your support!

Make Wedding Place Settings with Smoothfoam

The Bride and Groom Place setting  is a cute way to identify where the bride and groom will sit for dinner!

To make the Bride and Groom Place Settings you’ll need…            (*affiliate link)

4″ Smoothfoam ball
Smoothfoam sheet (any size)
Stick ‘n Carve*
Hot Wire Foam Cutter*
Sandpaper, paint brush
Craft paints – black and white
Mod Podge Gloss Finish*
Stickles Glitter Glue, Diamond*
2 wood dowels
Gold Paint Marker*
“Story of Us” stickers

  1. Draw, trace or print the outlines of a dress and bow tie on to the transfer paper, then stick the paper to a sheet of Smoothfoam.
  2. Cut out the images with the foam cutter, through the transfer paper.
  3. Remove the transfer paper and sand the edges of the foam as needed. Paint the bow tie black and paint the dress white.
  4. Cut the Smoothfoam ball in half then paint one half black and paint the other half white.
  5. After the paint is dry, coat each piece with Mod Podge (gloss finish).
  6. Embellish the surface of the dress and ball with glitter glue for extra sparkle.
  7. Cut each dowel to the appropriate size so the markers are the same height as shown. Paint the dowels with a gold paint pen and insert into the foam, connecting each piece to its base.
  8. Embellish each marker with stickers and bling.

Shop Handmade – The Wedding Store

Disclaimer:  This blog uses ads and affiliate links.  If you choose to make a purchase using one of the links, I receive a small commission (at no additional cost to you) that helps offset the costs of maintaining this blog.  Thanks for your support!

Quick and Easy Washi Tape Mother’s Day Card

Mothers Day is just a few days away.  Your Mom is expecting a special handmade card.

Here’s a Quick and Easy Mother’s Day card that you can make in minutes.

First, I’m assuming like any good paper crafter, you have washi tape on hand.

If not, there’s still time to run out and get some.  (visit your local scrapbook store)

Here’s what you need to do:

  • Using your computer, print your Mother’s Day greeting on a piece of white cardstock.  Make sure it prints approx. half way down the page.
  • Cut the white cardstock 1/4″ smaller than the size you want your card to be.
  • Then tear the washi tape into strips and alternate onto the white cardstock.
  • Adhere it to a cut and folded coordinating colored card that is 1/4″ larger than the white cardstock.

(My finished card is 4 1/2″ x 5″)

Voila!  Now run out and get her a bouquet of fresh flowers from the grocery store and your done.

To my kids:

If you are reading this post, the supplies are on my desk.

Help yourself.

Love, Mom

*Disclosure:  This blog uses ads and affiliate links.  If you choose to make a purchase using one of the links, I receive a small commission (at no additional cost to you) that helps offset the costs of maintaining this blog.  Thanks for your support!

Nick and Grandma’s Mini Garden

A few weeks ago, Nick and I talked about making a special project.

I decided we should make a miniature garden for him to help me take care of.

Saturday, my little buddy came over to help me work on it.

Garden Tools

We had previously collected moss, sticks, bark and rocks for our project.

I added some mini plants (for fairy gardens), potting soil, a small park bench, tiny garden fence,

green spray bottle and a set of teeny tiny tools.

While cleaning out the garage a couple of weeks ago, I almost threw out this rusty broken

wagon.  I’m so glad I decided to keep it.   It was perfect for our mini garden.

Nick with Tools

All I needed was one excited 3 1/2 year old to help me.

Nick working in the garden

I added a piece of paper towel over the holes in the bottom of the wagon and we filled it

with potting soil.  I added the small fence, large flat rock and bench.  I let Nick finish the rest.

Nick loved digging in the dirt and adding the plants.

Garden Close Up

We put rocks around the little fence and even added a chicken to our garden.

Nick watering the tulips

Occasionally, Nick had to stop and water other things.  Like my tulips.

Grandma and Nick's Special Garden w watermark

I don’t know who was more excited about the garden, him or me.

picnic lunch

Since, grandpa had brought the little white picnic table up from the barn.

Nick decided we needed to have a picnic lunch.  All in all, a day very well spent.

Shop Your Fav Brands at Scrapbook.com

Disclosure:  This blog uses ads and affiliate links.  If you choose to make a purchase using one of the links, I receive a small commission (at no additional cost to you) that helps offset the costs of maintaining this blog.  Thanks for your support!

Join Amazon Kindle Unlimited 30-Day Free Trial

10 Things you may or may not know about me

Here are 10 things you may or may not know about me.  (in no particular order)

1.  I have lived in the Mid-West all my life.  I love it here, I love everything about it. (Well maybe not this last winter.  But even that’s becoming a distant memory.)  The Midwest’s home.  It’ll be a hard sell to get me to ever move away.

2.  My Favorite kind of Vacation is a “Beach Vacation”.  One of my favorite things to do is to sit on the beach under a beach umbrella, listen to music and read a book.  (Getting to the beach from the Midwest can be a challenge.)

3.  My favorite color is RED.  Anyone who knows me even a little bit has probably guessed this already.  Even though I don’t wear the color red often, I love the color red.  I think every room in the house needs a pop of red.  I even collect Red Toile dishes.

4.  I am a middle child.  (No, I don’t have a problem with that.)  I am one of 5 kids, 4 girls, raised in a very small ranch house with only one bathroom.  Funny thing, I don’t remember that being a big issue at the time.  (at least not for me.)  Bonus Trivia:  my husband is also a middle child, 4 boys, one girl.

5.  I met my husband in Hawaii while on Spring Break.  One of us may have been a flirt. Long story for another day.  (Bet that has you wondering.)

6.  I was always a shy and quiet kid.  I never would have guessed that I would love sharing and teaching my projects to groups.  It’s easy when you’re doing something you enjoy.

7.  I don’t embrace change well.  My family will agree on this one.  New things scare me and make me nervous.  (I had to be talked into getting a microwave in the 80’s.)

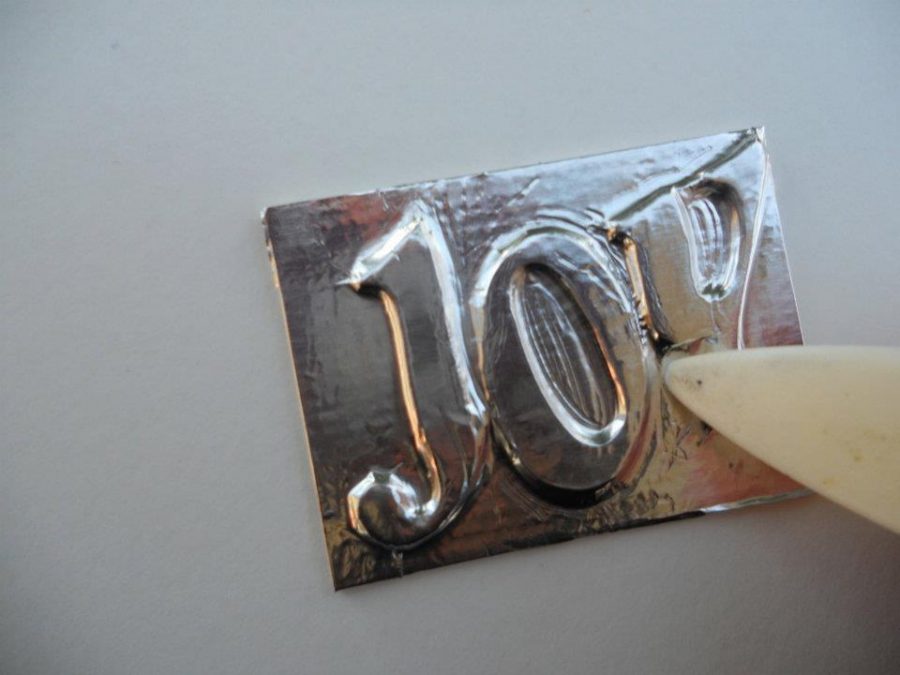
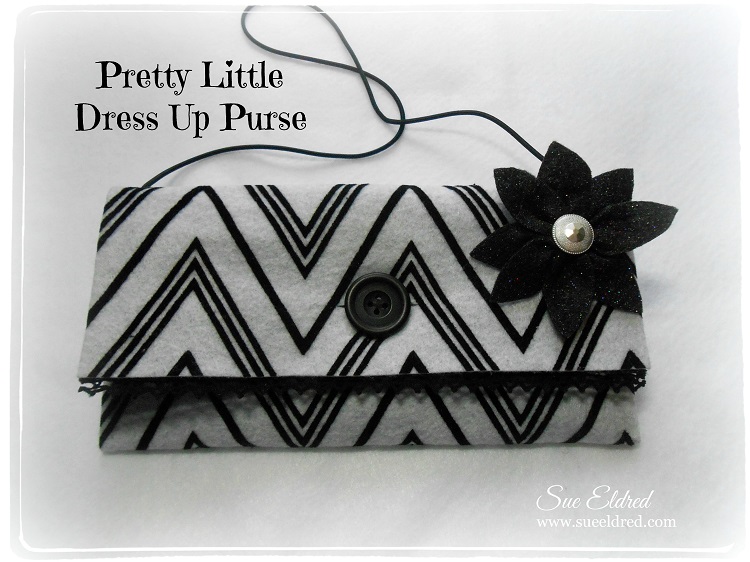
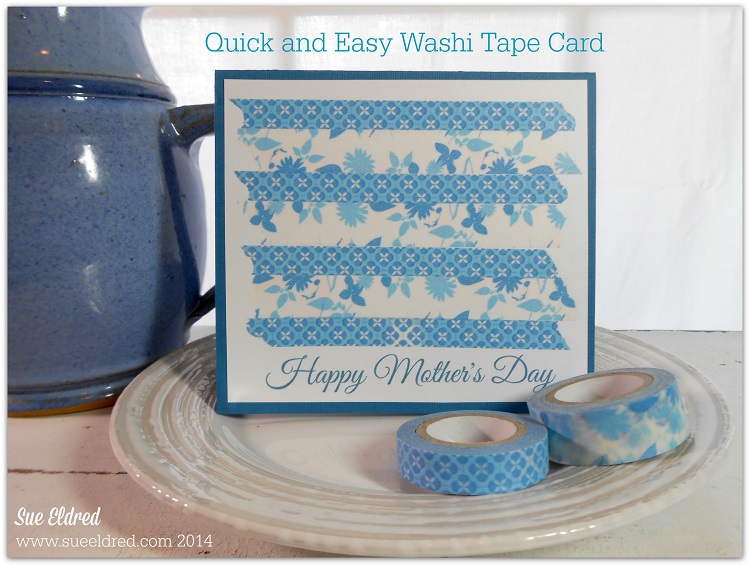
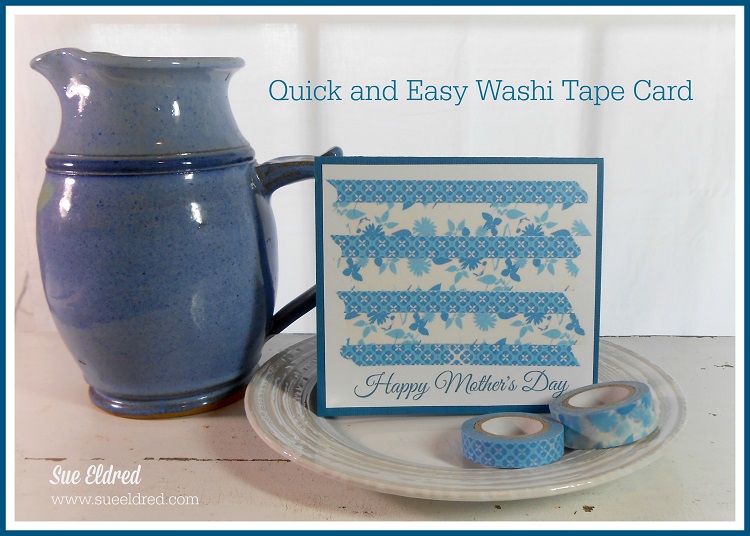
I’m not an artist.  I do, however, consider myself a creative person.  I did take art classes all through high school and even in college.  I enjoy art even though I can’t draw.  One thing I’ve learned about art is that there are all kinds of art and art is subjective.  One of the reasons I enjoy Paper Crafting so much is that I can be creative and make small little masterpieces that make me happy.  When I was a kid I loved doing all kinds of crafts.  At a very young age, I even had a thriving candle business for a while.  (or least I thought I did)  FYI:  I don’t like being called “crafty”.  I am “creative”.

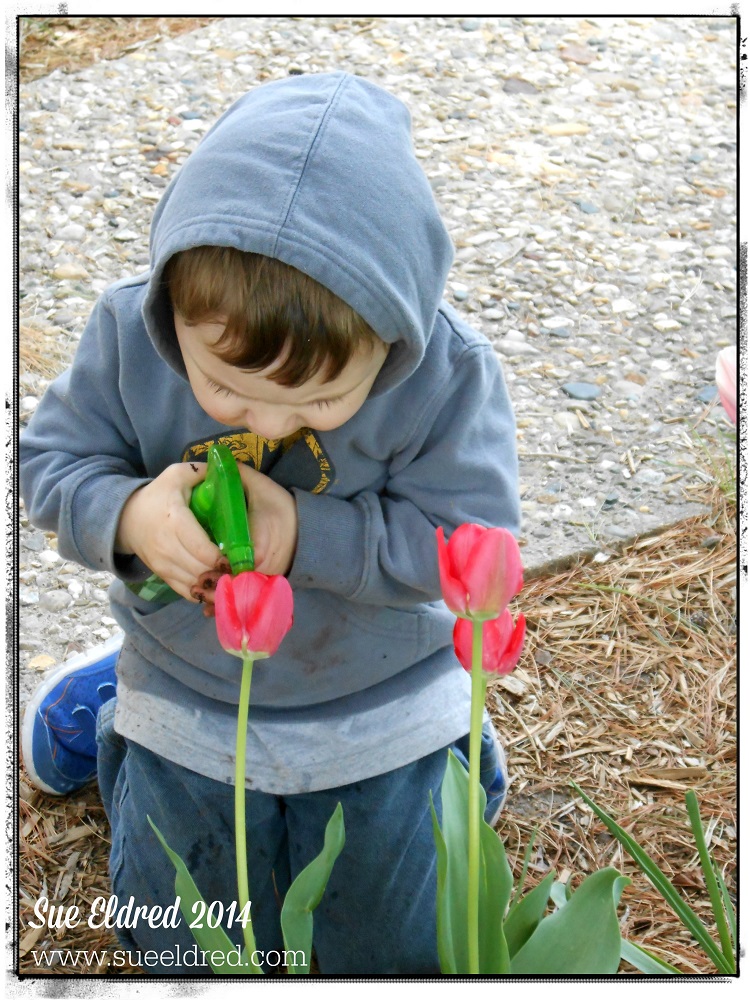
9.  I love flowers.  I enjoy photographing them, growing them in containers and in gardens.  Flowers make me happy.  I love Springtime when I can make all those treks to the Garden Shop and pick all my flowers to plant.  My favorite flowers are daisies, roses and hydrangea.  Wouldn’t they look lovely in a vase together?

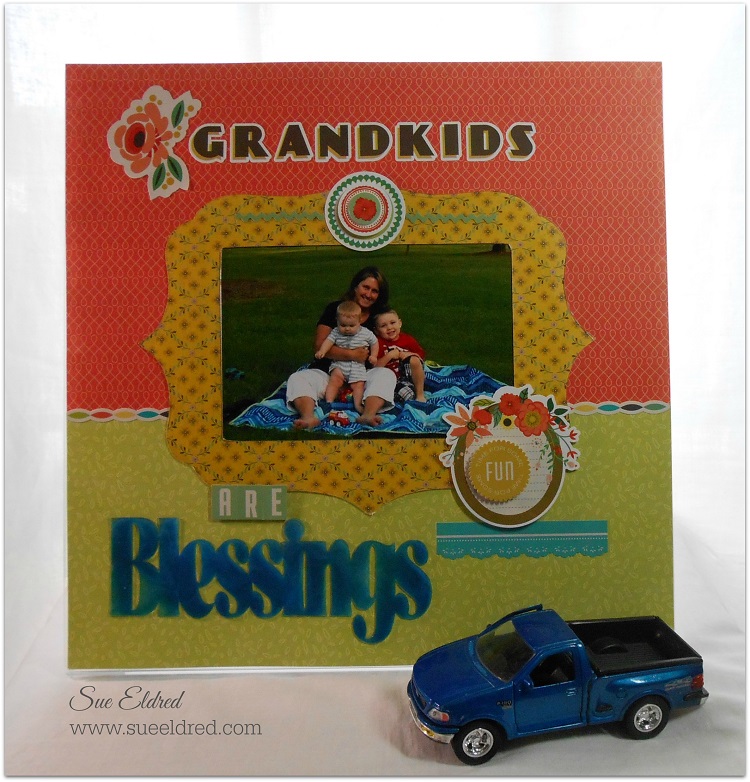
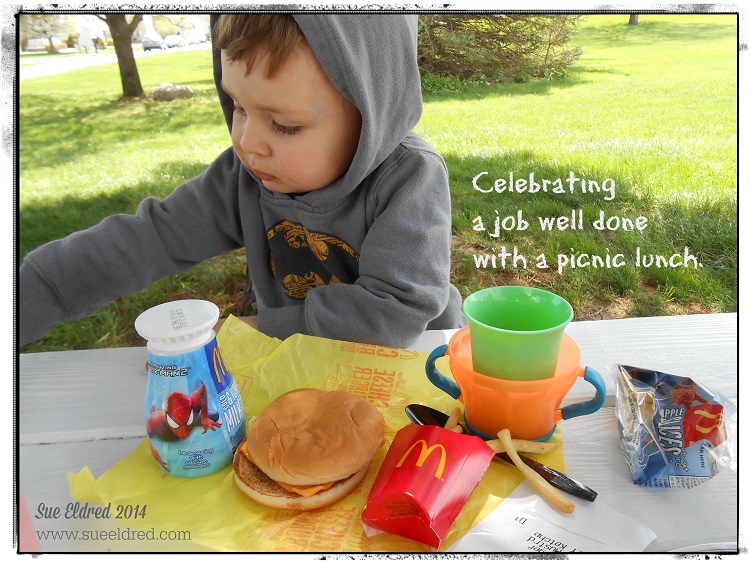
10.  My Family is Everything to me.  Last but definitely not least is my family.  One of the most important things in my life is my family.  I have three wonderful children, a loving husband, two adorable grandsons, great daughter and son in-laws, sweet father, fun siblings, in-laws, nieces and nephews.  All who mean the world to me.  Family is Everything!  I love my crazy family.

Join Amazon Kindle Unlimited 30-Day Free Trial

Disclaimer:  This blog uses ads and affiliate links.  If you choose to make a purchase using one of the links, I receive a small commission (at no additional cost to you) that helps offset the costs of maintaining this blog.  Thanks for your support!