How to make a small pocket-sized journal.
Whenever I travel to a new location, I like to keep memorabilia like brochures, maps, and ticket
stubs. As a scrapbooker, I never know when I’ll want to reference the information for journaling
or even add it to a layout.

The Palm Springs Junk Journal uses a combination of memorabilia and a little bit of recycling.
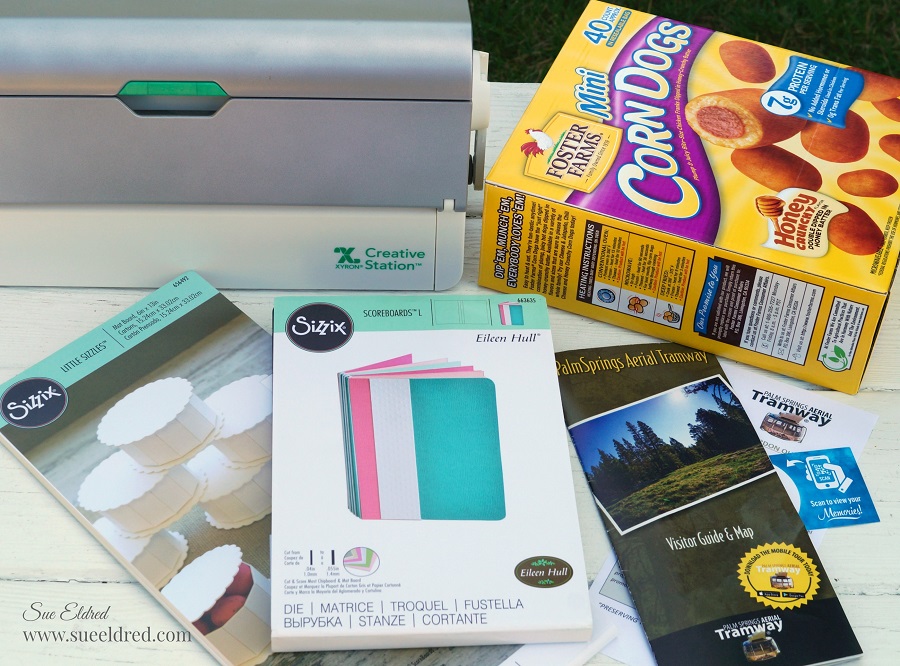
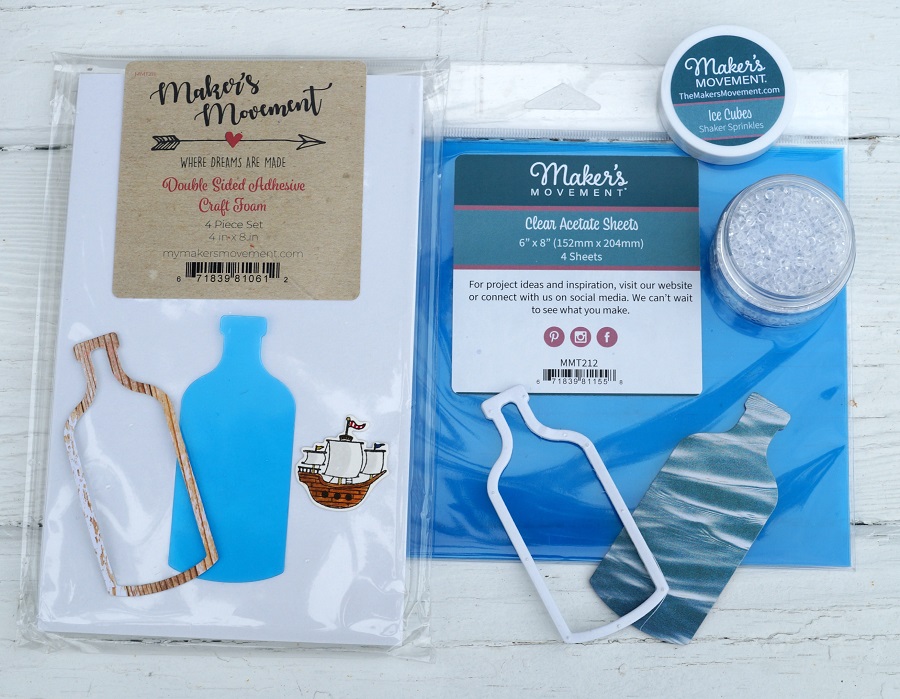
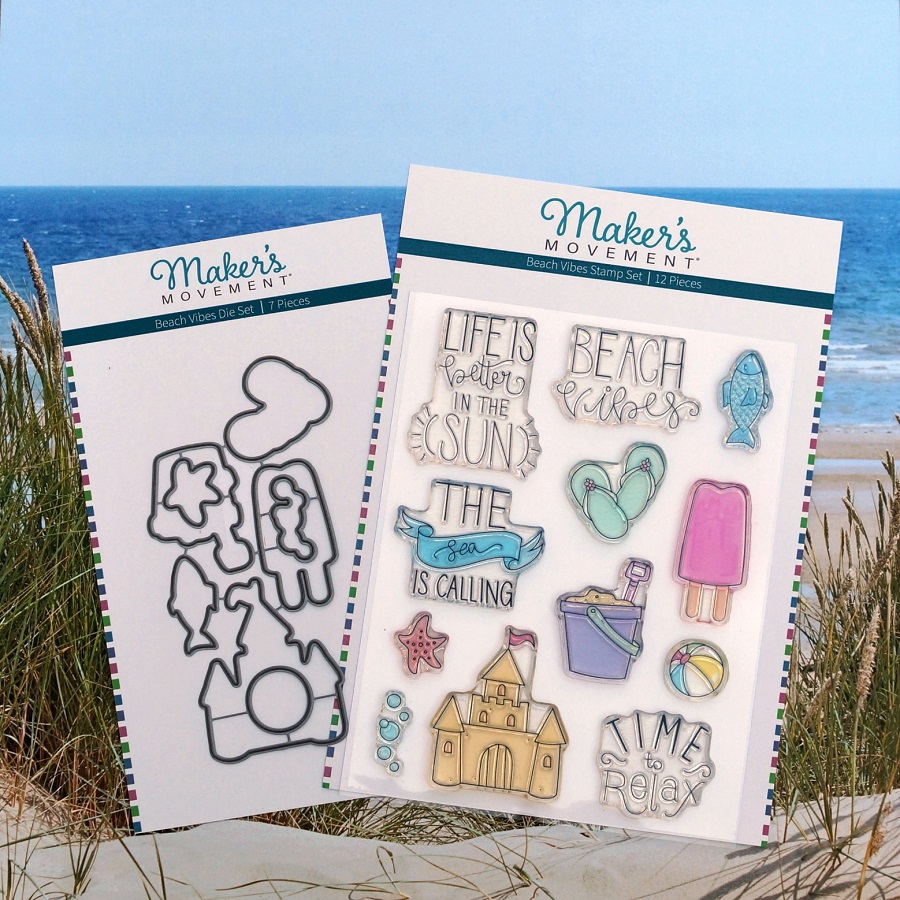
To Make the Junk Journal I used: (*affiliate link)
- 663635 Sizzix, Notebook Die by Eileen Hull*
- Sizzix Big Shot Die Cutting Machine*
- Xyron Creative Station*
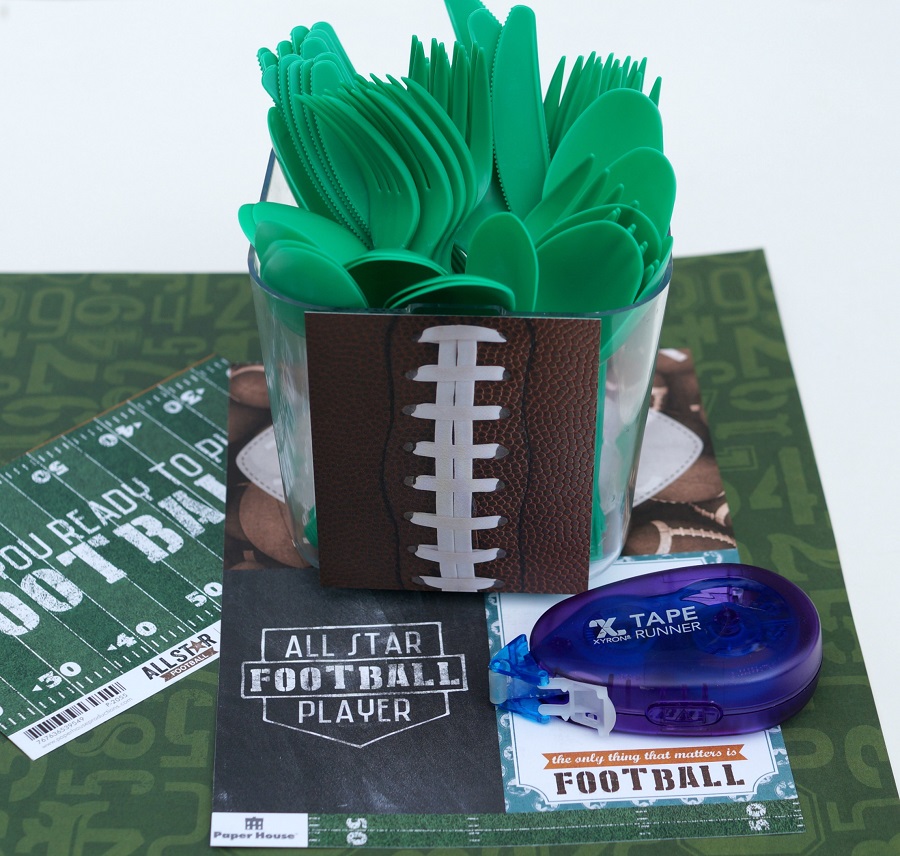
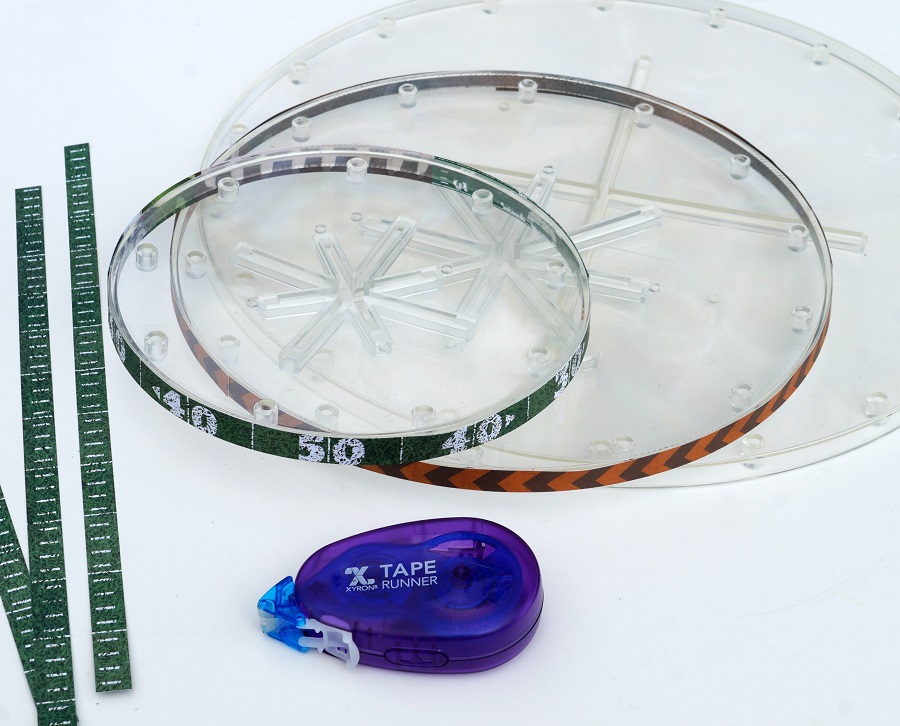
- Xyron Tape Runner*
- Washi Tape
- Twine
- Tim Holtz Distress Ink Pad, Vintage Photo*
- Ink Applicator*
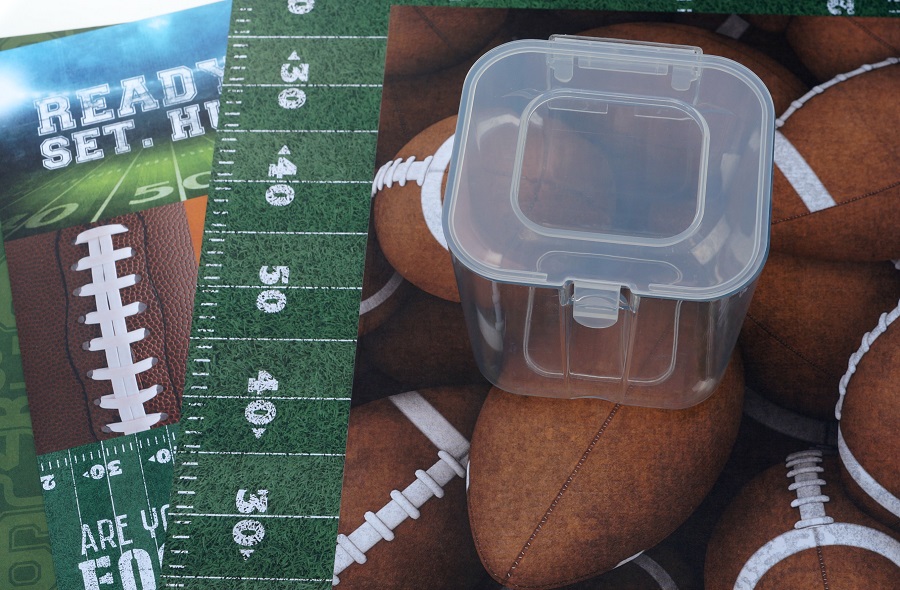
- Recycled Box (or you could use Sizzix Little Sizzles Mat Board*
)
- Cardstock
*Disclosure: This blog uses affiliate links. If you choose to make a purchase using one of the links, I receive a small commission (at no additional cost to you) that helps offset the costs of maintaining this blog. Thanks for your support!

Directions:
- For the front and inside cover of the journal, cut two 6″ x 8-1/2″ pieces from the brochure.
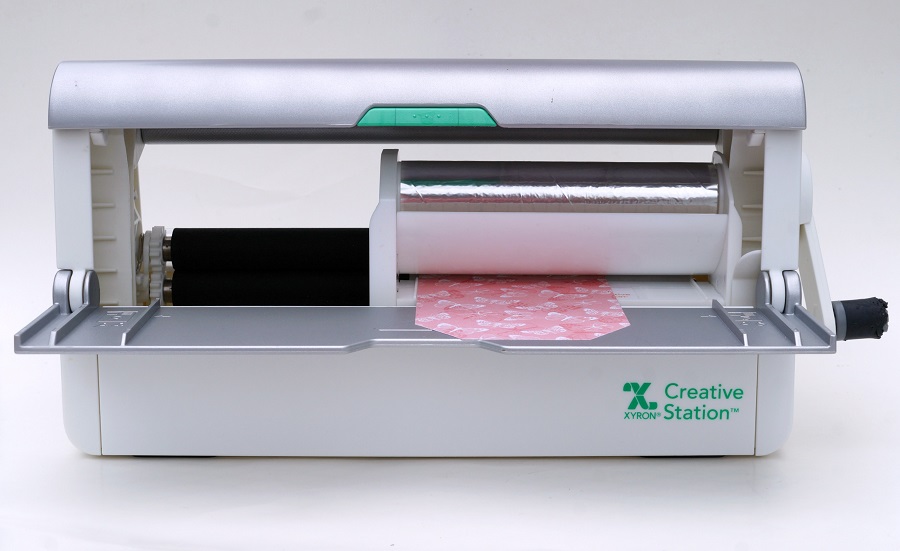
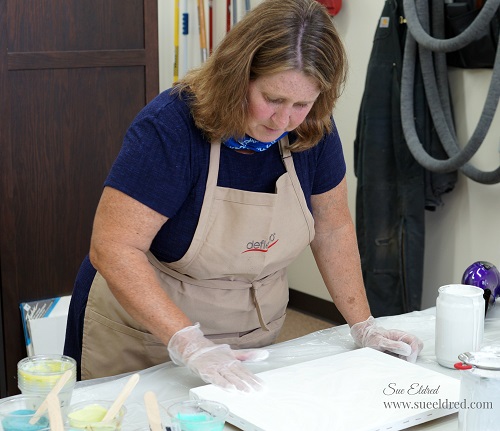
- Lay the paper (design side up) on the Xyron Creative Station*
crank the handle to run the paper through the machine. As it moves through the Xyron Creative Station, it adds adhesive to the backside of the paper. Easy to use and it doesn’t need any electricity.
- Cut a piece of a thin recycled box the same size.
- Adhere the decorative paper on each side of the cut box.
I like using the Xyron Creative Station…
when making mini books because you get complete coverage, no wrinkling, no bubbles!

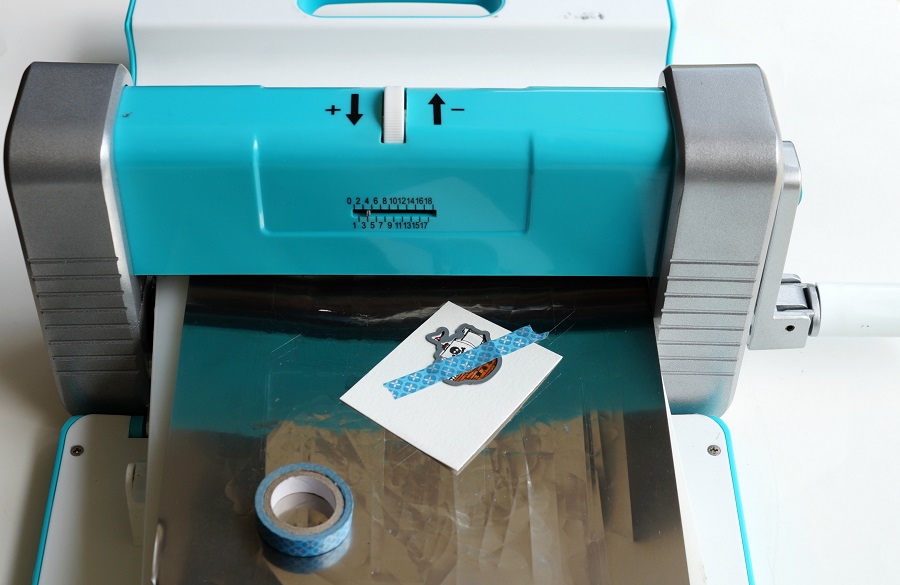
- Lay the covered cut piece from the box over the notebook die* sandwiched between two cutting plates.
- Crank the handle of the Sizzix Big Shot Die-Cutting Machine*
and run the die through the machine. The Big Shot will cut and score the box.

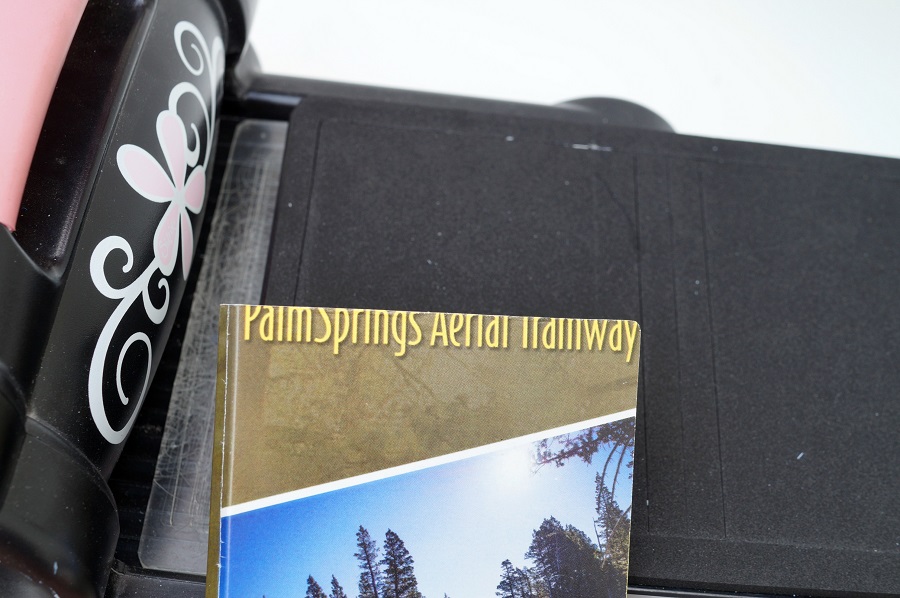
- I thought I was “so smart” because I cut the map so, the words “Palm Springs Aerial Tramway” would be at the top of the journal. Being a little too confident, I didn’t measure my placement and “oops” I cut it too short.
- To “fix” my mistake, I cut out a small picture of the tram with the words and adhered it to the front of my journal.
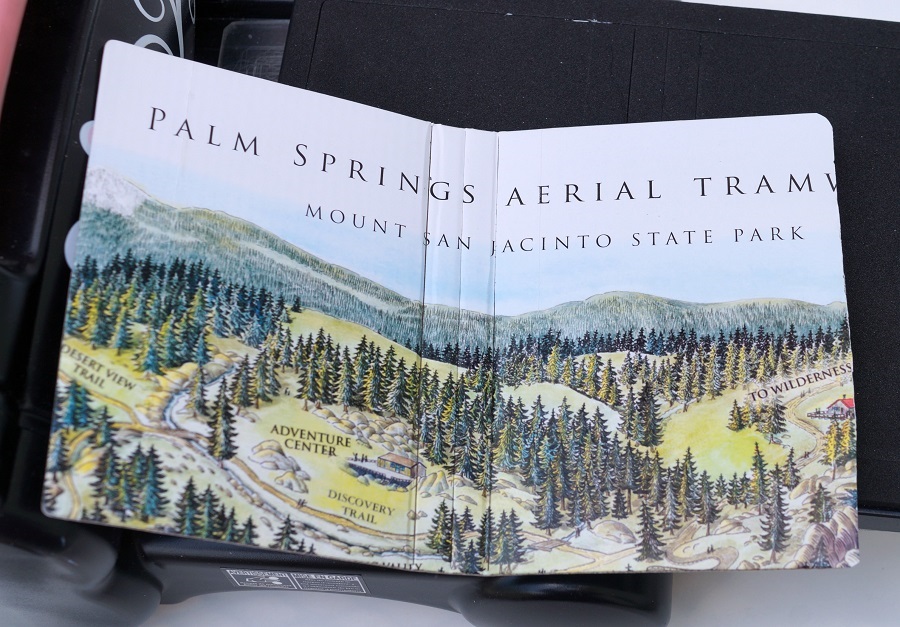
The inside if the journal.
- I used an ink applicator and Vintage Photo Distress Ink to age the edges of my Junk Journal.

- Add a strip of washi tape around the spine of the album for added interest.
- Cut 5 cardstock pages using the notebook die.
- Crease the cardstock on the center score lines.
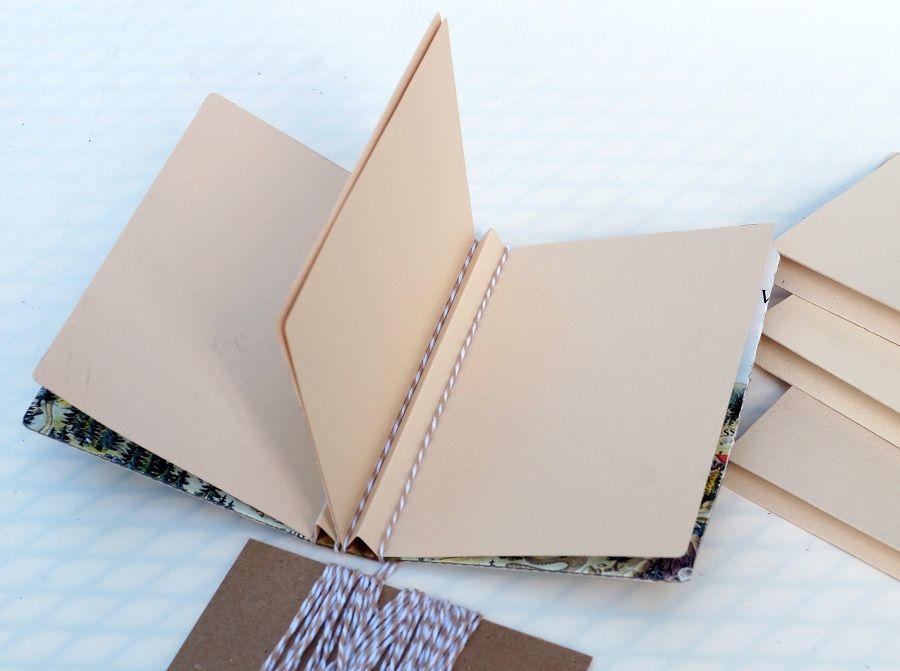
- Wrap the twine around the inside creases and around the outside of the book cover to secure the pages.
- I did one page at a time tying the twine in a knot on the outside after each page.
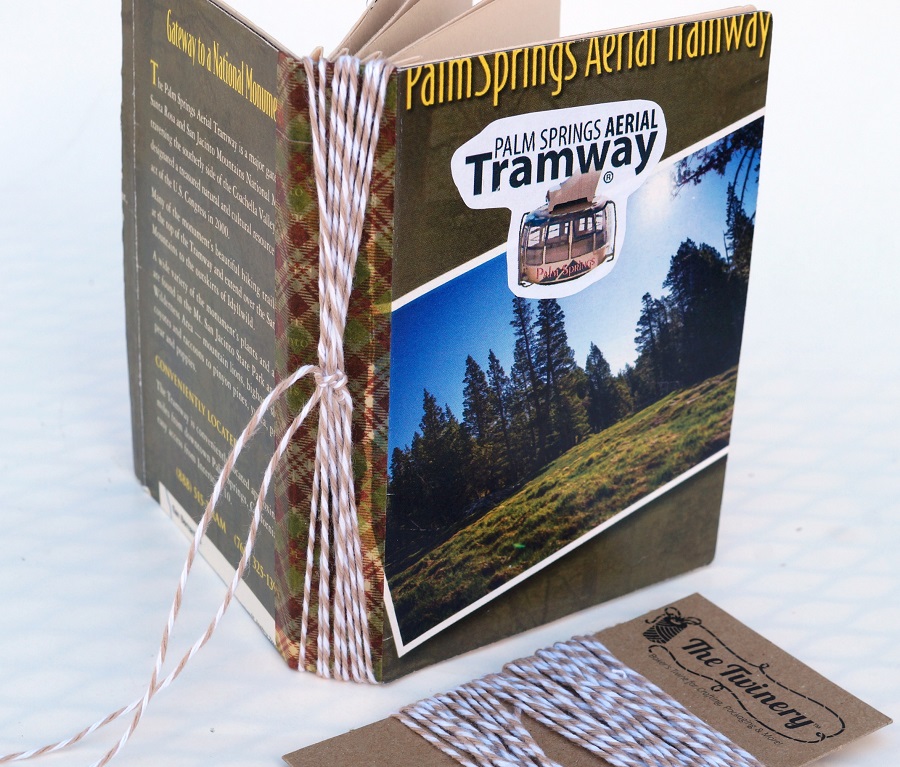
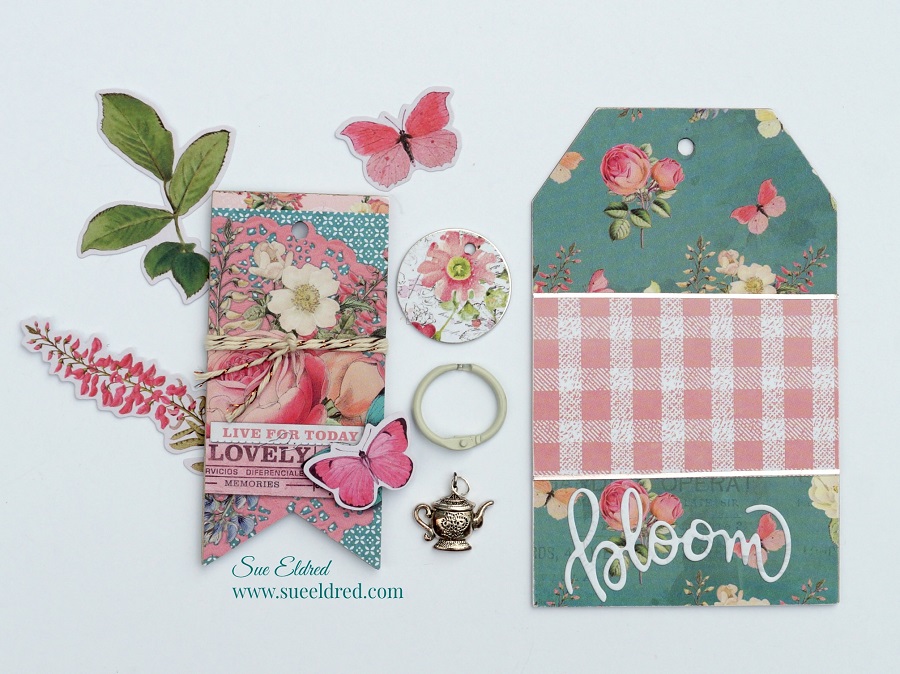
After I had all my pages together, I tied the pieces of twine together in one knot on the spine and added a small metal tag charm that says the word journey.
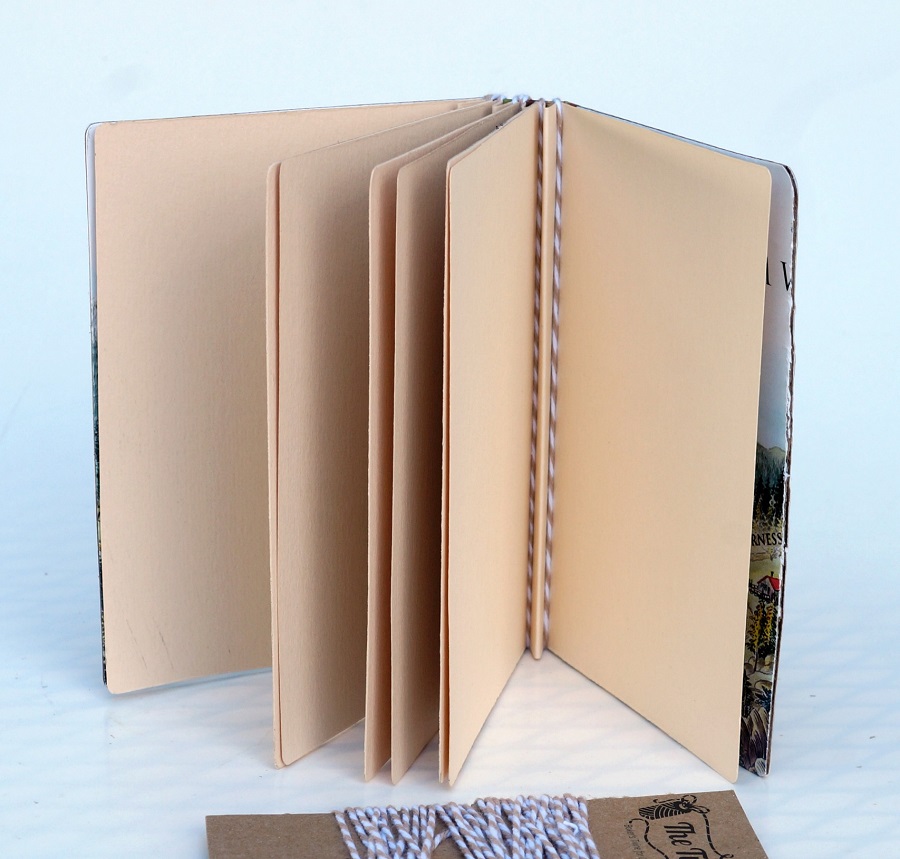
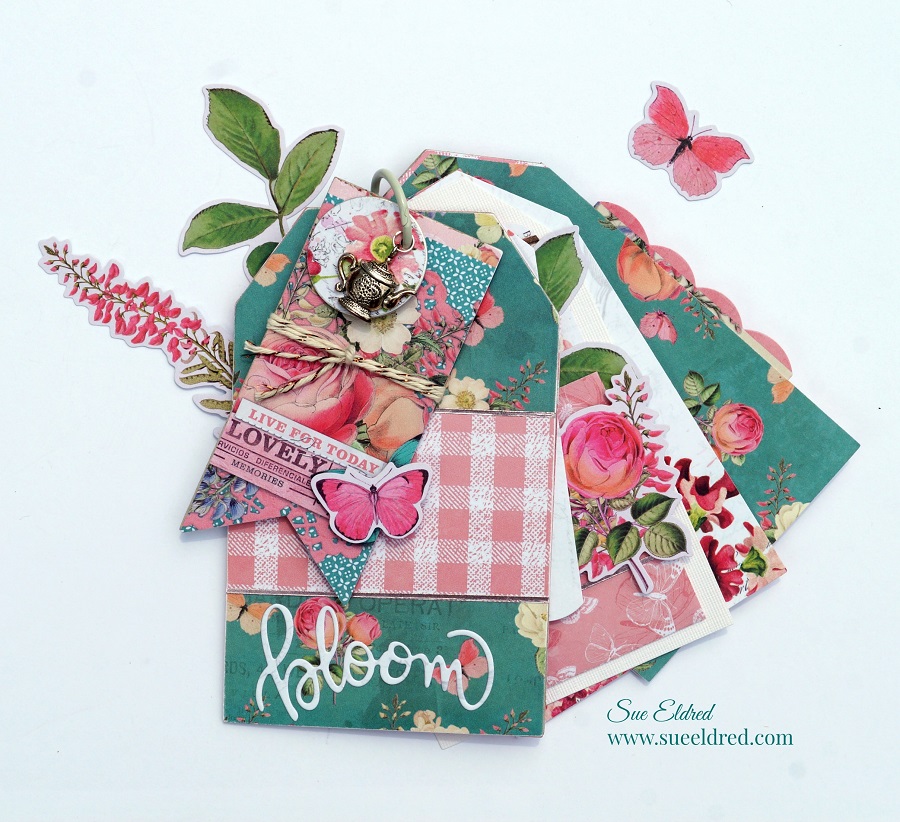
Album ready to be filled.

In January, after the Creativation Trade Show in Phoenix,
my husband and I took a few days to relax and explore in sunny Palms Springs.
On a whim, we decided to take the Aerial Tramway up the side of the mountain.
It was a lovely warm sunny day.

Of course, we didn’t think about the temperature change at the top of the mountain.
I had on jeans and a light sweater, and my husband had shorts and a light jacket.
(We had just been in the sunny desert a few minutes earlier.)
Upon arriving, I immediately went into the gift shop and bought an oversized hoodie,
while he braved the elements.

The 15-minute ride up the mountain to 8500 feet was stunning,
and the views left us breathless. (literally)
After a nice lunch, and a brisk walk around in the snow, we headed back down to the desert.
Where we warmed our feet at the hotel, around a firepit.